How to Draw Princess Luna
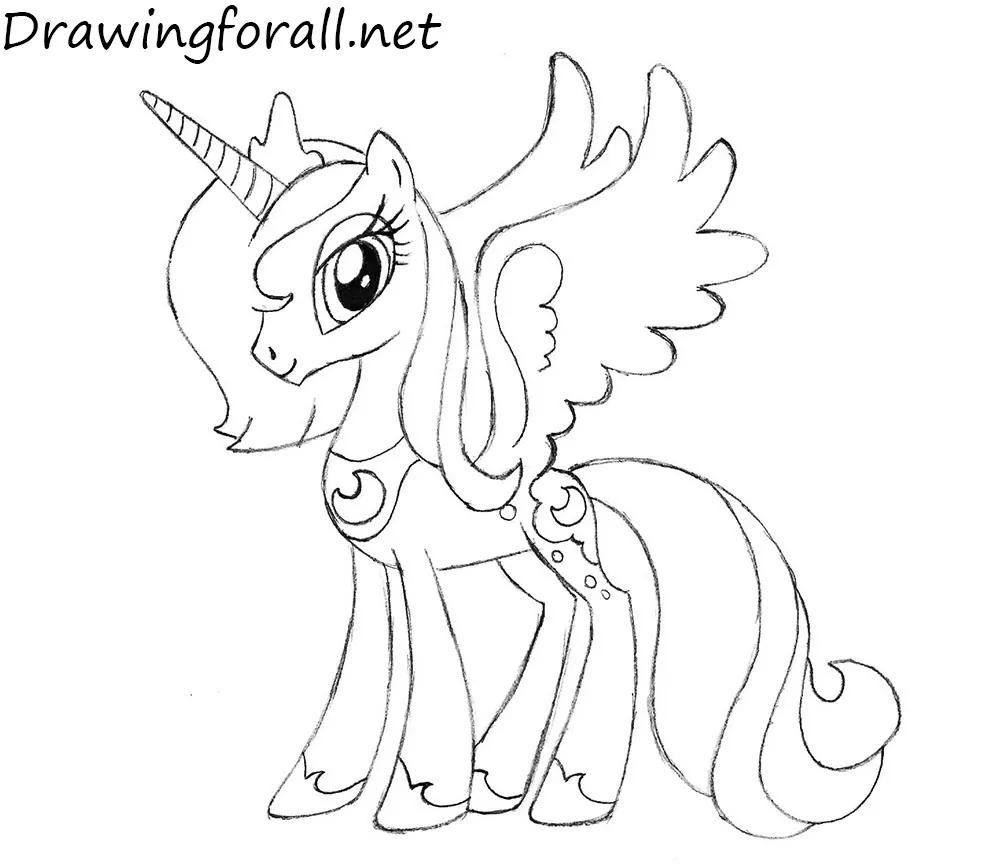
Hello! Today we’ll show you how to draw Princess Luna from My Little Pony! Our today’s character is the sister of Princess Celestia. Celestia and Luna for many years ruled the change of day and night – Celestia was responsible for the day and Luna – for the night. One day Princess Luna stopped to let Celestia, and the sun for a long time did not appear on the horizon. After a lot of battles, sisters reconciled and Luna apologized to Celestia. Let’s take your favorite paper, pencils, begin this lesson and learn how to draw a pony Princess Moon!
Step 1
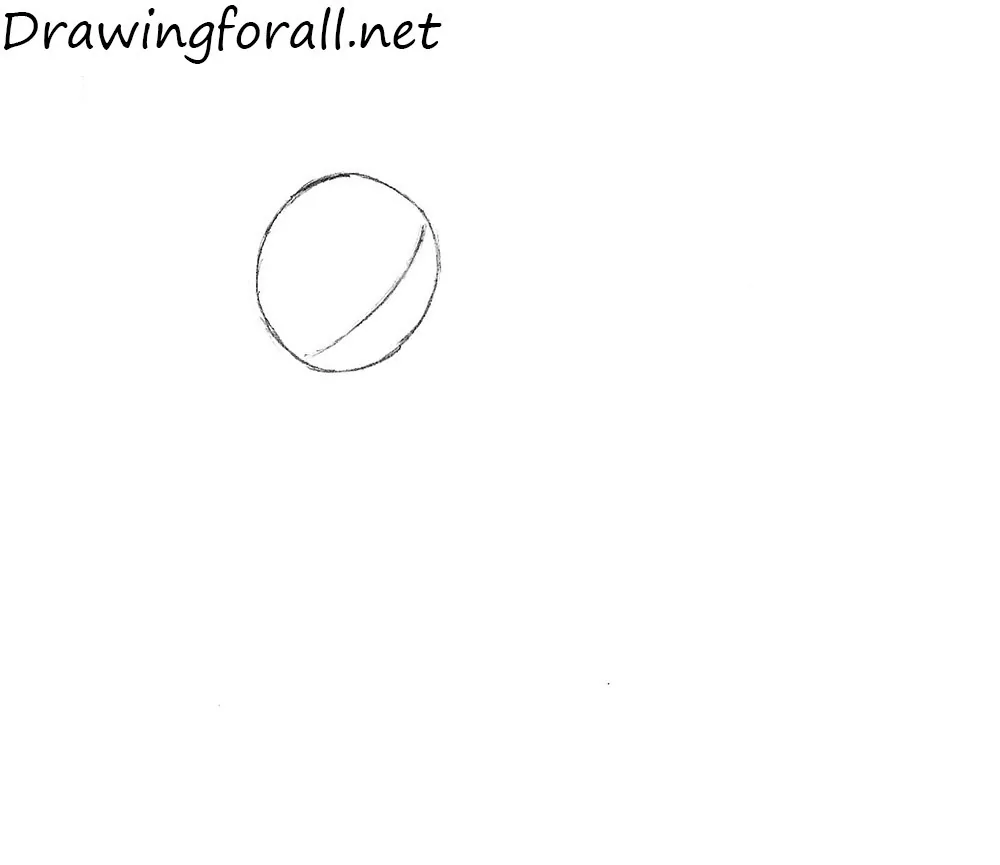
Draw a circle, which will denote the head. At the bottom of the circle outline a slightly rounded line, which will help us to at drawing the eyes of pony Luna. Note that such lines as the one that shows the location of the eyes, is the directing and subsequently will be erased. This means that you need to press on a pencil a little bit, so that the line can be easily removed without any problems.
Step 2
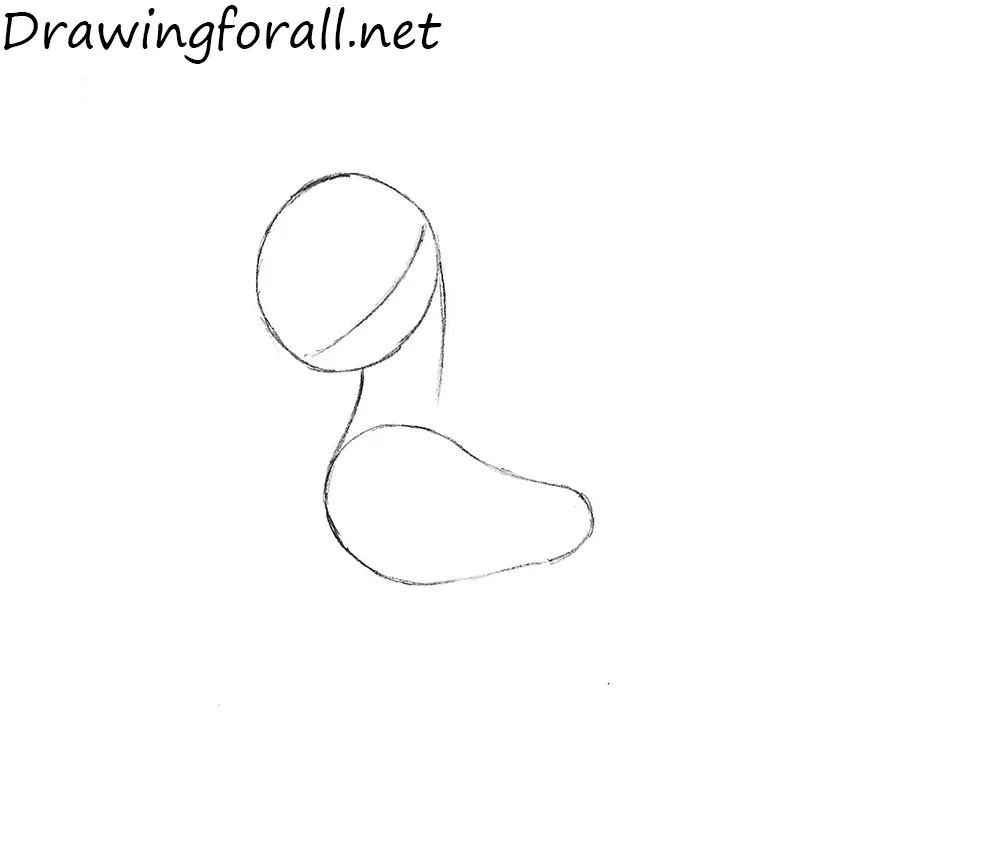
Below the circle we draw a curved oval, which denotes the torso of Luna. Please note that this figure is very similar to a bean (of to minion). Connect the head with the body, using two curved lines.
Step 3
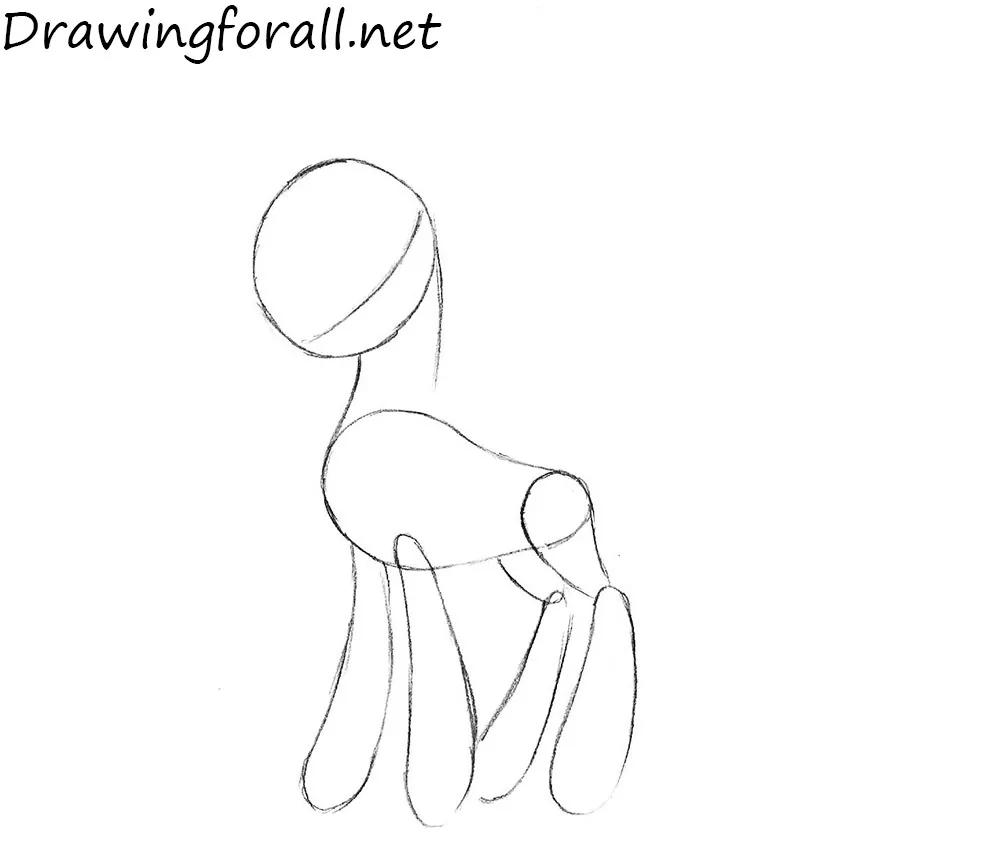
Draw the contours of the legs of princess Luna. Each of the front legs consists of one whole rounded figure, which significantly extends downwards. Each of he hind legs consists of two pieces, with the upper figure is expanding towards the torso and the bottom expands downwards.
Step 4
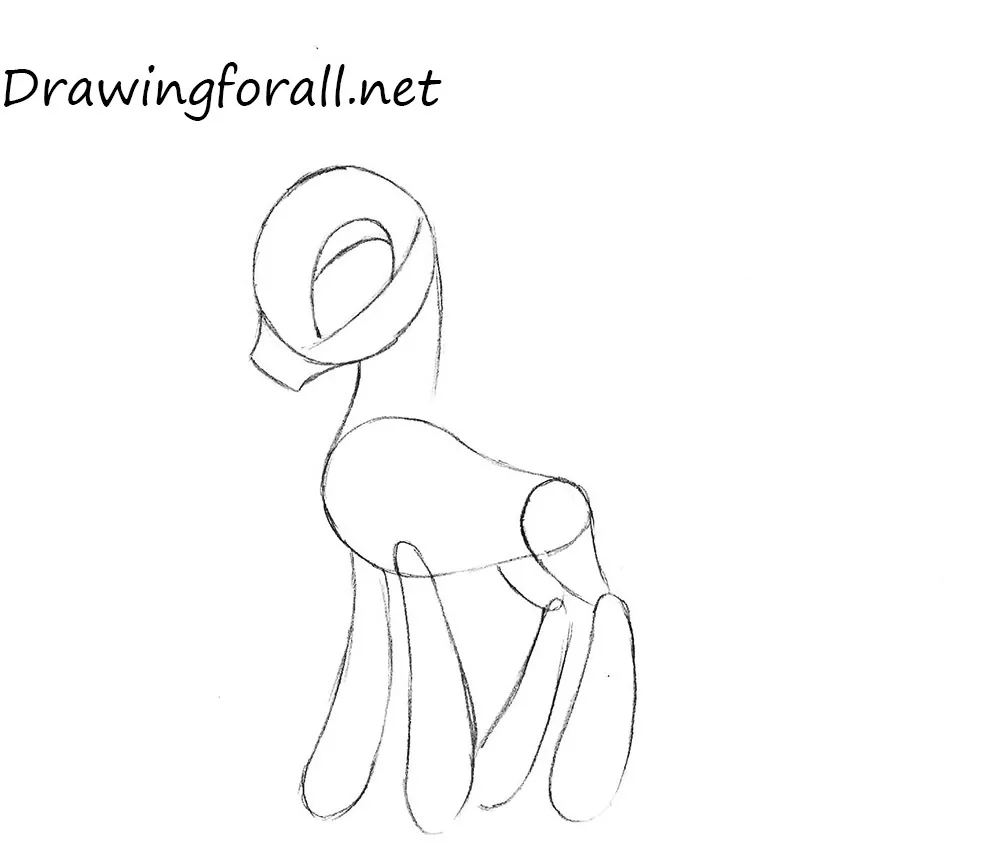
According to the planned lines draw the eye oval. In the same step outline the front of the face. By the way, if you like other characters of «My little pony», you can try to draw Pinkie Pie and Rarity.
Step 5
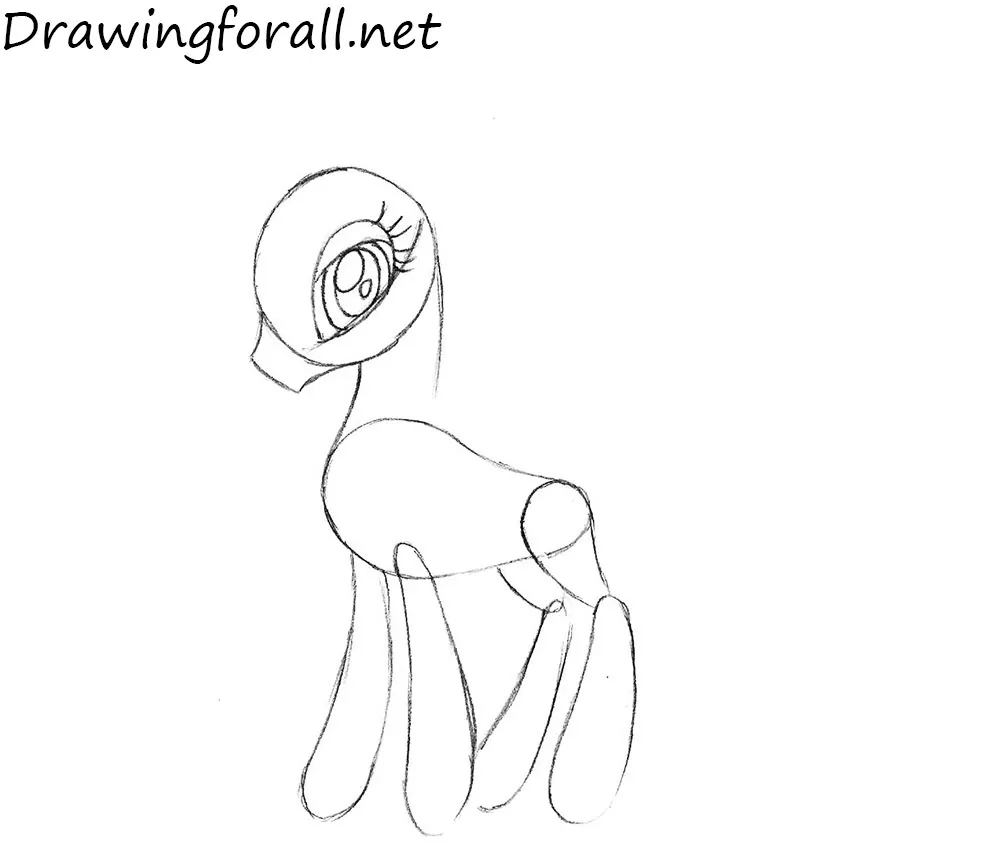
Now, draw the eye of princess Luna. Inside the oval, drawn in the previous step, we need to place two more ovals, draw the top eyelid and do not forget about a couple of highlights in the pupil. Do not forget also about the curved lash line.
Step 6
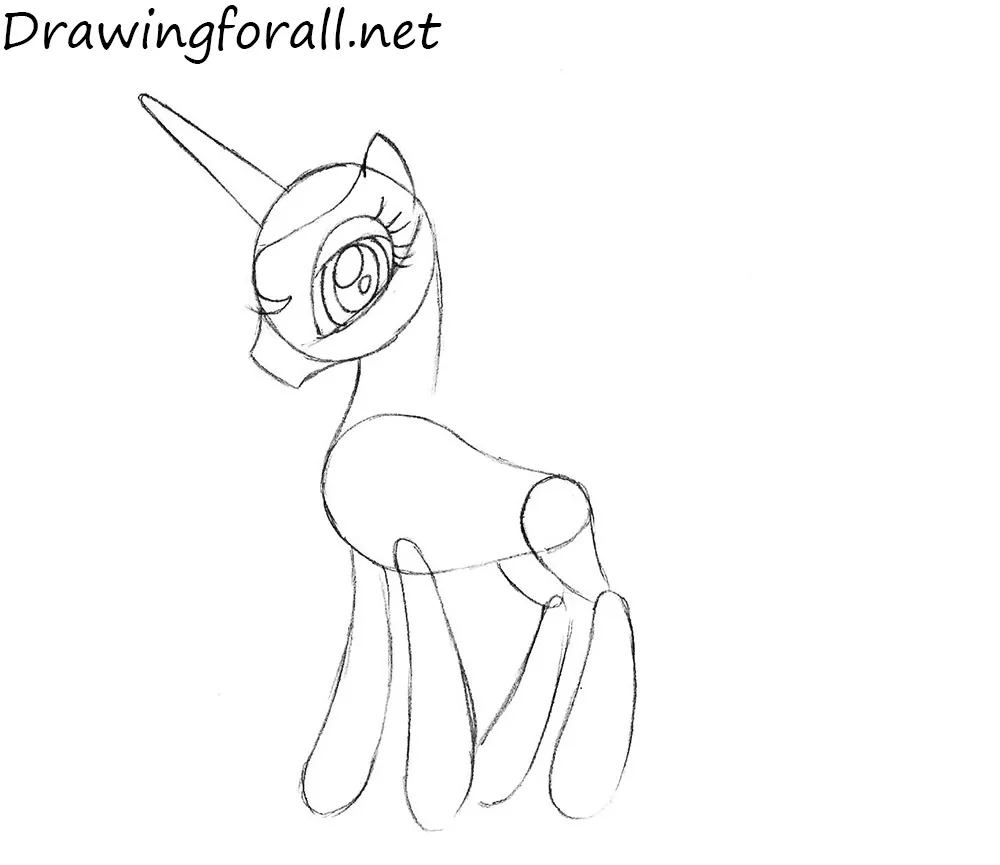
Continue to draw princess Luna. In this step we sketch the outline of a long and thin horn, ear and the line of the bangs.
Step 7
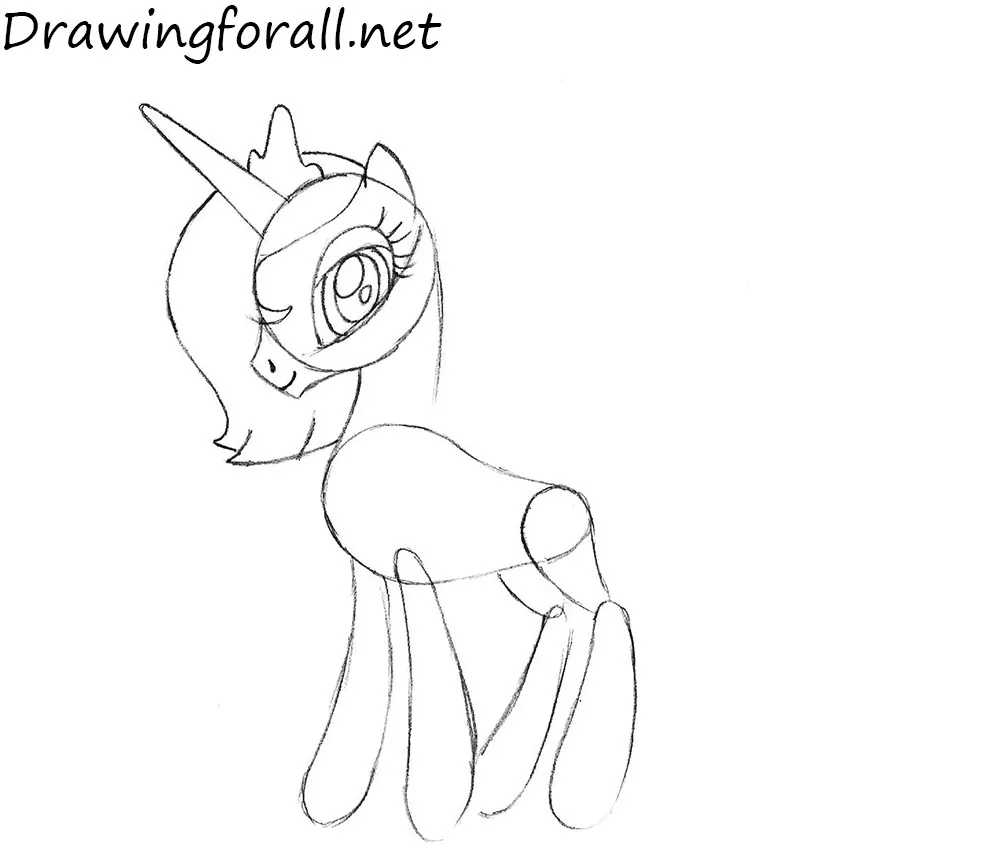
We outline the rounded contours of lush mane, just behind the horns denote an elongated shape with three edges. Draw a couple of dashes, which will be denoted by the mouth and nose of princess Luna.
Step 8
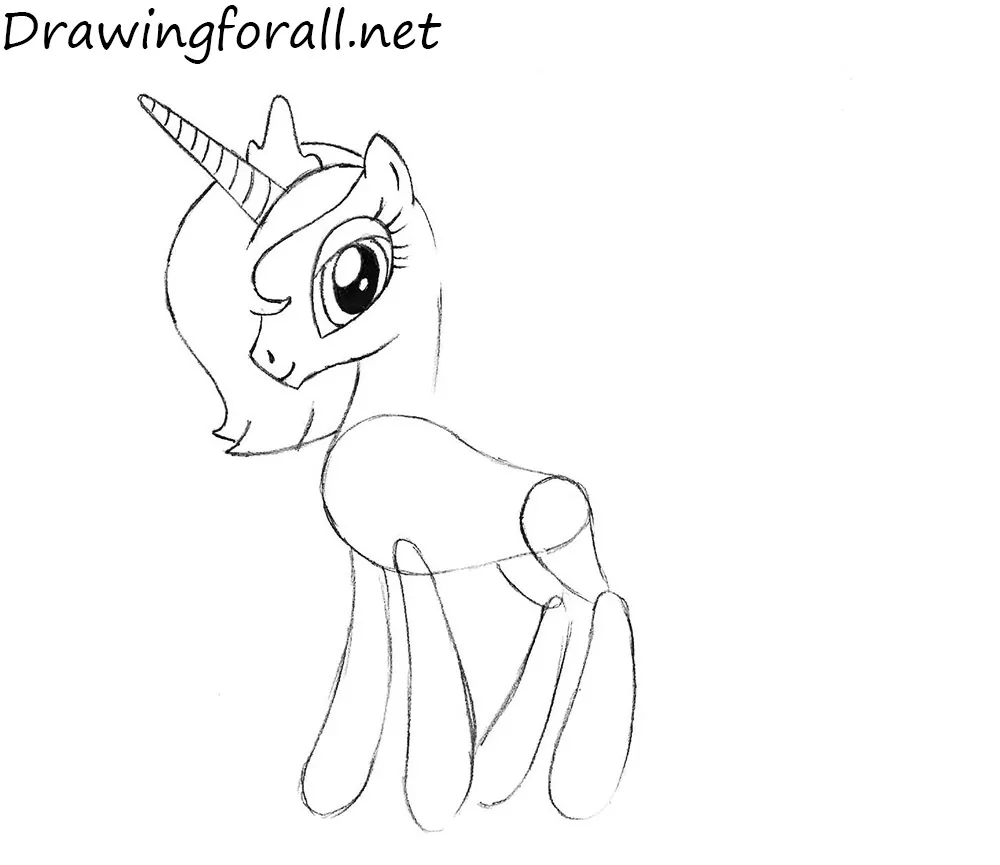
Erase extra guidelines from the faces of princess Luna. Paint the pupil, do not forget to leave glare spots. Add to the horn slightly tilted to one side curved lines.
Step 9
Draw two strands of hair, which descend from the top down in the mane area. By the way, the hair should be drawn in the direction from the roots to the tips.
Step 10
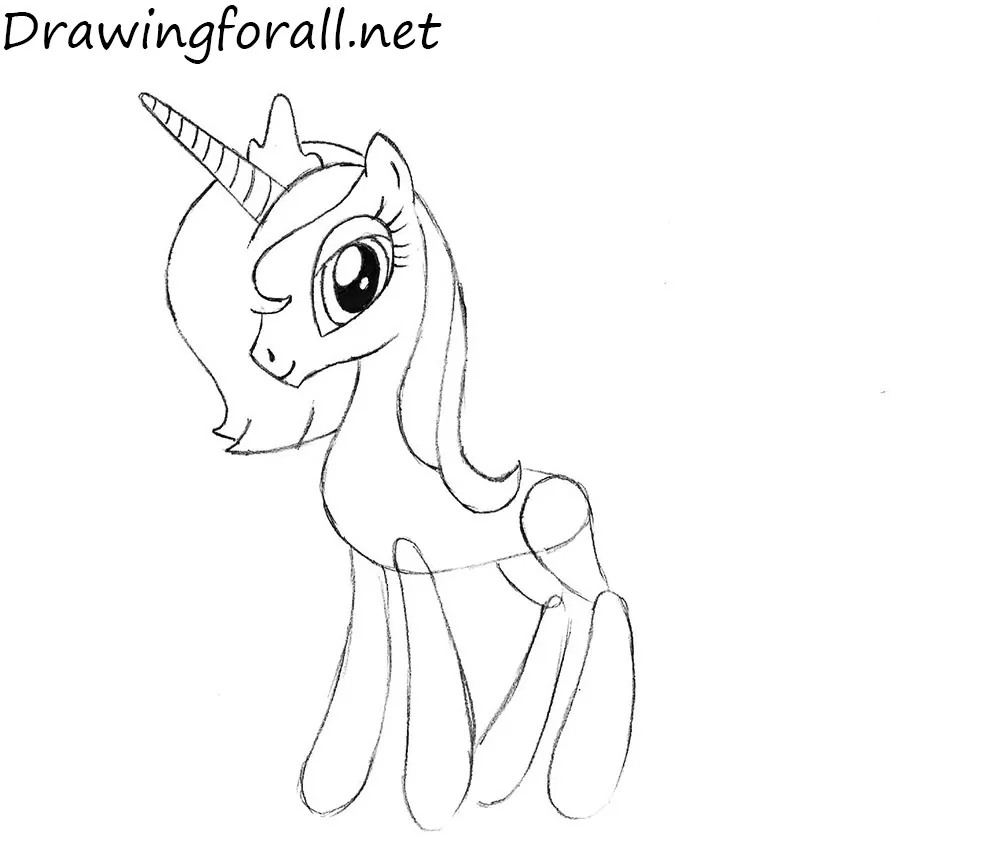
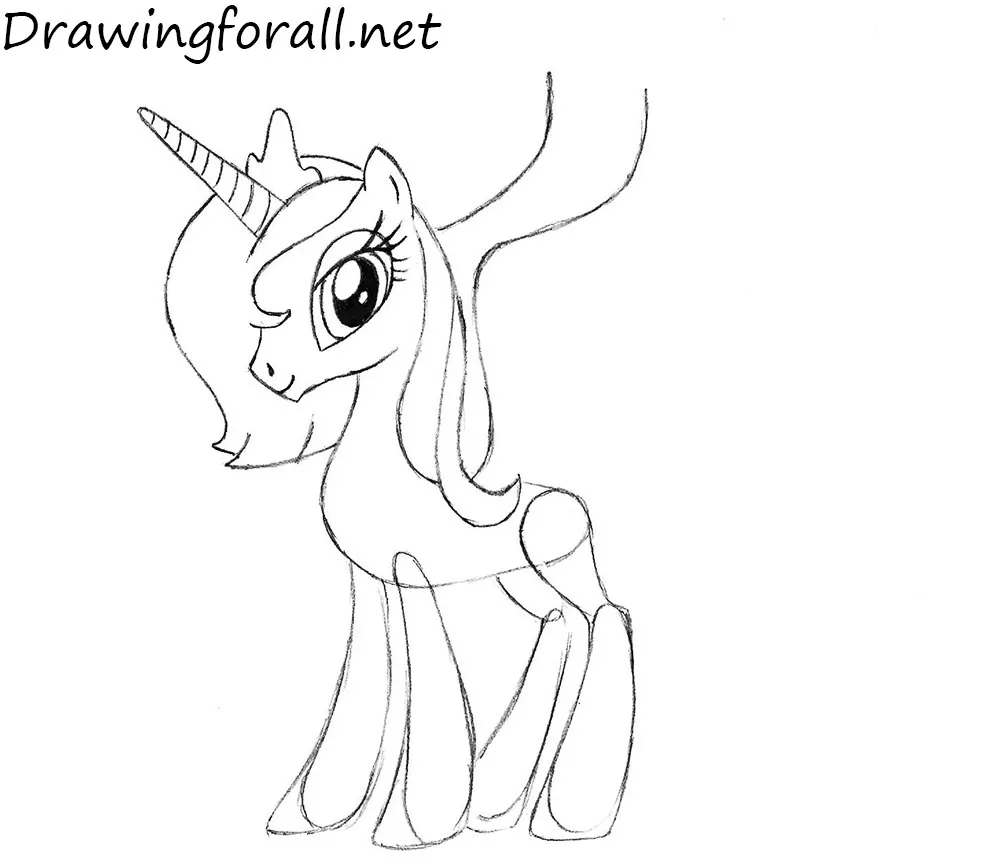
Circle the edges of the contour of the legs, outline the guiding lines of the wings.
Step 11
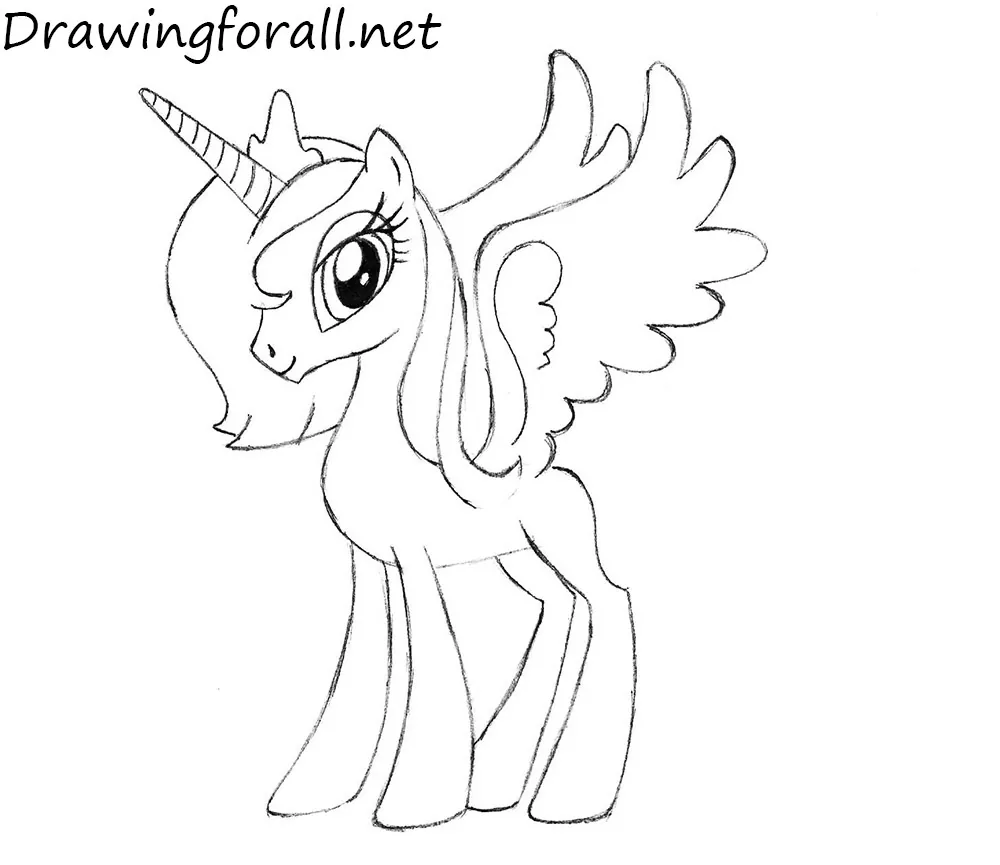
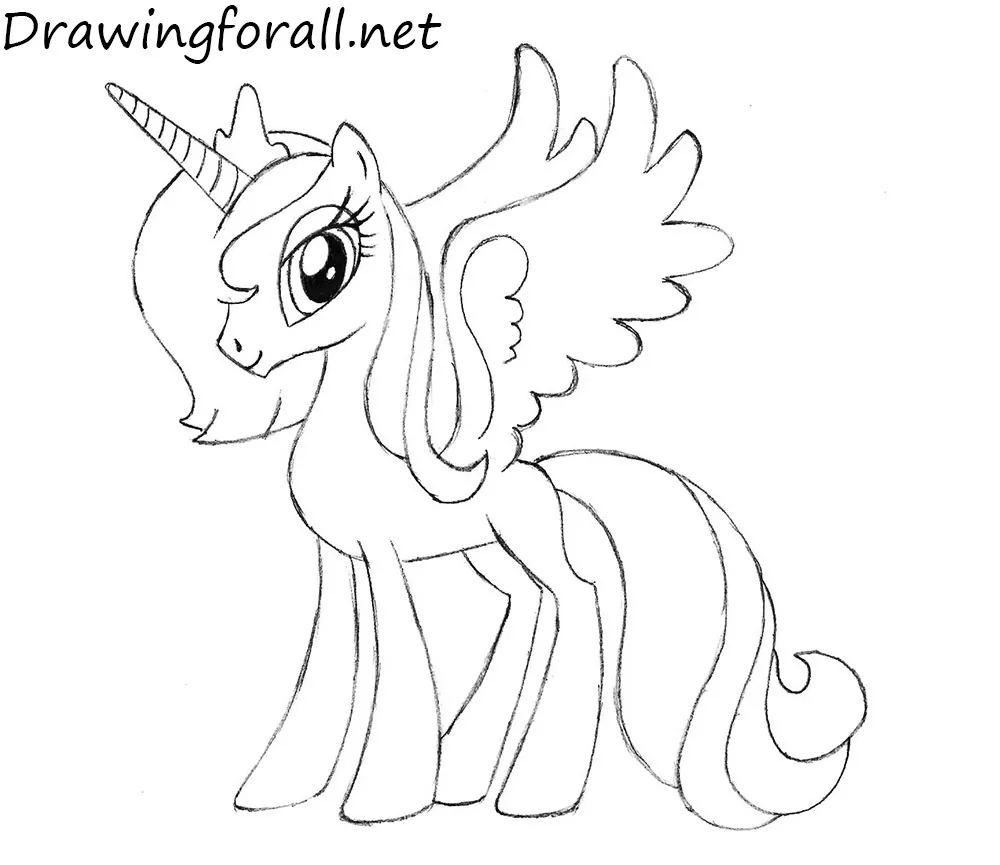
Erase the extra lines from the torso and legs, circle the resulting contours. Draw the edges of the wings, composed of small rounded figures. Note that the size of these figures increases towards the upper tips of the wing.
Step 12
Draw a lush, voluminous tail of pony Luna. Start with the contour, and then draw the internal lines. Draw in the direction from the hair roots to their tips.
Step 13
We finish this drawing lesson by drawing details – the patterns of the moon and stars on the trunk and thighs, and the patterns on the hoofs.

It was a drawing lesson on how to draw Princess Luna from My Little Pony, which was prepared for you by Drawingforall.net. All the best, come to our site for new cool drawing lessons!


shes gourjes
next time i think that we need a video for it