How to Draw a Snowman
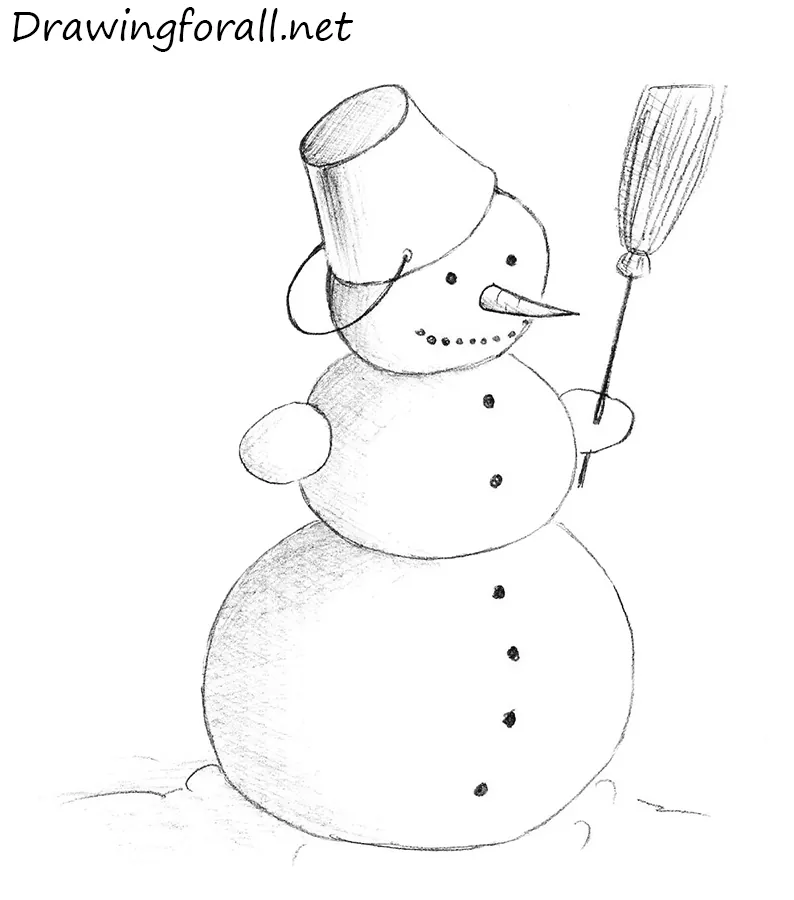
Hello, dear friends! In today’s drawing lesson, we will show you how to draw a snowman. This lesson is quite simple – without complicated shapes and shadows. So, let’s start the tutorial and learn how to draw a snowman step by step!
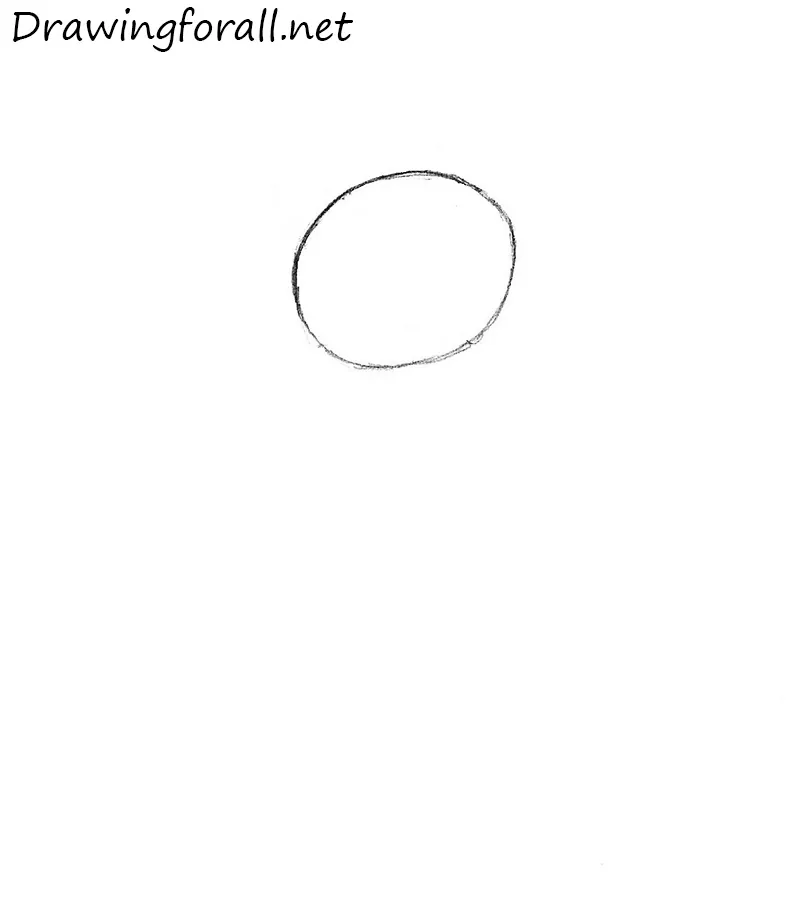
Step 1
At first draw a circle as a guide for the head.
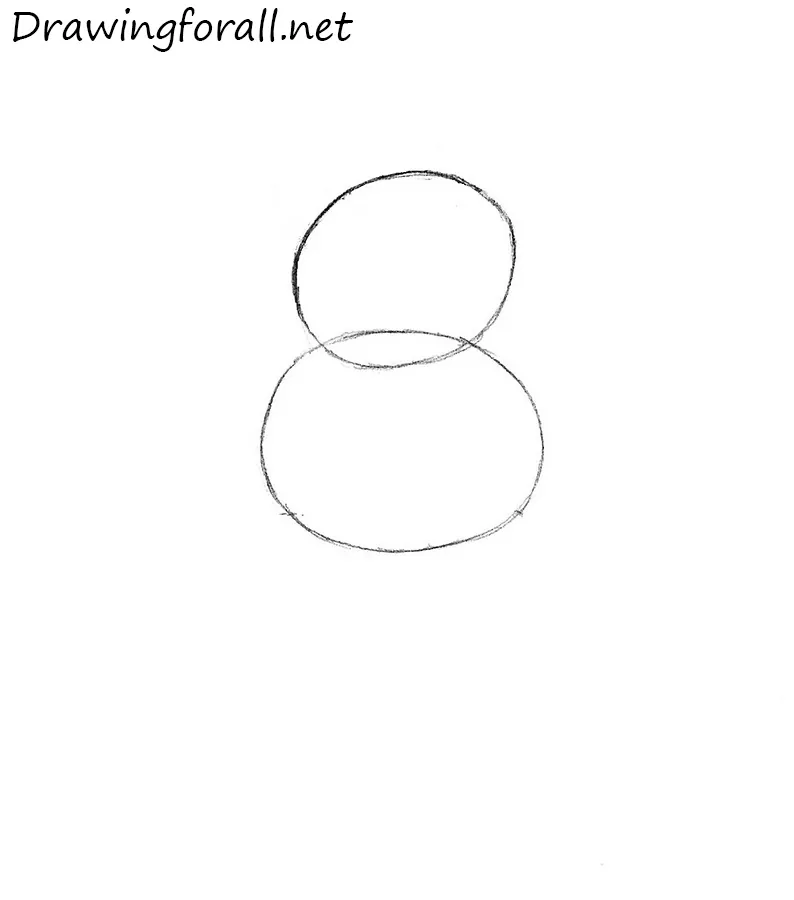
Step 2
Now draw another circle just below the first one.
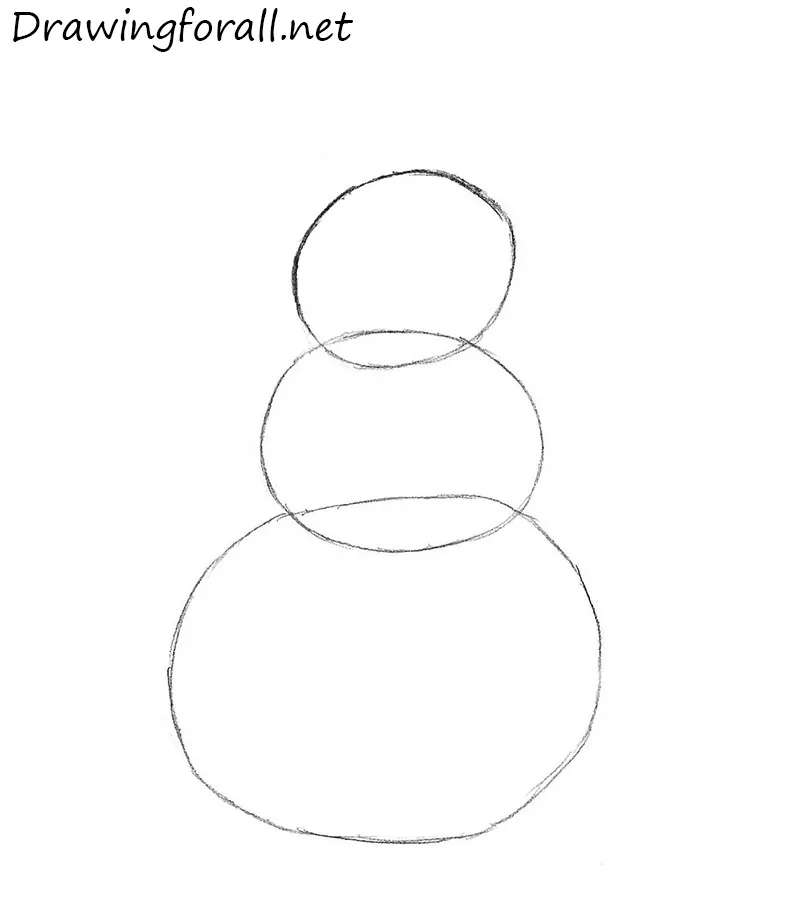
Step 3
And now draw the last circle below the circle from the previous step.
Step 4
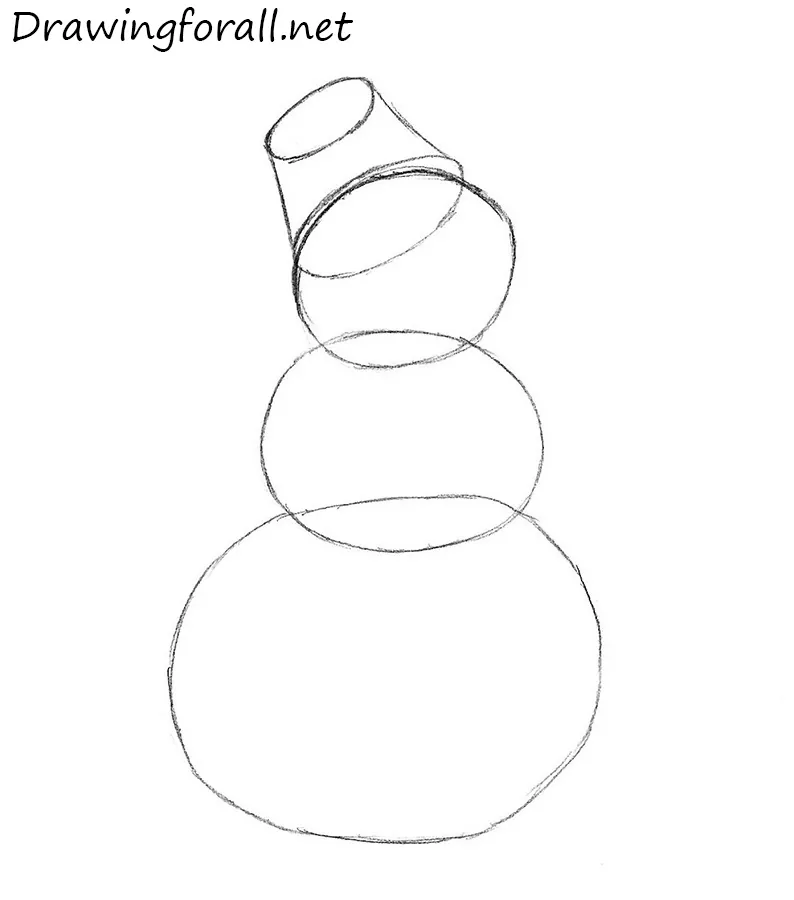
The general shapes ready, and we start to add details. At the top of the head draw the bucket in a form of a cylinder.
Step 5
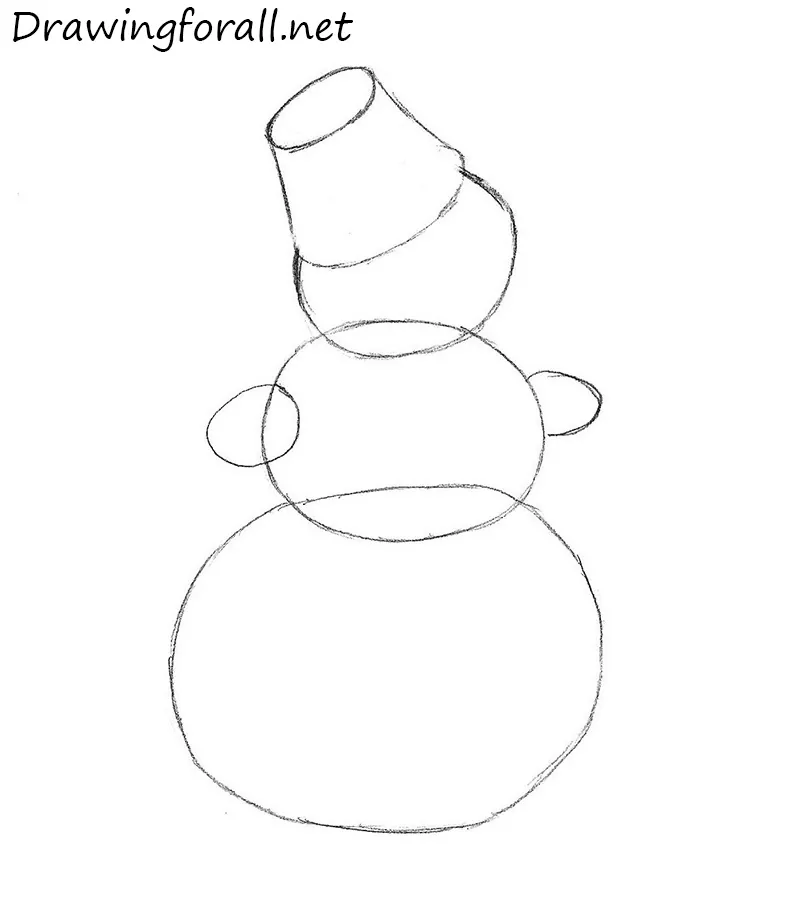
At the sides of the middle circle draw little circles as guides for hands.
Step 6
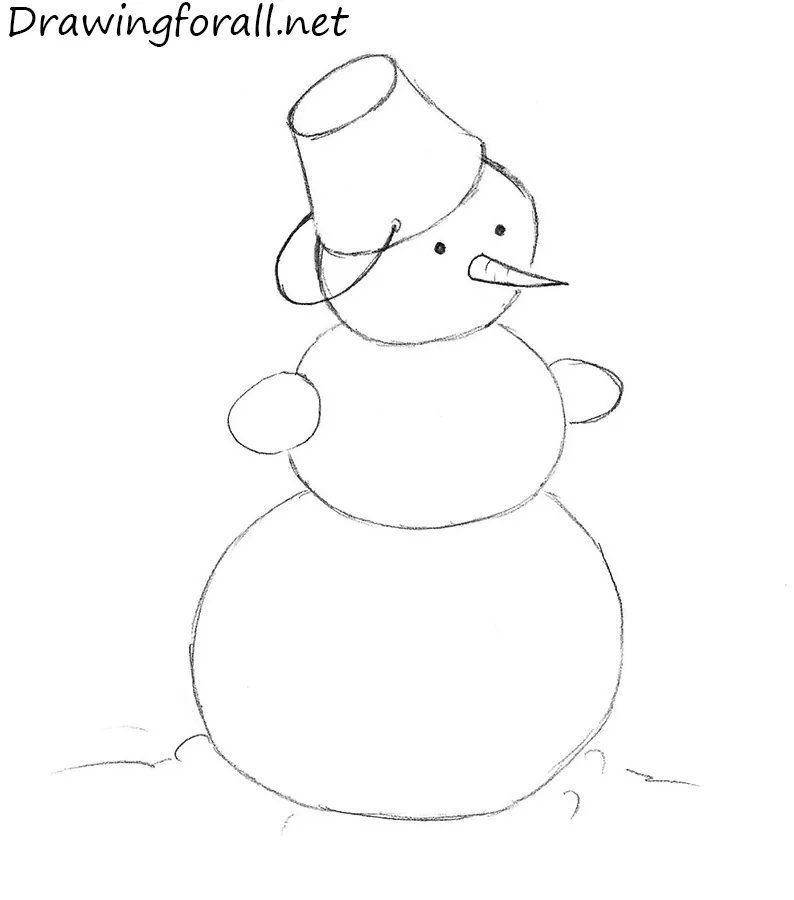
Now erase all the unnecessary guidelines and strokes. Draw the eyes.
Step 7
Draw the carrot-nose in the form of the elongated triangle. Using a couple of lines draw the surface under the snowman.

Step 8
Using black dots draw the smile and clasp on the chest of the snowman.

Step 9
Add some shadows. Note, that the light comes from the right side, so we add shadows to the left side.

It was the drawing lesson about how to draw a snowman step by step. We hope you enjoyed this tutorial. If this tutorial seems too simple for you, visit our tutorials on how to draw Scorpion or how to draw a Samurai. Stay tuned and wait for new drawing lessons by drawingforall.net!



Tsamina mina, eh, eh
Waka waka, eh, eh
Tsamina mina zangalewa
This time for Africa