How to Draw a Rose Flower
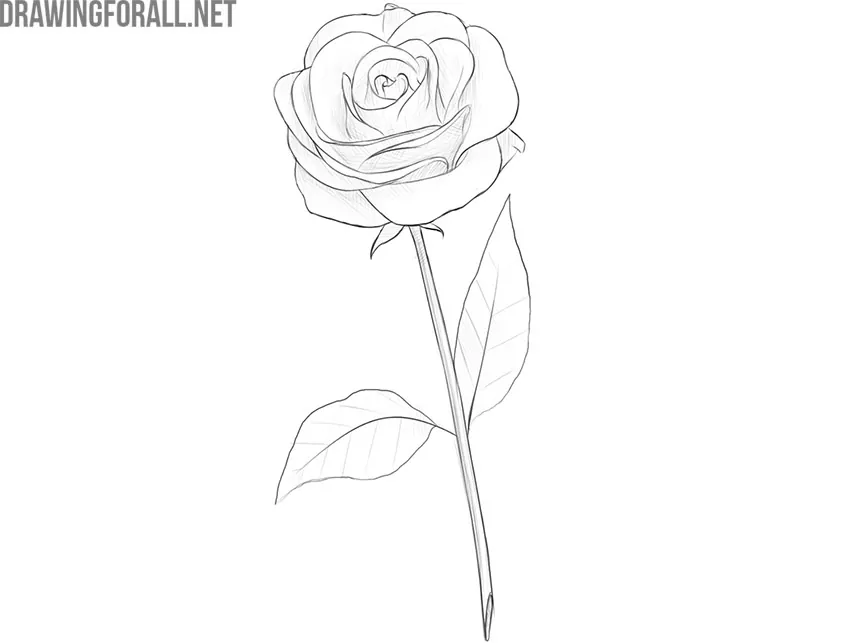
In this drawing lesson, we will show you how to draw a rose flower – probably the most famous flower on planet Earth.
Previously, our team has repeatedly shown you how to draw a rose. Each time we tried to come up with new techniques that will help you in depicting this gorgeous flower. This time we also decided to show you a new way of drawing a rose, slightly different from what we showed in the previous lessons.
So let’s proceed directly to the instruction on how to draw a rose flower.
Step 1
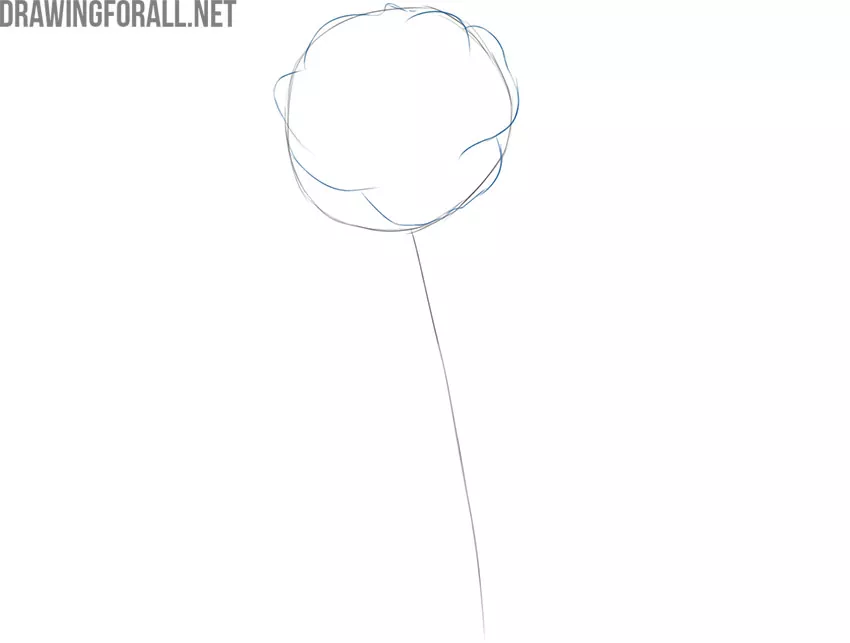
Let’s start by creating the basic shapes for the future rose flower drawing. Sketch out the bud as a circle and the stem as a simple long line. All details of this point should be done with the lightest, almost invisible lines possible. At this stage, your sketch should somewhat resemble a Chupa Chups.

Step 2
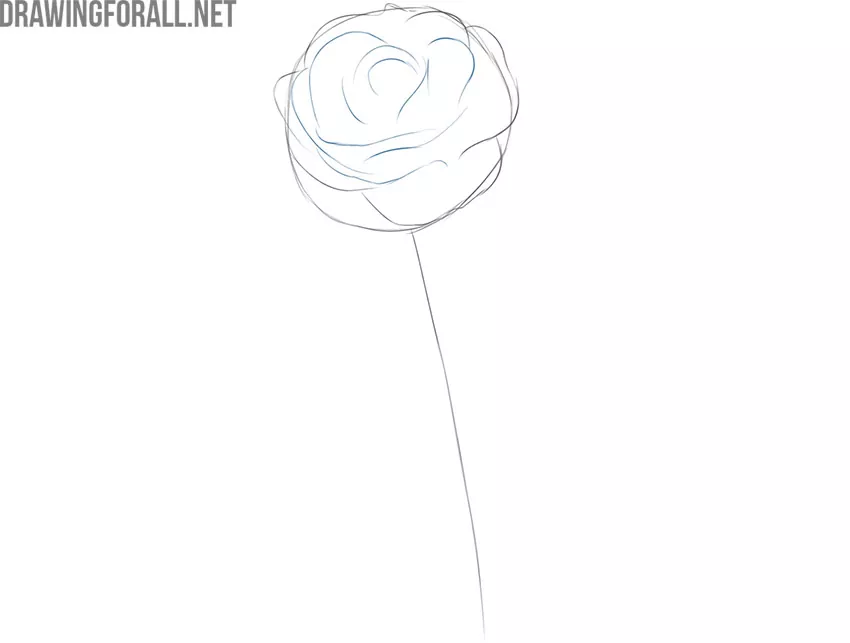
Now it’s time to start giving the rose drawing a more accurate look. To do this, start depicting the outlines of the petals. Now you should sketch out the outer petals. They should be the largest in the entire bud. Do not try to exactly repeat all the outlines of the bud, as in our example.
Step 3
Continue creating the outlines of the petals, but this time the ones in the center of the bud. Create the petals using very general shapes, without trying to make the bud of the rose too detailed at this stage. The outer petals should surround the inner petals.
Step 4
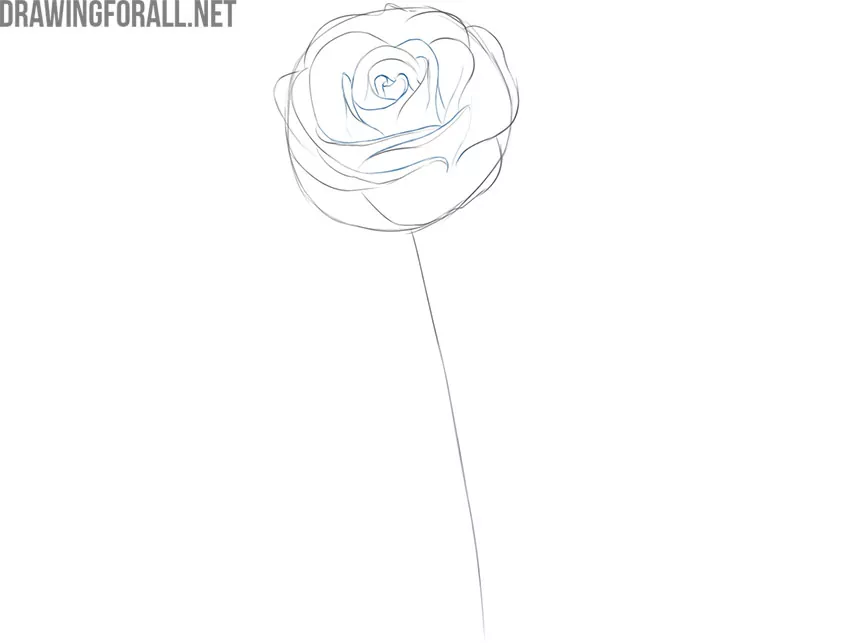
Now is the time to start creating details using sharper and clearer lines. Start with the inner petals, carefully tracing the lines and making them clearer. As you create the final shapes, gently erase the previously created guidelines.
Step 5
Now do the same, but with the outer petals of the rosebud, that is, carefully trace them, giving them a finishing and clean look. The contours of the outer petals should be more uneven than the inner ones. Don’t forget to add sepals under the bud to give the rose drawing a more natural look.
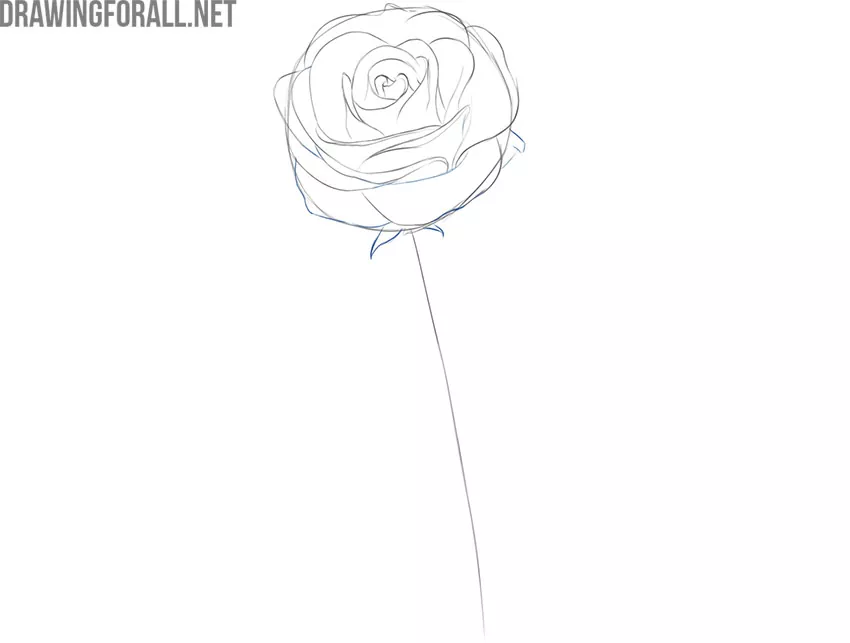
Step 6
Add another line to the stem to give it a more voluminous look. At the bottom of the stem, draw the cut line that looks like an oval. In the middle of the stem, draw a couple of short lines of twigs. You can leave the stem smooth, or add thorns.
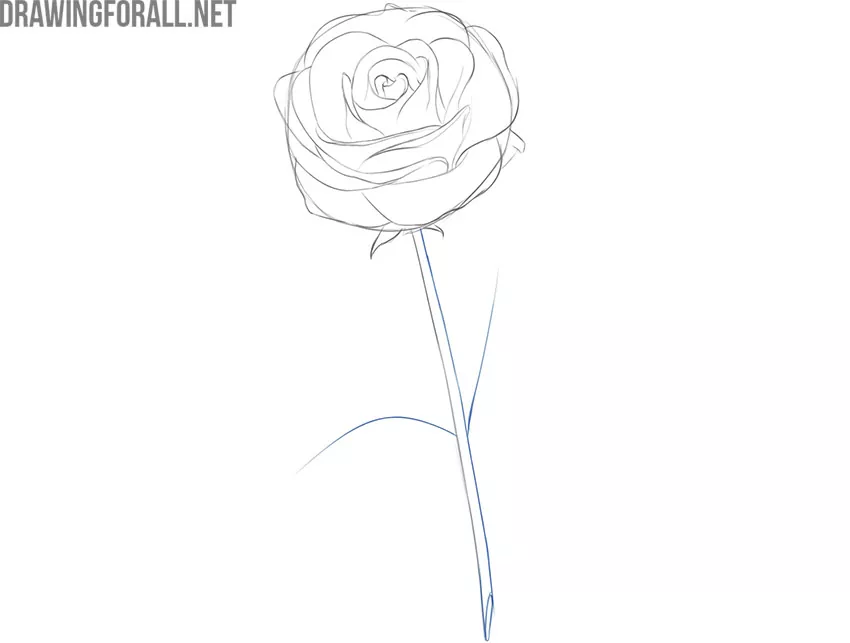
Step 7
Draw the outer contours of the leaves with a few wavy lines. To give the rose drawing a more natural and realistic look, draw the veins on the leaves using short lines. In the process of sketching, constantly check the correctness of the sketch by looking at it through a mirror and moving it away from you.
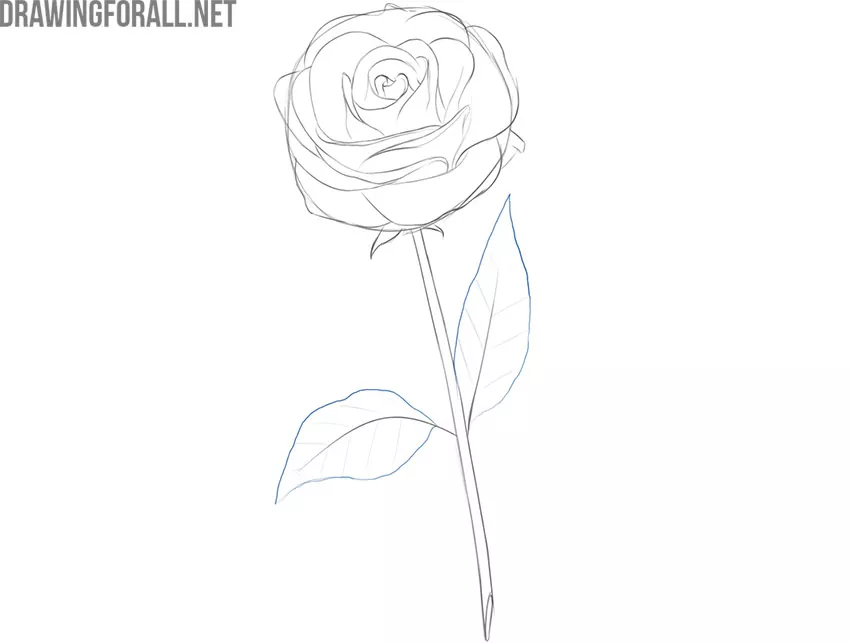
Step 8
Erase any remaining unnecessary guidelines and details from your rose drawing, and draw shadows to give it a more finished and realistic look. Start with darker areas and gradually work towards lighter ones. To learn more about how to draw shadows, visit our article on light and shadow.

Drawing a rose using our instruction is not the end of the learning process. You can consolidate and improve your skills. To achieve this, try a few things.
First, try drawing a rose flower with slightly modified details. For example, make another bud or stem. Add more shadows and highlights, which will give your artwork a more voluminous and beautiful look. Next, try sketching some roses and placing them in a jug.
Our team hopes this instruction was helpful to you. If so, do not forget to subscribe to Drawingforall.net on social networks and visit our website as often as possible, so as not to miss new drawing lessons from our team.



thankyou realy helpful but could you draw a queena sheeba orchard
What the heck wowwww this is specifically beautiful
wowwww every cool