How to Draw a Macbook
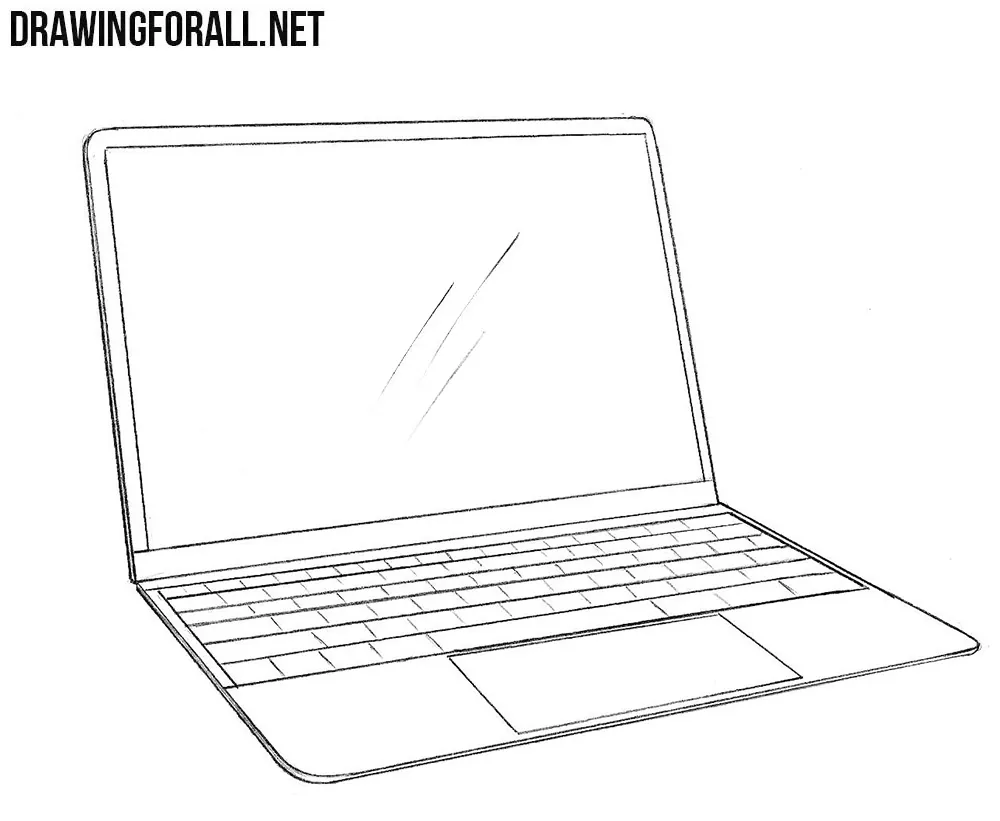
Hello! Today we wiil tell you about how to draw Macbook. Probably it is the best laptop to date.
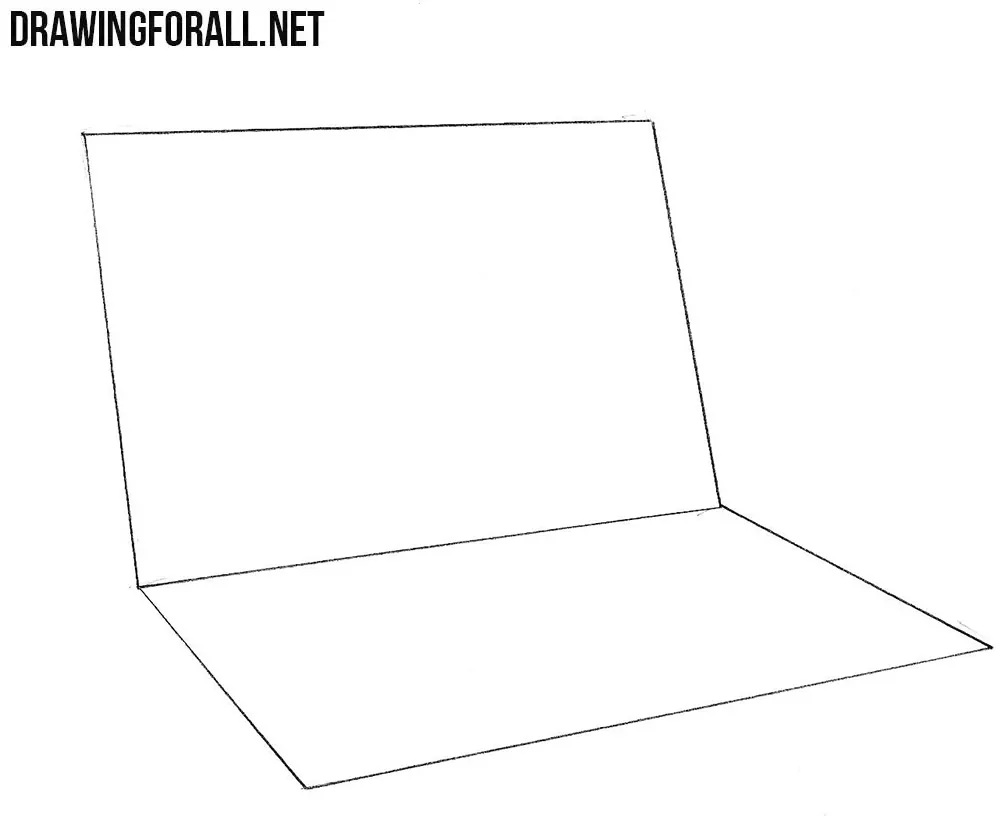
Step 1
First we will draw an ordinary parallelogram. As you probably remember from the school program, parallelogram is quadrilateral with two pairs of parallel sides.

Step 2
Now draw another parallelogram that should be located in the horizontal plane. This parallelogram must have an adjacent side with a parallelogram from the previous step.
Step 3
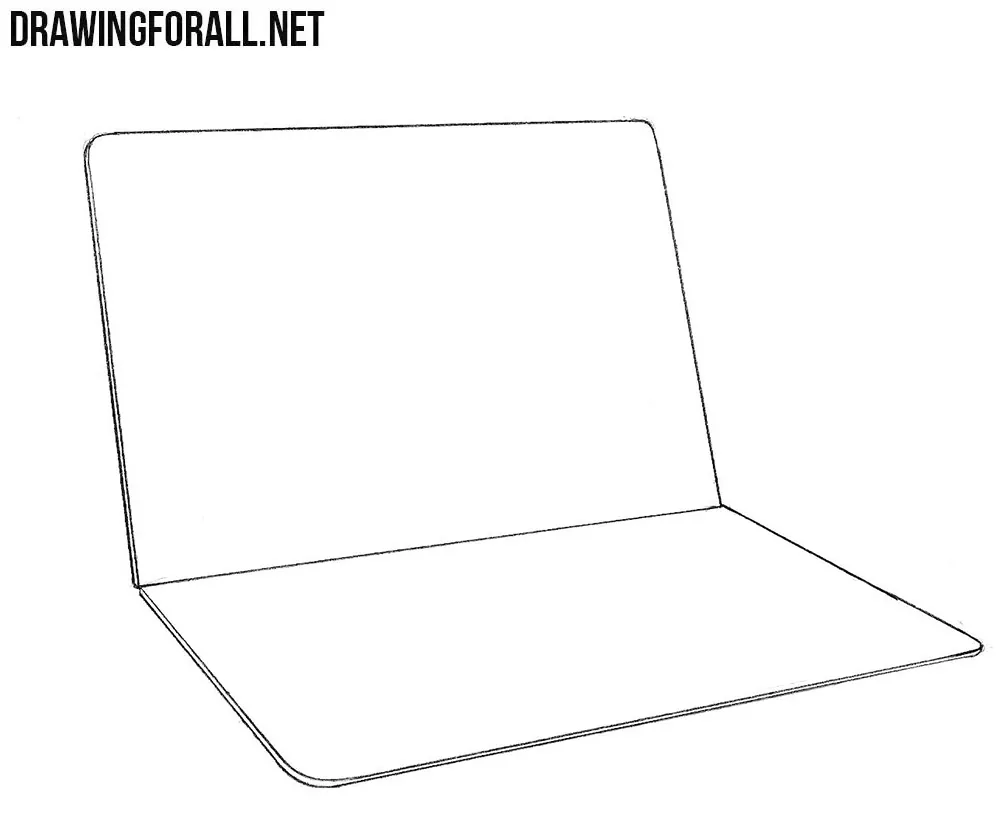
Here it is necessary to draw a border in both figures. On the top you can see the border only on the left side. On the bottom there is a rim on the left and below.
Step 4
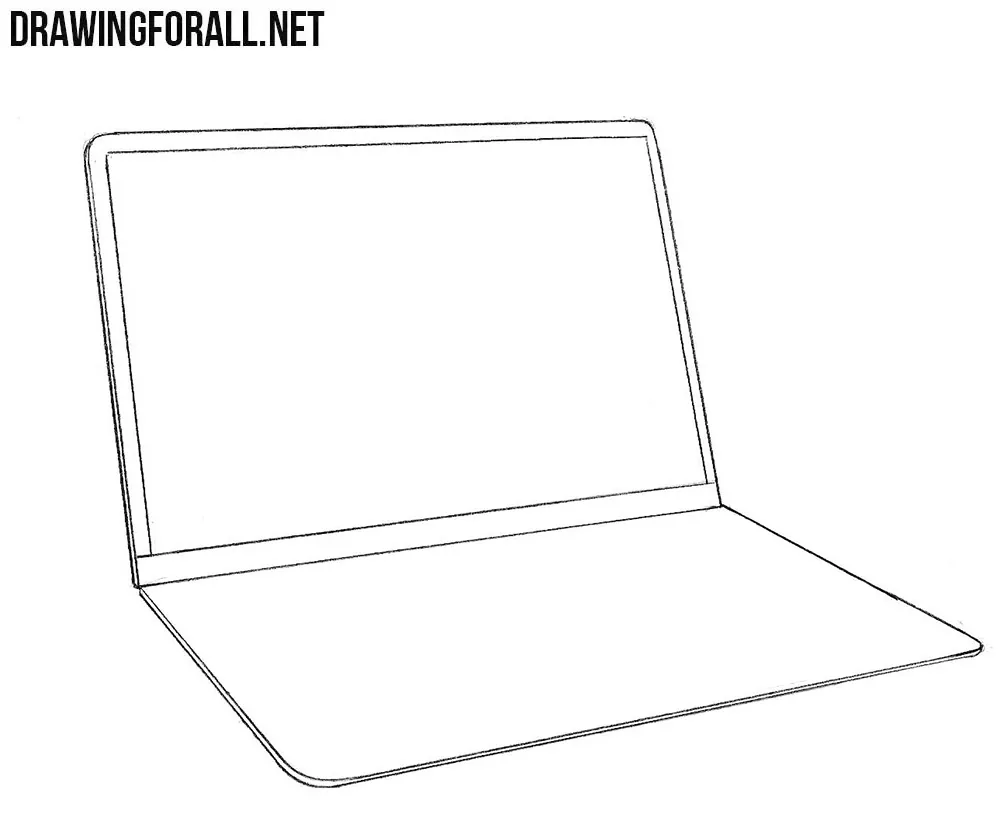
Now let’s work with the top figure. Let’s try to draw a frame inside it.
Step 5
In this final step we will draw the keyboard and touchpad.

So it is the end of this drawing tutorial. If you like it you can send us MacBook, Iphone or another Apple’s gadget.





awesome drawing
didnt help at all
didnt help at all
very good