

How to Draw a Jeep
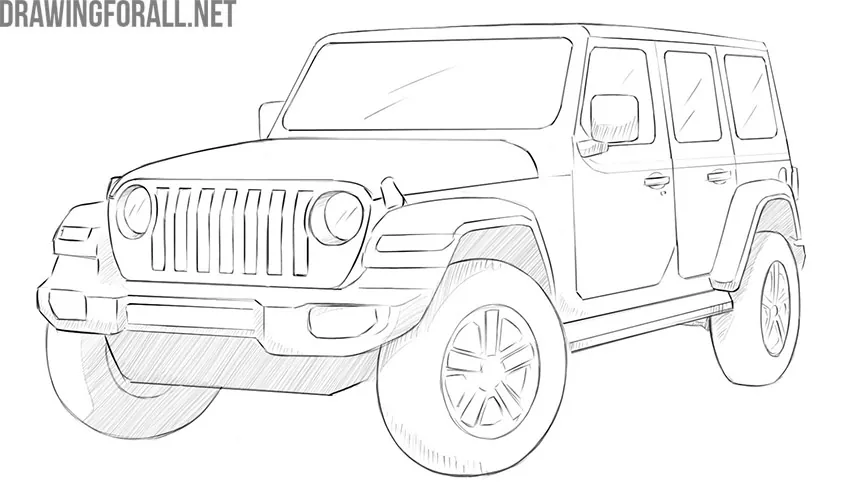
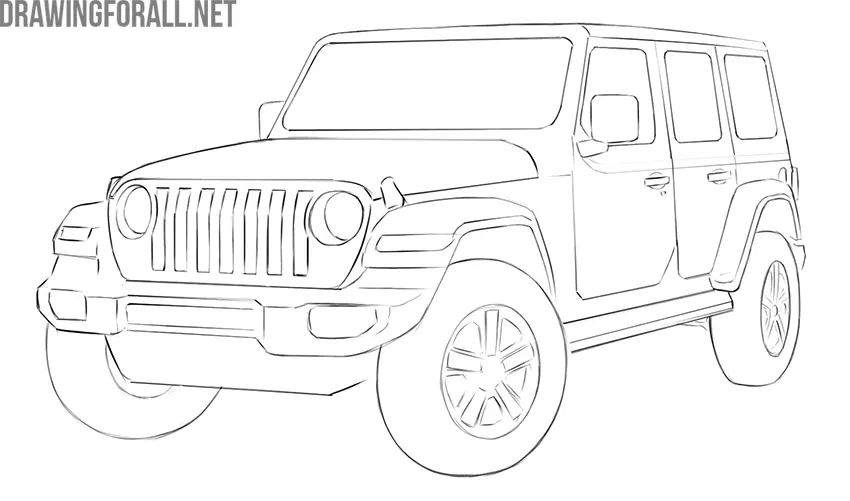
The name of this vehicle has become a common term for SUVs in many countries around the world. In this tutorial, we’ll show you how to draw a Jeep with its classic round headlights and characteristic radiator grille.
As usual, we’ll construct the Jeep at an angle, so we’ll also practice our linear perspective skills.
How to draw a Jeep step by step
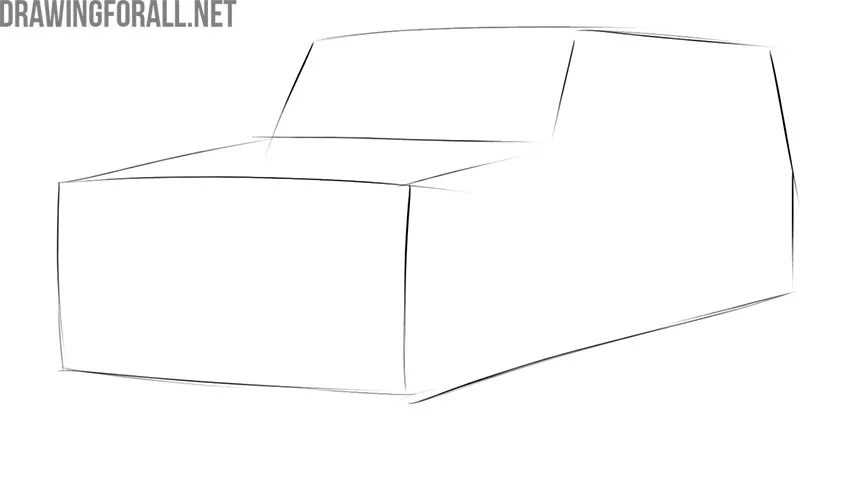
Step 1: Sketch the Jeep body
Sketch the general shape of the Jeep using very light lines. Outline the large angular body with the hight roof. Pay attention to the characteristic boxy shape of this type of vehicle. At this stage, do not draw any small details or try to make the contours too clean.
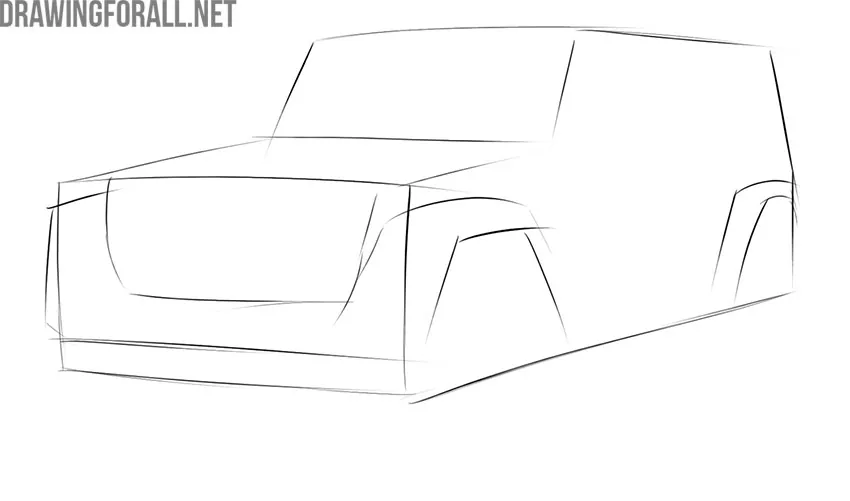
Step 2: Add the front details
Continue working with the rough outlines. Sketch the front of the Jeep and add the front bumper. On the side of the vehicle, outline the wheel arches. Do not try to make the contours perfectly smooth yet. At this stage, it is more important to mark the location and approximate shape of the main parts.
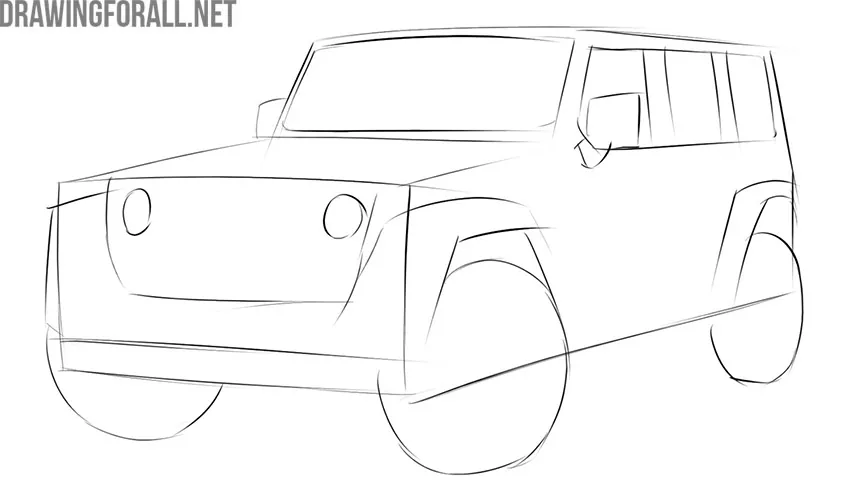
Step 3: Draw wheels and headlights
Because we see the Jeep at an angle, the wheels should not look like perfect circles. Draw them as slightly flattened ovals. Try to make their position and angle consistent with the body of the vehicle. Next, outline the round headlights on the front. Add the side window and sketch the rearview mirrors on both sides.
Step 4: Outline the front grille
Return to the front of the Jeep and add its characteristic details. Between the headlights, outline the radiator grille and divide it into several narrow vertical openings. Then add the remaining elements of the front bumper. Use the existing construction lines to sketch these details Do not darken the contours yet.
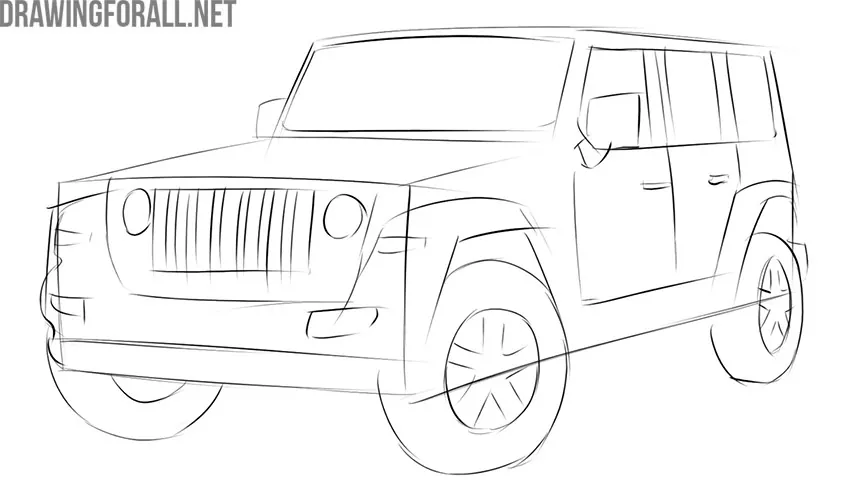
Step 5: Refine the front contours
Now start replacing the rough construction lines with darker and cleaner contours. Begin with the hood and carefully trace its front edge. Add the smaller details around the headlights and radiator grille as shown in our example. Work gradually and erase only those construction lines that are no longer needed.

Step 6: Clean up the front
Continue refining the front part of the Jeep and erase the remaining unnecessary guidelines in this area. Make the wheel arches smoother and more accurate, then refine the sides of the headlights. Check the front of the Jeep as a whole and correct any uneven lines before moving to the upper and side parts of the body.
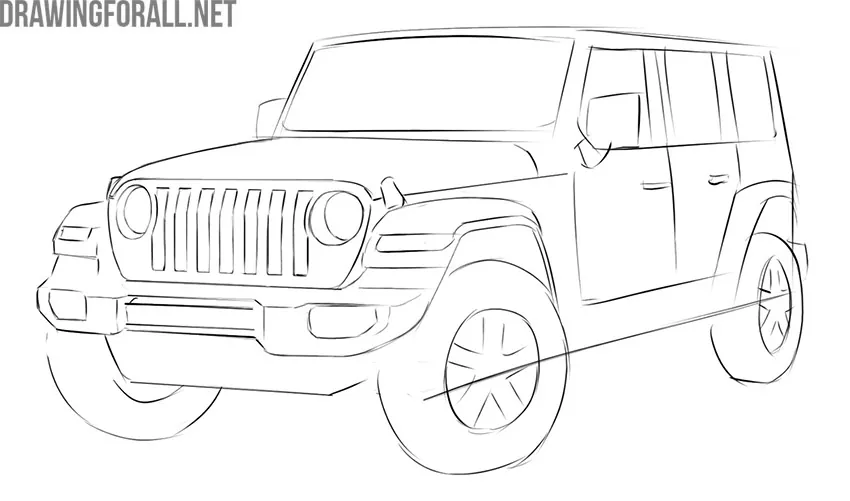
Step 7: Refine the upper body
Now move to the upper part of the Jeep. Trace the roof, windshield, and side of the body with clean, darker lines while gradually erasing the rough outlines underneath. Refine the side windows, pay attention to their corners. Then draw the rearview mirror with smooth contours.
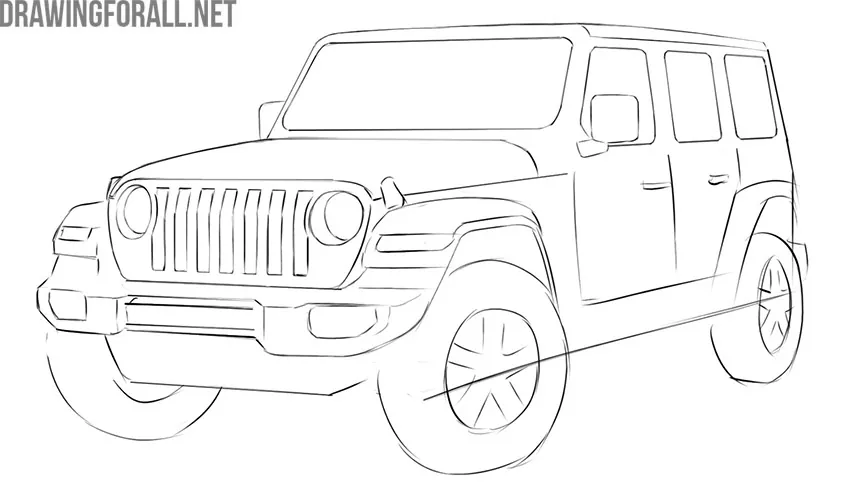
Step 8: Add doors and handles
Continue detailing the side of the Jeep. Divide the body into separate doors using straight vertical lines, following the shape of the vehicle. Then draw the horizontal door handles and add the long trim running along the side above the wheels. Refine the lower edge of the body and any other visible contours in this area.
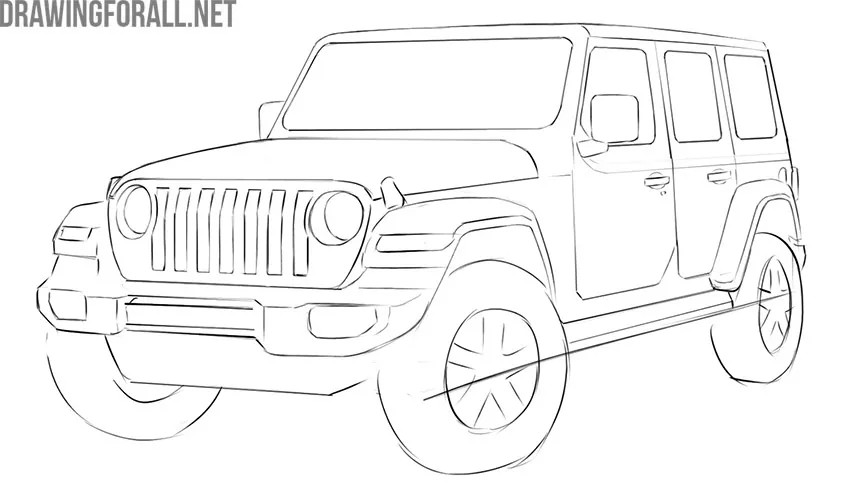
Step 9: Finish the Jeep wheels
Erase the remaining construction lines around the wheels and carefully refine the outer contours of the tires. Inside each tire, draw the wheel rim and add the visible details shown in our example. Remember that the wheels are viewed at an angle. Make sure both wheels follow the same perspective. Check how the wheels sit inside the arches and correct their contours where necessary.
Step 10: Add the final shadows
Finish the Jeep drawing by adding shadows and highlights. First, add deeper shadows inside the wheel arches. Then place shadows on the body where the forms turn away from the light or overlap each other. Add reflections to the windows. You can also add a light cast shadow under the vehicle.
Do not forget to tell us what drawing tutorials you would like to see next. Drawing is a great activity for developing your skills and relaxing, so keep practicing and share your feedback with us on social media!


great when was this posted?
This drawing tutorial was posted a few days ago.
Please make Koenigsegg JESKO
Indeed
Koenigsegg jesko
Great
tnxs
Thank u I love it!
awsome
Please show how to draw some Harry Potter characters
its awesome not awsome
I want to try it out
This is so awsome mines not great is youra
Cool!
Great! mine was too blocky..
Can you make a tutorial on how to draw Widebody cars pls
can you make an aircraft carrier tuitorial next?
Good
could you do a keonigsegg jesko
looks cool ! more cars
Nice draw me
i wuv it so much! next can you draw a Nissan Fairlady Z?
I messed up