How to Draw a Jar
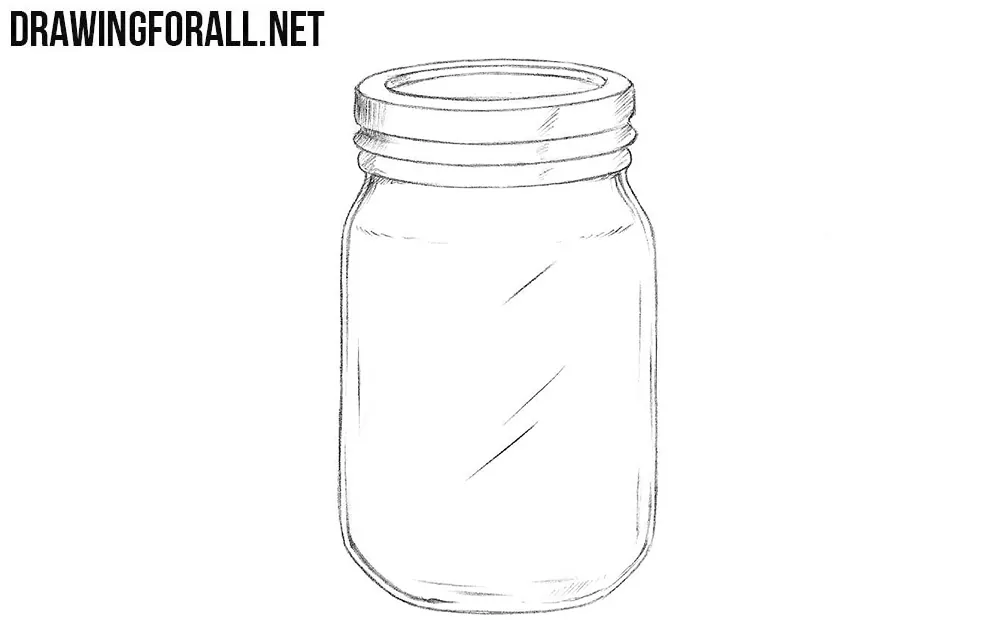
Hello dear artists and welcome to the drawing tutorial about an another item of daily life. As you already guessed, today we will show you how to draw a jar step by step.
Step 1
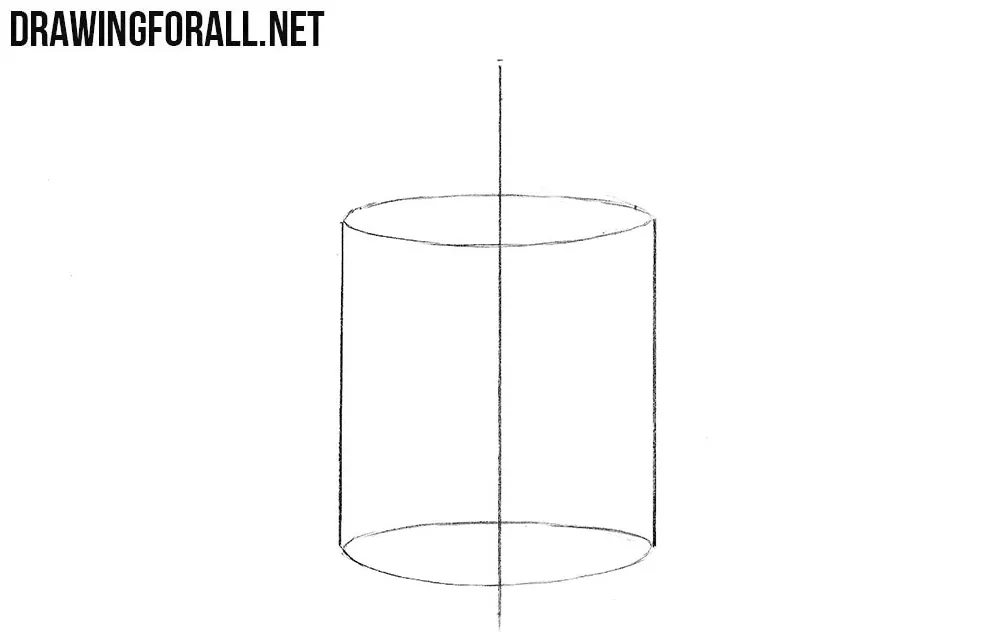
We want our drawing to be as symmetrical and smooth as possible, so draw a straight vertical line.

Step 2
Now draw a cylinder, as shown in our example (by the way, you can learn how to draw a cylinder with the help of our tutorial about a puck).
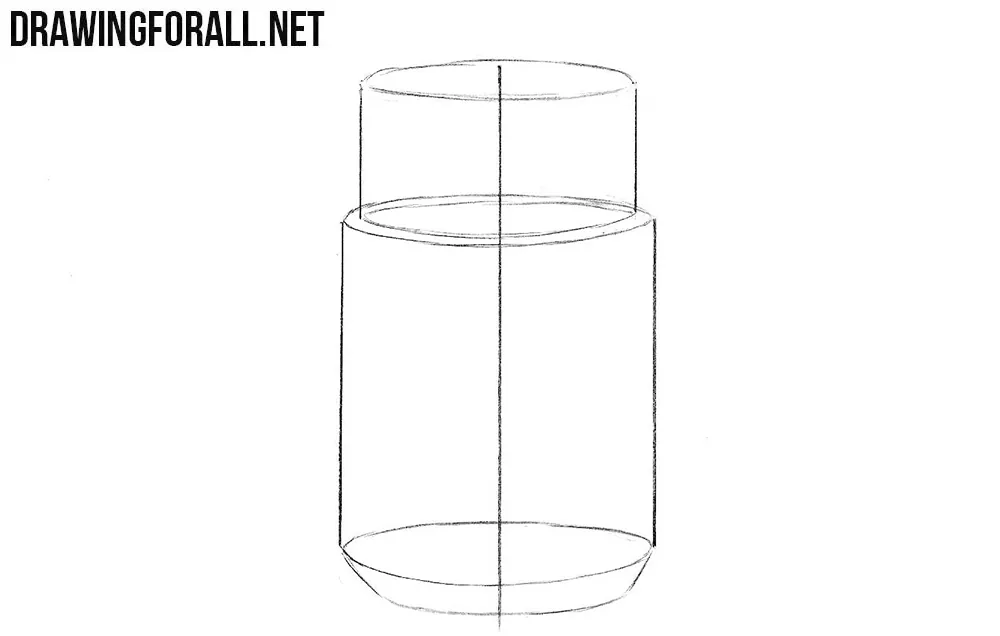
Step 3
A little higher draw another cylinder, but a little narrower. Next, draw the bottom of our jar, as shown in our example.
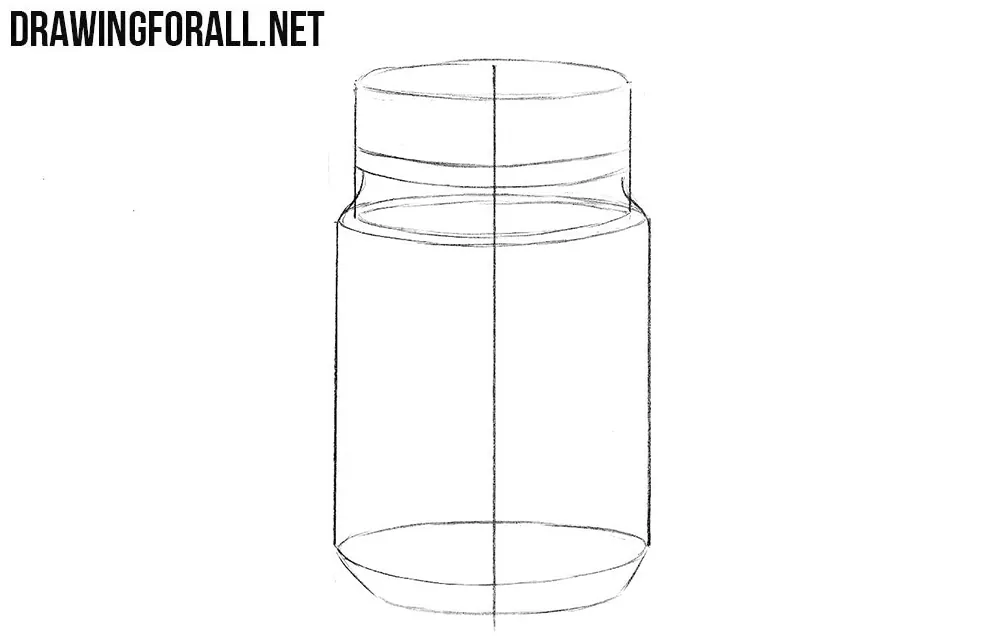
Step 4
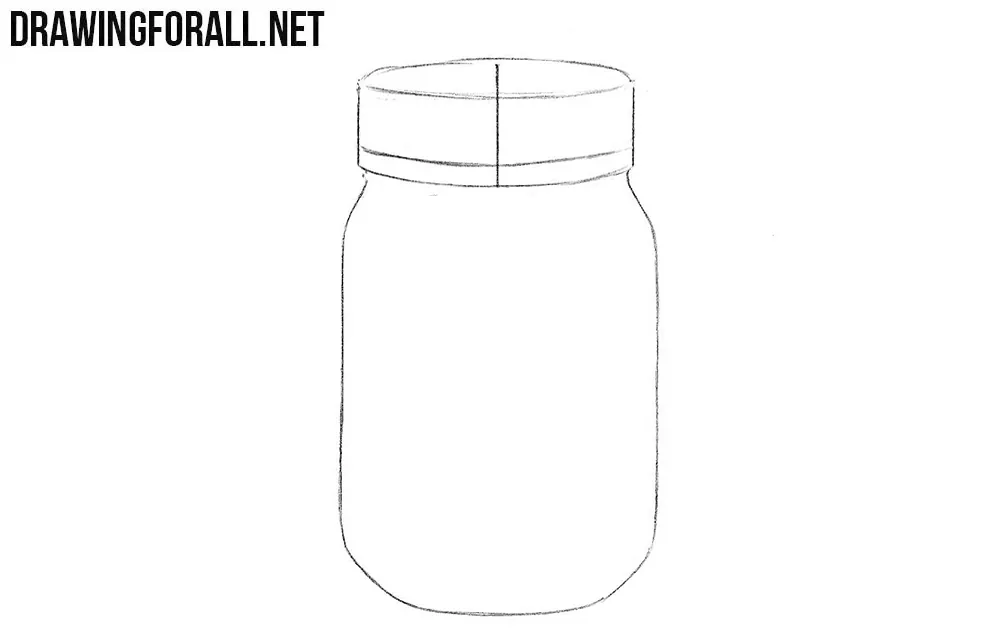
We pass to the uppermost part of the jar and draw the outlines of the cap with the help of the another flat cylinder.
Step 5
Using clear and dark lines carefully draw out the body of the jar. Delete all unnecessary guidelines.
Step 6
Also using clear and dark lines draw out the outlines of the cap of our jar.
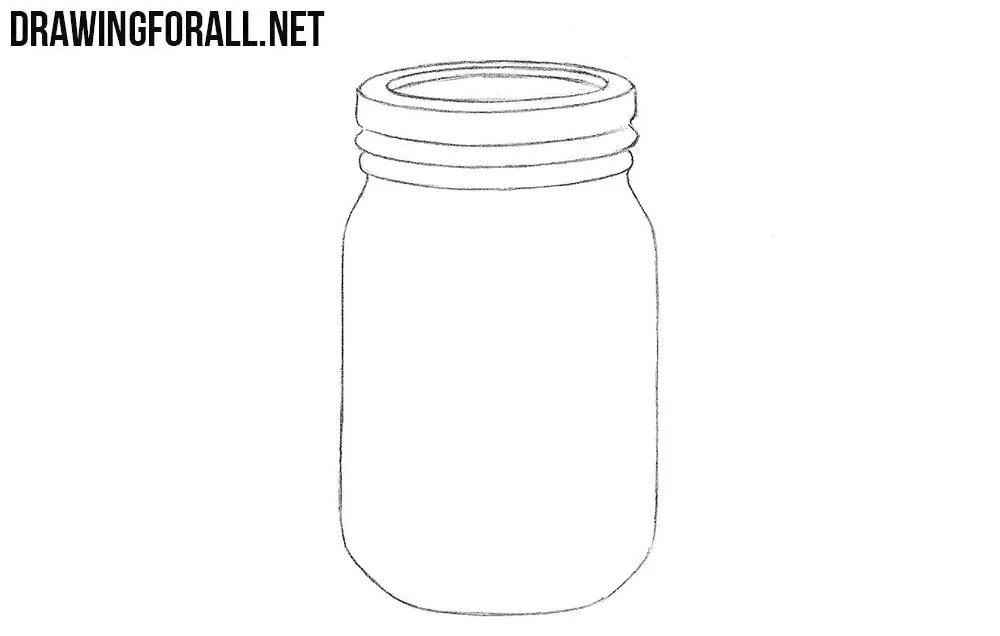
Step 7
Now let’s add some glare and shadows to our jar drawing using hatching.
Today we showed you how to draw a jar step by step. This lesson was quite detailed, and most likely each of you will be able to cope with it. But we want to pay attention to a couple of features:
- In order to make all errors more noticeable, just bring your drawing to the mirror.
- In order to make glass more realistic, repeat the contours of the jar using light, intermittent lines.


if you could make a video of making it it would me better 🙂