How to Draw a Cashew
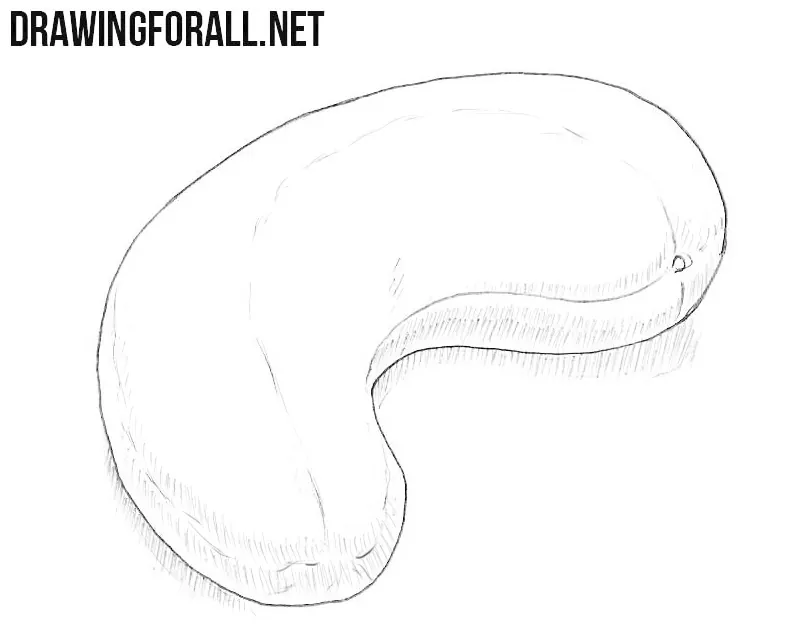
Do you want some nuts? This is a wonderful and very healthy food. That is why we created a lesson on how to draw a cashew step by step.
Step 1
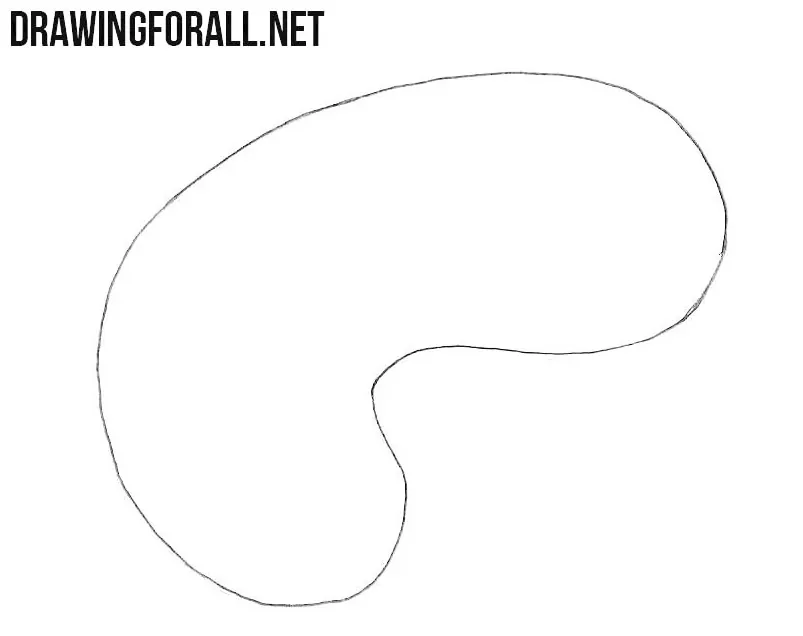
Cashew is always a very curved figure. If you ate these nuts, you probably noticed it. You can see a smooth bend on the outside of the nut and a very strong bend on the inside.
Step 2
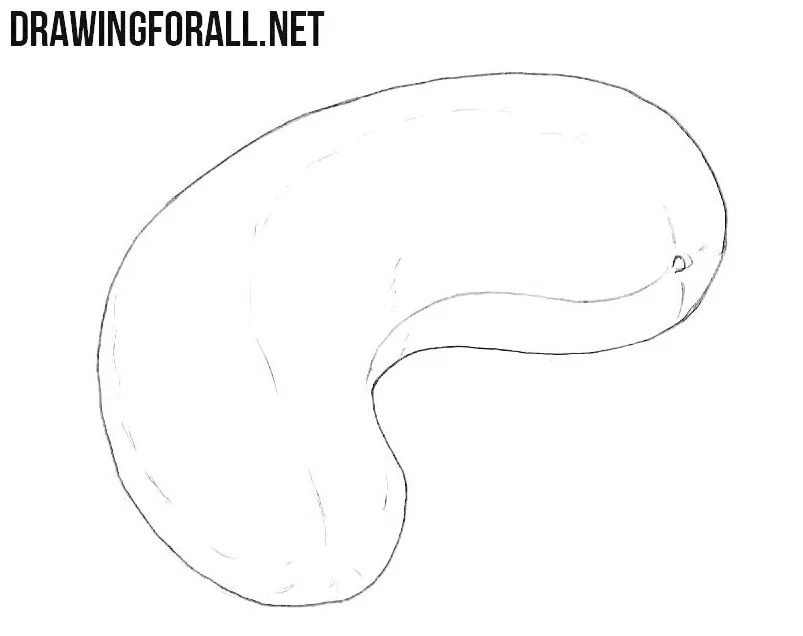
If you want to draw a realistic nut, it’s not enough for you just to draw the outlines, isn’t it? We still need to work with the texture. We divide our nut into two unequal halves with the help of a line which is located near the inner curvature. After that we draw barely noticeable smooth lines near the upper edge of our cashew.
Step 3
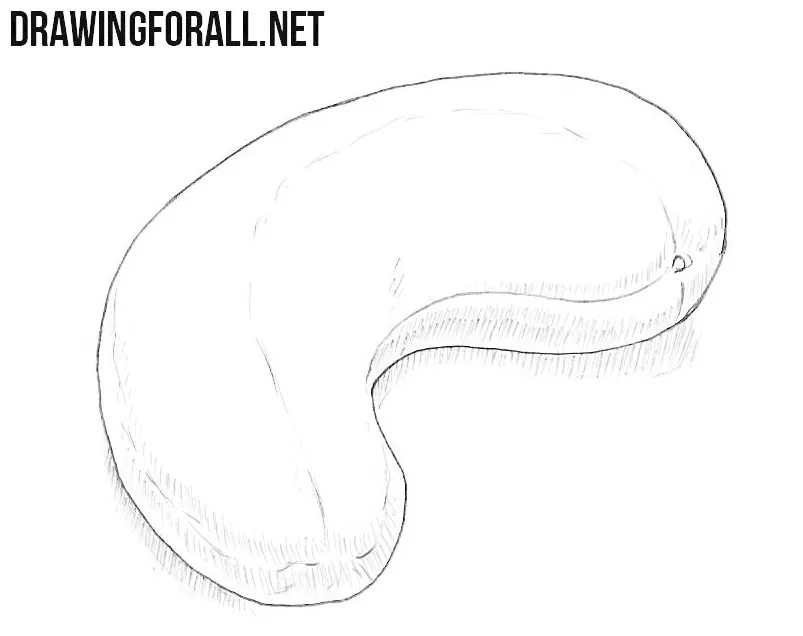
In the last step, we talked about realism. We cannot say that we drew a realistic nut if we do not work with shadows. In our case, the shadows look like a light shading. This hatch is located on the inside of the nut and on the ground.
Sometimes all you need for good practice is a small and simple drawing tutorial. We hope that today we have created a simple and useful lesson. If you get a good result, do not forget to write about it in the comments. We would also wait for your feedback if you had any mistakes in drawing that you could not fix. Write to us and we will help you.


Спасибо😎🍷
Great