How to Draw a Blender

If you like cocktails or soups, you probably at least once in your life use the device we are talking about today. It’s time for a drawing tutorial on how to draw a blender step by step.
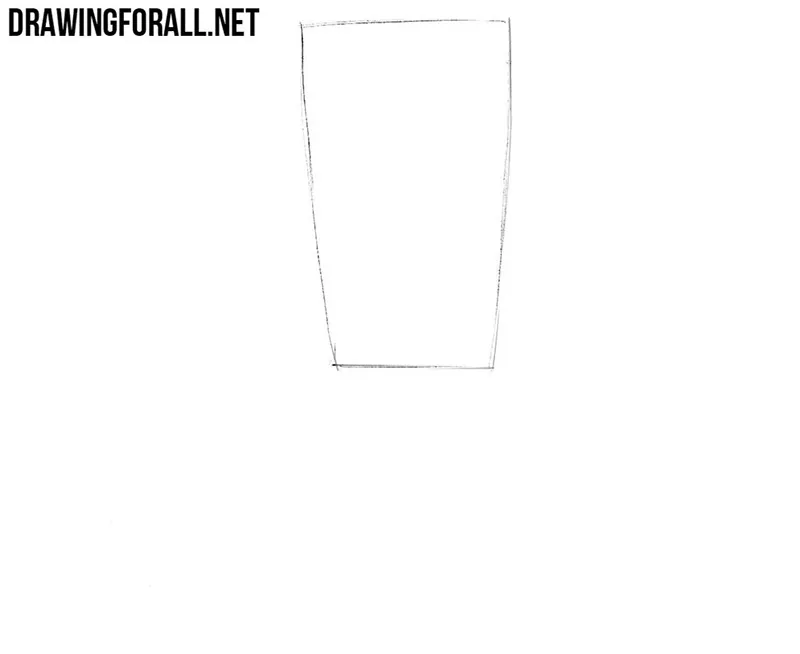
Step 1
First we draw the contour of the bowl for our blender. It looks like an inverted truncated cone. You can draw lines that will not be perfectly smooth.
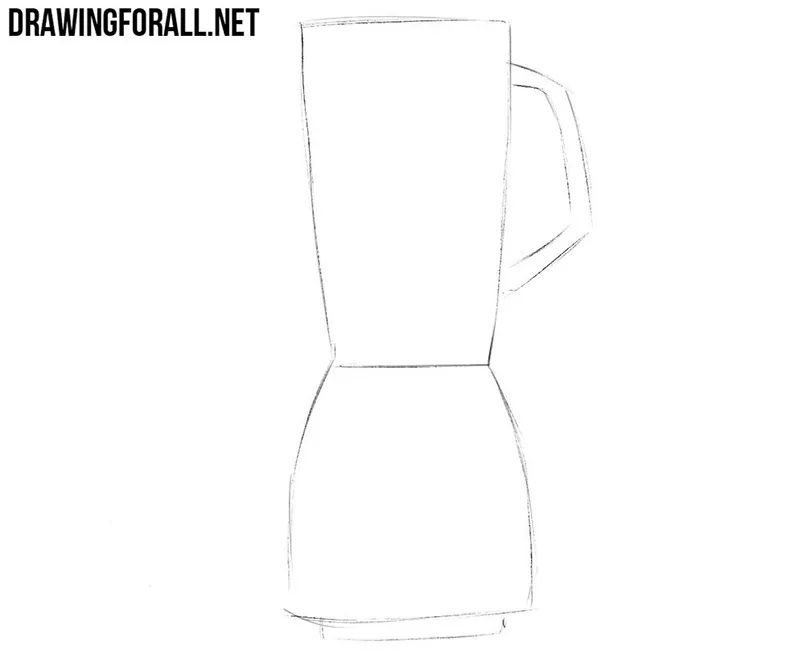
Step 2
Let’s add the contour of the handle and the mechanism housing of our blender. The handle has the form of a conventional trapezoid. The motor case looks like a figure with a wide base and narrow top. The bowl and the body for the motor should form a shape that looks like an hourglass.
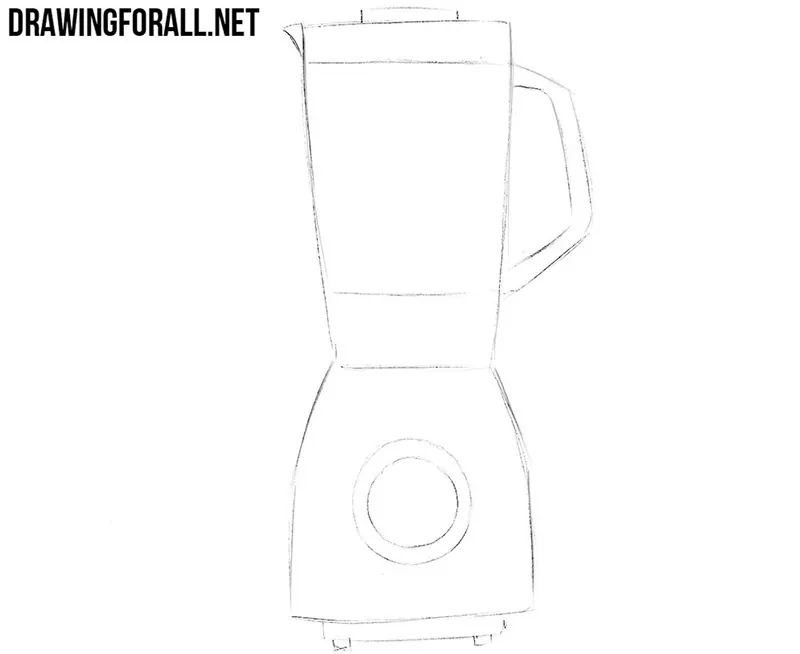
Step 3
Let’s work with small details. In this step we will draw contours for the lid of our blender and a control panel that looks like a circle. By the way, you can choose a completely different design for the blender and draw other controls on the device.
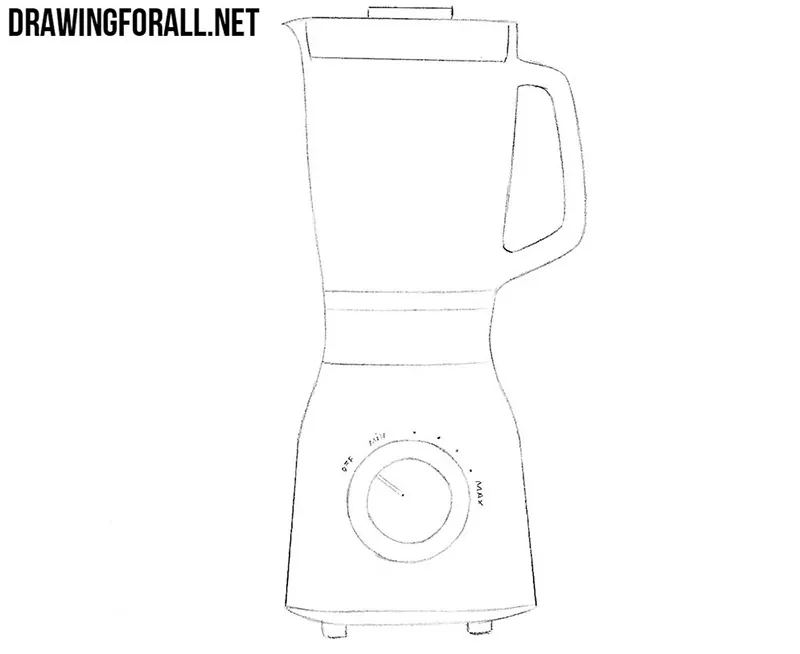
Step 4
Now we will use only exact straight lines. We draw the final contours of the lid, handle and body of our blender. We erase the extra lines so that the drawing of the blender looks complete.
Step 5
Now let’s make our drawing more realistic and voluminous adding shadows. In order to add shadows, first of all let’s imagine where the light comes from and then add shadows to those areas where the light does not fall.
This lesson was devoted to how to draw a blender. We remind you that we have a lot of drawing guides on various kitchen appliances. If you are interested, you can read these lessons. We also want to remind you that we have not only this site, but also pages in all known social networks. Don’t forget to read our pages on Facebook and Pinterest – there you will find not only announcements of our lessons, but also shortened versions of our tutorials.