

How to Draw Mario
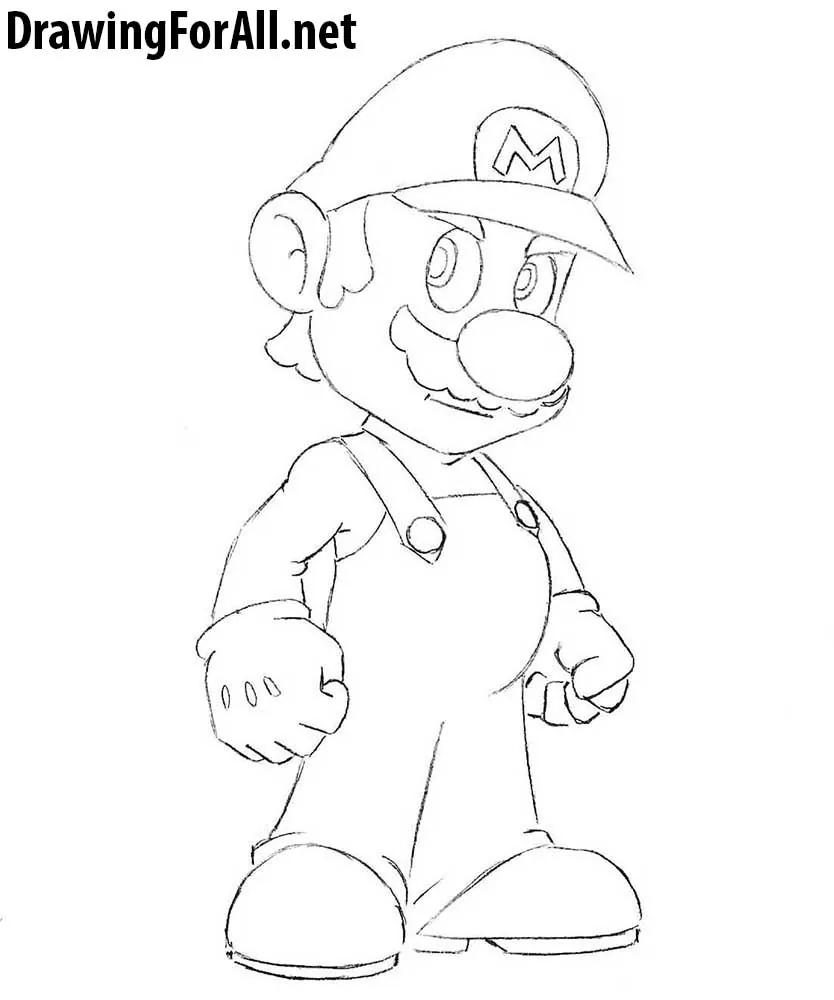
Classic video game characters have their own distinctive design features. In this tutorial, we will show you how to draw Mario and make him look true to the original design.
How to draw Mario step by step
Step 1: Sketch Mario’s basic shapes
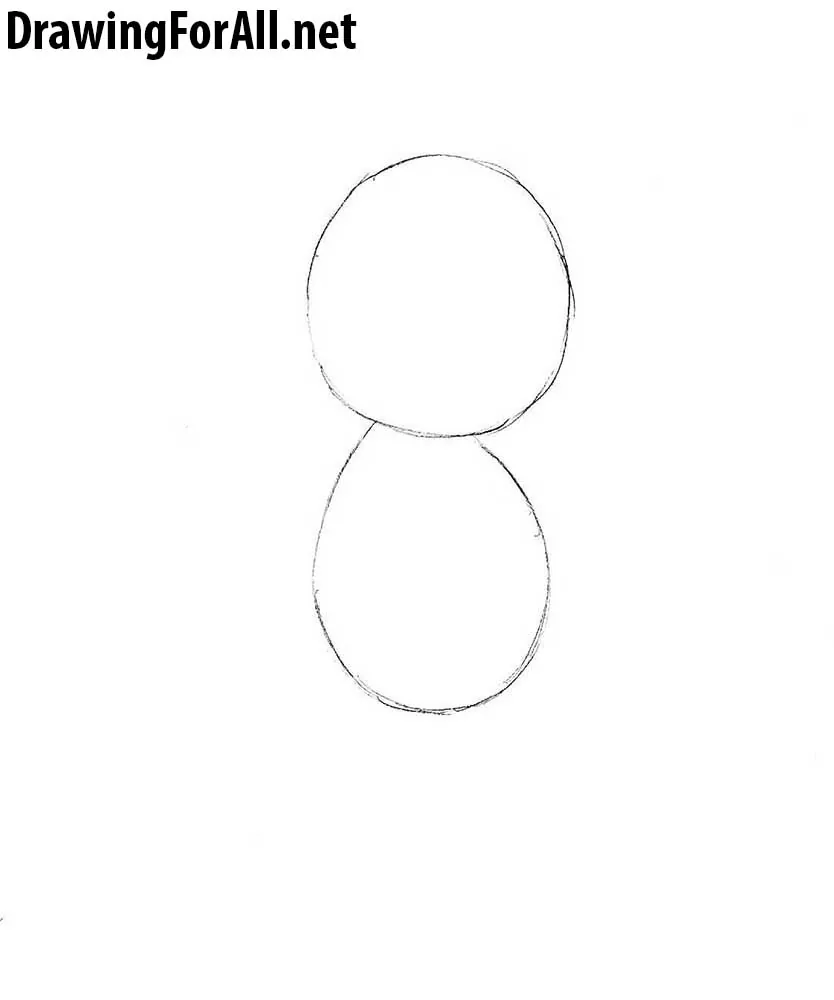
Draw two shapes: the upper one for Mario’s head and the lower one for his torso. Draw the head as a circle and the body as an oval. At this stage, Mario looks a little like a snowman, doesn’t he?
Step 2: Add limbs and guidelines
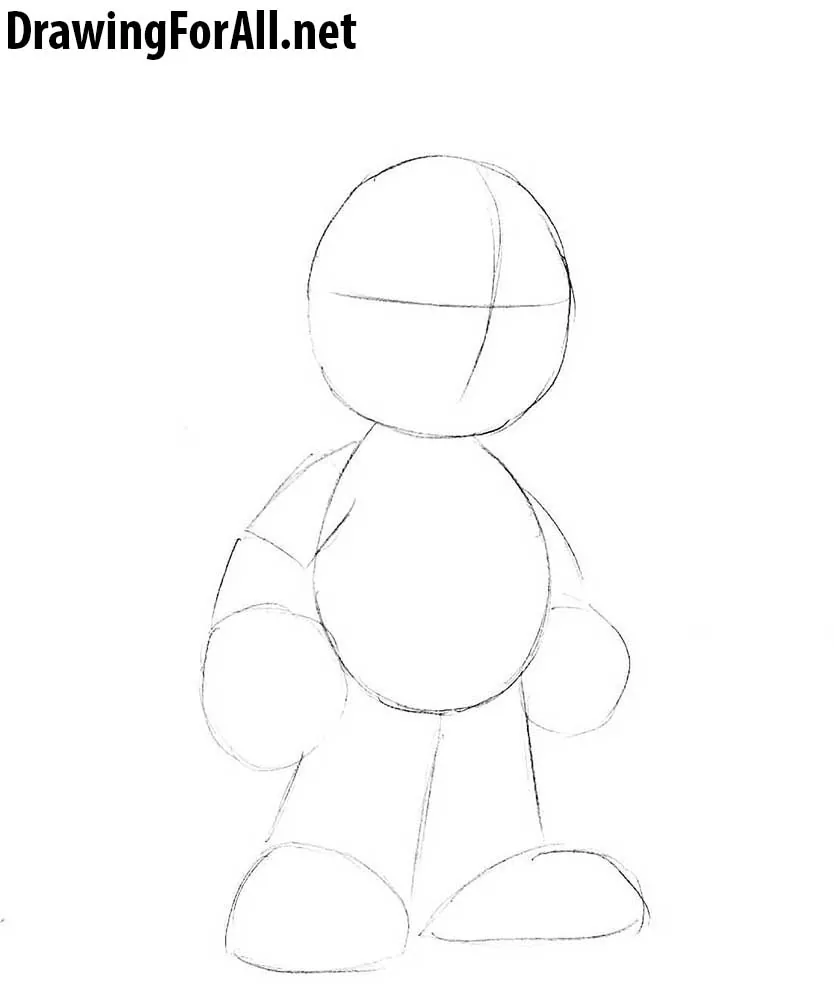
At this stage, the figure of Mario begins to take human form. Sketch the arms and legs. Note that the hands and feet should be disproportionately large.
Also draw the facial guidelines: a horizontal eye line and a vertical centerline. These lines will help us place the facial features in the following steps.
Step 3: Outline the hat and ear
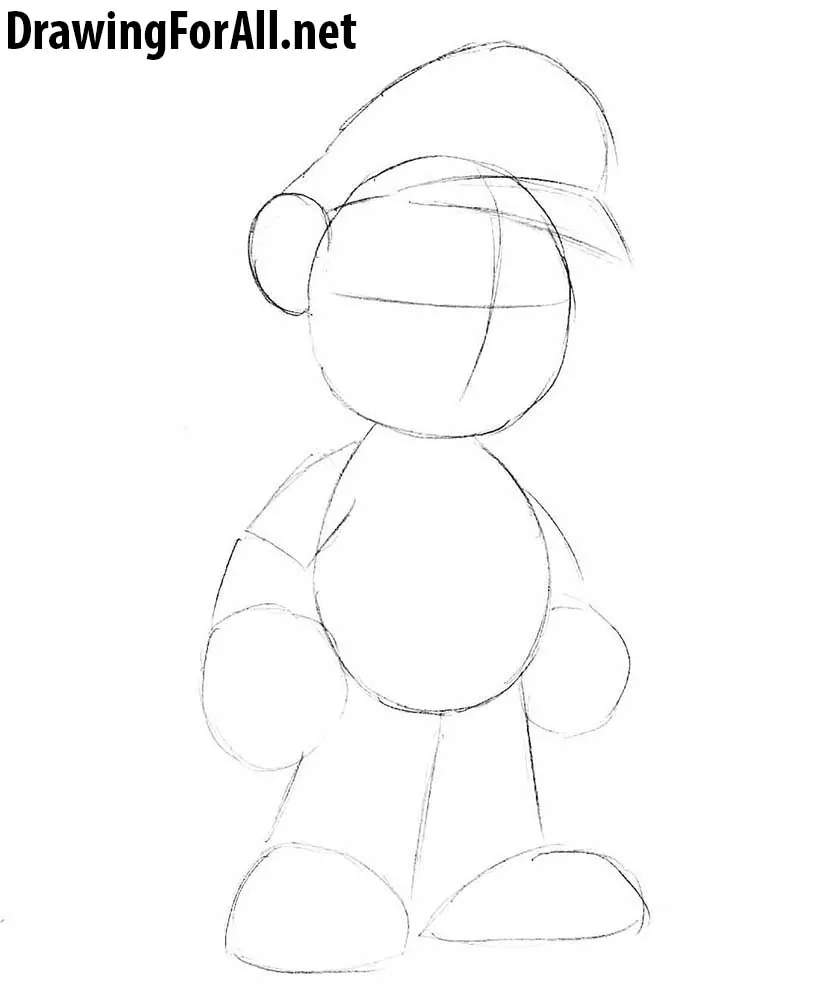
Add the main details to Mario’s head. First, draw the ear as a semicircle. Then sketch Mario’s famous hat.
Step 4: Draw Mario’s facial features
Draw the oval eyes, mustache, and funny bulbous nose. Use the guidelines you sketched earlier to position all of these features.
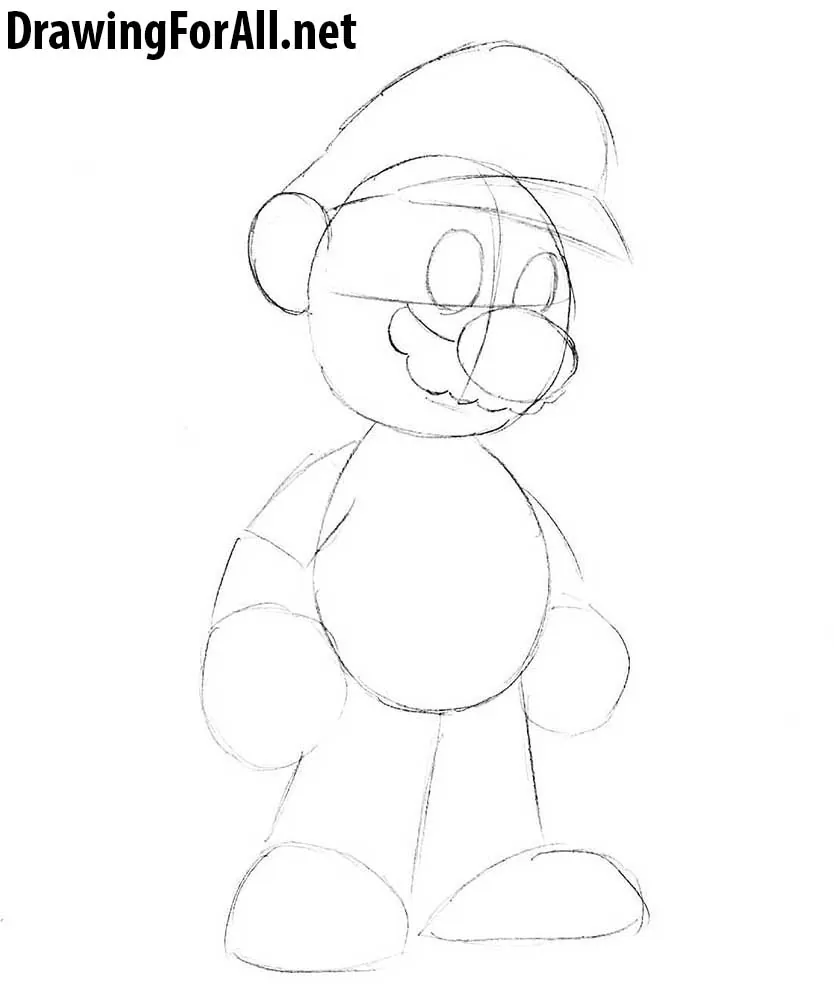
Step 5: Refine Mario’s head details
Outline Mario’s head and erase the extra lines from the previous steps. Draw the letter “M” on the hat, and use a pair of lines to detail the ear. Then outline the sideburns and the hair at the back of the head. Refine the eyes, noting how the pupils indicate the direction of his gaze. Draw the mouth with a straight line, refine the mustache, and outline the eyebrows.

Step 6: Add overalls, fists, and boots
Draw another essential part of Mario’s appearance – his overalls. First, sketch the straps, then draw the upper edge. Outline the clenched fists, the lower edges of the pants, and the soles of the boots.
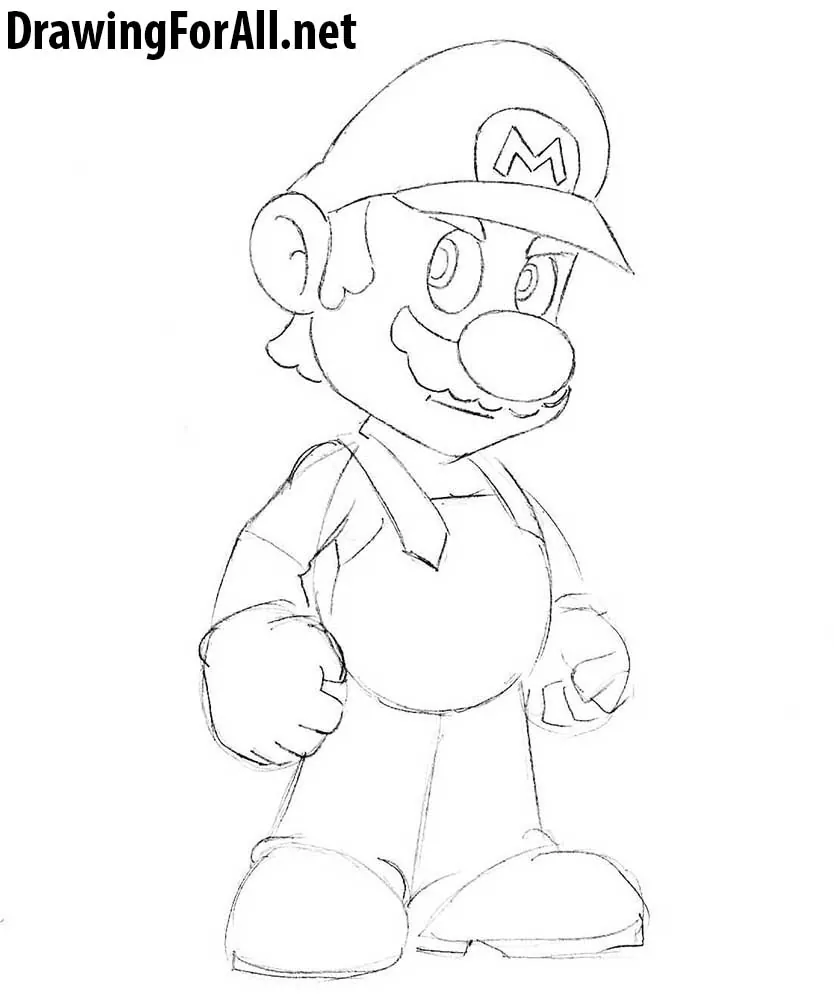
Step 7: Refine the arms and overalls
Add details to Mario’s arms and erase the extra guidelines. Draw the round buttons on the overall straps. Sketch a few folds around the arms and armpits.
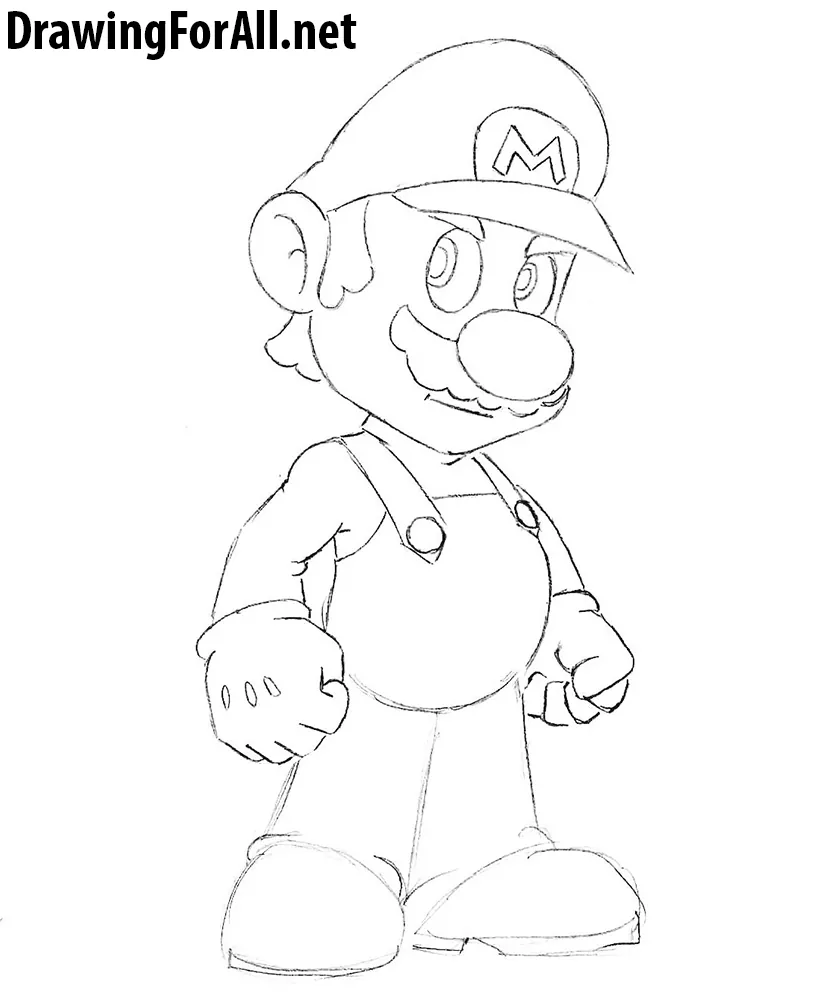
Step 8: Finish the pants and shoes
Erase the guidelines from the lower part of Mario’s body, then outline the pants and shoes. Add small folds to the fabric.
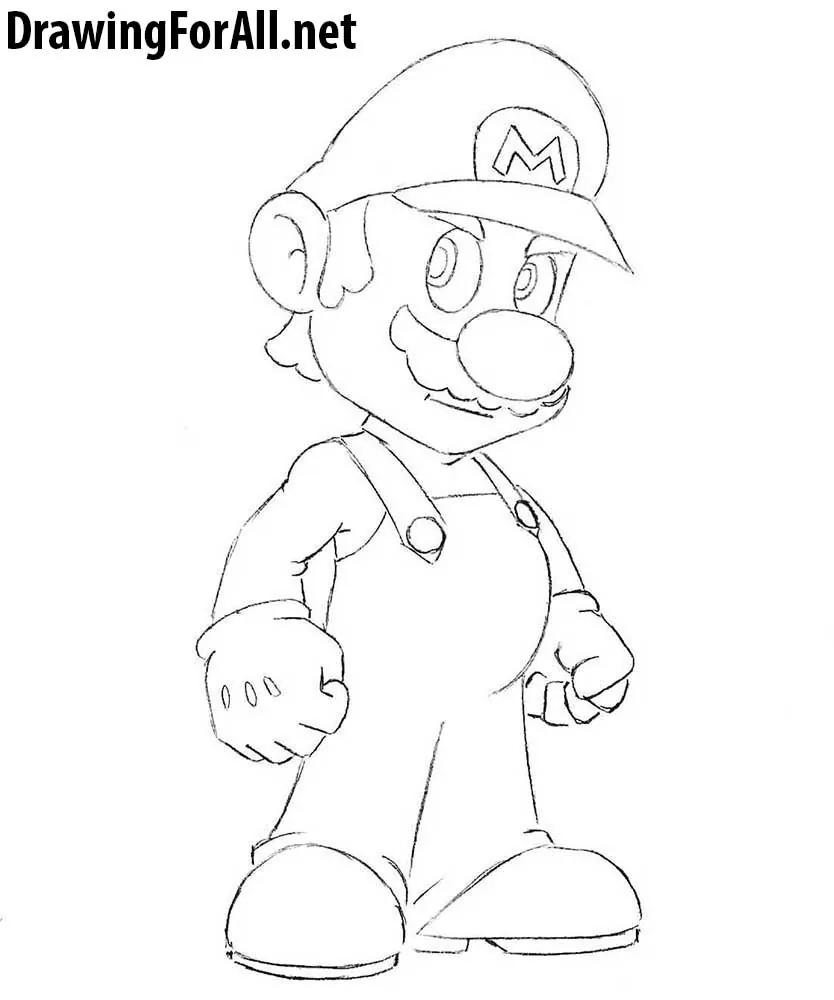
Classic video game characters have their own unique drawing considerations. In games from the 1980s and early 1990s, characters were displayed with heavy pixelation, while posters, box art, and promotional illustrations usually showed them with smooth, fully realized forms.
Because of this, drawing a character directly from the game screen is different from drawing the original design created by the artists.
As technology improved, the in-game appearance gradually became much closer to the original character design, eventually matching it almost exactly.
In this tutorial, we show how to draw Mario in that original illustrated style. The pixel-art version is created in a completely different way and requires different drawing techniques.
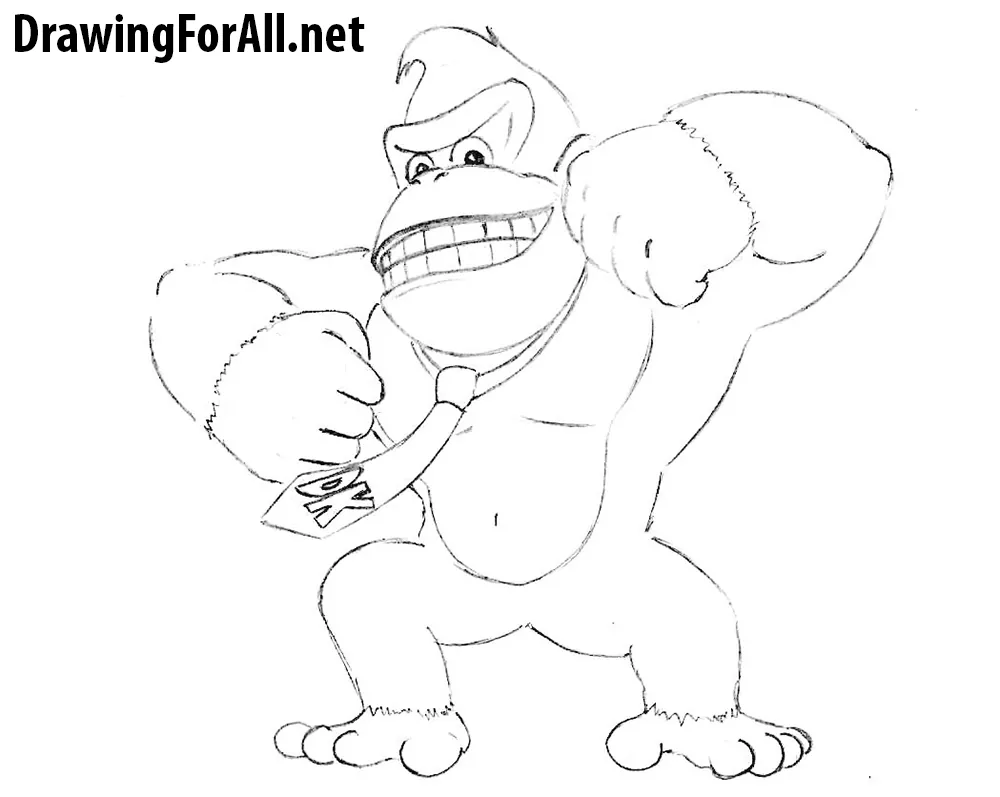
To continue learning to draw classic video game characters, be sure to visit our tutorial on how to draw Donkey Kong. There, we show how to draw the famous gorilla from the game that introduced the Mario universe.


You should make a Luigi tutorial
We want to make a tutorial about how to draw Luigi soon.
how come this is a fanmade render
It is good