How to Draw Ryu from Street Fighter
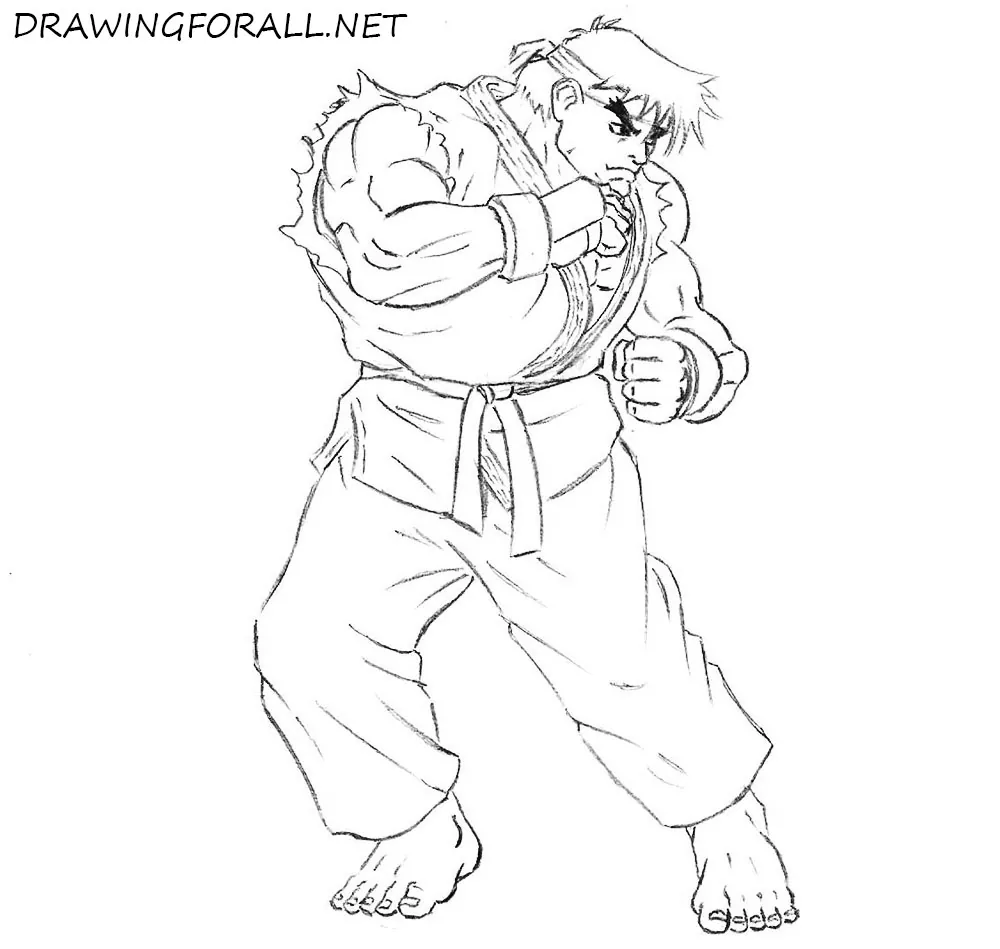
This tutorial will show you how to draw Ryu, one of the main characters from the fighting game Street Fighter. This game is one of the oldest in the fighting genre.
We decided to draw Ryu because he was the first playable character in the first game of the series. Ryu plays a role in Street Fighter similar to Liu Kang in Mortal Kombat
How to draw Ryu step by step
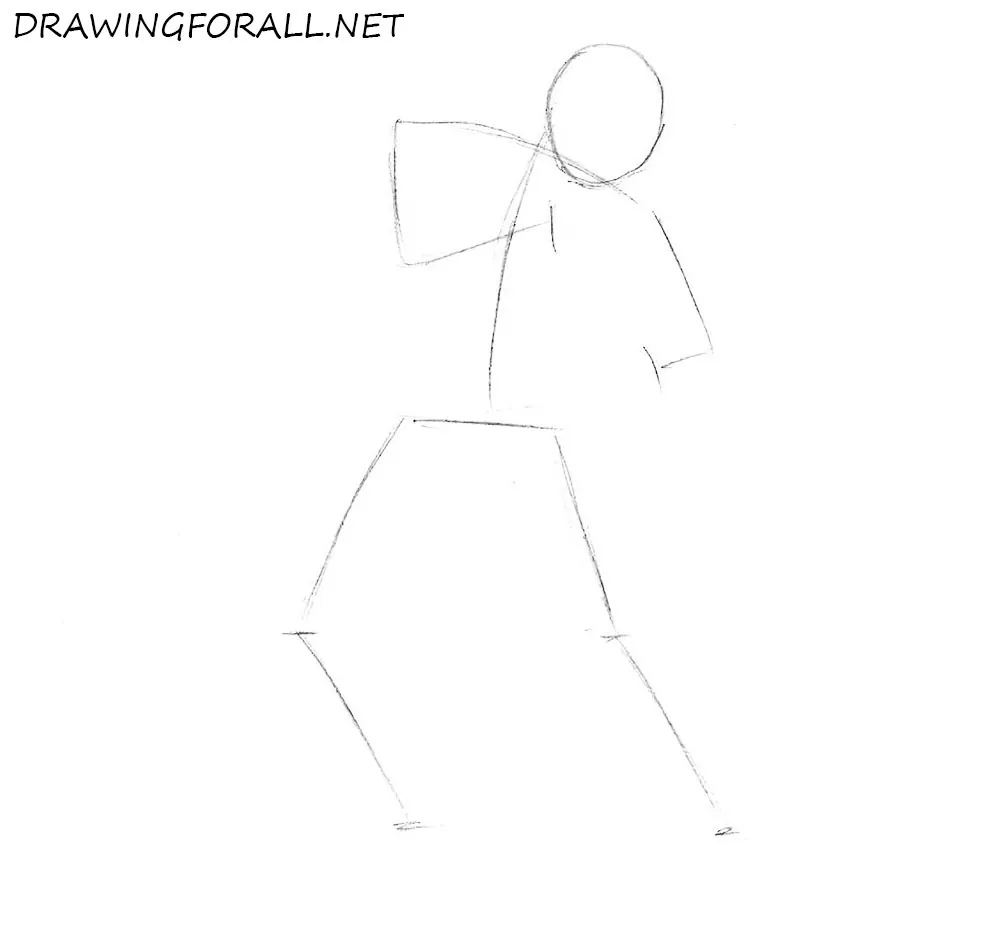
Step 1: Sketch Ryu’s fighting pose
As in many tutorials about drawing people, begin with a stick figure. Pay attention to the pose: Ryu stands sideways to his intended opponent, but his torso is turned toward them. His head is tilted slightly forward and pressed toward his shoulder, similar to the stance used when drawing a boxer.
Step 2: Build Ryu’s body shape
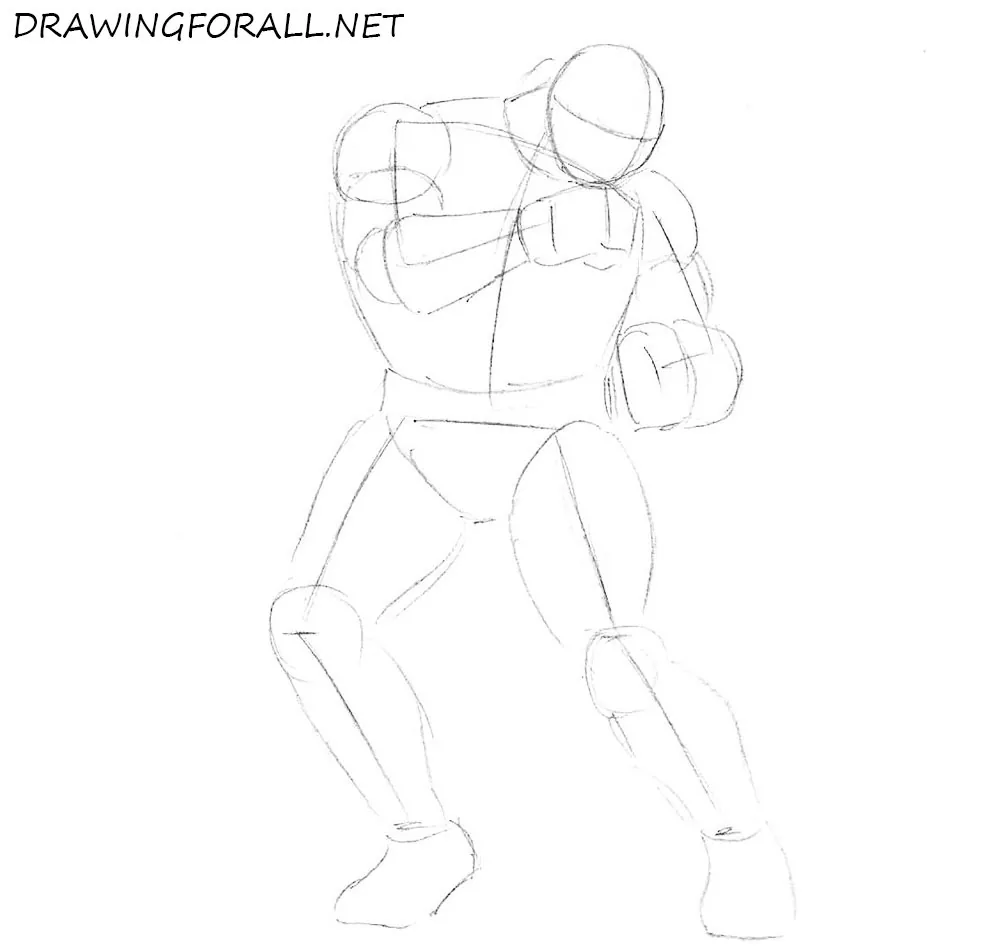
Now create the silhouette of Ryu. He is very stocky but not overweight. This appearance comes from his V-shaped torso. Another notable detail is that only the upper part of the neck is visible, making the head appear to rise directly from the shoulders.
First, draw the facial guidelines that will help you place the features later. Then sketch the contours of Ryu’s torso. Mark the shoulders with circles and construct the arms with cylinders. Add the elbows and hands. Next, sketch the groin as a triangular shape and form the legs with cylinders. Keep the entire body broad and powerful. Finally, mark the knees and feet.
Step 3: Outline Ryu’s facial features
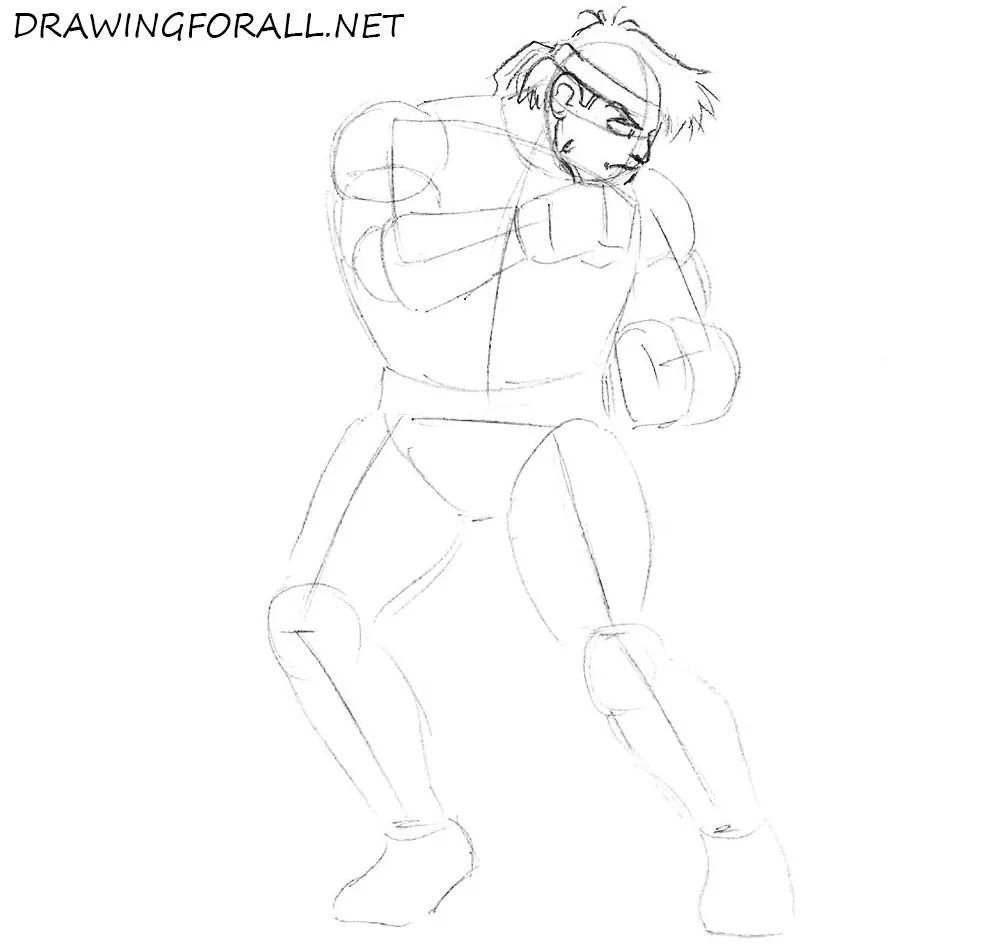
Now draw the contours of Ryu’s face. The silhouette was constructed from top to bottom, and the details will be added in the same order.
First, draw the visible eye. Add the eyebrow with a thick curved line. Use a few simple strokes to form the nose and mouth. Draw the ear and refine the contour of the jaw. Then sketch the hair and headband.
Step 4: Refine Ryu’s face
Refine the details of Ryu’s face. First, erase the head guidelines, including the original oval and the facial construction lines.
Make the eyebrow thicker and darker. Clean up the facial contours, draw the pupil inside the eye, and add a few wrinkles. Also mark the neck muscles with a couple of simple lines.
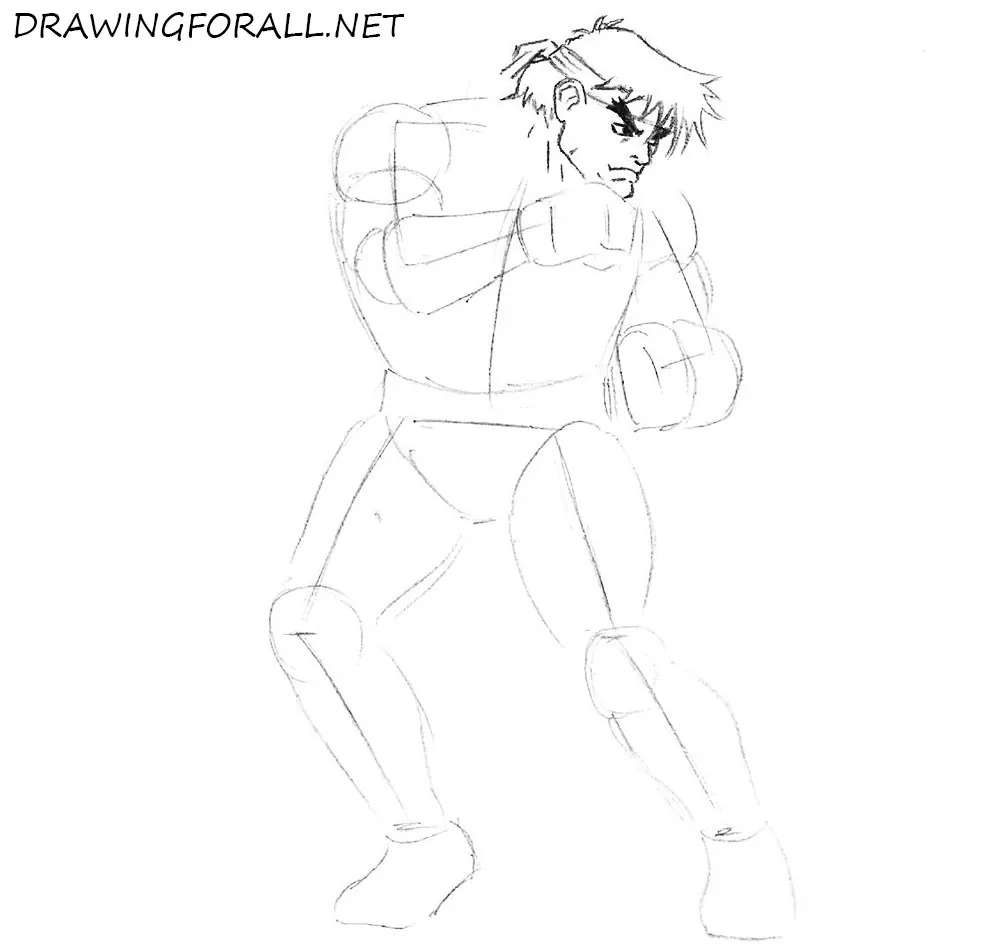
Step 5: Draw Ryu’s torn gi
Ryu wears a sleeveless gi, which you can now outline. First, draw the collar. Use ragged lines to form the torn sleeve openings. Then add the belt and the part of the gi that hangs below it. Continue to the lower part of Ryu’s clothing by outlining the groin area and then the legs.
Notice that Ryu’s clothing contains very few straight lines and appears to be formed almost entirely by folds. Finish this stage by marking the toes, fingers, and several muscle lines on his arms.
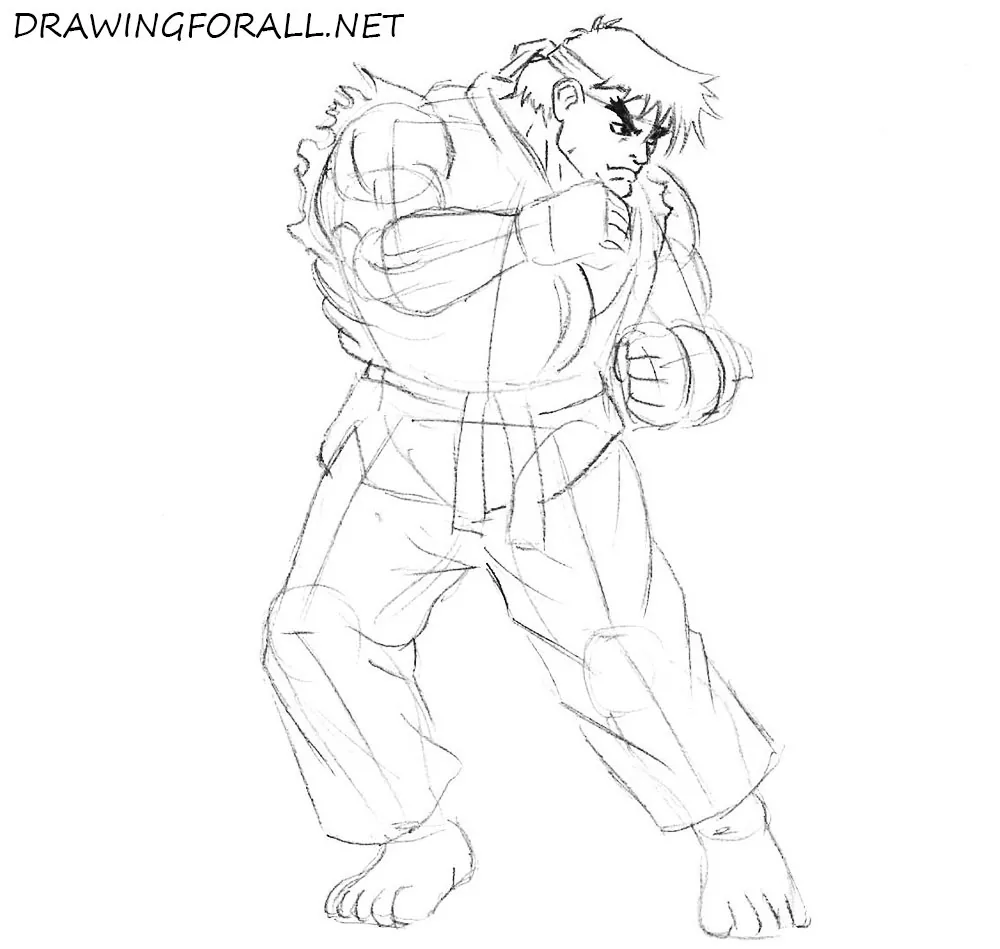
Step 6: Complete the Ryu drawing
Proceed to the final details and erase the remaining guidelines. Use clear, confident lines to refine Ryu’s gi, including the collar. Define the muscles with the same clean lines. Although the anatomy may appear complicated, it can be divided into several simple areas.
- First, draw the deltoids as rounded forms at the shoulders.
- Move downward and define the biceps and triceps.
- Next, outline the forearms as they narrow toward the wrists.
After defining the arm muscles, draw Ryu’s gloved hands. Finish by refining the feet and toes.
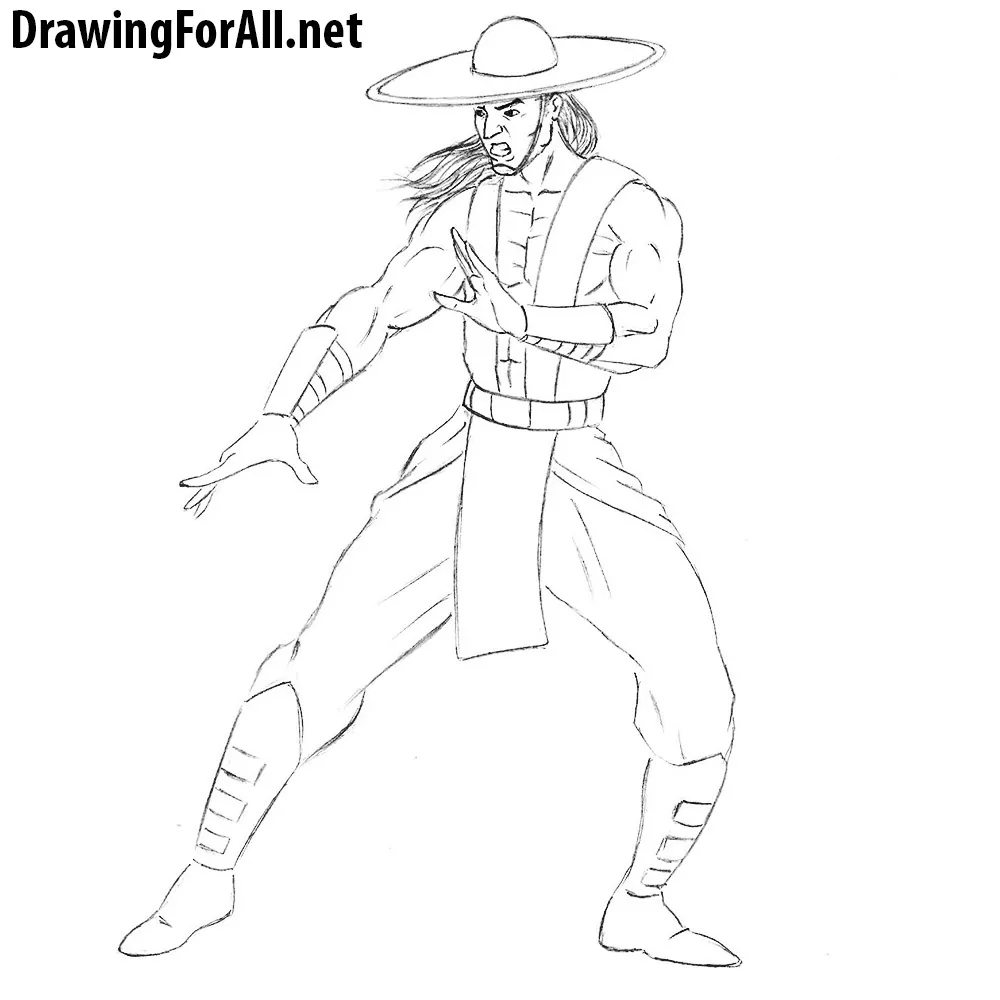
This tutorial showed you how to draw Ryu, the main hero of the Street Fighter series. If you’d like to draw another classic fighting game character, continue with drawing Liu Kang, whose role in Mortal Kombat is very similar to Ryu’s role in Street Fighter.
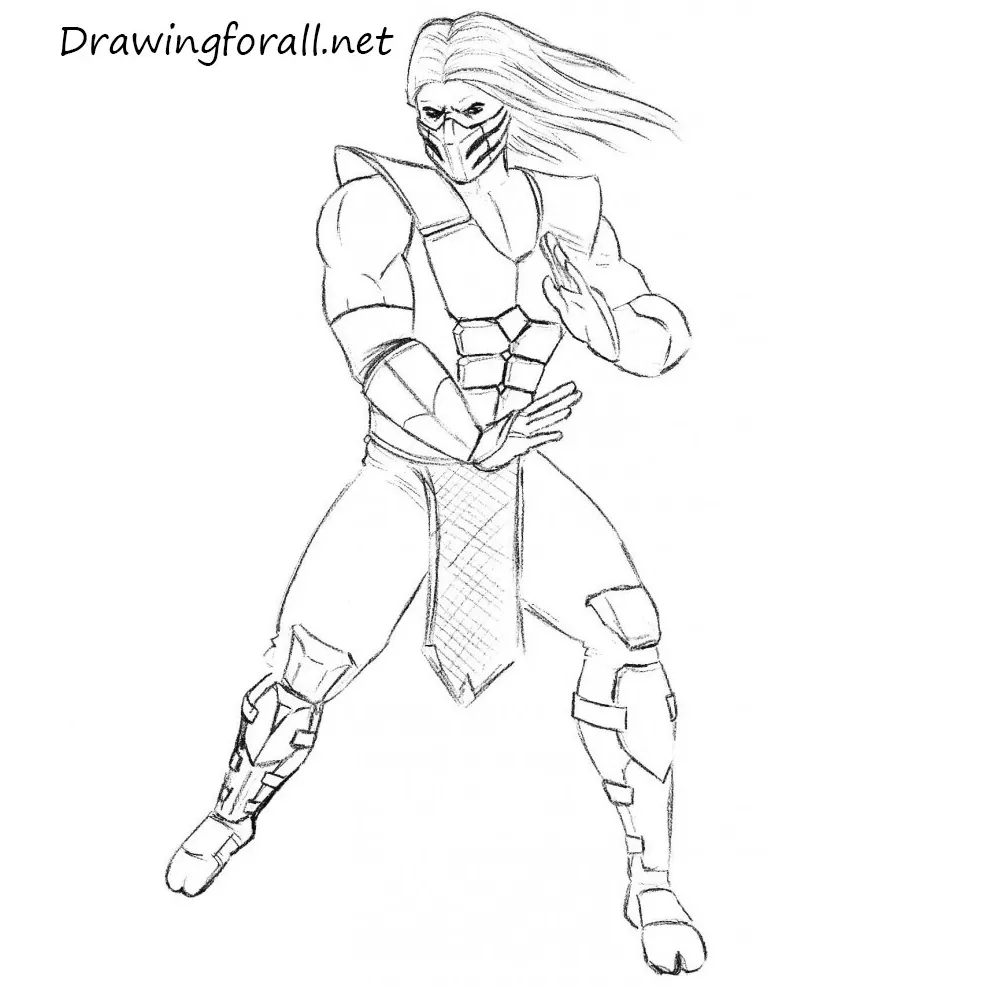
Our site includes many other famous fighting game characters as well. Try sketching Raiden, one of the strongest warriors in Mortal Kombat, or continue with illustrating Smoke, another classic fighter with a completely different costume and fighting style.