How to Draw a Ship
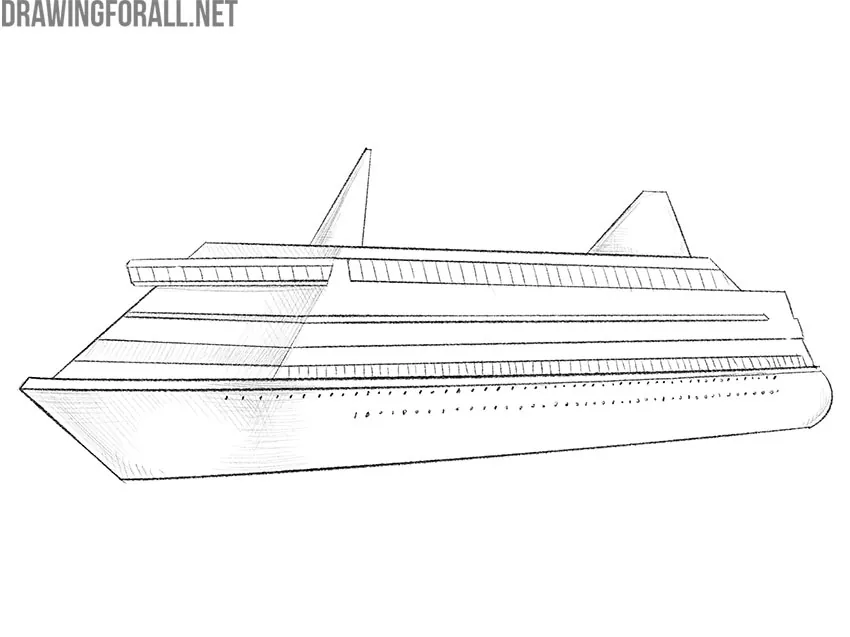
There are many straight lines and geometric shapes in this tutorial on how to draw a ship. Therefore, it requires careful line work.
At the same time, we have used techniques that will allow even an inexperienced artist to complete the drawing.
A ship is a very large object, and when drawing it, we need to try to recreate its volume on paper. To do this, we will use all the principles of linear perspective.
In addition, we will use the principle of drawing the entire object at the same time, rather than concentrating on one area.
We will gradually refine the ship by making small changes and regularly returning to each part to add details.
How to draw a ship step by step
Step 1: Sketch the bottom of the ship
First, draw a long, elongated trapezoid near the bottom of the paper. The corners should appear only on the left side of the shape, while the remaining edges stay smooth and rounded. Using the rules of linear perspective, make the front of the ship noticeably larger than the rear. This approach is similar to the first step in drawing a fighter jet.

Step 2: Sketch the top of the ship
Add another trapezoid to form the top of the ship’s superstructure. This trapezoid should be larger than the one from the previous step. Again, use the rules of linear perspective to make the front larger. You can also make the rear section lighter and less contrasting. This will make your ship drawing look more dimensional.

Step 3: Detail the upper deck of the ship
Create the upper deck of the ship. These lines will later form the cabin windows. Use long, straight strokes. If a line feels too long to draw in a single motion, draw part of it first, then continue with a second movement of your hand. Try to do this without using a ruler to get the most out of the practice and improve your drawing skills.

Step 4: Detail the middle section of the ship
Now, draw the middle decks as paired horizontal lines inside the trapezoid from the second step. Try to make the lines as straight as possible. They should bend at the front of the ship to define its surfaces. In the tutorial on drawing a cube, we explain in detail how to create volume in angular objects.

Step 5: Draw the bottom deck of the ship
Complete the ship’s decks by adding three more smooth horizontal lines across the middle section of the hull. As in the previous step, the lines should curve toward the front and follow the outline of the ship to create a stronger sense of depth.

Step 6: Draw the ship’s antennas and windows
Draw two antennas using triangles at the top of the ship, then add the ship’s windows with short vertical lines. You can also include extra details, such as people on the decks or additional antennas.

Step 7: Add the portholes and lower windows
Add more details to make your ship drawing look more realistic. Repeat the vertical lines along the bottom of the ship. Then add two rows of small dots or circles to represent the ship’s windows and portholes.

Step 8: Erase the construction lines
Remove the extra lines and check that all the shapes are correct. Carefully examine your drawing, checking the perspective and overall structure. If necessary, correct any noticeable inaccuracies.

Step 9: Add hatching to the ship
Now, add the shadows. Decide where the light is coming from, then apply light hatching to the areas of the ship that are turned away from the light. Create darker shadows by applying a second layer of hatching in the opposite direction.
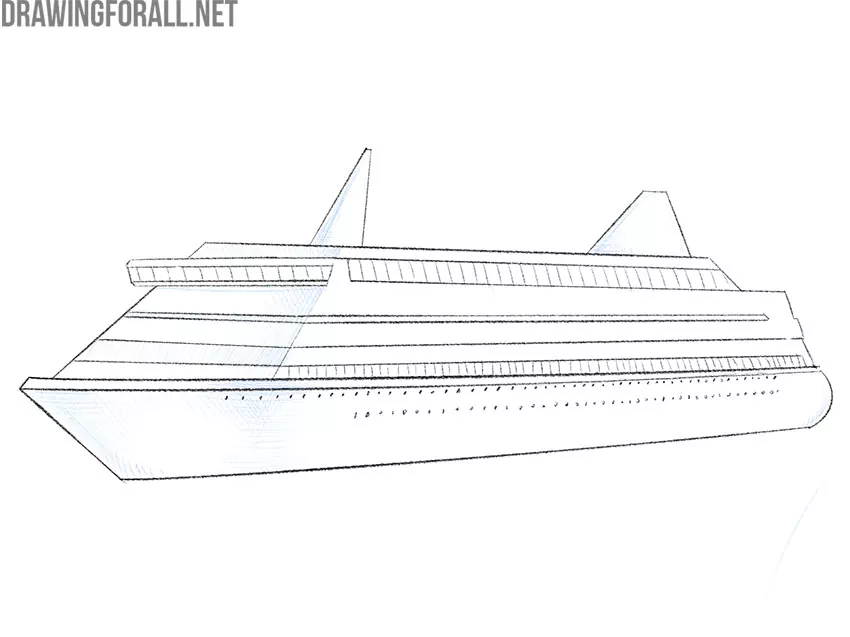
Your finished ship drawing should look similar to this. You can make it more detailed by adding additional shadows or extra features.
Ships and boats have been an integral part of visual art, appearing in many forms since ancient times.
From Egyptian reliefs and painted amphorae to Renaissance masterpieces and modern works, ships have been depicted in a wide range of styles and contexts.
One of the most well-known marine artists, Ivan Aivazovsky, frequently included ships in his paintings, sometimes sailing calmly across the water, other times caught in violent sea storms.
Here, you’ve learned how to draw a ship. Try using these same principles when drawing other boats and large man-made objects.
We hope this tutorial was helpful. Don’t forget to tell us in the comments how your drawing turned out.