

How to Draw Homer Simpson
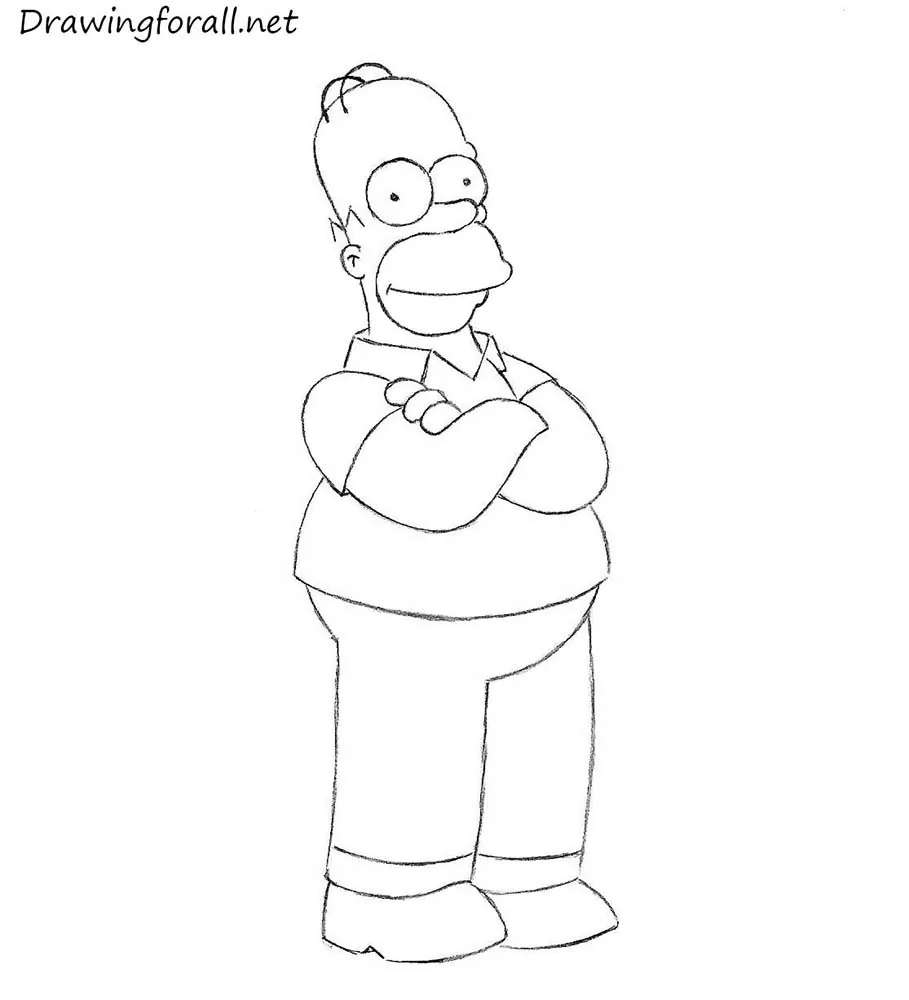
In this simple step-by-step tutorial, we’ll show you how to draw Homer Simpson, the father of the iconic cartoon family. Let’s begin!
How to draw Homer Simpson step by step
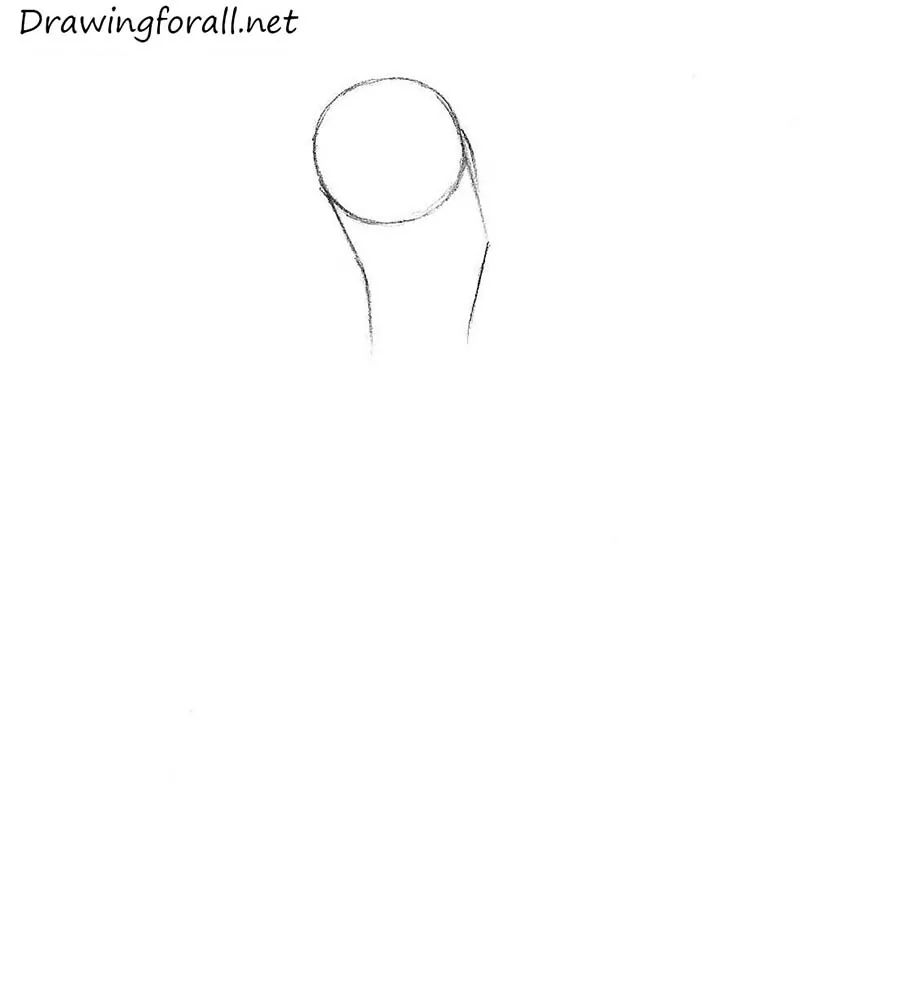
Step 1: Sketch the head and jaw
First, draw a circle and connect an angular shape to its lower edge.
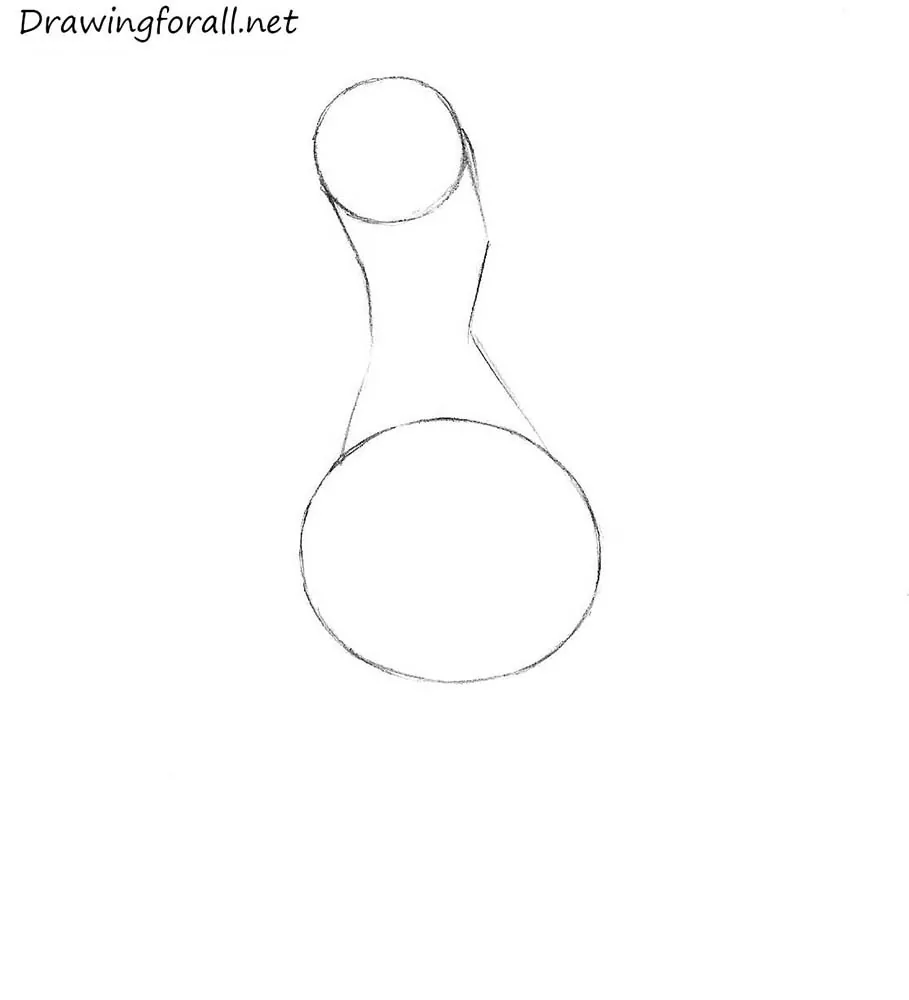
Step 2: Add Homer’s round belly
Homer without his beer belly? We saw it a few times in the series, but it looks unusual. Draw a circle to represent the belly of Homer Simpson and connect it to the shape from the previous step.
Step 3: Draw the eyes and nose of Homer
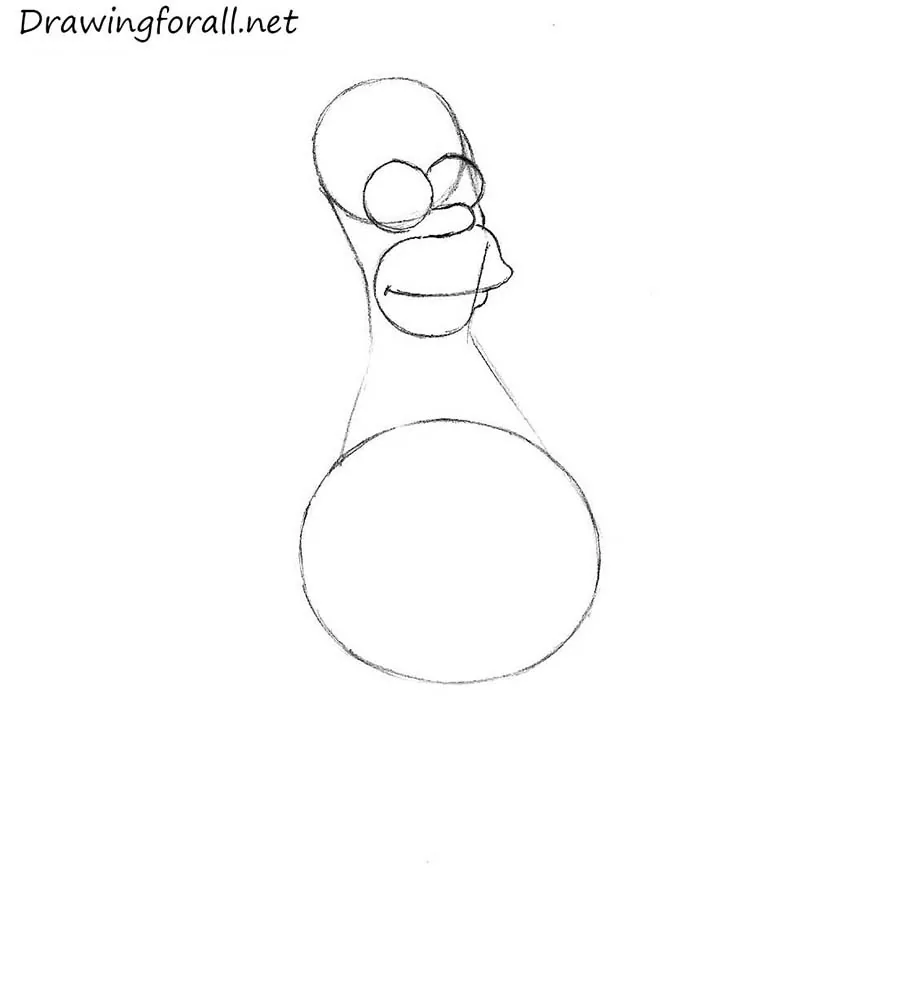
As the creators of the series say, “Homer consists of circles.” Start by drawing the cartoon eyes as two circles, then sketch a long cylinder for the nose.
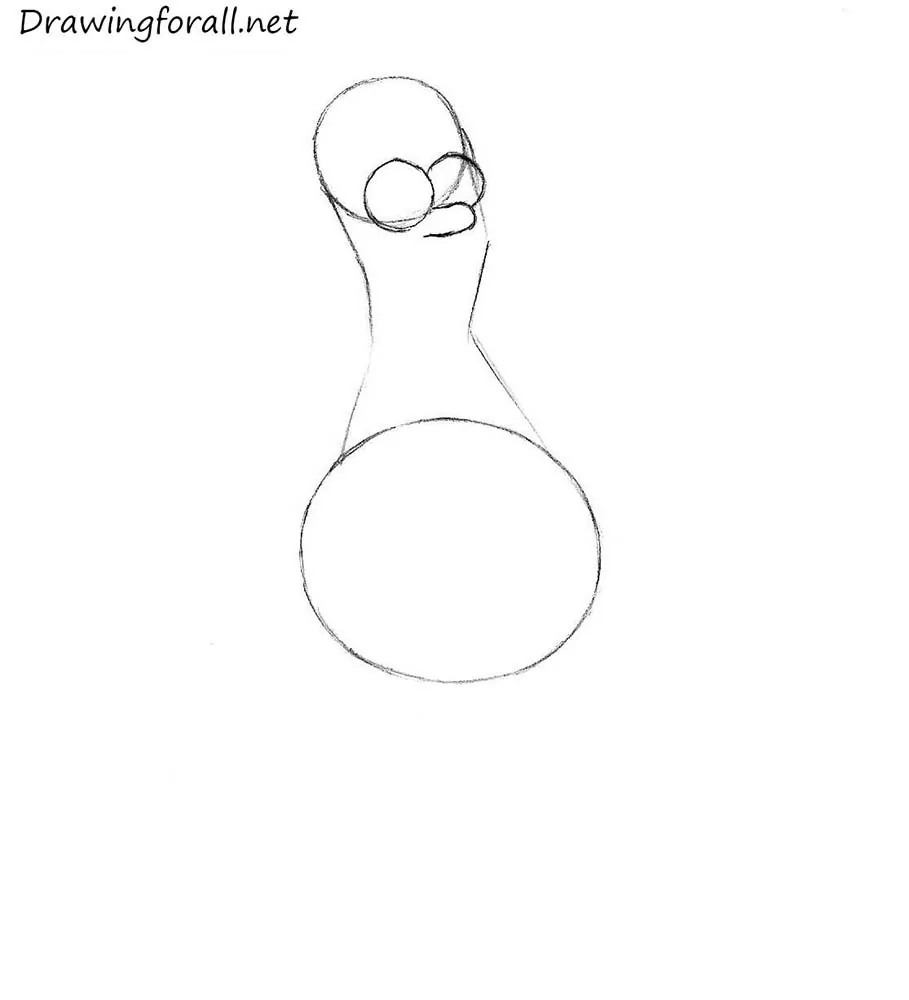
Step 4: Outline the protruding mouth
Outline Homer’s mouth. Note that his upper lip protrudes beyond the lower lip.
Step 5: Add the hair and ear
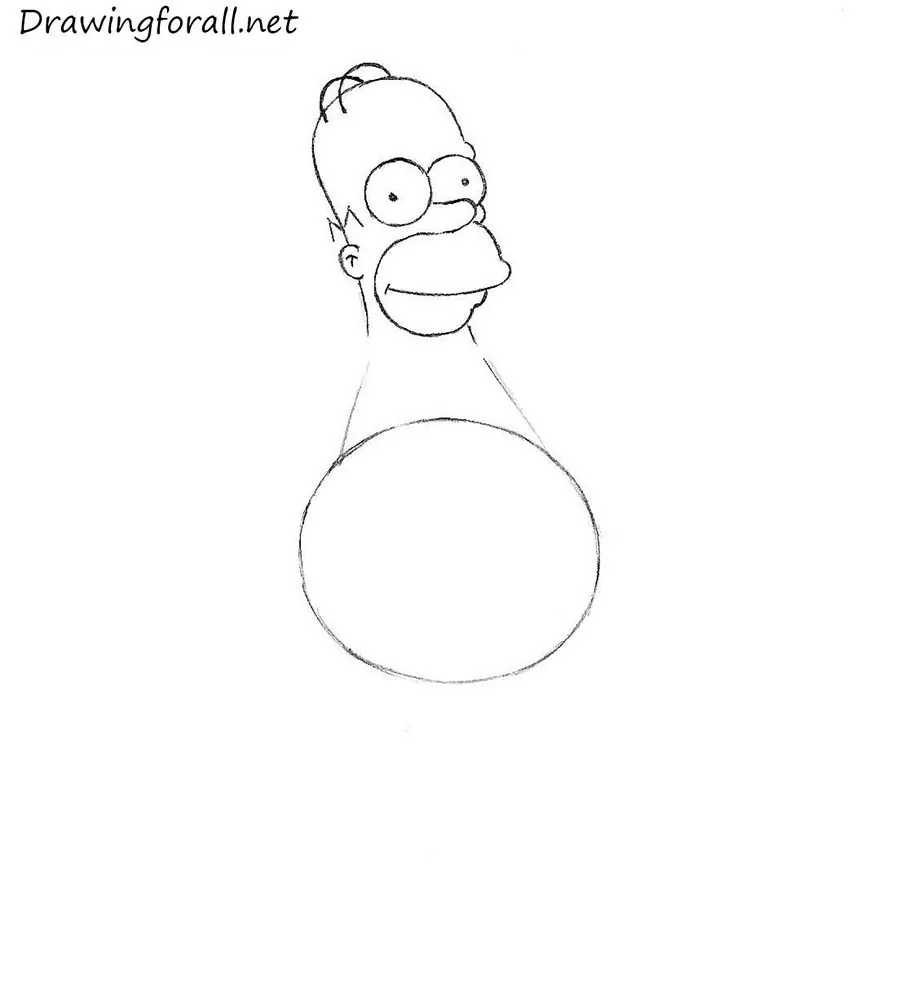
Erase the guidelines, then add the ear and pupils. Draw Homer’s distinctive hairstyle, which consists of two curved lines on top of the head and an M-shaped line above the ear.
Step 6: Sketch the polo shirt
Continue by drawing the polo shirt, beginning with its collar and visible sleeve.

Step 7: Draw Homer’s folded arms
Now, use curved lines to draw Homer’s folded arms.

Step 8: Refine the hands and fingers
Erase the guidelines and outline the thick fingers.

Step 9: Add the shirt and legs
Draw the lower edge of the shirt. Use three slightly curved lines to outline the legs.

Step 10: Finish the shoes and outlines
Erase the remaining guidelines and draw Homer Simpson’s shoes.
In this drawing tutorial, we showed you how to draw Homer Simpson step by step. Watch for new drawing tutorials featuring other characters from The Simpsons.


Good