How to Hold a Pencil

In order to draw confidently and accurately, it is important to know how to hold a pencil correctly.
There are two basic ways to hold a pencil. The first and most common is the grip used when writing with a pen. This way of holding a pencil is called the tripod grip. It works especially well when you are drawing small details or working on a sheet of paper that lies horizontally.
This grip is familiar and comfortable because most of us learn to hold pens, pencils, and markers this way from childhood. The muscle memory developed over the years allows us to control the pencil well. Another important advantage of this method is its accuracy. Using this grip, it is easy and convenient to draw small details and short lines.
In the usual tripod grip, you hold the pencil close to the tip, which is very convenient when writing. But when drawing and sketching, you can also hold the pencil closer to the middle or farther back.
The closer your fingers are to the tip, the more precisely you can control the pencil. The farther your hand is from the sharpened tip, the freer your movements can become.

The second method is common in classical drawing practice. With this method, the pencil is supported by several fingers and held farther from the tip. This way of holding a pencil is called the overhand grip.
It allows you to move your hand more freely and draw longer lines without resting the hand directly on the drawing surface.
With this grip, the hand remains relatively free because it does not rest on the work surface. The range of movement is greater, which makes it easier to draw long lines, work on larger forms, and shade broad areas.

Besides the options listed above, there are many other ways to hold a pencil. Each can be useful for different tasks during the drawing process.
These grips are especially convenient when your sheet of paper or drawing board is positioned vertically or at an angle.
They can also be used when drawing on paper placed horizontally. If keeping your hand in the air feels uncomfortable, you can lightly support it with the little finger, as shown in the illustration.

When making broad strokes, the pencil can be held farther from the sharpened tip so that your hand does not obscure as much of the drawing. If the pencil becomes too short, you can insert it into a pencil extender.
It is important to hold the pencil securely, but the hand should not be too tense. Excessive tension makes it more difficult to draw smooth, controlled lines.
If your sheet of paper or drawing board is in an upright position, try not to keep your arm tightly bent at the elbow all the time.
Using movement from the elbow and shoulder gives you a larger range of motion and makes it easier to draw long lines. Working a little farther from the drawing also makes it easier to see the composition as a whole.
It is also important to look at the drawing surface as directly as possible. If you view it from a sharp angle, the apparent proportions of the objects can become distorted.
So, as you can see, there are two basic approaches to holding a pencil and positioning the paper. The first is to place the sheet horizontally on a table or another surface and hold the pencil with a tripod grip, much as you would when writing.
The second option is to place the sheet of paper or drawing board vertically or at an angle and use an overhand grip for broader movements. With this position, you can still switch to a tripod grip whenever you need more precise control for small details.

It is important to learn comfortable and controlled hand positions because they affect the entire drawing process. With enough practice, controlling the pencil should become increasingly automatic.
Just as you do not consciously think about every movement while riding a bicycle, you should eventually be able to control the pencil without concentrating on the grip itself.
A pencil is one of the most common, affordable, and versatile tools for an artist. You can use it for quick sketches as well as complete finished drawings. It allows you to draw lines of different thicknesses, vary the tone, change the character of the strokes, and convey the volume and texture of objects. The result depends on the artist’s knowledge, skill, and control of the tool.
Try the different ways of holding a pencil demonstrated in this article and practice with each of them. Over time, you will learn which grip works best for different drawing tasks.
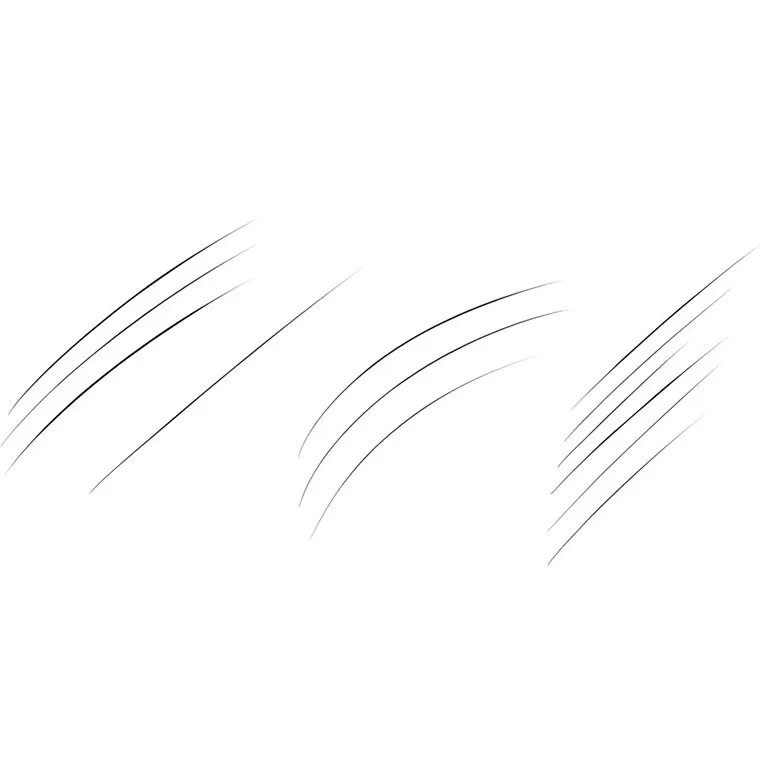
There are many ways to improve your pencil control. Take a pencil using one of the grips described above and practice drawing different lines on a sheet of paper.
You can also mark several points and draw straight lines between them. Another useful exercise is to cover an A4 sheet with even hatching. These exercises will help train your hand and make pencil control more automatic.
By the way, do not forget to subscribe to Drawingforall.net on social networks and send us your suggestions for future drawing tutorials.