How to Draw Boba Fett
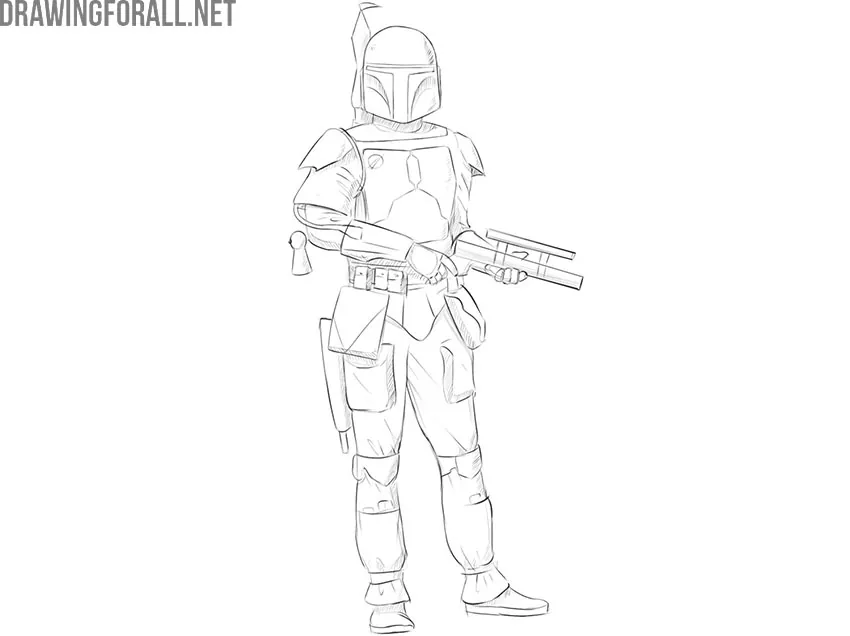
Here we will show you how to draw Boba Fett, one of the most recognizable bounty hunters from Star Wars.
Boba Fett was originally a relatively minor character with limited screen time, but he subsequently became one of the most popular Star Wars characters.
How to draw Boba Fett step by step
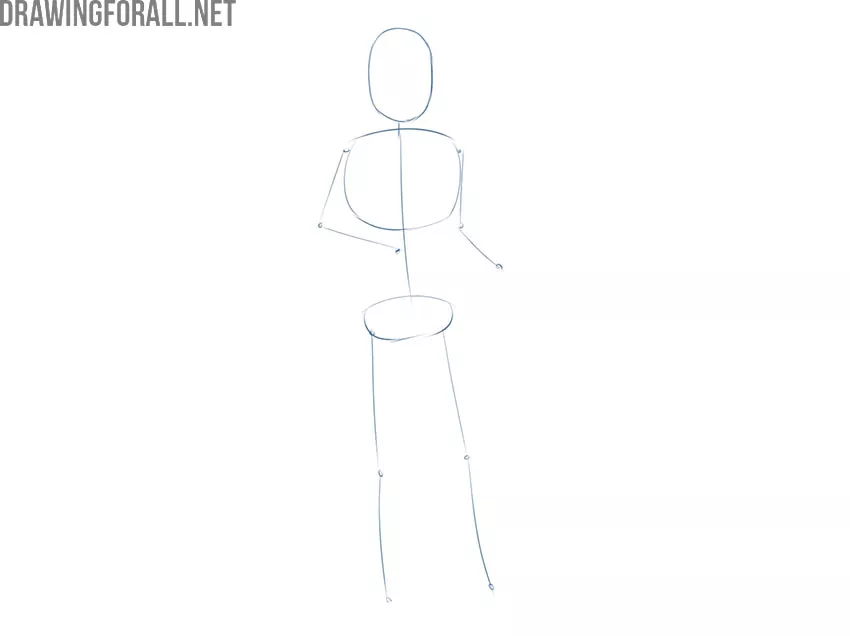
Step 1: Establish Boba Fett’s pose
We see the figure of a tall man. Use a stickman to indicate the basic features of Boba Fett’s figure, his pose, and his position on the paper. His height is approximately 6.5-7 head lengths. The chest is much wider than the pelvis. The legs are spaced approximately shoulder-width apart. The arms are bent at the elbows, forming a right angle on one side and an obtuse angle on the other.
Step 2: Give the torso volume
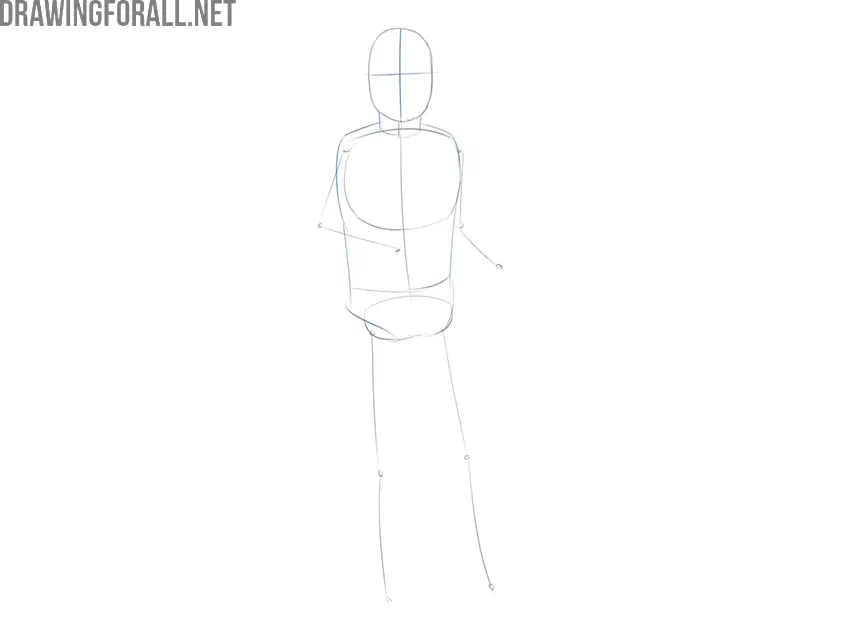
Divide the head into four equal parts using two intersecting guidelines. After that, give the torso volume with smooth lines connecting the chest and pelvis. Finally, connect the head and chest with a short, sturdy cylinder to form the neck.
Step 3: Block out the arms
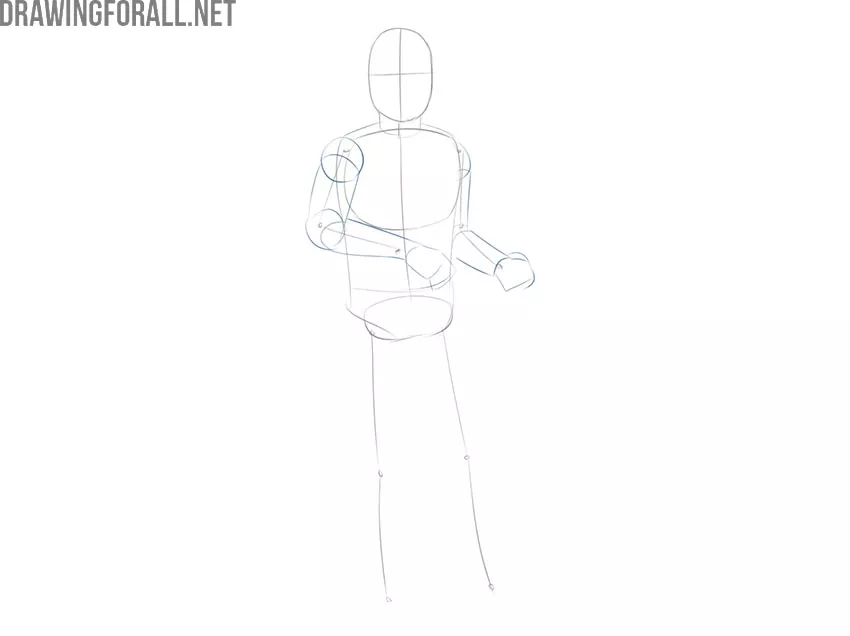
Boba Fett wears a rather loose suit made of dense fabric, so the muscle forms are not clearly visible. Draw the arms as cylinders connected by large rounded forms at the joints. Only the forearms narrow slightly toward the wrists; the rest of the arms remain fairly wide because of the suit.
Step 4: Build up the legs
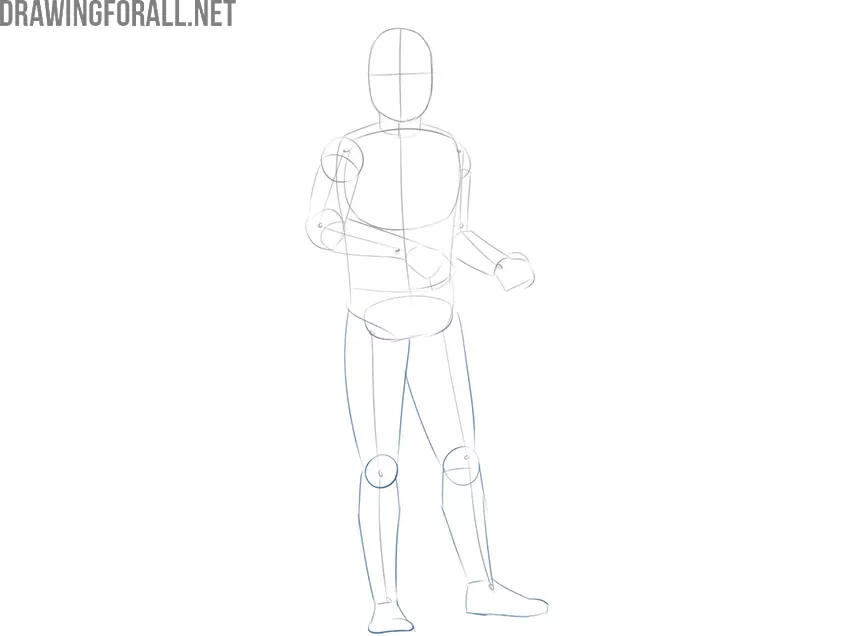
Now give the legs volume using simple three-dimensional forms. Again, use cylinders and rounded shapes, but add slight narrowing where necessary. Each thigh tapers smoothly toward the knee, while the lower leg first widens slightly and then narrows sharply toward the ankle.
Step 5: Mark the signature gear
Now we have the approximate silhouette of Boba Fett, but the character is not yet recognizable. Let’s fix that by adding the main features of his suit and armor. Draw the helmet extending noticeably downward and forming an obtuse angle along the bottom edge. After that, add the armor on the shoulders and the large pouches on the thighs. Finally, outline the blaster.
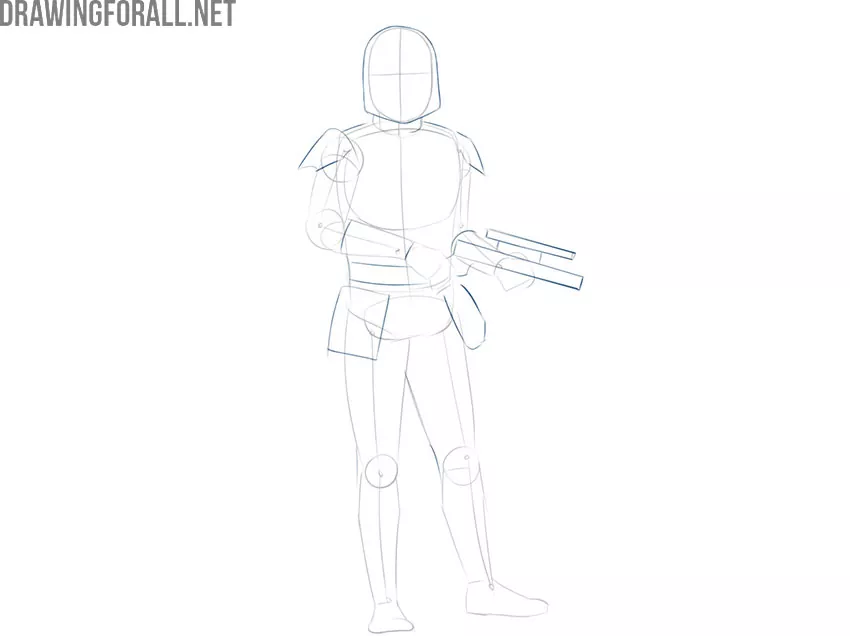
Step 6: Define the helmet visor
Now refine the recognizable contours of Boba Fett’s helmet. First, draw the T-shaped visor, and then surround it with smooth curved lines to form the helmet.
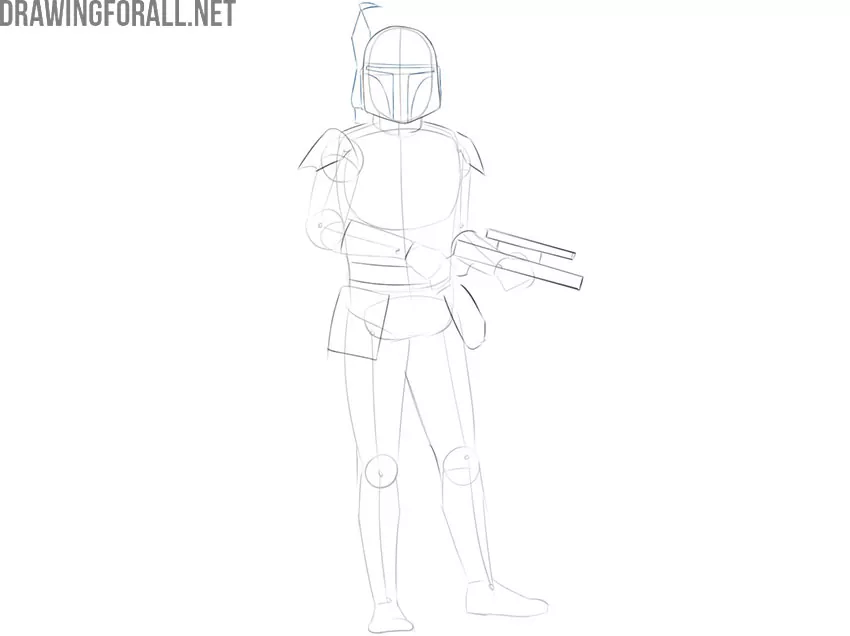
Step 7: Lay in the chest plates
Outline the armor covering Boba Fett’s upper body. It consists of two symmetrical plates that curve near the center. Then add several pouches and small pieces of equipment along the belt.
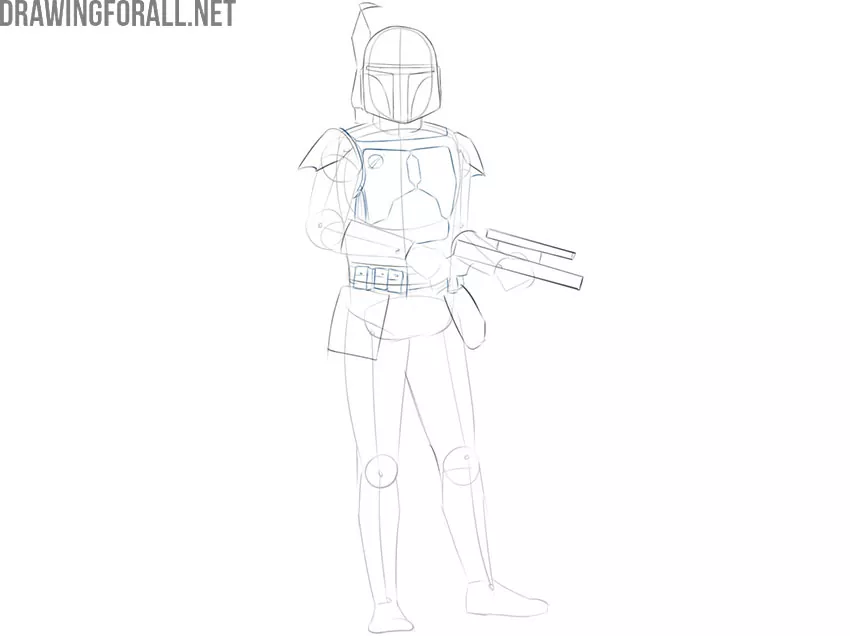
Step 8: Work out the hands
Now begin detailing the arms. The most difficult part here is drawing Boba Fett’s fingers, so pay particular attention to their shape, size, and placement. You can also use our tutorial on drawing hands for more practice. In addition, draw the shoulder armor and the protective pieces covering the forearms.
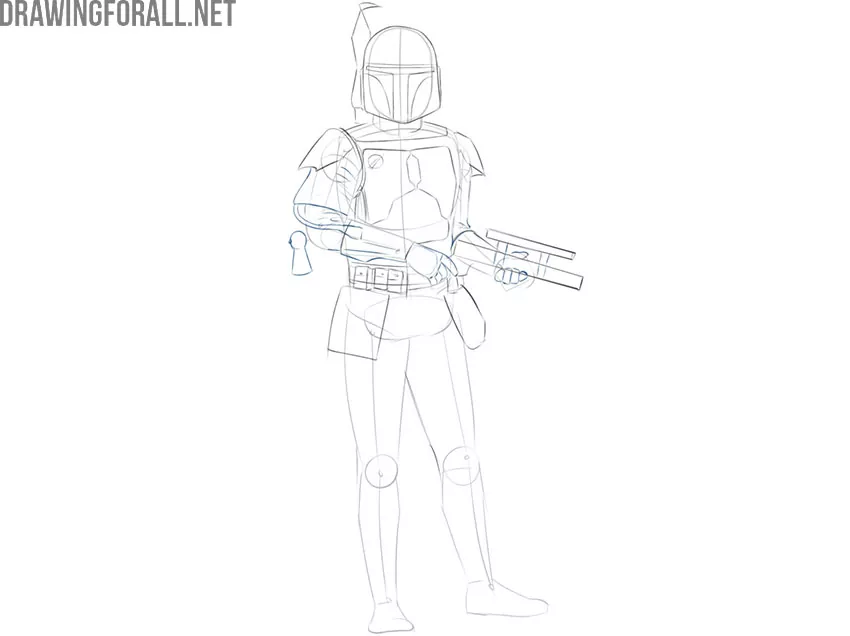
Step 9: Develop the leg details
Now add another large pouch on the thigh, the protective plates over the knees, and the large fabric folds around the lower parts of Boba Fett’s legs.
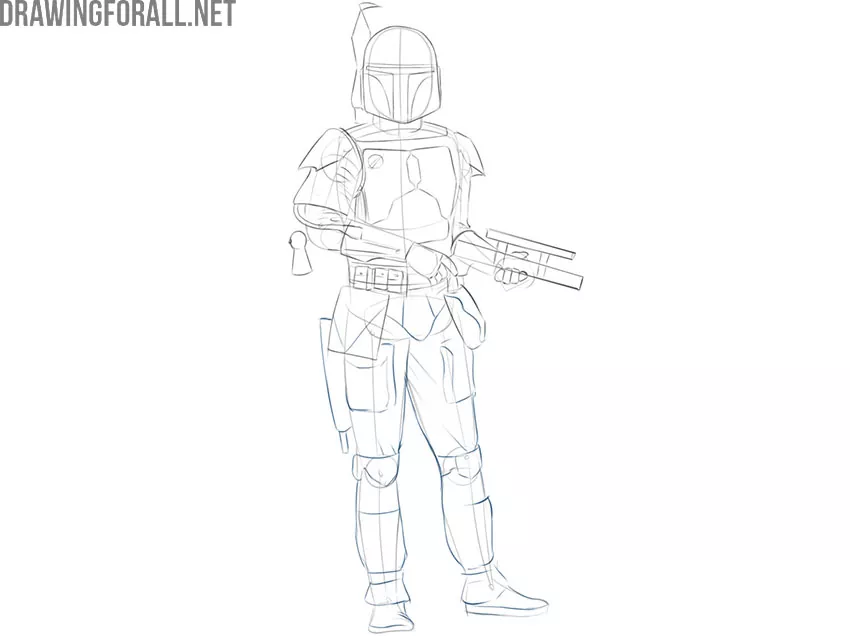
Step 10: Inspect the entire figure
Now take a moment to inspect the entire drawing. Check the overall figure, basic lines, and small details. Boba Fett’s clothing, armor, and weapons contain many separate elements, so look carefully over the whole character. If you do not notice any distortions or inaccuracies, erase the unnecessary construction lines and proceed to the final step.
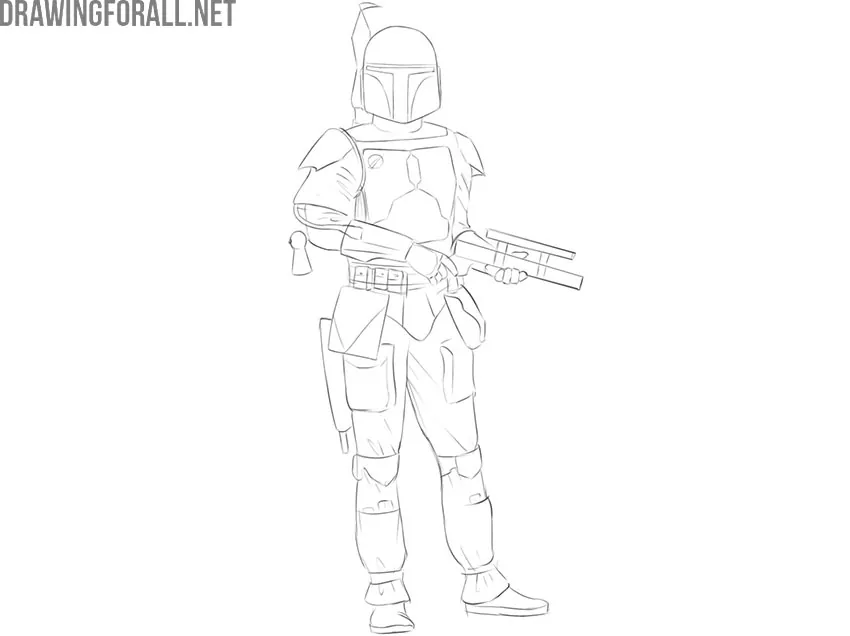
Step 11: Shade the armored figure
Now work on the shadows. First, outline the boundaries of the areas where the light does not fall. After that, use smooth hatching to create light shadows across Boba Fett’s figure.
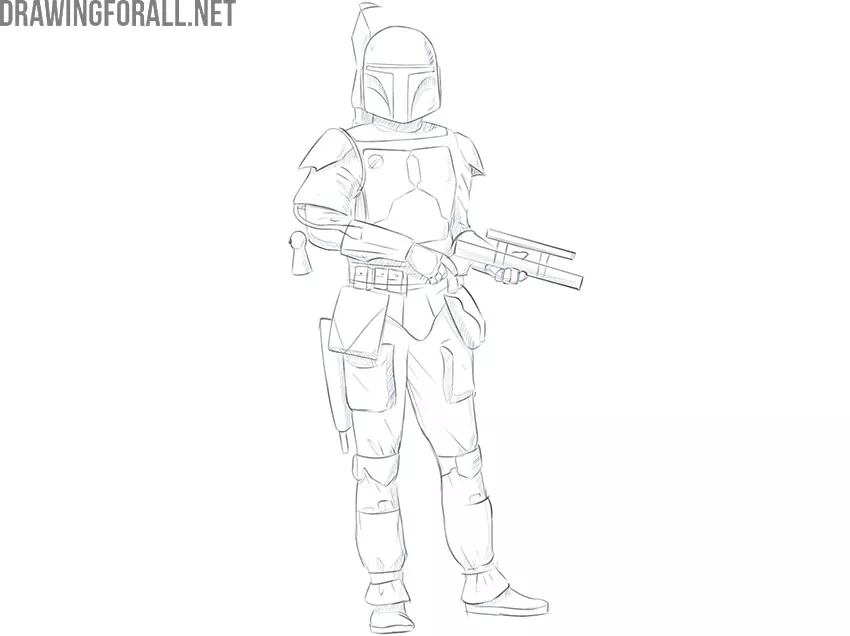
Step 12: Complete Boba Fett’s drawing
This is the final result. We hope your Boba Fett drawing turned out even better.
So we have completed the tutorial on how to draw Boba Fett from Star Wars. If you had any difficulties while drawing this character, let us know in the comments.