How to Draw a Tool
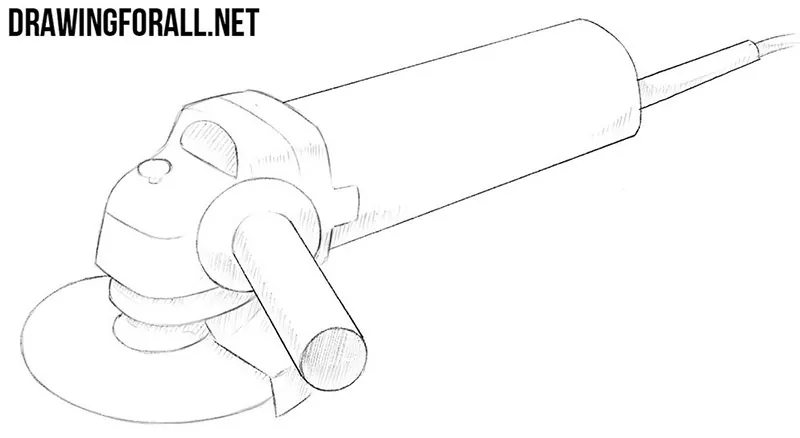
We know that many of you enjoy drawing tools, so we have created another tutorial on this topic. We chose an angle grinder as the subject of this tutorial. So let’s see how to draw a tool of this type.
How to draw a tool step by step
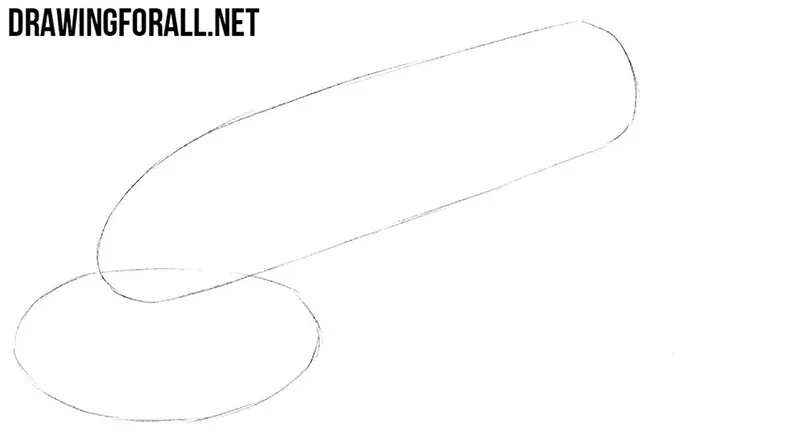
Step 1: Block out the grinder
Start by drawing the contours of two simple forms. As you can see, an oval and a cylinder are connected at the top. These forms can be drawn quite roughly at this stage.
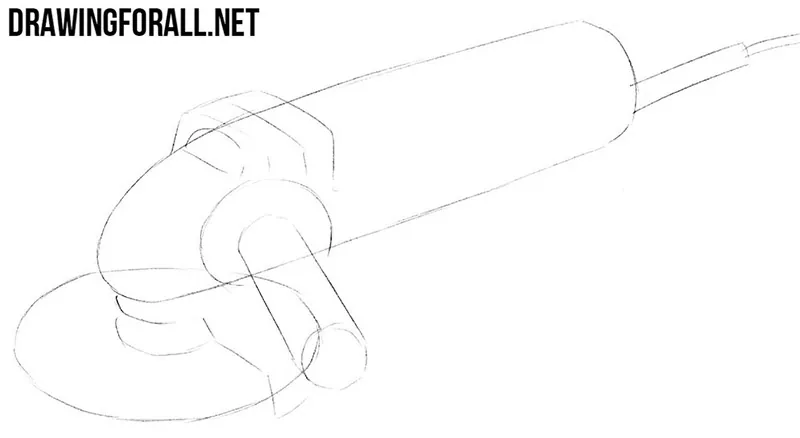
Step 2: Add the main attachments
Now work on the main details of the angle grinder. First, draw the power cord extending from the tool. After that, add the side handle and the contours of the mount that holds the grinding disc.
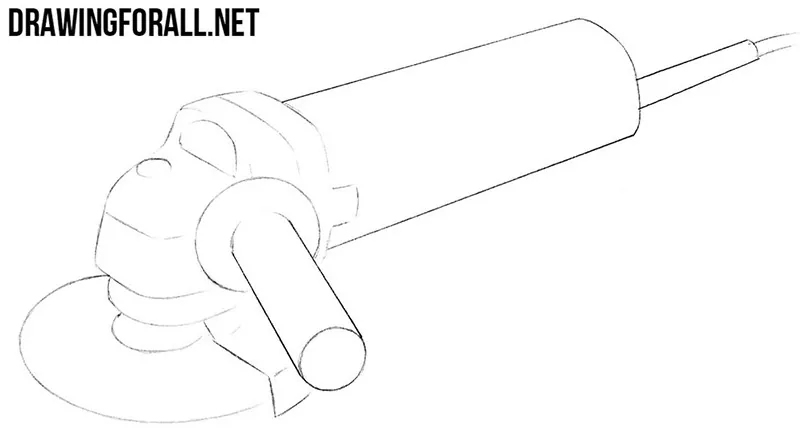
Step 3: Define the final contours
The principle of drawing construction tools is not very different from drawing people or comic characters. In each case, we first mark the approximate contours and then refine them with the final details. We have already outlined the angle grinder, so now we can move on to the clean version.
Draw the handle and body of the tool with clear, confident lines. Do not forget to refine the power cord as well.
Step 4: Shade the metal tool
To give the tool drawing a more finished look, add shadows with hatching. Shade the front of the side handle and add lighter shadows to the power cord, body, and grinding disc area.
This was a short guide on how to draw a tool. We try to alternate more complex tutorials with simpler ones, as well as tutorials about people with those about different objects. If you have any preferences, let us know in the comments.