How to Draw a Grill
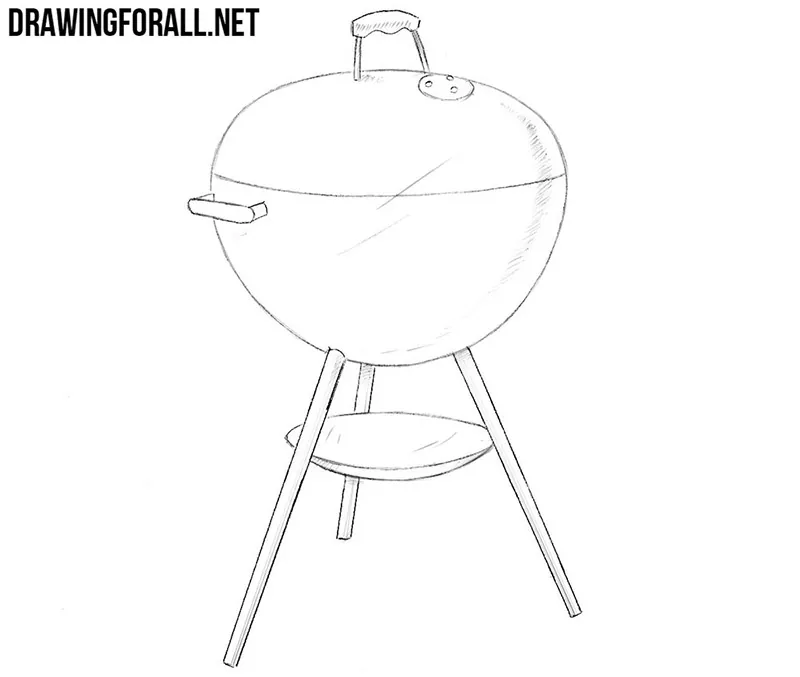
As you can see, here we will show you how to draw a grill. We’ll use a kettle grill as our reference.
We have drawn many foods cooked on a grill, including how to draw a steak, but we have not drawn the grill itself. Let’s correct that!
How to draw a grill step by step
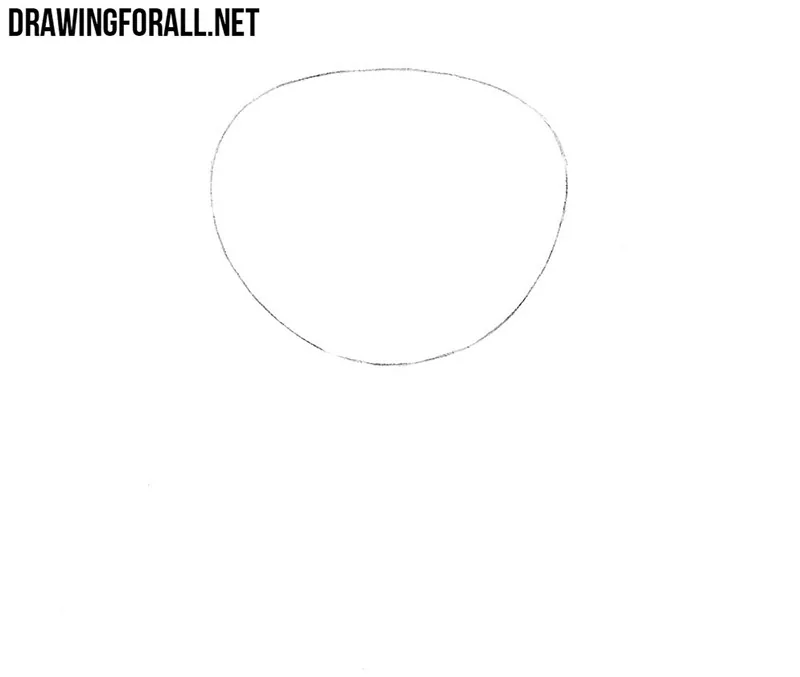
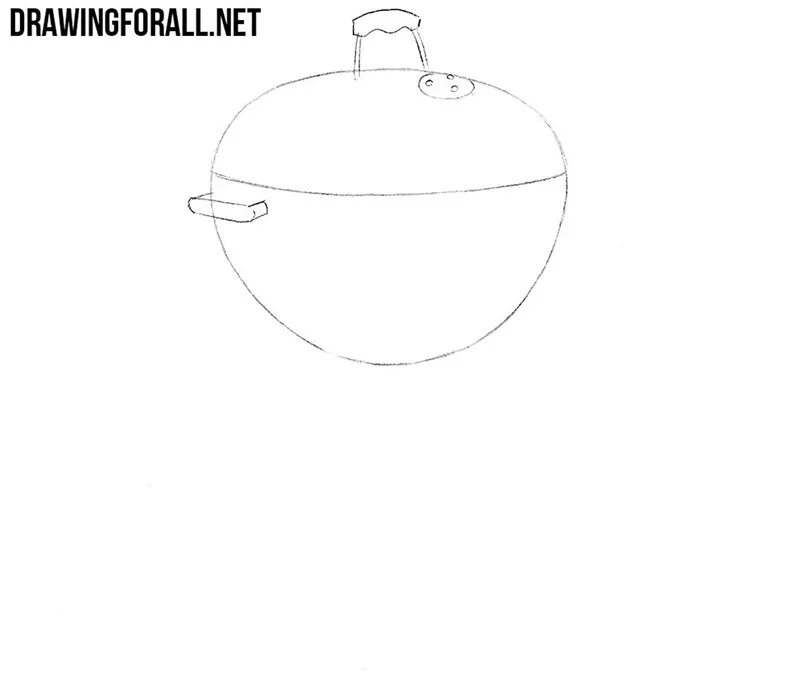
Step 1: Outline the grill bowl
First, draw a rounded shape with a smooth narrowing toward the bottom. These are the contours of the grill bowl. Position this shape in the center of the paper.
Step 2: Add the grill handles
Draw the grill handles. One handle is located on the lid, while the second is attached to the side. Make the upper handle larger. Add three small circles in front of the handle on the grill lid.
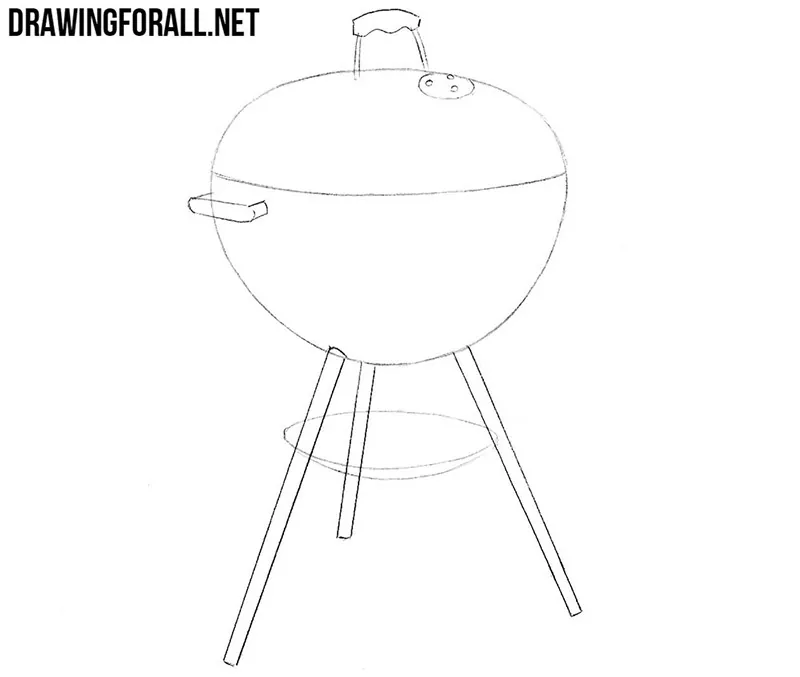
Step 3: Draw the supporting legs
Draw the supporting legs of the grill. Shift the rear leg slightly to the side. The legs appear to have different lengths because of the viewing angle.
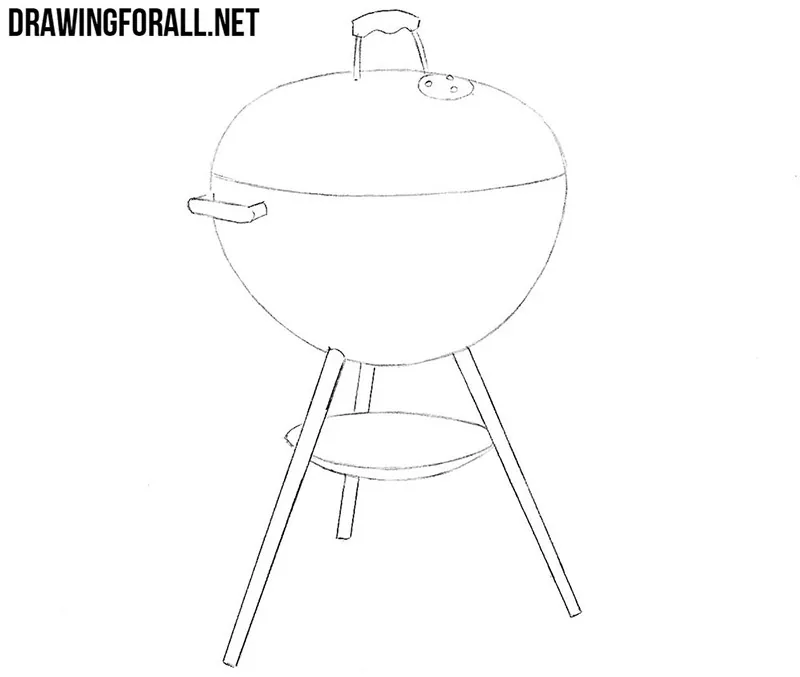
Step 4: Refine the grill outlines
Erase the extra lines inside the contours of the handles and beneath the grill bowl. Refine the entire grill with clear, confident lines.
Step 5: Add shadows and hatching
Finish the grill drawing by making it look more three-dimensional and realistic. Add shadows with classic hatching in the areas hidden from the light.
Now try the same exercise again, but add your own details and modifications. You can use reference photos or draw from a real grill.
The most important part is to accurately judge the relationships between the different parts of the grill and transfer them to your drawing.
Pay close attention to the placement of each visible element and reproduce its position as accurately as possible.