

How to Draw a Turnip
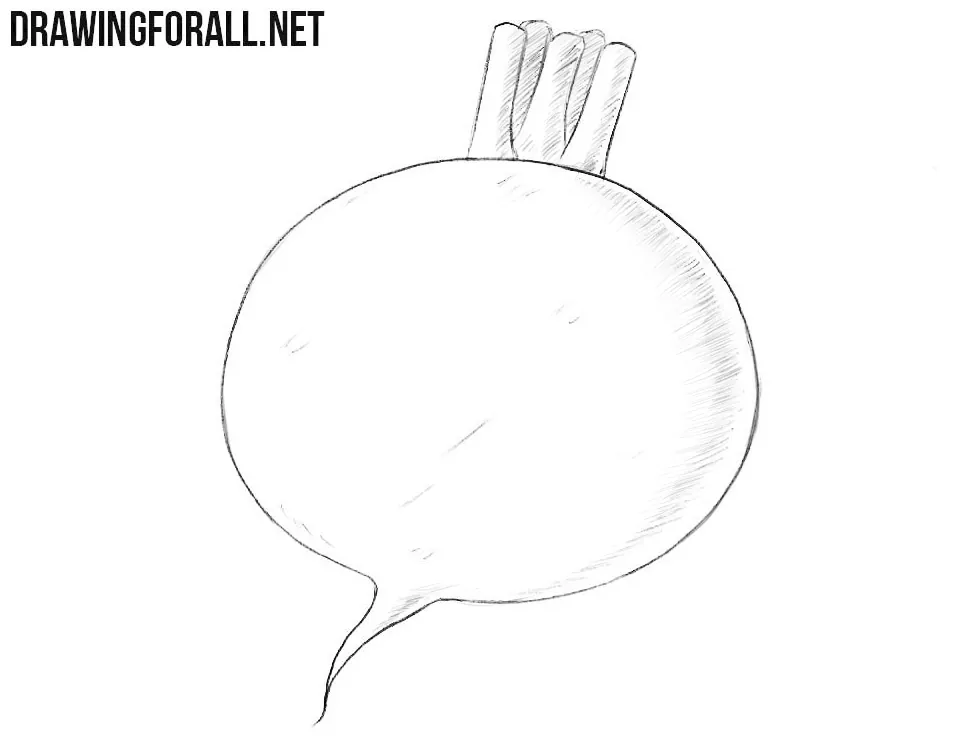
In this drawing tutorial, we will show you how to draw a turnip step by step and give it a simple but convincing appearance.
A turnip has a very simple appearance, but even such a simple object can help you practice important drawing skills.
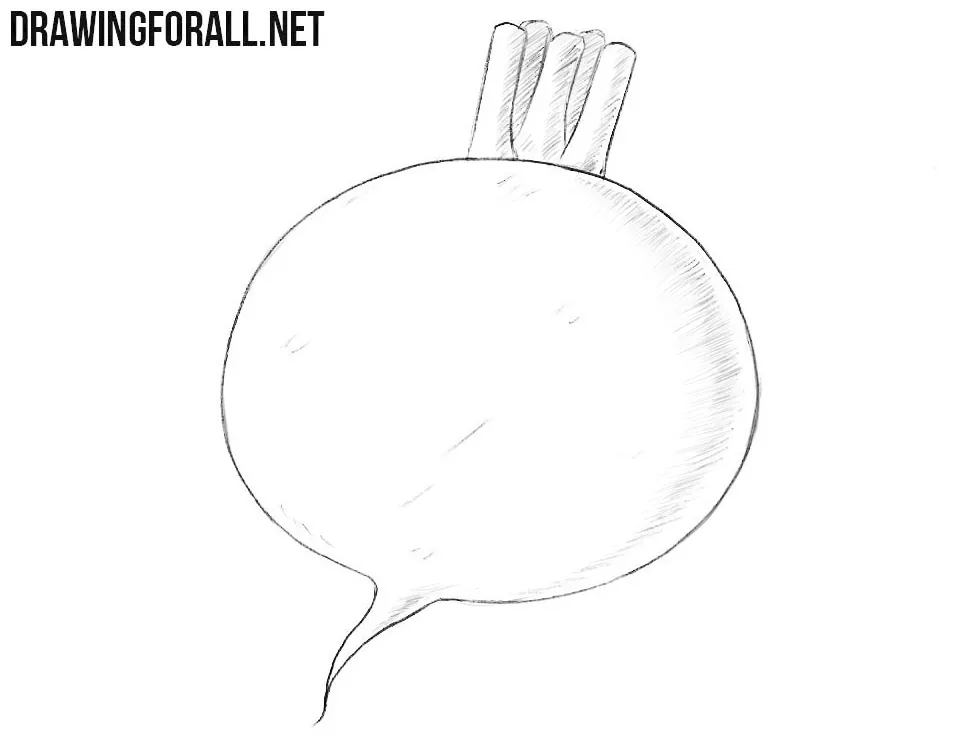
Here we will show how to depict its simple shape and then use shadows to make the final drawing look more believable.
How to draw a turnip step by step
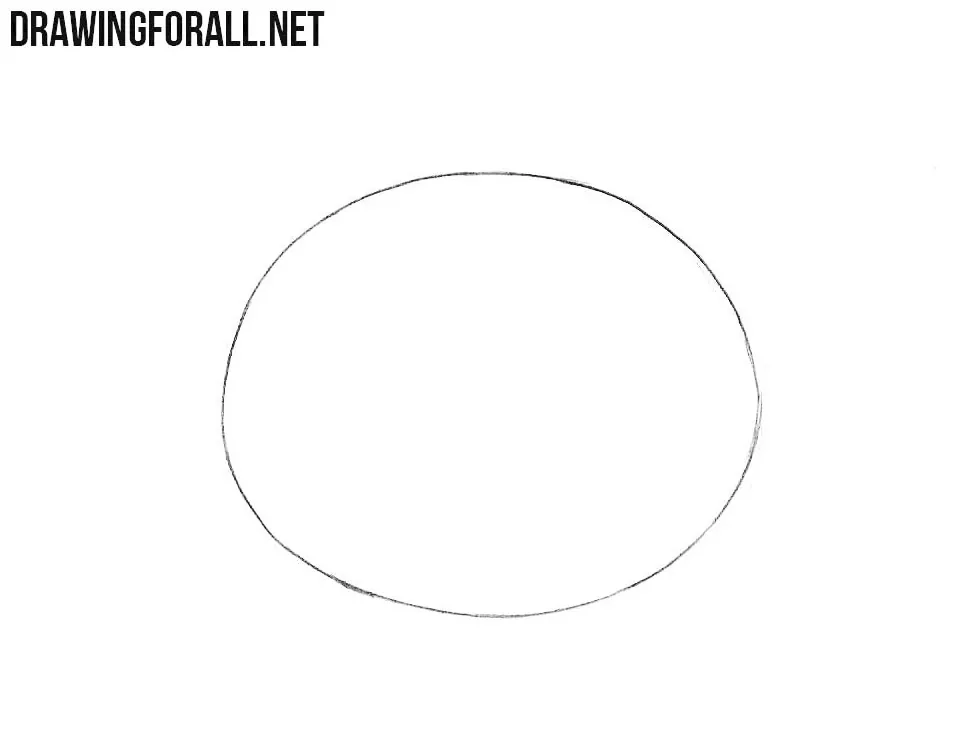
Step 1: Sketch the turnip shape
First, draw a flattened circle in the center of the sheet. Make sure you don’t draw a perfect circle. In nature, you will not find perfect symmetry.
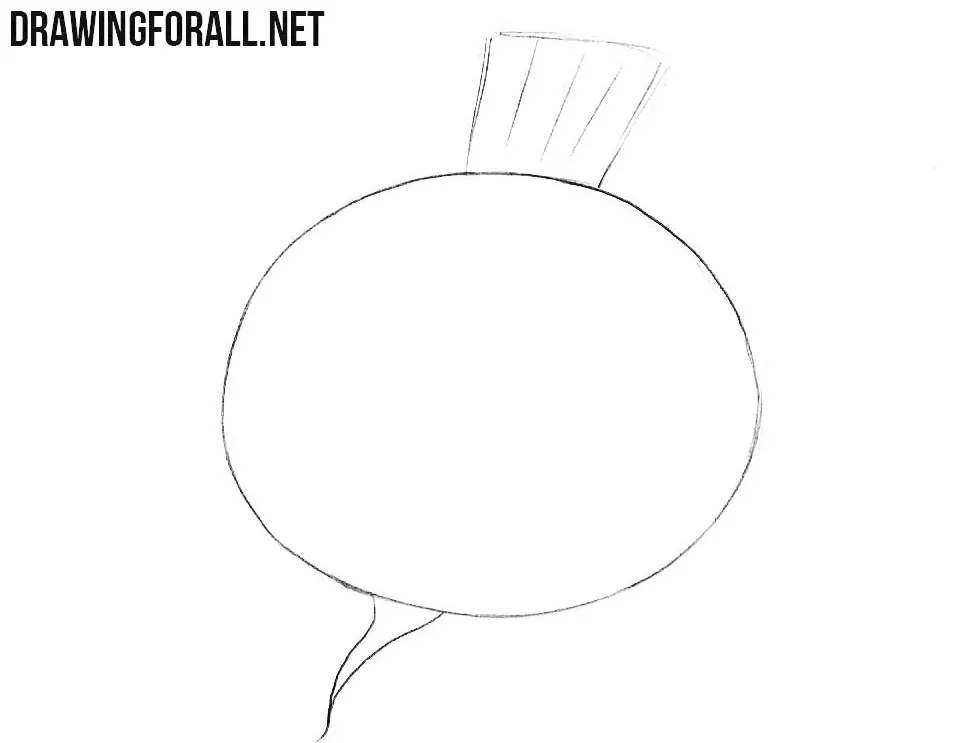
Step 2: Add the root and stems
Draw new elements at the top and bottom. The stems are located above, and below you can see a long, pointed root. You can draw a more naturalistic turnip if you add leaves instead of short stems.
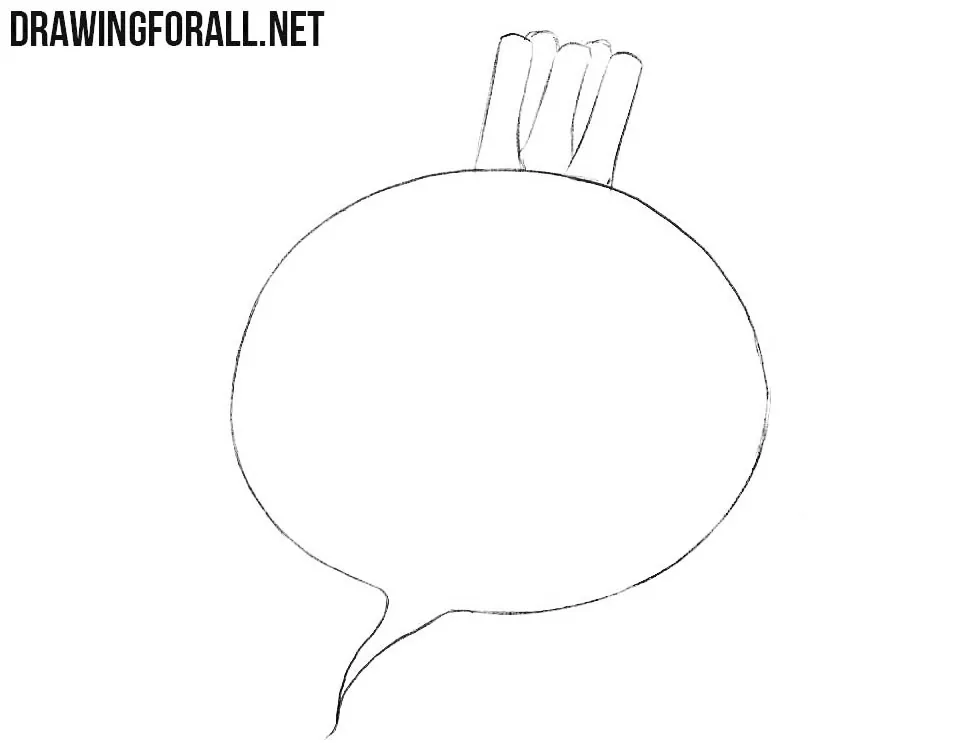
Step 3: Refine the turnip contours
Let’s work a little on the details of the turnip. Draw the stems in more detail and erase the unnecessary line in front of the root. Do not erase the contour lines around the stems.
Step 4: Add shadows to the turnip
To make any object look realistic, it is necessary to add shadows. In this case, draw shadows on the stems and along the left edge of the turnip. Note that there is a small distance between the outer contour and the shadow.
The same basic principles can be used to draw many other root vegetables with similar forms.
For example, try to draw a beet, changing the overall shape and characteristic details. You can also draw a carrot and construct a more tapered vegetable form.


