How to Draw a Turnip

In this drawing tutorial we will show you how to draw a turnip step by step. We tried to make sure that this lesson was not just another tutorial of drawing vegetables. Our goal is to make your progress grow with each post on DFA. Therefore, it is not just a turnip drawing lesson. We made this drawing guide for you practice drawing basic geometric shapes and shadows.
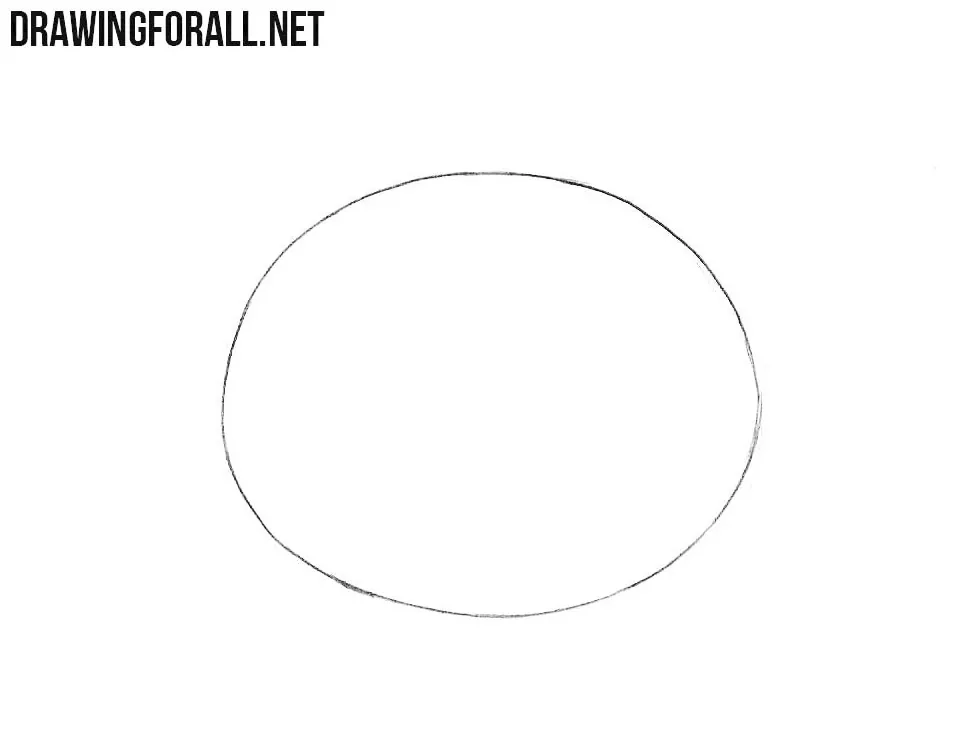
Step 1
First we draw a flattened circle in the center of the sheet. Make sure you don’t draw the perfect circle. In nature, you will not find the perfect symmetry.
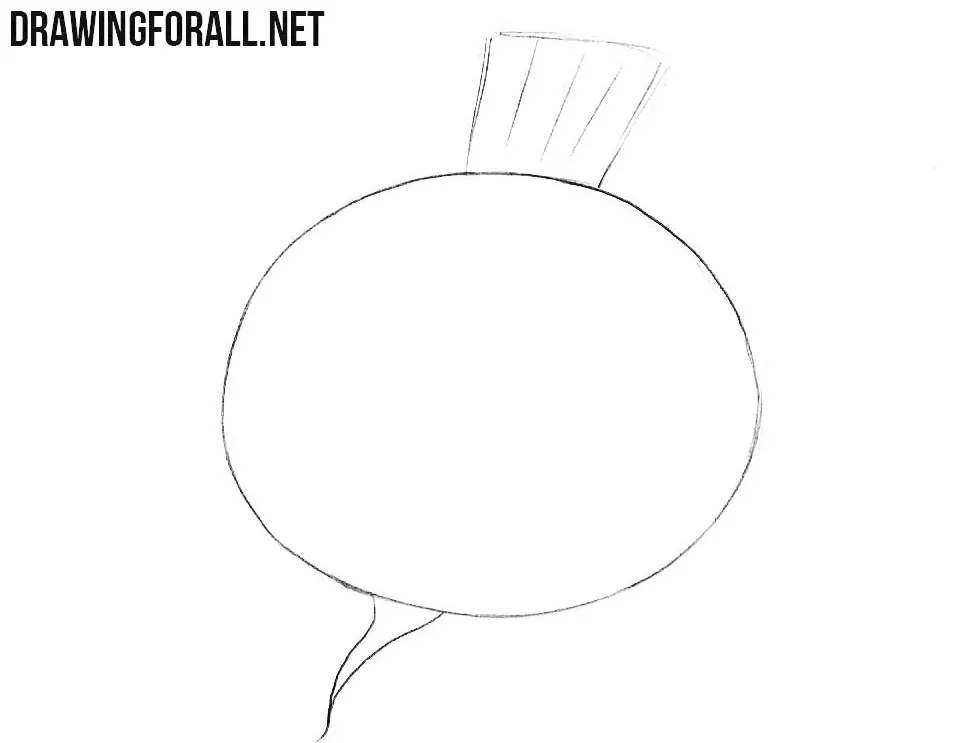
Step 2
Draw the top and bottom of the new elements. The stump of leaves is localized above. Below you can see a long, pointed root. You can draw a more naturalistic turnip if you draw leaves instead of stumps.
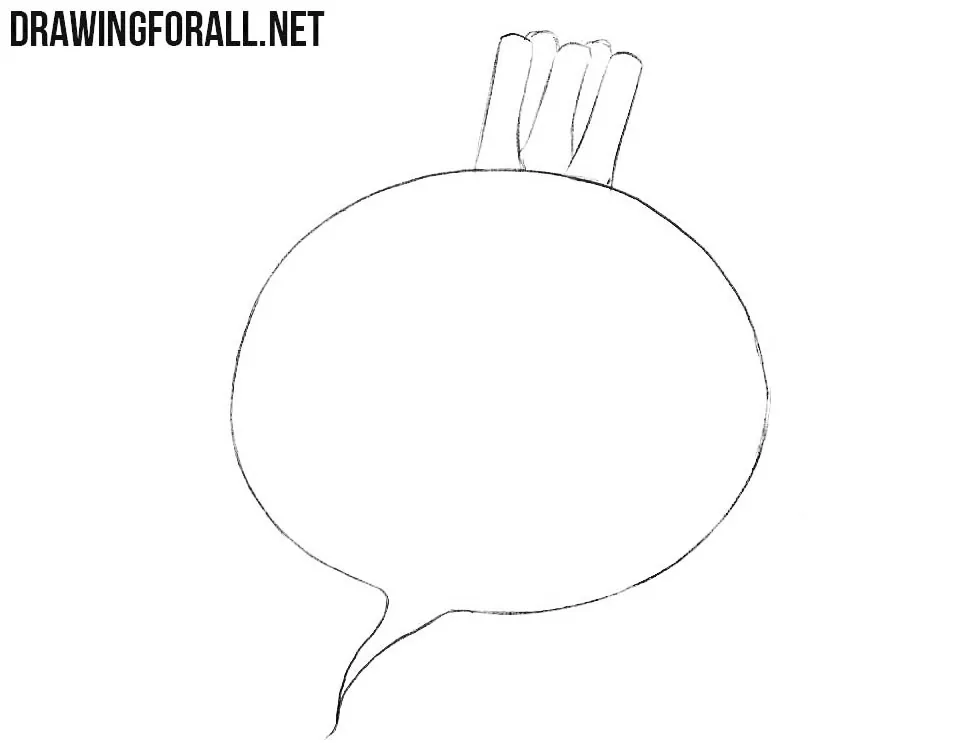
Step 3
Let’s work a little with the details of our turnip. In this step, we draw the stem and erase the line in front of the root. Please note that you do not need to erase anything before the stem.
Step 4
To make any object look realistic it is necessary to have shadows on it. In our case, we draw shadows on the stem and on the left edge of our turnip. Note that there is a small distance between the edge and the shadow.
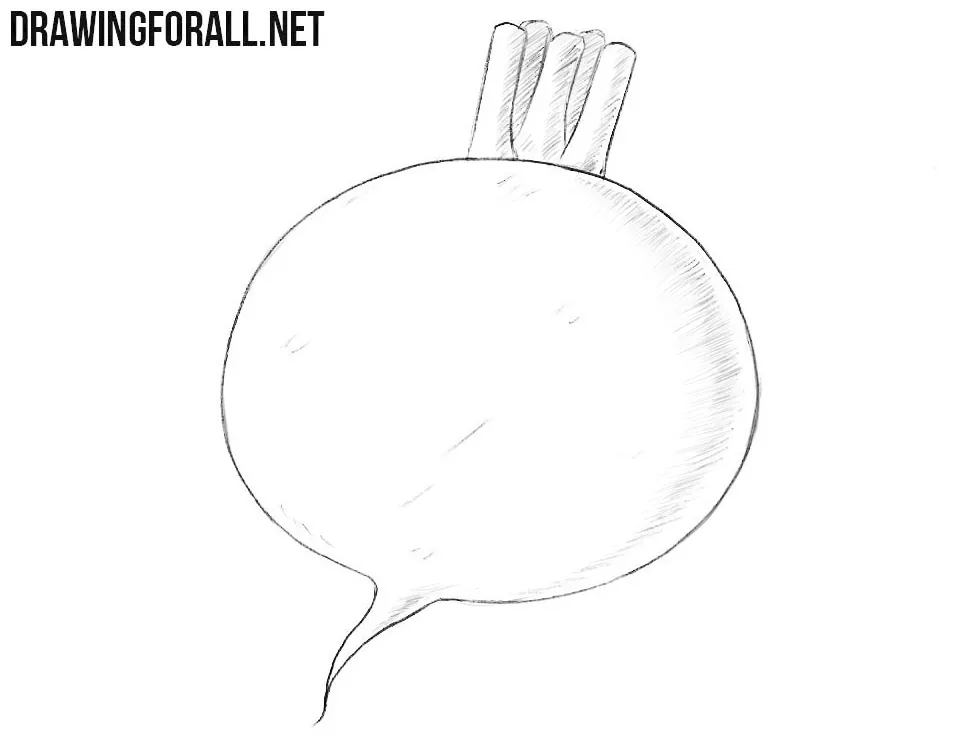
It was pretty easy. By the way, in some languages, turnips are used to denote something simple. We hope that you got a great result. See you soon on our website!