How to Draw an Almond
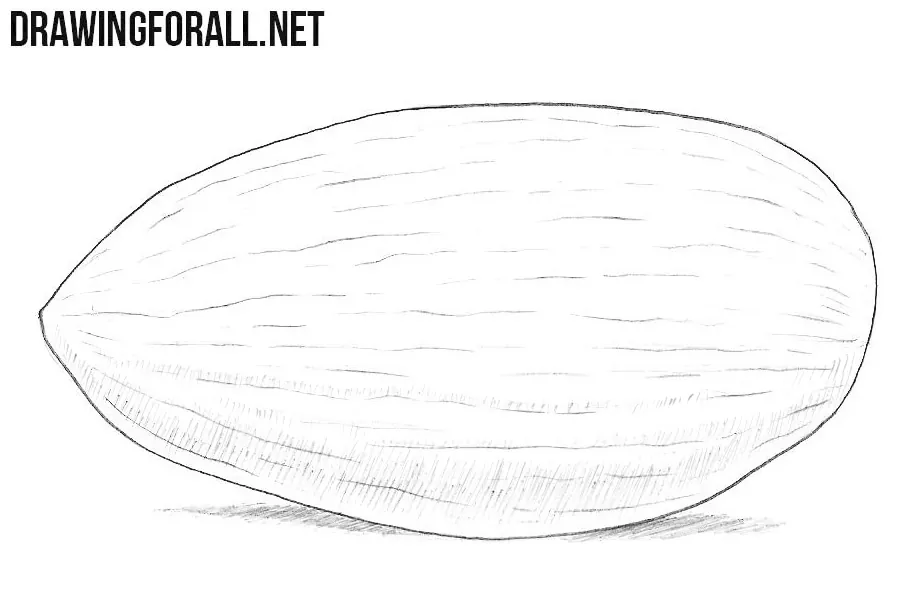
In this step-by-step tutorial, we will show you how to draw an almond, how to convey its uneven texture, and how to apply shadows correctly to show its form.
It is a very simple subject, but there are a few nuances that will make your nut drawing look more realistic. Let’s begin the tutorial and see how it works in practice.
How to draw an almond step by step
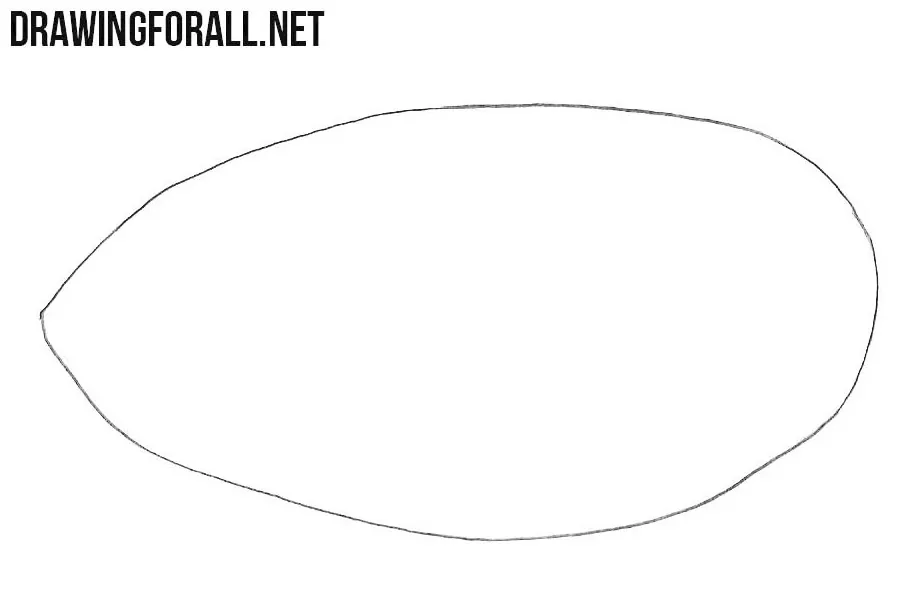
Step 1: Sketch the almond shape
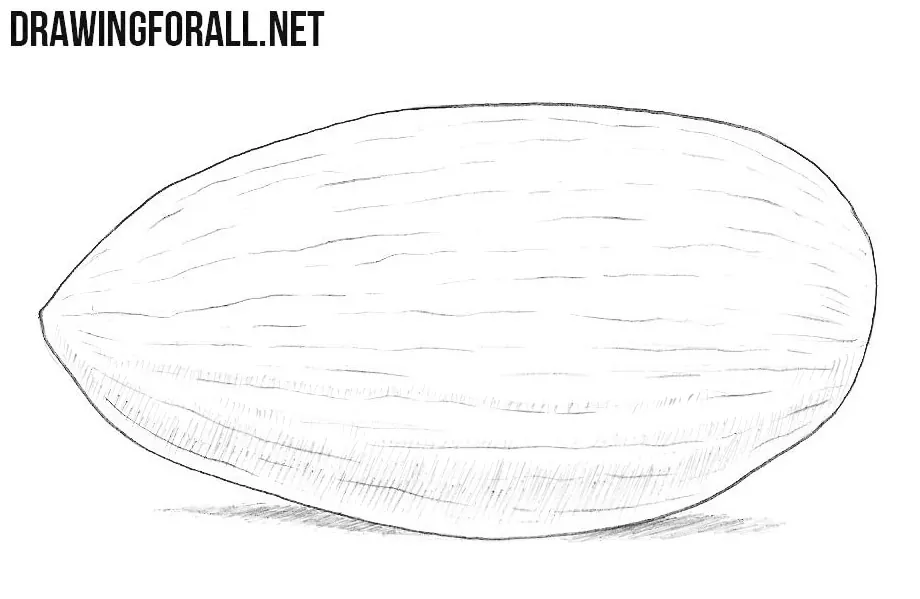
You can see an elongated oval shape that extends horizontally. One end of this shape is very sharp. The opposite end is wider and more rounded, so the almond should not look symmetrical. Don’t try to make the shape too even. The line should be very slightly bumpy, which will make the almond drawing look more convincing later on.
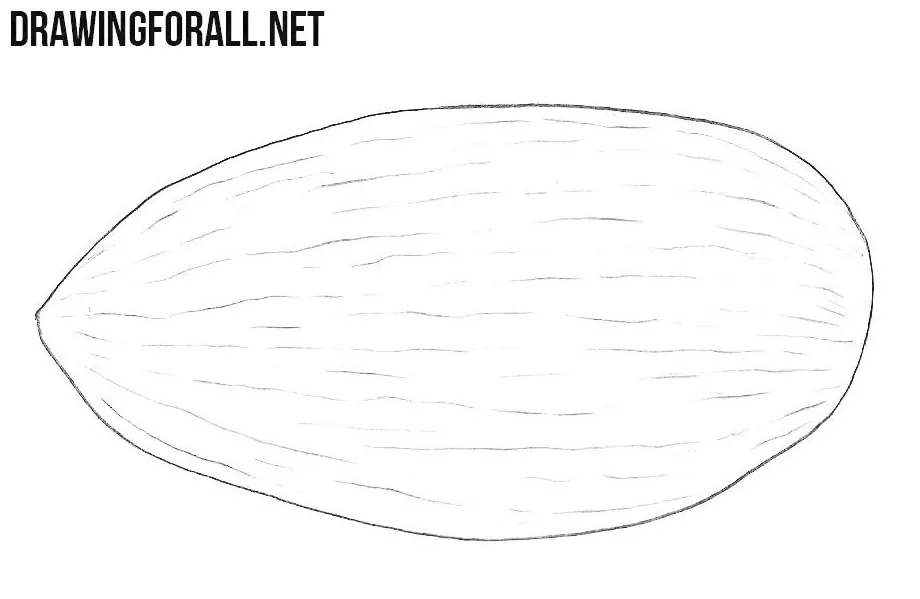
Step 2: Draw the almond skin texture
If you have seen almonds, you probably noticed that they are covered with a skin with ridges and grooves. Now we will draw the texture of the almond skin. It looks like many slightly curved lines running along the surface inside the contour from the first step. Near the upper and lower edges, make the lines curve with the surface and place them somewhat closer together. Toward the pointed end, the longitudinal lines should gradually converge with the narrowing shape of the almond.
Step 3: Shade the almond and cast shadow
Add shadows with hatching to the lower part of the nut, leaving a thin strip at the very bottom lighter to convey reflected light. The grooves and ridges also have their own volume. To show this, add thinner strips of shadow to the lower sides of several ridges above the larger area of shadow. Finally, draw the narrow cast shadow directly beneath the almond.
Nuts are not only a source of healthy fats and proteins but also a source of new knowledge in the field of drawing.
The fact is that nuts have very simple geometric forms, and drawing them will help improve your line-drawing skills.
For example, this particular tutorial contains a lot of uneven lines. You should be able to draw uneven lines, but at the same time make the lines themselves clear and smooth.
Here you learned how to draw an almond and how to create a three-dimensional texture. Remember that shadows on objects with this kind of textured surface should be added not only according to the overall form, but also according to the changes in the texture. Here you saw a clear example of how to do this on a simple subject.
You could see a similar principle in our walnut drawing tutorial, where we showed how to create volume in the texture of the walnut kernel.
You could also see this principle when drawing an ear of corn, conveying its overall three-dimensional form as well as the individual kernels.