

How to Draw a Blackberry
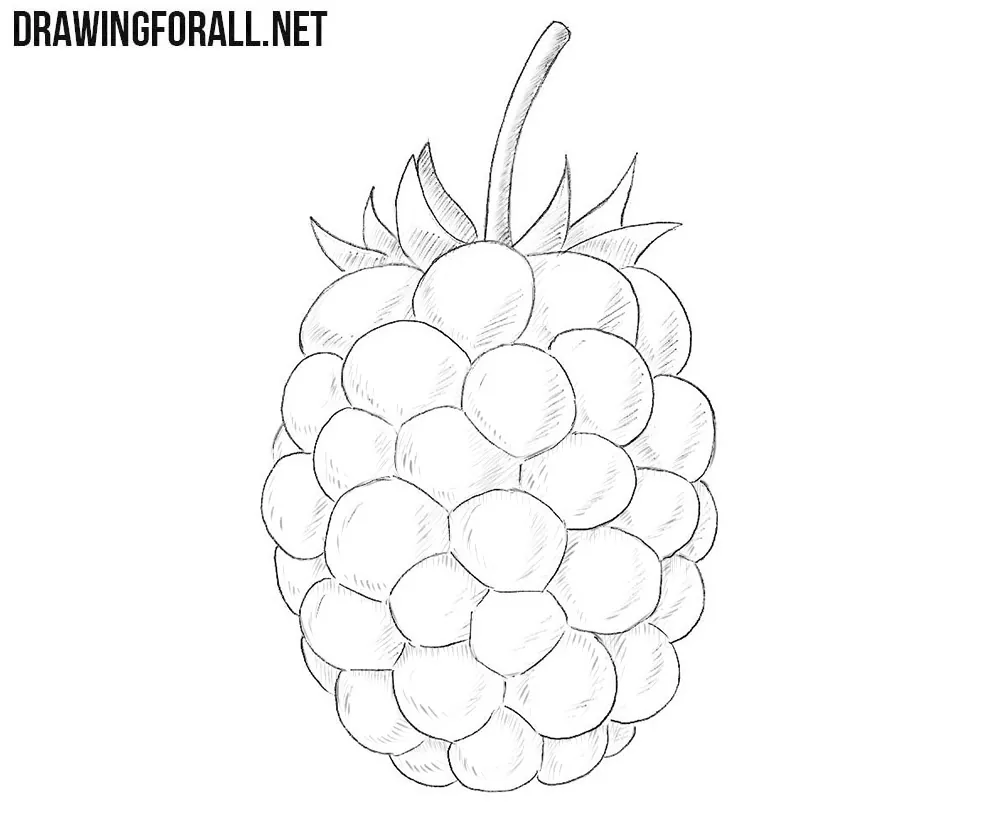
Unlike many berries with a smooth surface, a blackberry is made up of many small spherical drupelets joined into a single form. In this tutorial, we will show you how to draw a blackberry and how to work with these individual forms without losing the overall shape and volume of the berry.
How to draw a blackberry step by step
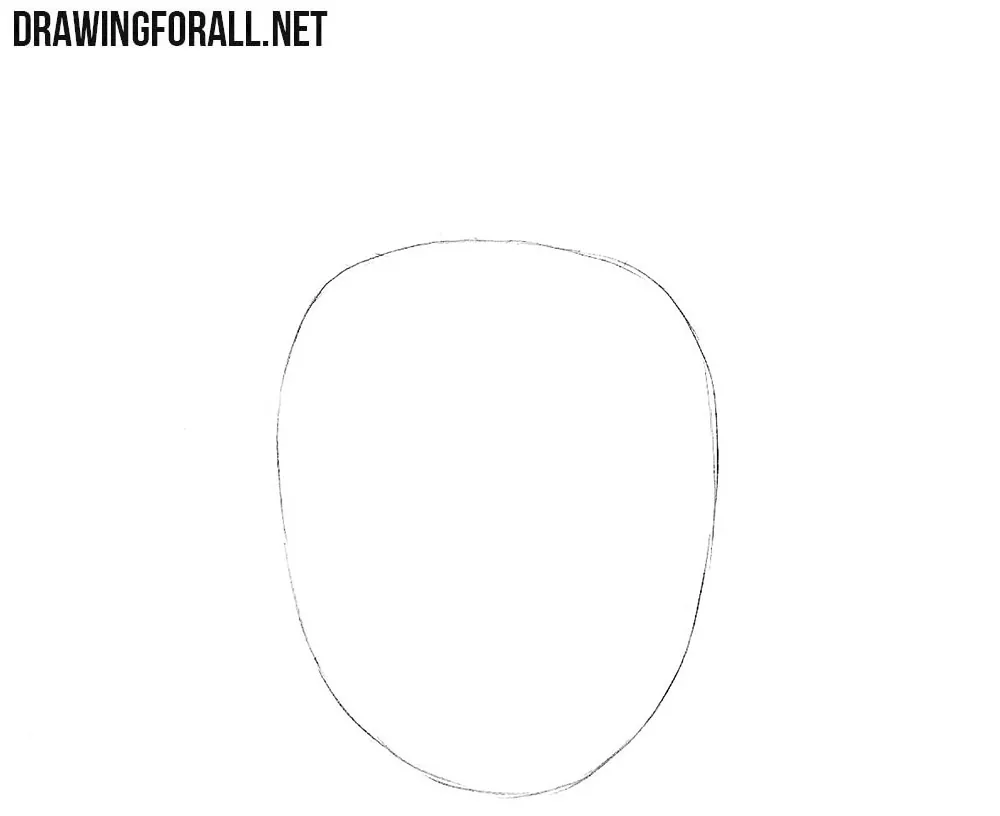
Step 1: Sketch the blackberry outline
Block in the blackberry outline as an asymmetrical rounded shape. It looks like a cross between a fir cone and an acorn. The shape should be sketched using very light lines.
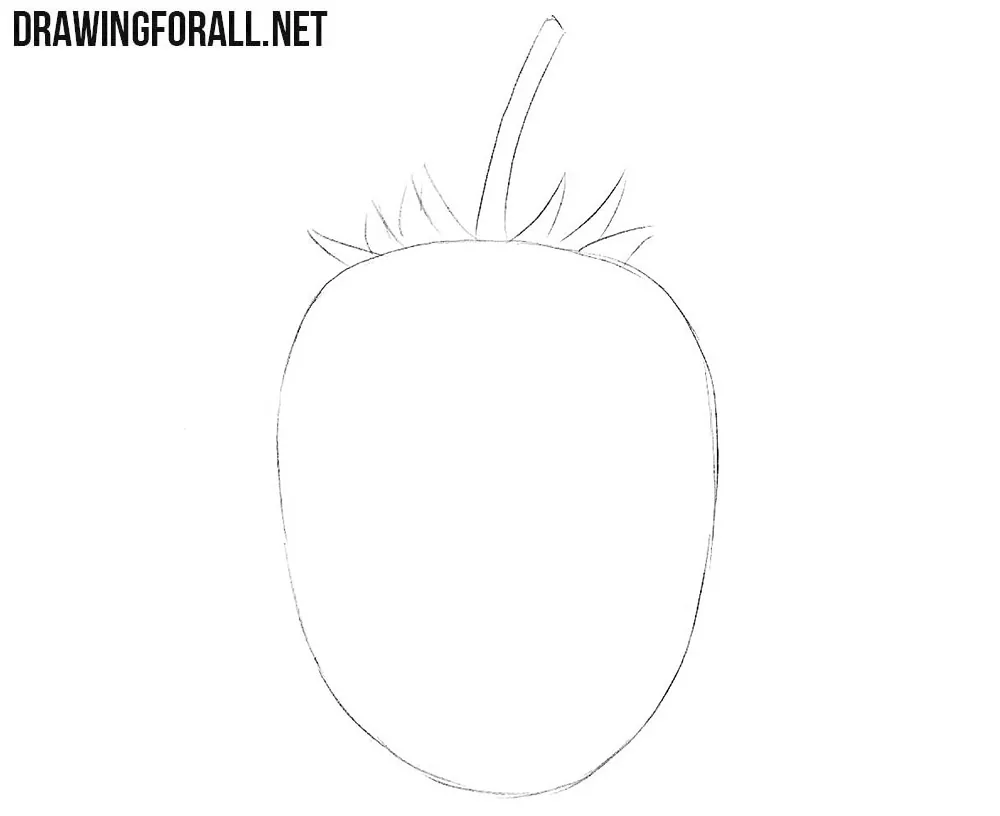
Step 2: Add the stem and sepals
Sketch the stem as an elongated shape at the top of the berry outline. Then sketch the sepals around it. You can choose the number of sepals to your taste. As you can see, our simple sketch is slowly starting to look like a blackberry.
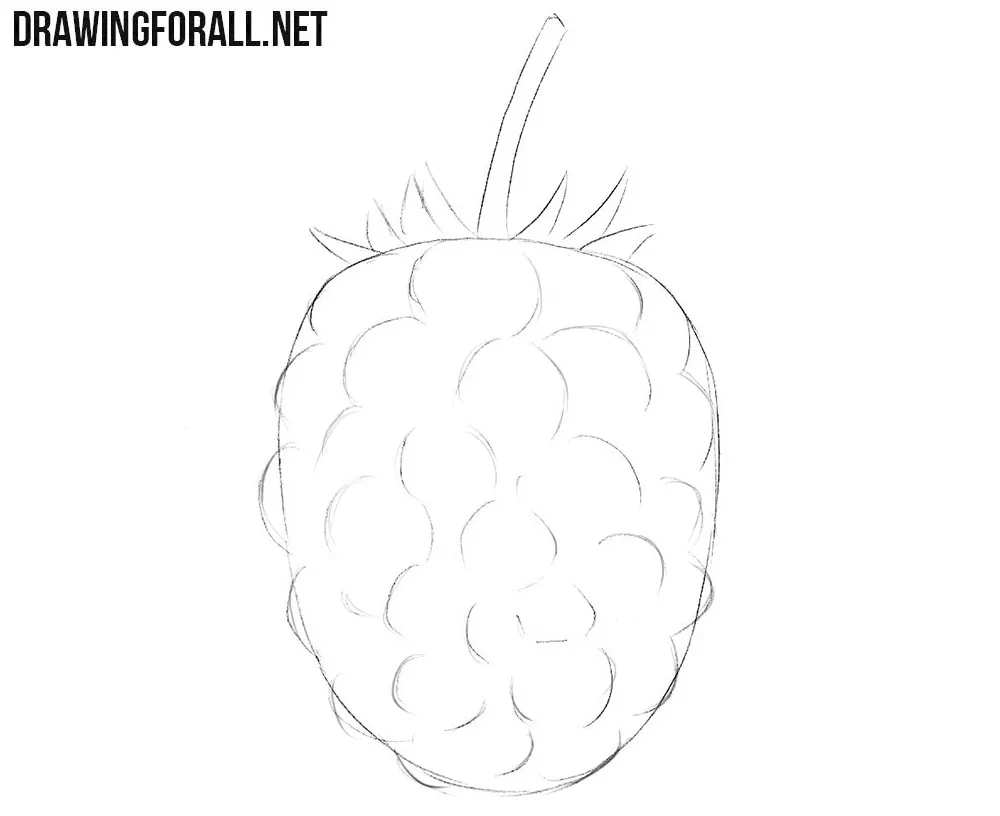
Step 3: Sketch the blackberry drupelets
Stark adding the individual parts that form the blackberry. A blackberry consists of many small spherical drupelets. To make our berry drawing look realistic, draw the outlines of these drupelets in an irregular arrangement. Do not make the lines too dark, because we will need to correct and refine the drawing later.
Step 4: Refine the blackberry contours
Erase the unnecessary lines from the first steps and draw the final contours of the rounded drupelets. As you refine them, compare the individual forms with the overall contour of the blackberry so that the berry still reads as a single volume. The outer drupelets should follow the silhouette created in the first step. Think of each drupelet as a small spherical form arranged around the imaginary core of the blackberry and spreading outward from the center. The spheres along the sides turn away from the viewer, so their visible shapes differ from those facing us directly.
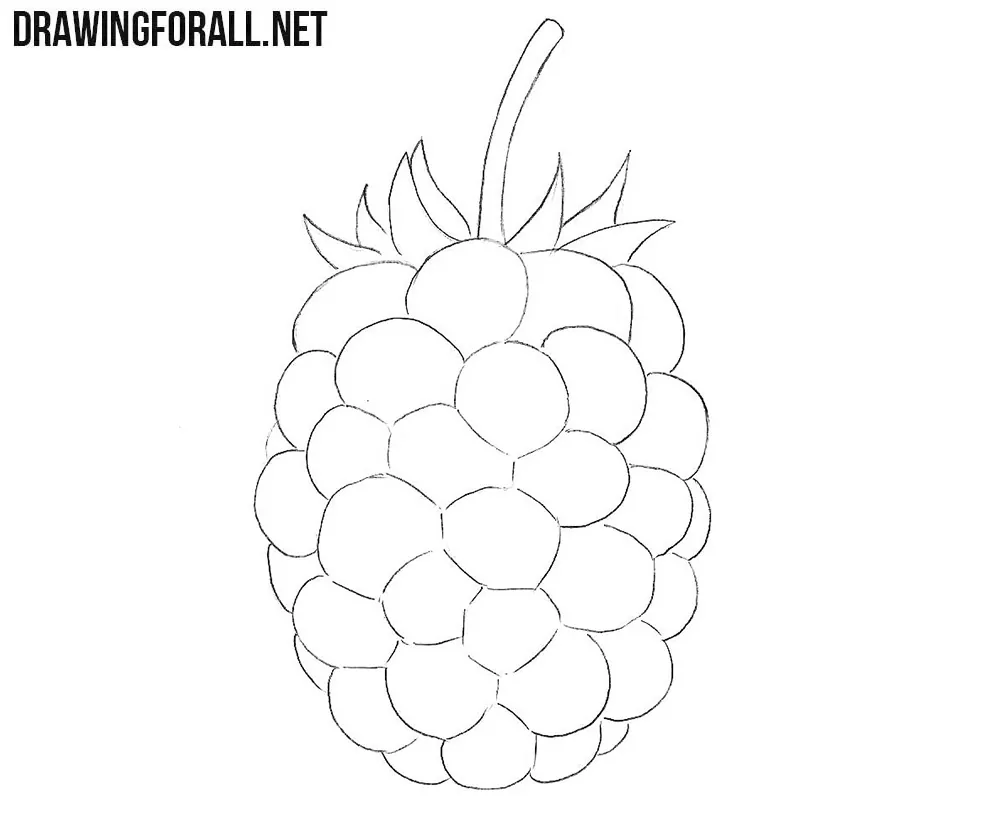
Step 5: Add shadows to the blackberry
Apply a few light, sweeping hatching strokes to each drupelet. If the light falls from above, place the shadow on the lower part of each drupelet. Treat each drupelet as a small spherical form, but at the same time follow the general light and shadow of the entire blackberry. Leave small unshaded areas at the edges of the shapes to convey the effect of reflected light. In the same way, draw the shadows on the stem and sepals.
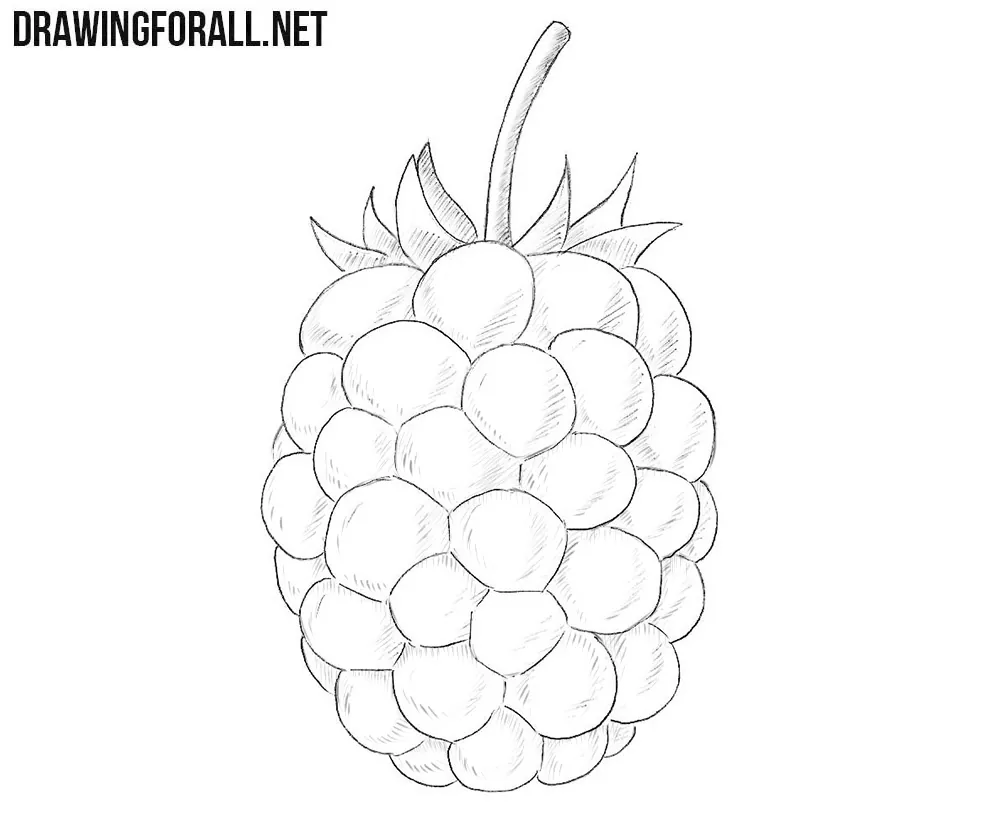
If you were able to learn how to draw a blackberry, then our efforts were not in vain. The biggest difficulty in this tutorial is applying the small bumps and shadows correctly.
There are many of them in this drawing, and they should be placed in the right areas to create a realistic effect.
The unusual surface of a blackberry makes the work with light and shadow especially interesting. Instead of shading one simple rounded form, you need to show the volume of many small drupelets while preserving the overall volume of the berry.
If this shape was too complicated for you, first try to learn how to draw a blueberry. Its surface is much simpler, so you can try to recreate it first, then return to the blackberry.


