How to Draw a Pepper Mill
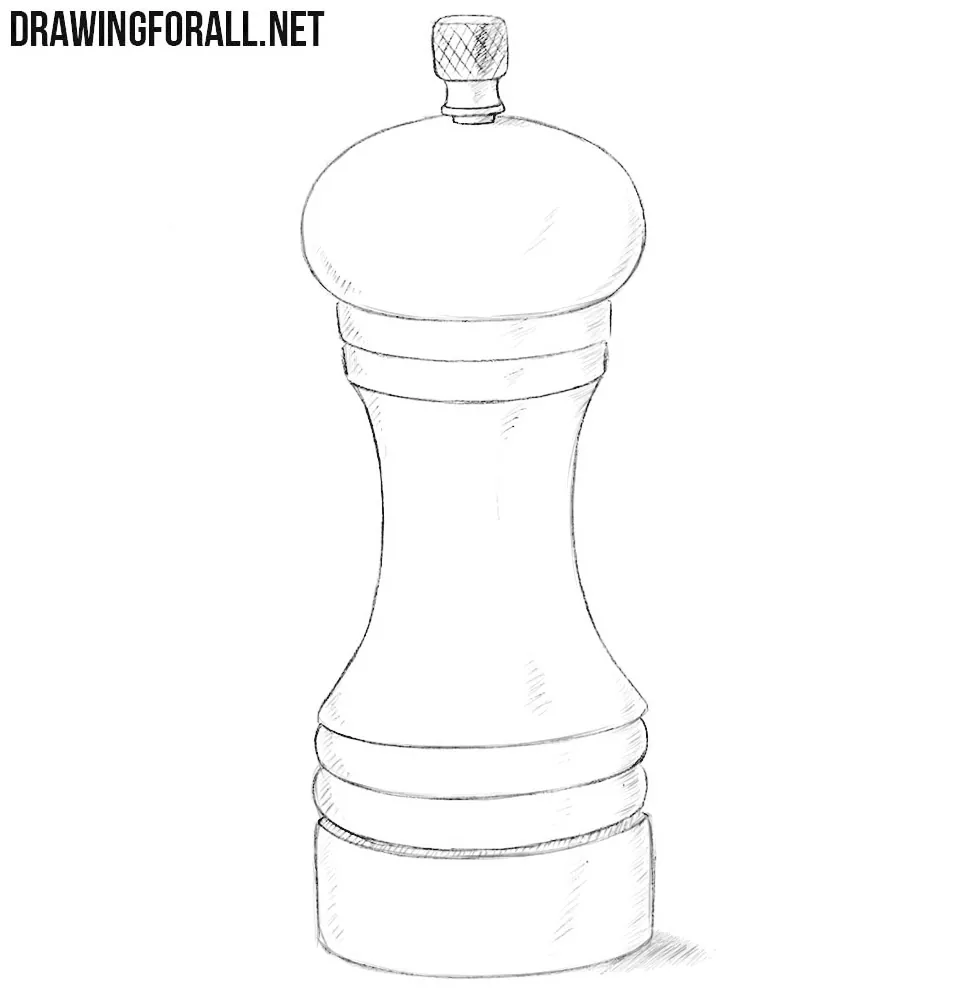
The seemingly simple shape of a pepper mill should not mislead you, because there are several very important nuances to drawing it correctly. In this step-by-step tutorial, we want to show you how to draw a pepper mill and focus on exactly those aspects and details that help make this simple object look three-dimensional and realistic.
The first and most important thing to keep in mind throughout the entire drawing process is that you are drawing a cylindrical object with a complex shape. All the curves of the pepper mill should follow the overall cylindrical form of the object.
How to draw a pepper mill step by step
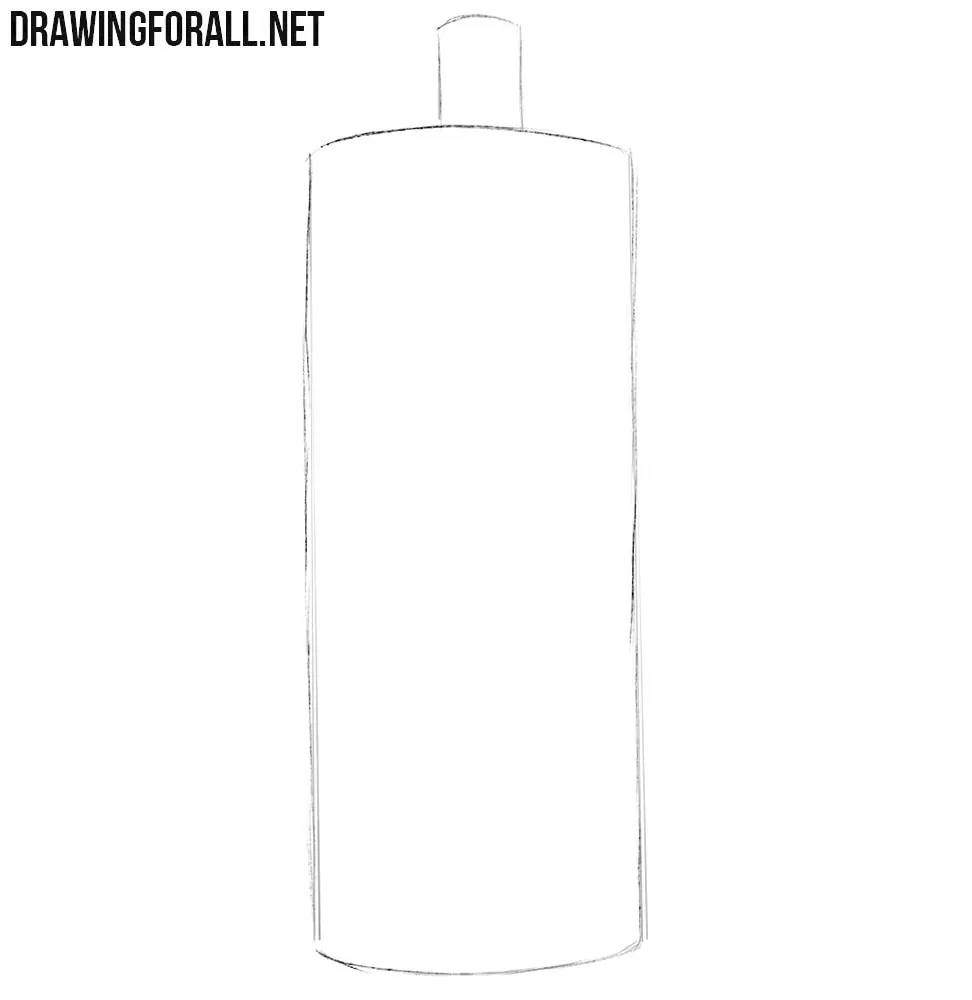
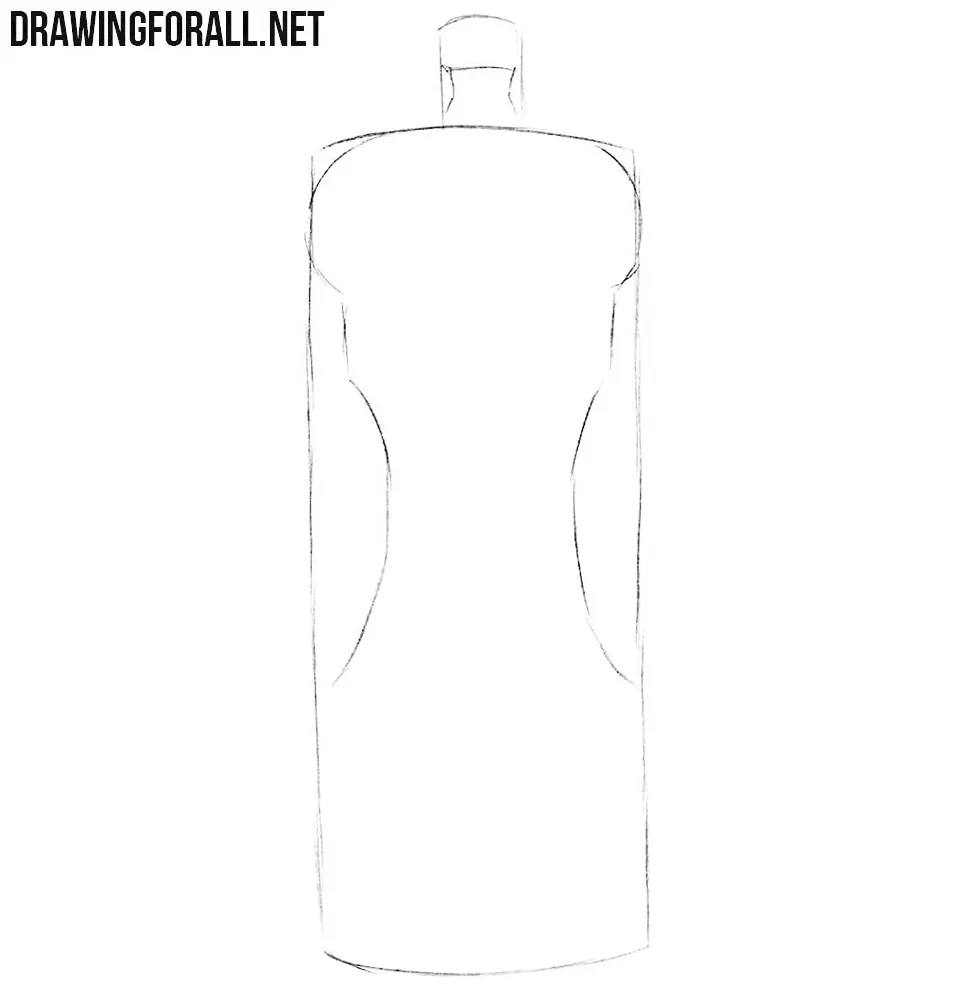
Step 1: Sketch the pepper mill cylinders
First of all, outline the main body of the pepper mill as a large cylinder. At the top, sketch another cylinder, but much smaller. Place both cylindrical forms on the same vertical axis. Make the upper and lower edges of the large cylinder slightly curved to show the circular cross-section of the mill body.
Step 2: Shape the pepper mill body
Now refine the contours of the pepper mill. Round the upper section, narrow the sides toward the middle, and shape the small knob at the top. Keep in mind that all these curves of the form should be arranged evenly around the central axis. The right and left sides should be symmetrical, so constantly check this throughout the drawing process.
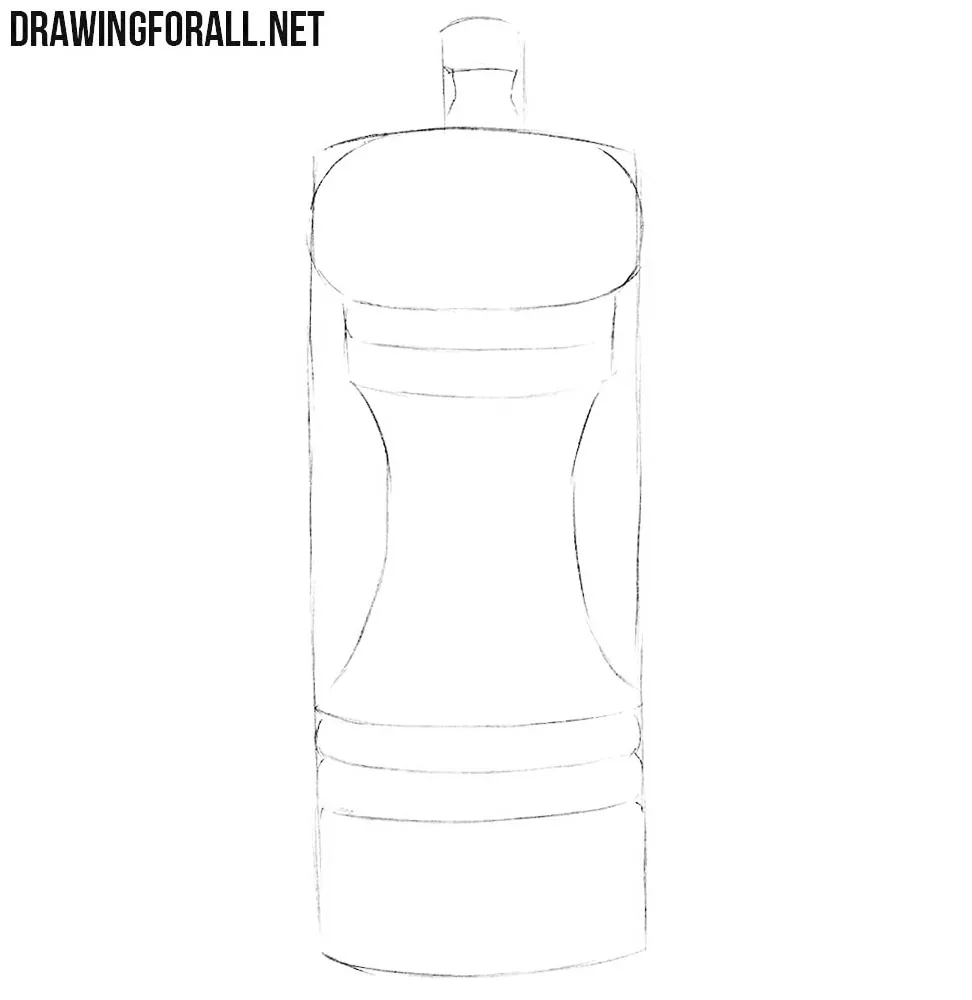
Step 3: Add the decorative bands
Now draw several horizontal, slightly curved lines around the upper and lower parts of the pepper mill to form the decorative bands. These decorative rings run around the body of the mill. Their curvature should correspond to the cylindrical sections on which they are located.
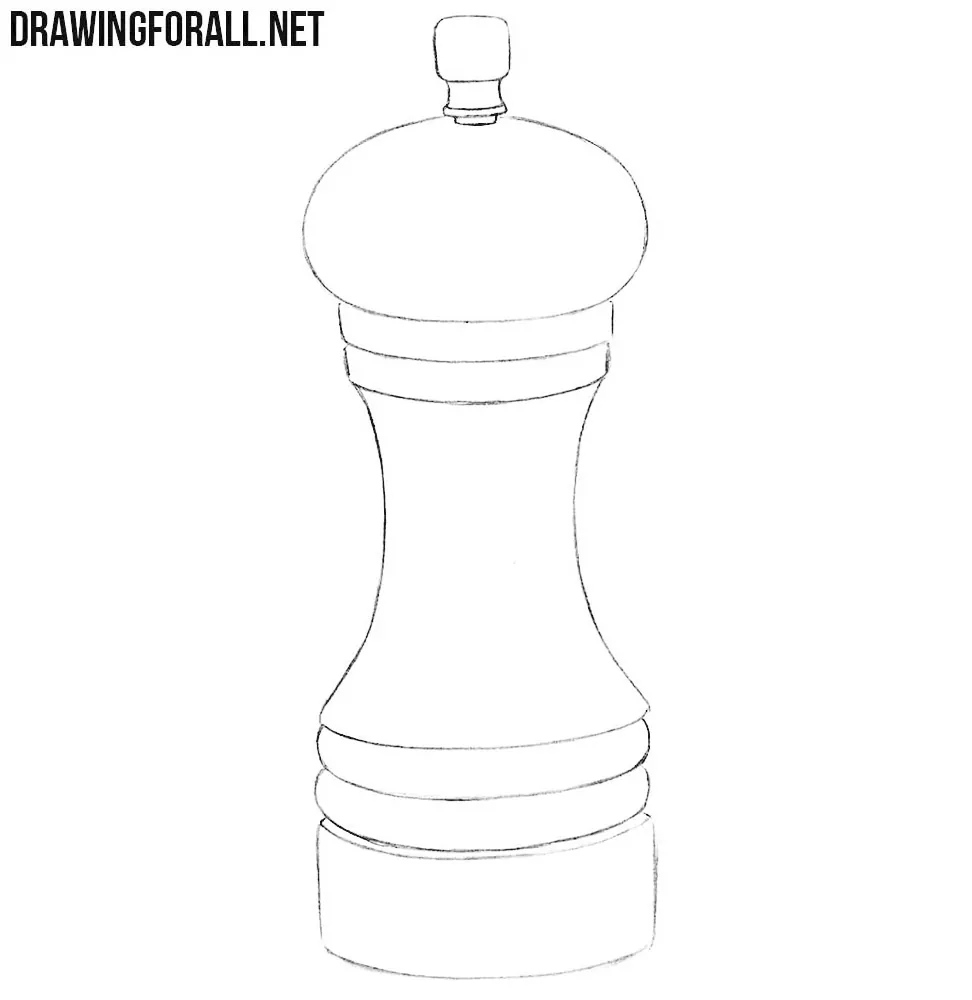
Step 4: Refine the pepper mill contours
Take an eraser and remove all unnecessary guidelines from the pepper mill drawing. Then trace this kitchen tool with clear, dark lines. When refining the grinder silhouette, make the transitions between the wide, narrow, convex, and concave sections smooth. Also refine the small neck and top knob.
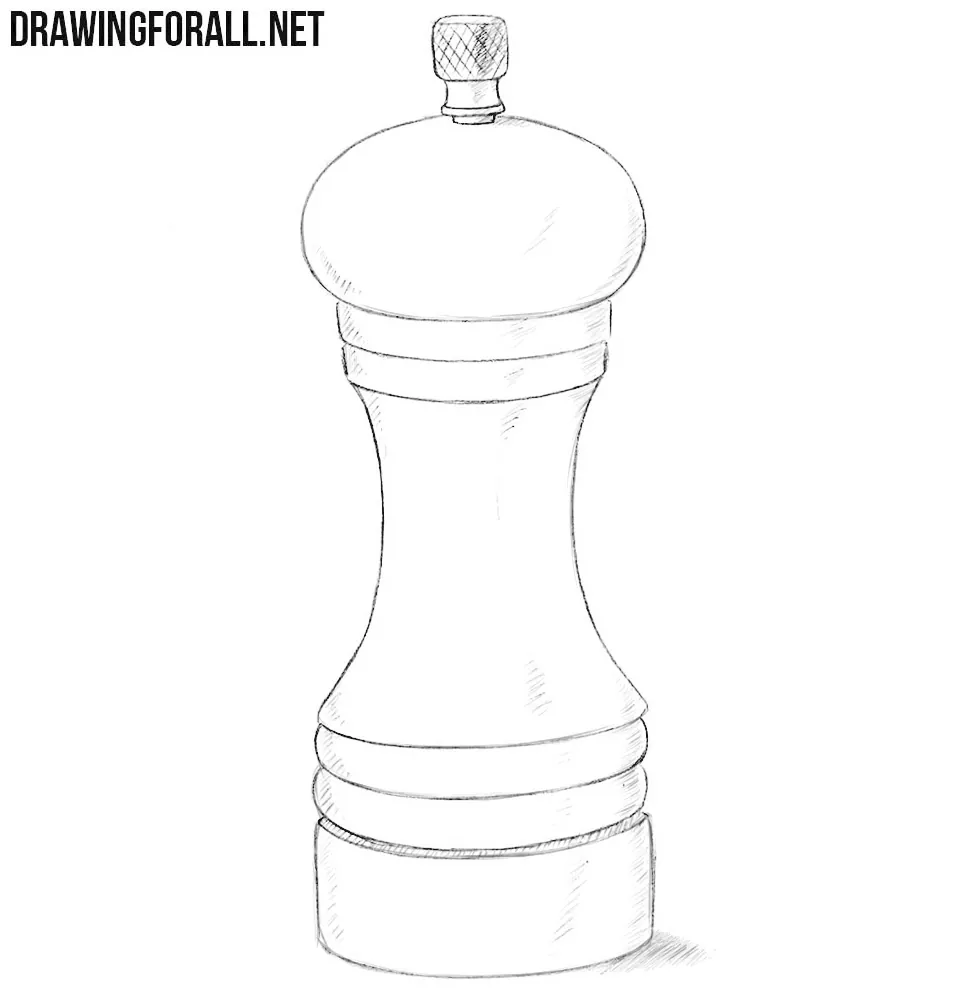
Step 5: Shade the pepper grinder
Add shadows to the side surfaces of the pepper mill, in the areas where the form turns away from the viewer. Use intersecting lines to show the texture of the top knob. Make the shading on it more contrasty, since it is a glossier metal surface. Beneath the object, add a light cast shadow to ground it on the surface.
Let’s summarize the main aspects of drawing a pepper mill. The most important thing to remember is that, at its core, it is a cylinder with a complex shape.
The shape itself may vary slightly and include different decorative elements, but the basic drawing process will remain the same.
Even simple shadows like those in our example will help make the drawing look three-dimensional, taking it from a simple line drawing to a drawing that combines lines with light and shadow.
A fairly similar method is used when you draw a salt shaker. First, sketch a cylindrical object or a geometric form resembling an elongated rectangle, then round off the top and gradually add the details around the central axis.