How to Draw a Cup of Coffee
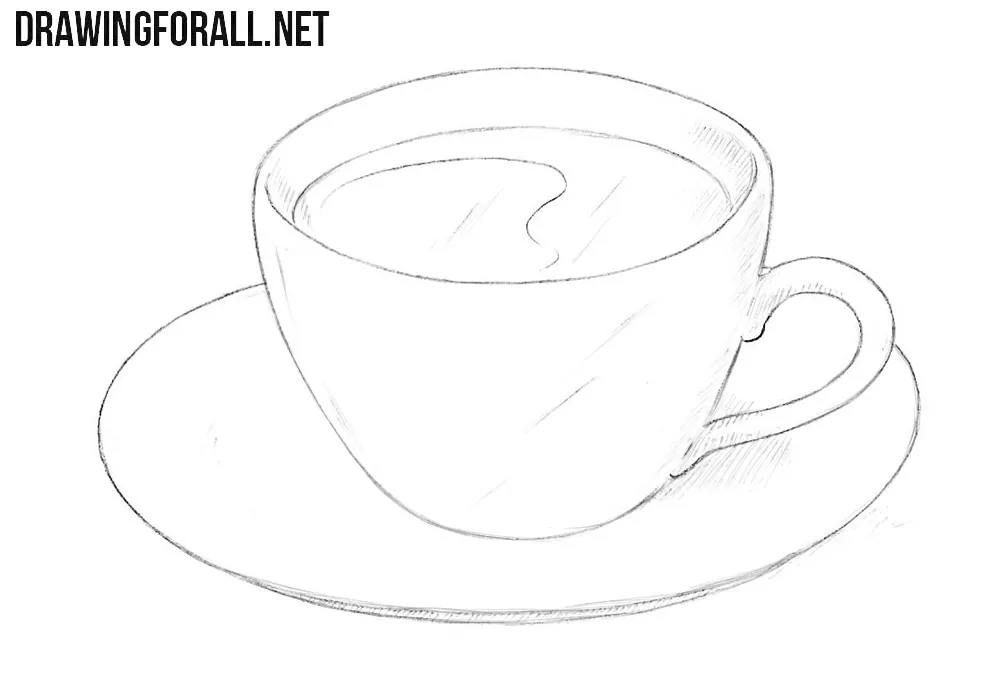
People drink coffee from porcelain cups, glasses, and paper cups. In this step-by-step tutorial, we will show you how to draw a cup of coffee in a classic form with a small saucer beneath it.
First, we will show you how to indicate the overall volume of the cup and saucer, then gradually refine and finish both objects and depict the coffee inside. At the end, we will show you how to create volume in the drawing with simple shadows.
How to draw a cup of coffee step by step
Step 1: Sketch the coffee cup and saucer
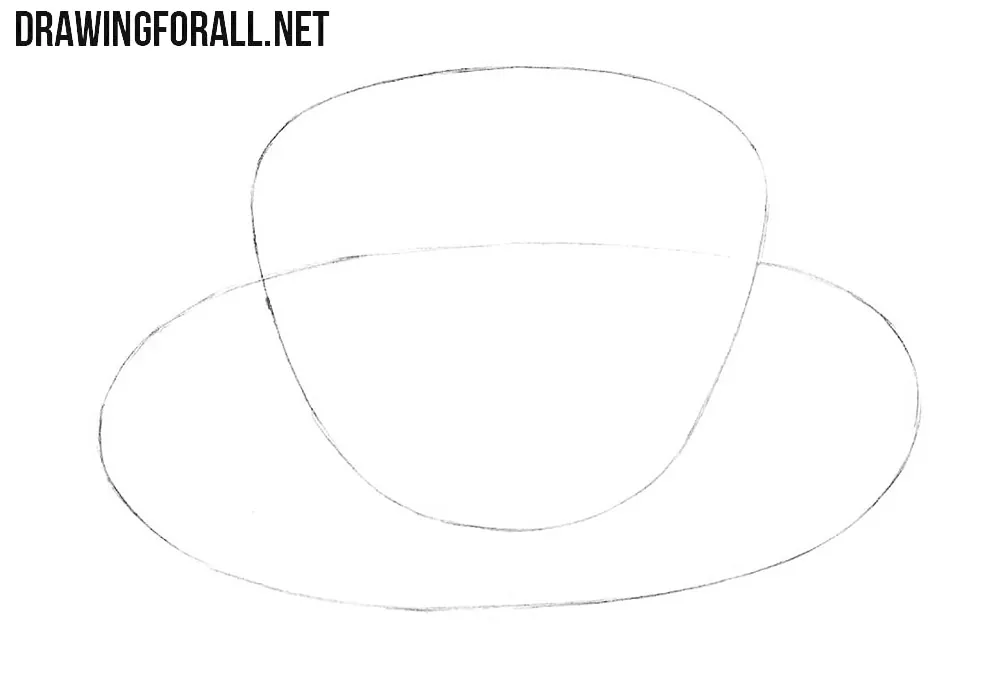
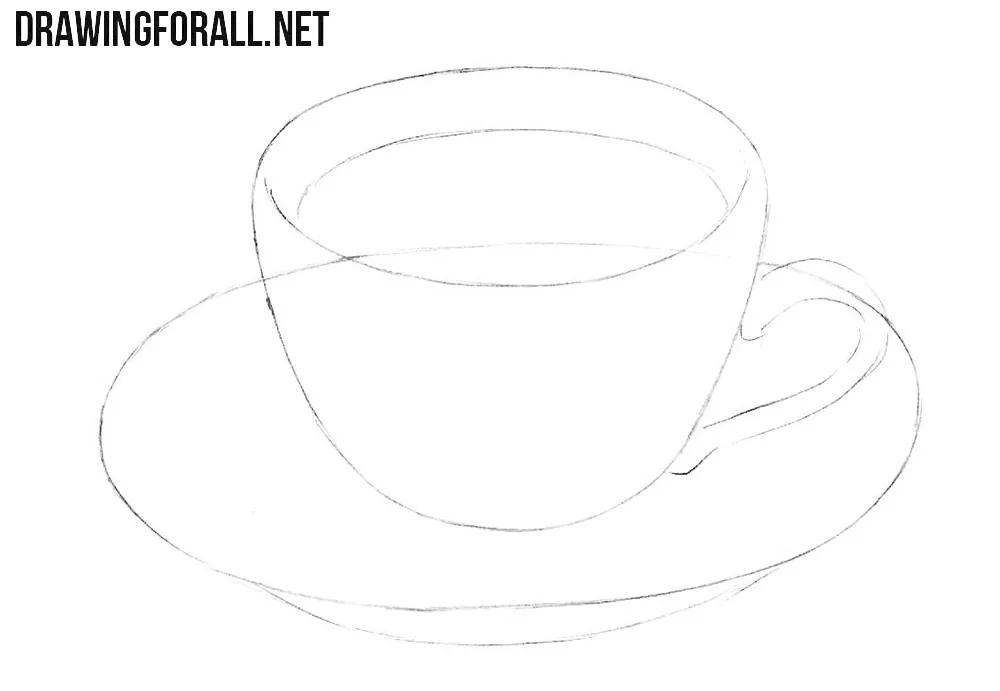
As in our tutorial on drawing a cup, first sketch the outline of the coffee cup. The main volume of the cup is wider at the top and gradually narrows toward the bottom. It can be represented as a slightly modified truncated cone. Next, outline the saucer as a wide oval. In reality, the saucer is circular, but because we see its horizontal plane at an angle, it appears as a flattened ellipse.
Step 2: Draw the coffee surface and handle
Now add the main details to the coffee cup and saucer. First, draw the coffee surface inside the cup with a curved line. Complete this surface as an ellipse placed inside the upper rim of the cup. Its direction should correspond to the ellipse of the saucer, since both surfaces lie in horizontal planes. Next, outline the cup handle and add the lower edge of the saucer.
Step 3: Refine the coffee cup and saucer
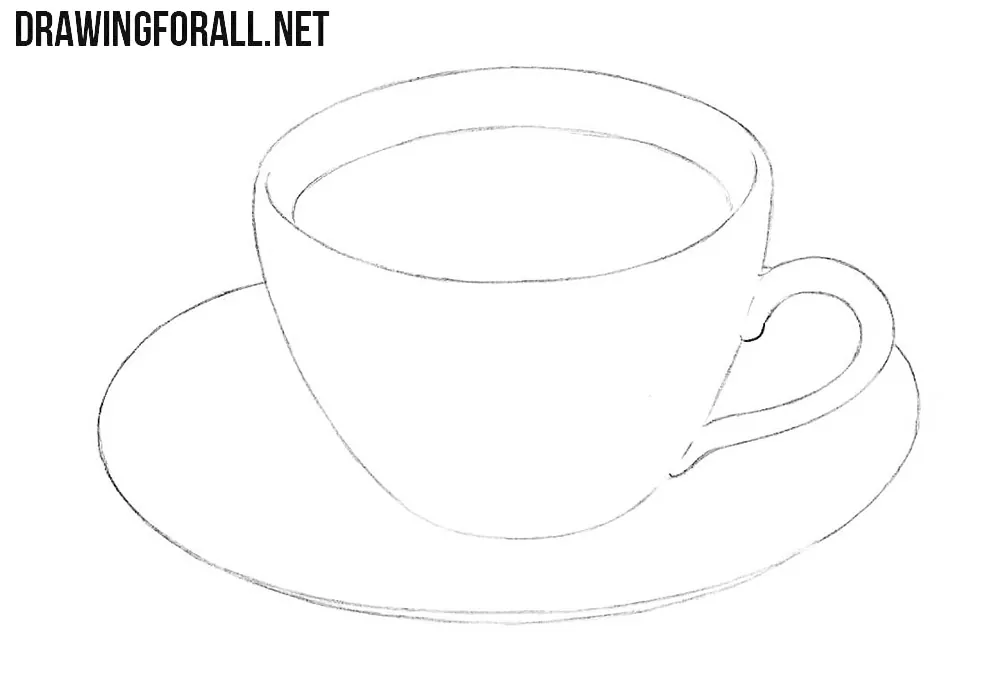
Carefully trace the final outlines of the coffee cup, handle, and saucer with clear, dark lines, then erase the unnecessary guidelines. Where the handle connects to the cup, its contours should disappear. The details should be symmetrical, so regularly check this as you draw by holding the drawing farther away from you and looking at it in a mirror.
Step 4: Shade the coffee cup and saucer
To give the cup of coffee more volume, add light hatching to the shaded areas of the porcelain cup, handle, and saucer. Place more hatching on the right side of the coffee cup, inside the upper rim, and beneath the handle where it casts a shadow onto the saucer. Add a few strokes along the lower edge of the saucer to separate its front plane from the top surface. Mark the highlights on the coffee surface and cup with a few light lines.
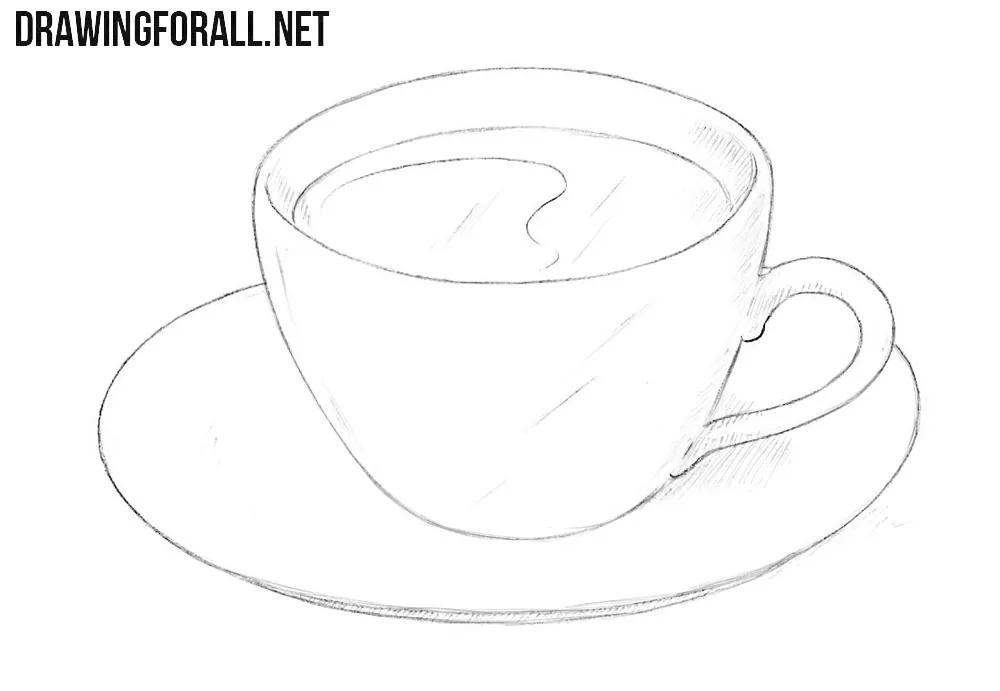
So, what allows the viewer to understand that they are looking at a drawing of a cup of coffee rather than some other drink?
If we are talking about a black-and-white pencil drawing, our set of techniques is quite limited. The main way to convey that this is specifically a cup of coffee is through its characteristic appearance and the saucer beneath it, which is exactly what we did in the steps of this tutorial.
The point is that, because of personal experience, people tend to interpret visual images according to how they are accustomed to seeing them in real life or in the media.
If a cup of coffee usually appears to them in a certain way, then even in a simple pencil line drawing, they are likely to perceive it the way you intended. You can also make the coffee inside the cup darker with light hatching or by filling it with a darker tone.
By making the cup slightly larger and adding a tea bag hanging from the drink, you can draw a cup of tea, and the viewer will not confuse this image with coffee.