

How to Draw Coffee Beans
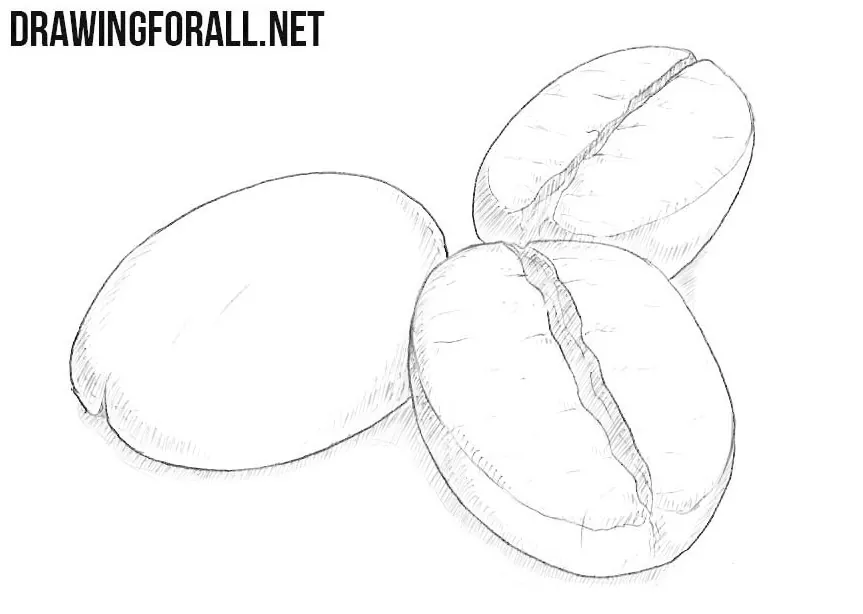
If you want to learn how to draw coffee beans, this tutorial is a great place to start. The aroma of a good cup of coffee has inspired many of the drawing tutorials published on this site.
So, let’s pay tribute to this wonderful drink by drawing the coffee beans that make every cup possible.
How to draw coffee beans step by step
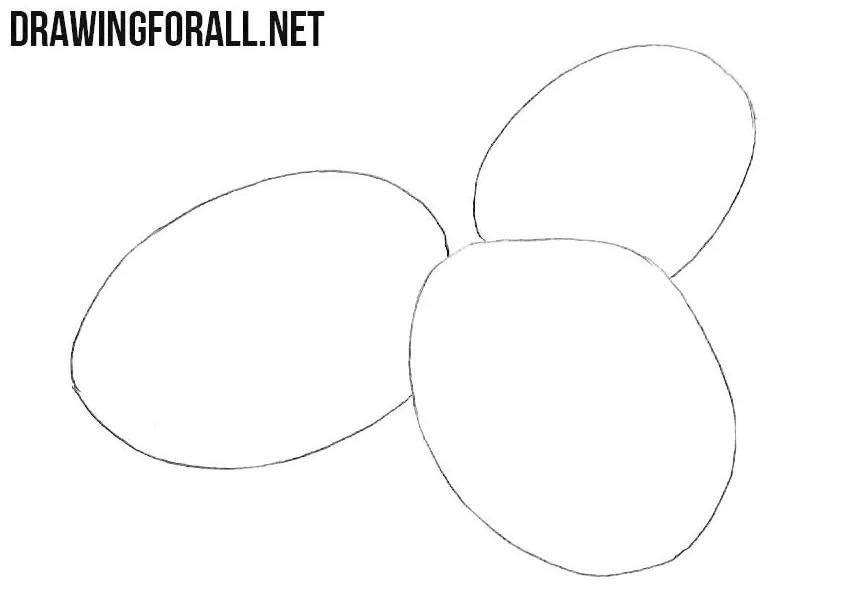
Step 1: Outline the coffee beans
Begin by sketching the basic outlines of the coffee beans using light, smooth lines. Each bean has a slightly asymmetrical oval shape. Don’t try to make them perfectly symmetrical. Arrange the beans so they slightly overlap to create a more natural composition.
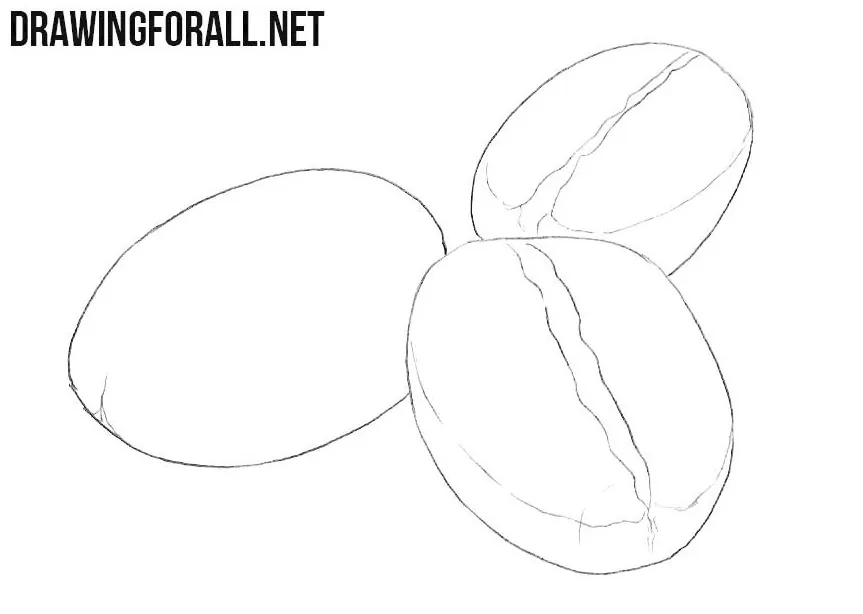
Step 2: Add the central grooves
Add the characteristic groove running through the center of each coffee bean. Give the groove an uneven, organic shape. Then draw a narrow raised edge along one side of each bean to convey its three-dimensional form.
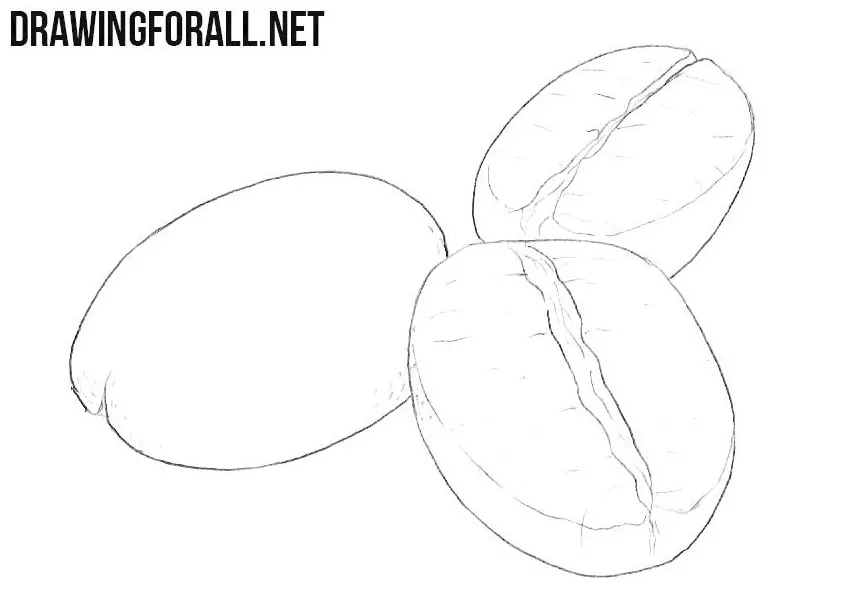
Step 3: Mark the uneven texture
Refine the coffee beans by adding short, irregular strokes around the central grooves and along the edges. These small marks represent the natural wrinkles and rough texture of roasted coffee beans. Keep the texture subtle and avoid covering the entire surface with lines.
Step 4: Shade the coffee beans
Finish the drawing by adding light hatching to the areas turned away from the light source. Shade the grooves, the lower edges, and the overlapping parts of the beans.
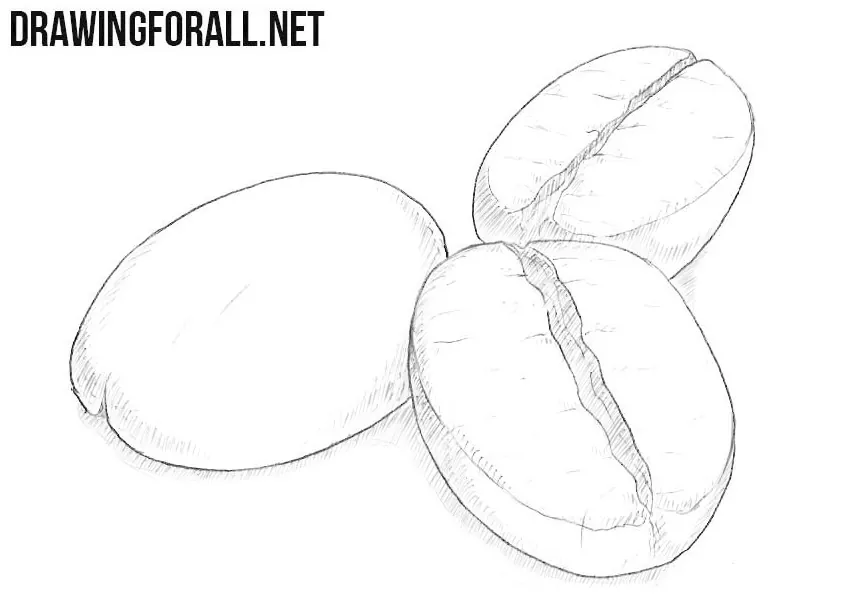
Additionally, you can spend a little more time giving the coffee beans extra volume. Make the shadows and contrast stronger on the beans that are closest to the viewer, while keeping the beans in the background lighter.
This creates a subtle sense of atmospheric perspective. Combined with the overlapping shapes already present in the drawing, this simple technique helps make the composition look more three-dimensional.


It was too basic and I need to be more detailed. Thank You!!