How to Draw a Coconut
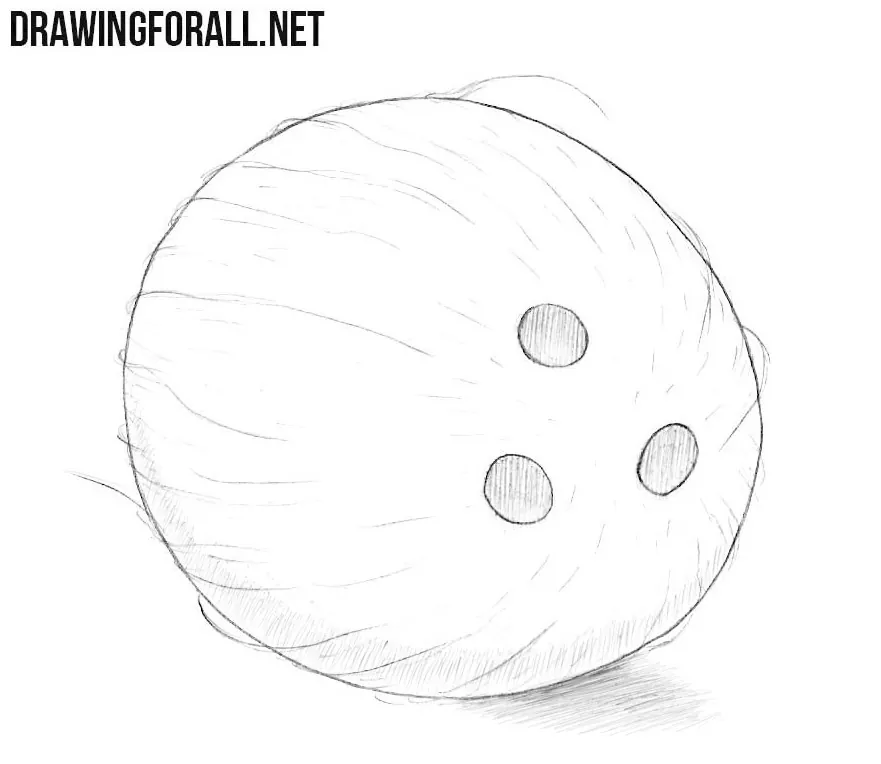
There are a few simple techniques that will help you correctly convey the appearance of a coconut and distinguish it from a simple oval. In this tutorial, we will demonstrate these techniques and show you how to draw a coconut with its characteristic three spots and fibrous texture.
At the very end, you will see a shading scheme for conveying volume.
How to draw a coconut step by step
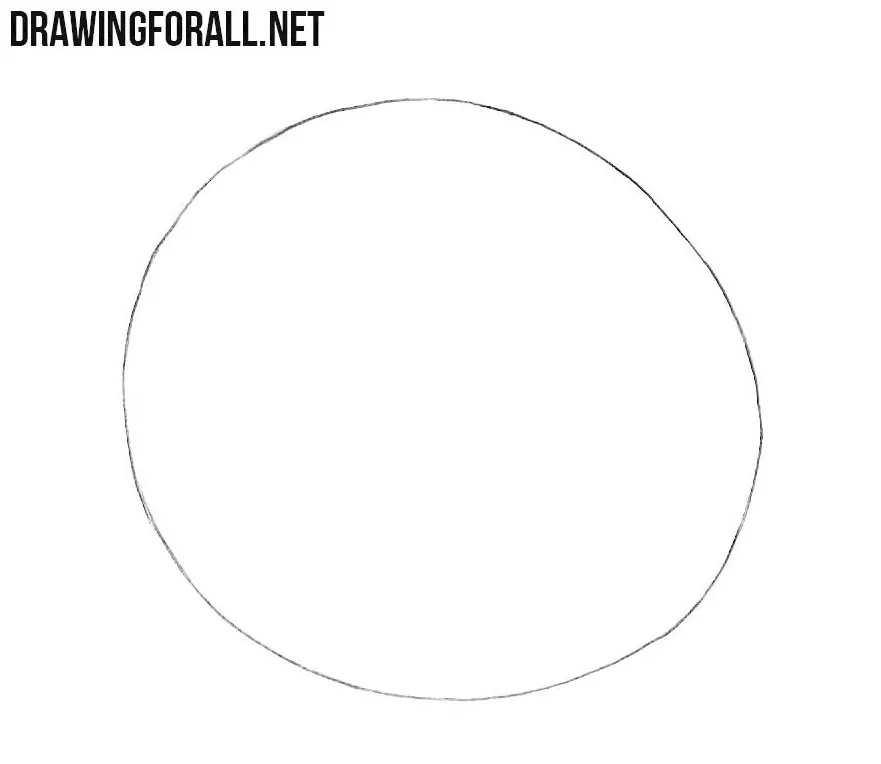
Step 1: Sketch the coconut shape
Start the coconut drawing with a simple rounded form. Sketch a slightly flattened and asymmetrical circle with light lines. Keep in mind that this is a three-dimensional form, not just a flat oval. The outer contour does not need to be perfectly even. Small irregularities will look natural on a coconut.
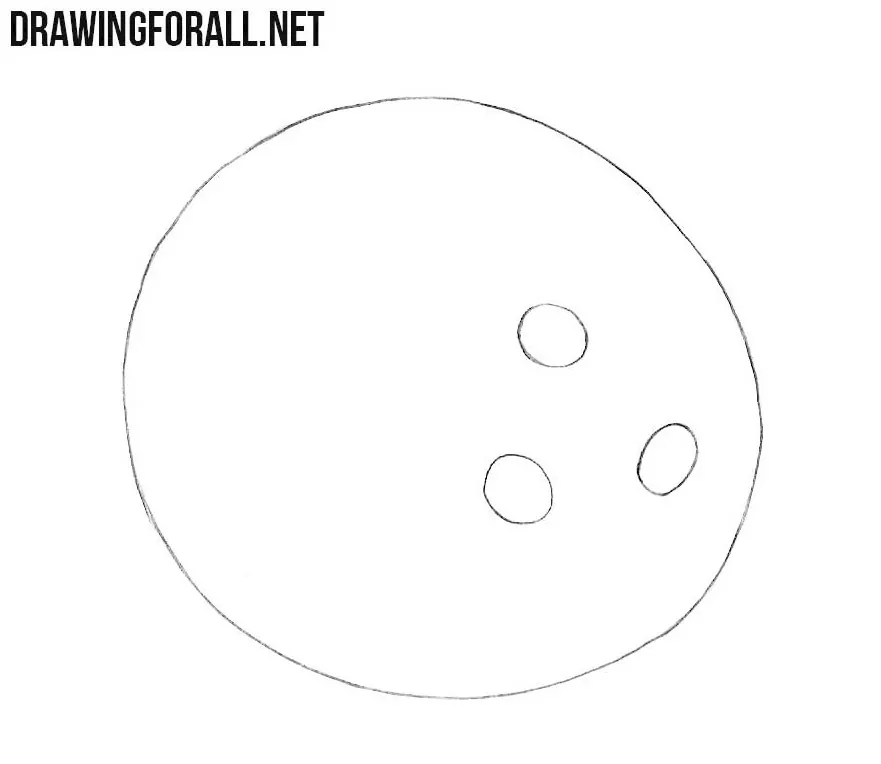
Step 2: Draw the coconut eyes
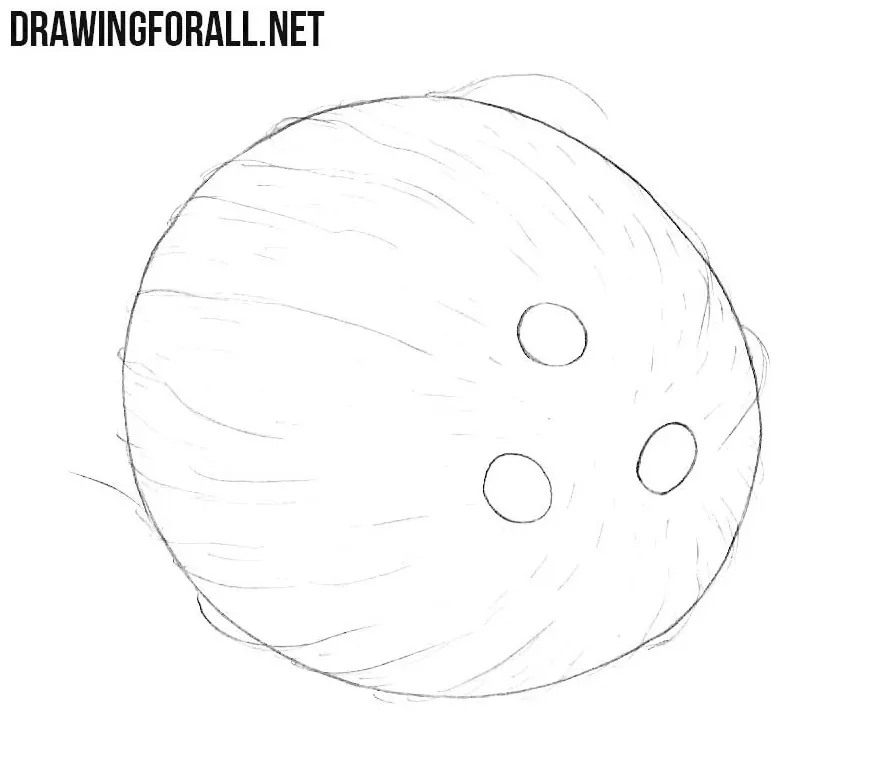
Now draw the three characteristic eyes of the coconut as small oval shapes. Arrange them in a loose triangular group, similar to the holes in a bowling ball. In our example, this entire group is shifted to the right. These marks lie on the rounded surface of the shell, so vary their angle and width according to the form.
Step 3: Add the fibrous shell texture
Now add the characteristic fibrous texture across the coconut shell. Use long and short irregular lines that follow the rounded surface of the fruit. Spread these fibers unevenly, and let a few of them extend beyond the outer contour. This way, the texture will help show the volume of the coconut. Do not cover the coconut with too many lines.
Step 4: Add shadows to the coconut
Add light hatching along the lower part of the coconut to give the rounded form more volume. Curve the strokes according to the surface of the shell and darken the three coconut eyes with denser hatching. A small unshaded area along the lower edge will help convey the effect of reflected light. Finish the coconut drawing with a light cast shadow beneath the fruit, extending it to the right and adding more tone near the point of contact.
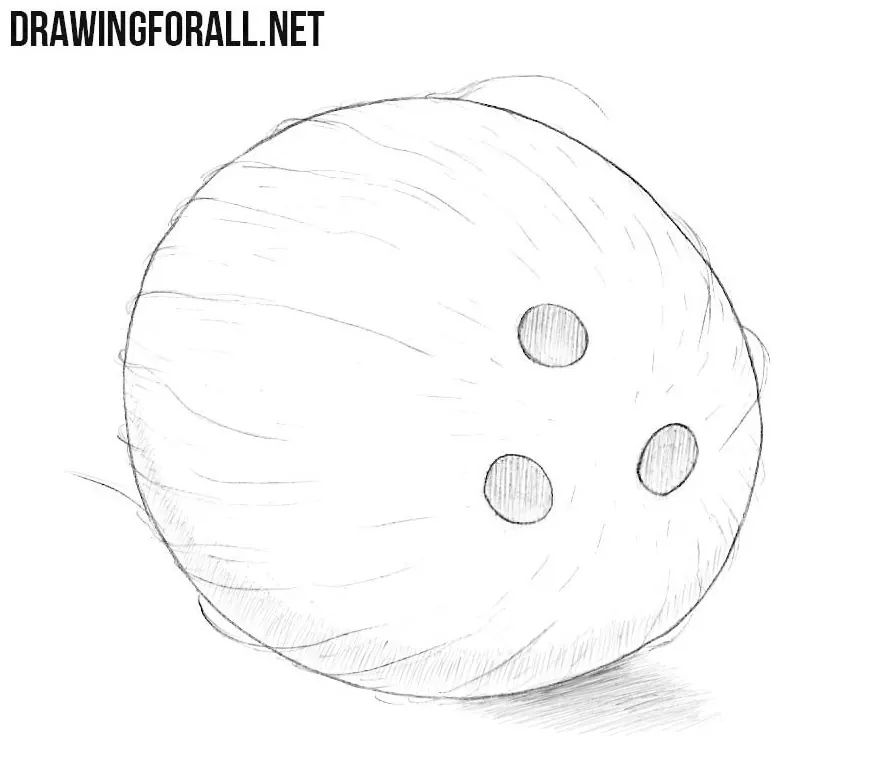
Until you add the details, and while the drawing is still at an early stage, a coconut looks like a simple oval. A few simple elements will completely change this impression.
The first is the spots that lie on the curved surface. They should not sit evenly or face straight toward us. These circles should emphasize the roundness of the form beneath them.
The next element is the texture. Its lines should extend from the spots, spread apart across the wider part, and then converge toward a point on the back surface of the coconut that is hidden from us.
The third element is the shadows. A combination of shadow in the lower part of the form, hatching that follows the form, and a dark cast shadow is enough to create basic volume.
A light strip of unshaded area along the lower edge will complete this and help give the coconut volume without unnecessary details.
This combination of correctly drawn texture and a simple shading scheme works when constructing any fruit, whether you are constructing a coconut or drawing a pineapple.
From an artistic standpoint, all the differences lie in the details, which are exactly what allow the viewer to distinguish one fruit from another.