How to Draw a Fire Warrior
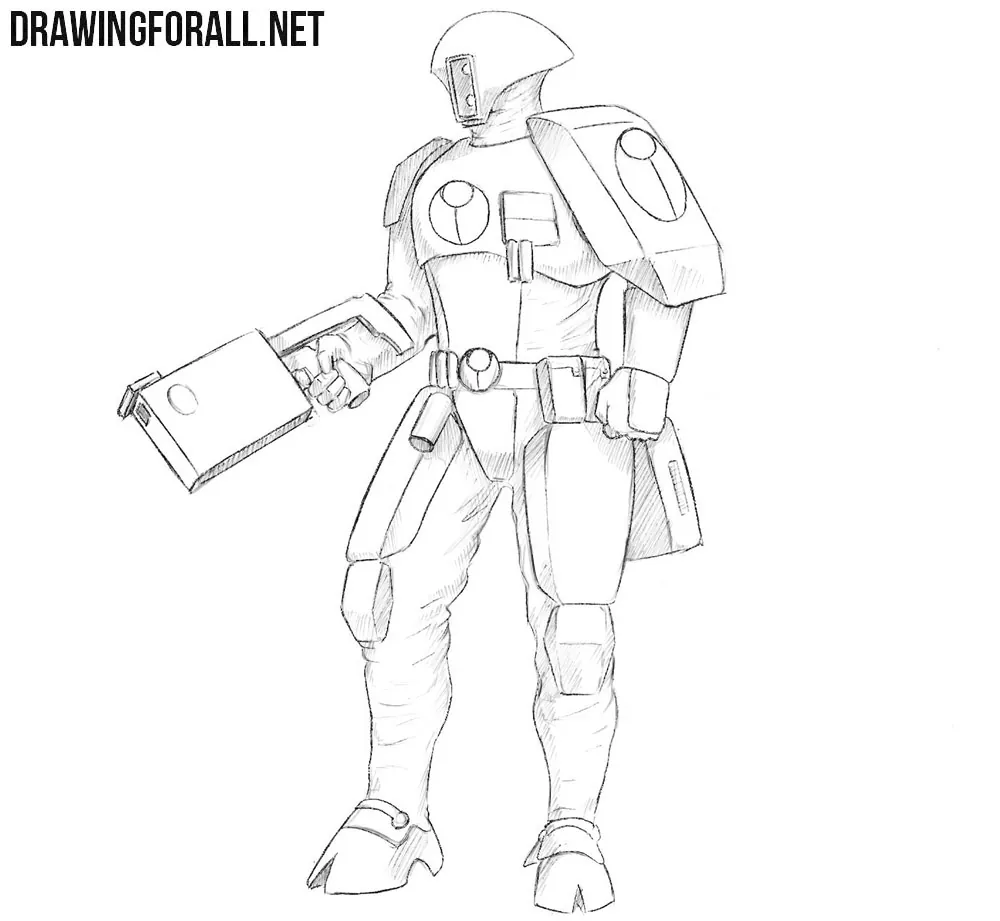
Another race from the Warhammer 40,000 universe has appeared on our website. As you can see, we are talking about the Tau. The Tau are one of the most advanced, progressive, and technologically sophisticated races in the setting.
Here, we will show how to draw a Fire Warrior from the Tau race.
How to draw a Fire Warrior step by step
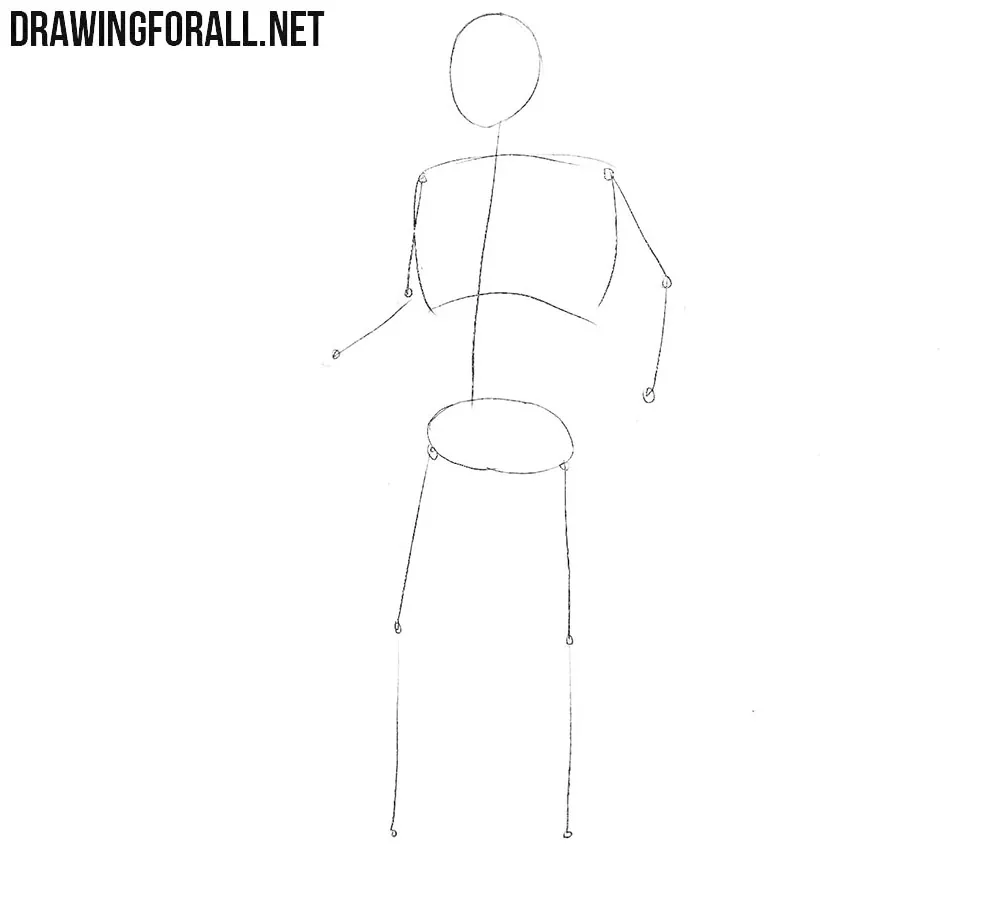
Step 1: Sketcher the warrior’s skeleton
The Tau are a humanoid race, although they have hoofed feet and four-fingered hands. Start by sketching a basic male stick figure without the hands and feet. Using light, loose lines, draw the head as an oval. Next, outline the neck flowing into the spine. Then sketch the chest and pelvis. Finish this step by drawing the arms and legs.
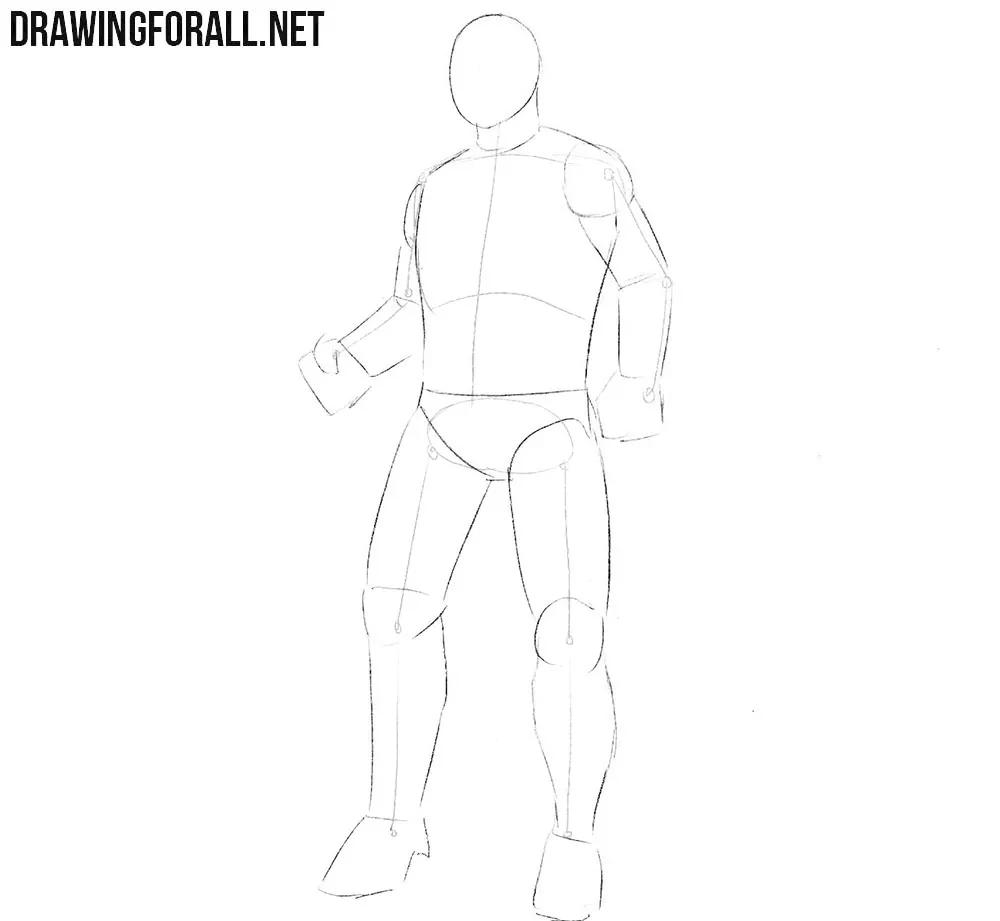
Step 2: Add volume to the body parts
Begin by sketching the facial guidelines. Draw a vertical center line and a horizontal eye line. Next, outline the torso, slightly tapering it toward the waist. Sketch the deltoids as circles, then construct the arms with simple geometric shapes before adding the hands. Finish by outlining the groin and legs with basic forms.
Step 3: Add the costume outlines
In this tutorial, the character is fully protected by armor, so begin outlining it here. Start with the helmet, then sketch the armor over the torso and limbs using light lines. Finally, outline the weapon held in the Fire Warrior’s hands.
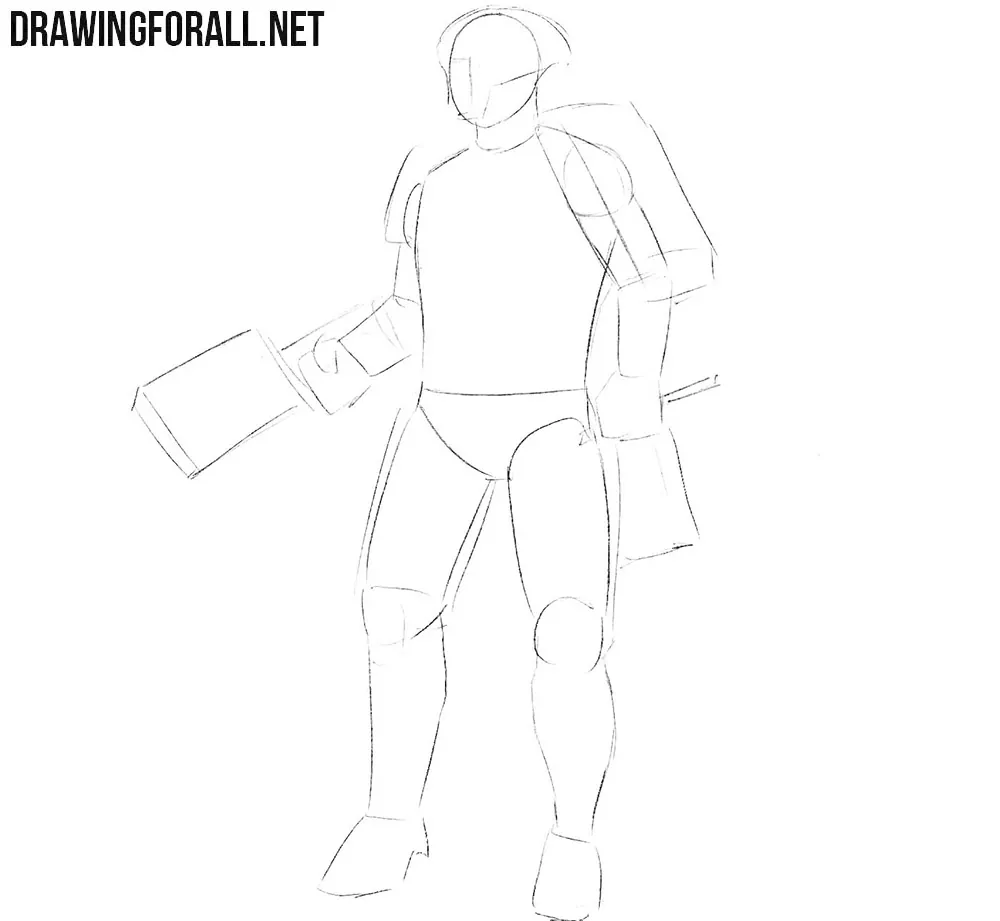
Step 4: Draw the fire warrior’s helmet
Now draw the helmet in detail. Outline a rectangle on the front of the helmet. Add a border along three sides of this shape, then draw two lights inside the rectangle.
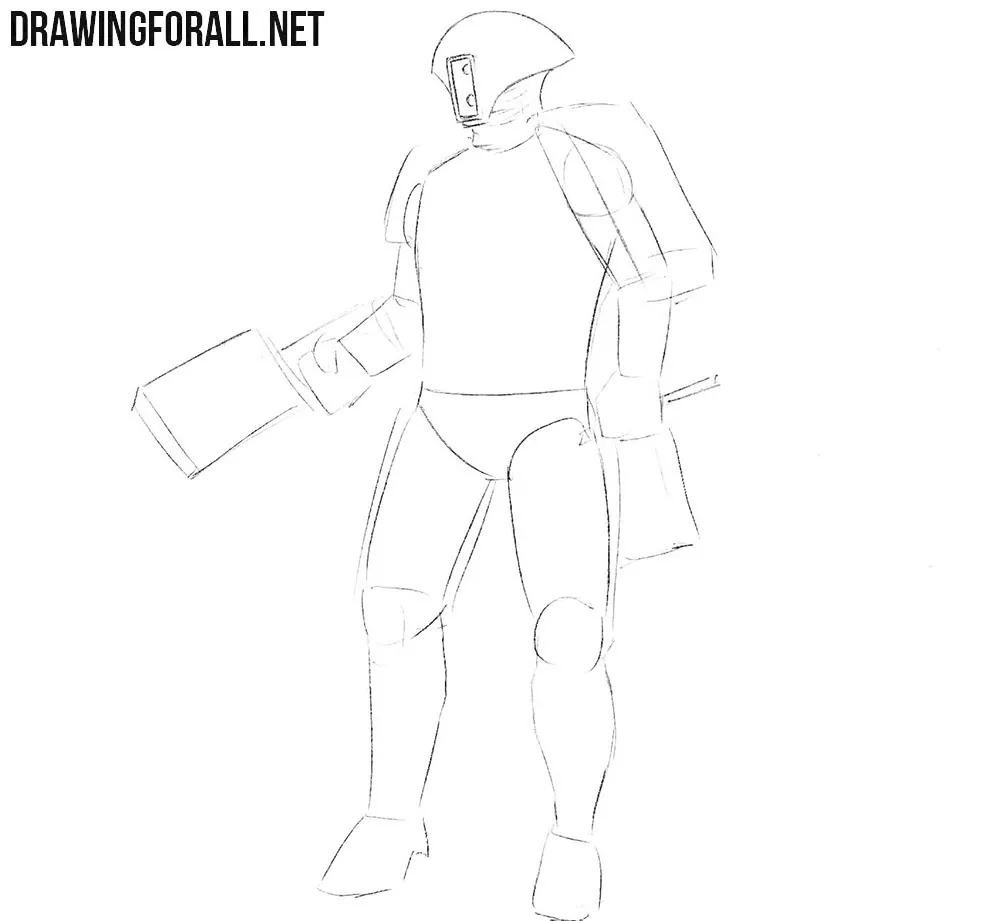
Step 5: Sketch the body armor
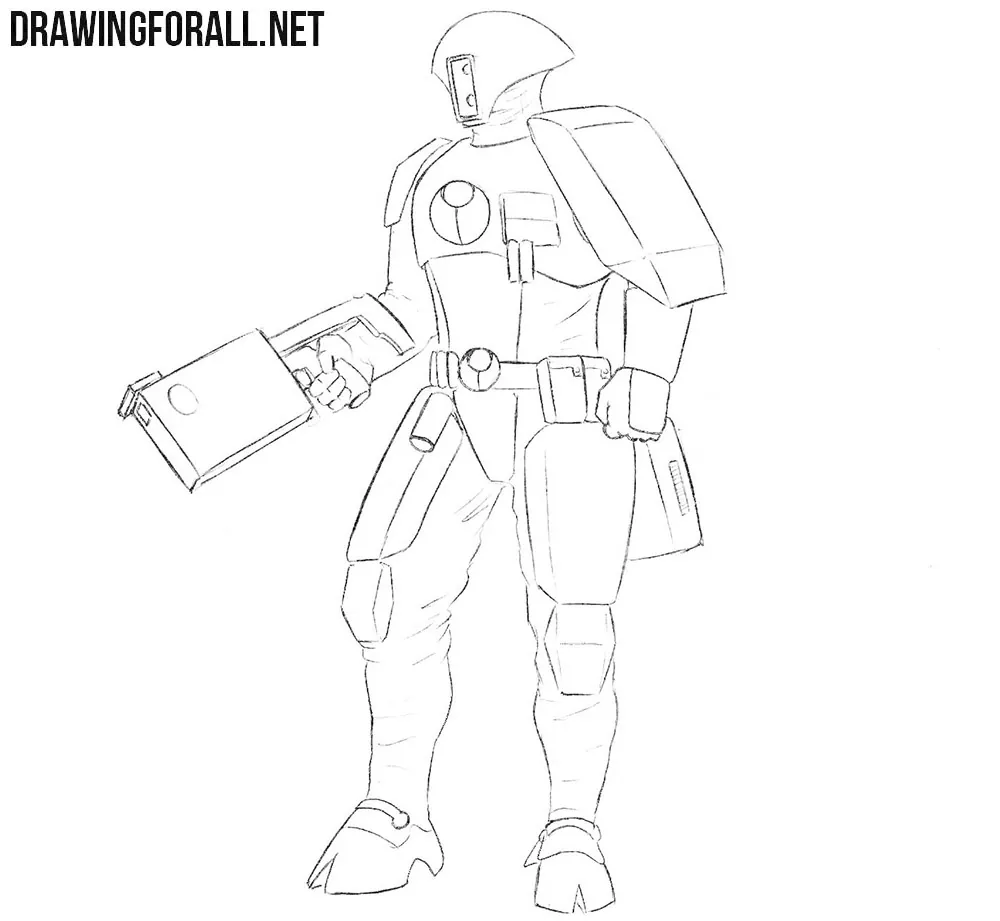
Now move on to the Fire Warrior’s torso. Carefully draw the neck, then add the armor plates protecting the chest. Next, sketch the side armor panels, followed by the belt with its buckle and pouches. Finish by erasing the unnecessary guidelines from the torso.
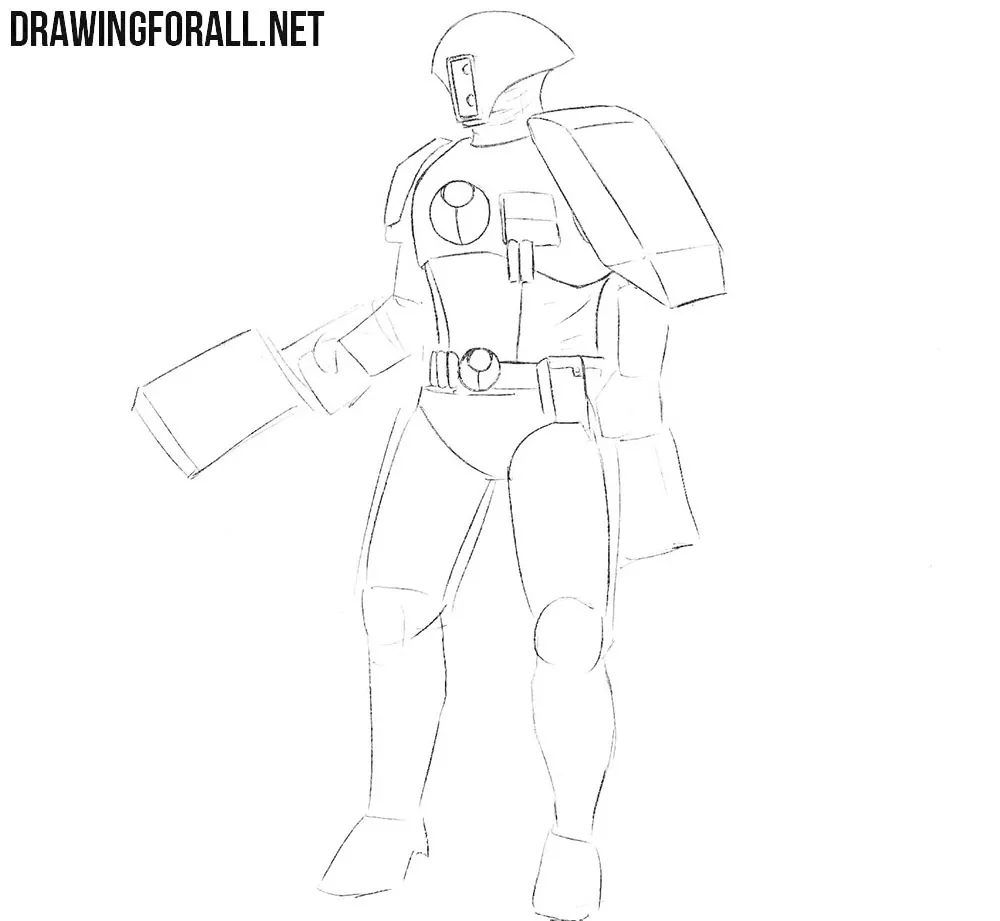
Step 6: Detail the armor and gun
Now refine the arms. Since they are covered by armor, there is no need to draw muscles or joints. Instead, outline the large shoulder pads, forearm armor, and spikes. Finish by drawing the fists and the Fire Warrior’s weapon.
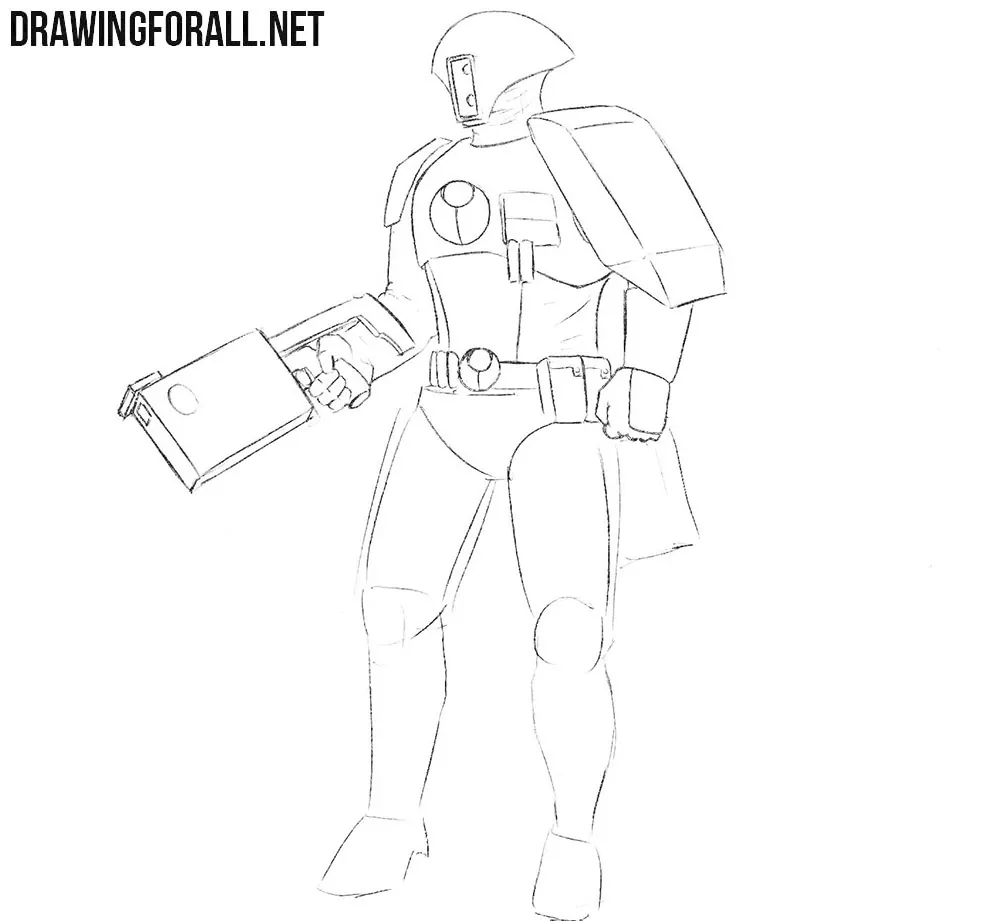
Step 7: Complete the warrior’s legs
Now move on to the lower body. Using the same approach as in the previous step, draw the hoof-shaped legs. Note that the lines should not be overly smooth. Be sure to add the armor plates to the front of the thighs and draw the folds in the fabric.
Step 8: : Draw shadows on the warrior
This Fire Warrior drawing tutorial is almost complete. The only remaining task is to add shadows to make the artwork more realistic. First, determine the light source, then apply hatching to the least illuminated areas. Use denser hatching for the darkest areas and lighter hatching for the more subtly shaded parts.
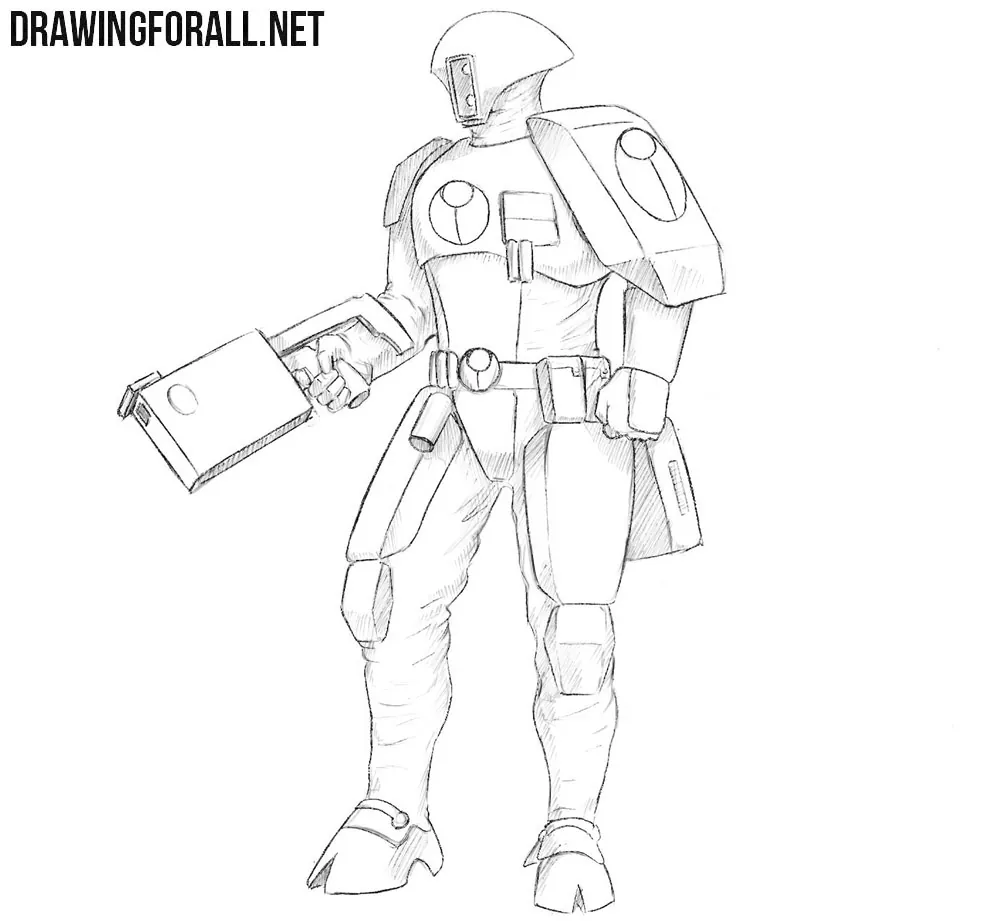
It was a challenging tutorial, but the result is a detailed drawing of a Tau Fire Warrior. If you enjoyed it, don’t forget to subscribe to our social media pages and share this drawing tutorial with your friends.