How to Draw a Chicken

In this lesson, you will learn how to draw a chicken and give it a realistic, three-dimensional appearance using academic shading.
We all know what a chicken looks like, and most of us have probably drawn one at least once in our lives. However, very few people can draw a chicken in a way that looks realistic and authentic.
In this lesson, we will show you how to create a recognizable image of this domestic bird and give it a convincing sense of volume
We will also explain which textures and details should be added and which are better left out so that the drawing does not become overly cluttered or heavy.
How to draw a chicken step by step
Step 1: Sketch the chicken body silhouette
A chicken has a very distinctive body shape that remains recognizable even as a silhouette. Start with this overall form, sketching it with very light, barely visible lines. Indicate the main divisions of the body without going into any details at this stage.

Step 2: Draw the chicken leg shapes
In the lower part, directly beneath the outlined body, sketch the chicken’s legs using simple contours. They should be relatively small and not too thick. At this stage, you can decide whether to show the chicken standing still or in motion, as in our example. As in the first step, avoid going into any details.

Step 3: Mark the head structure
Moving from large overall shapes to medium-sized forms, begin defining the general volume of the head. Mark the placement of the eyes with a horizontal guideline and sketch the chicken’s comb on top of the head. In the front part of the head, outline the beak and the small wattle beneath it.

Step 4: Sketch the wing and toes
Now move on to the body and draw the chicken’s wing using simple, general shapes with a couple of light lines. In the lower part of the body, sketch the upper sections of the legs. With a few light strokes, separate the toes, but do not try to draw each one clearly and individually. Instead, convey the overall form, as a sculptor would carve main parts out of a single block.

Step 5: Draw the eye of the chicken
Starting from this step, gradually add more confident and defined lines, carefully refining the details. Begin again with the upper part of the body and draw the chicken’s eye, adding a round pupil inside it. If you have positioned the head as in our illustration, only one eye will be visible from this angle, while the other is hidden on the far side of the head.

Step 6: Draw the chicken beak in detail
Now, using a couple of smooth lines, draw the beak of the chicken, allowing it to curve slightly downward. Divide it with a gently curved line a little below the center. Indicate the boundary between the beak and the chicken’s head, and add the nostril as a small short stroke.

Step 7: Refine the comb and neck
Trace the comb on the upper part of the bird’s head using very smooth lines. You may also add a bit of texture with small, short strokes. Then draw the gentle curve of the neck flowing into the back. In the lower part of the head, outline the wattle, dividing it into two smooth sections.

Step 8: Add the neck feather texture
Most chickens have fairly smooth plumage, with occasional visible separations between certain parts of the body. You can show this separation around the neck by lightly sketching the feathers with soft lines. As you draw this ring of feathers, keep the volume and roundness of the chicken’s neck in mind so that it does not appear flat.

Step 9: Draw the wing feathers of the chicken
The feathers on the wings are another clearly visible part of a chicken’s plumage. Start with the outermost feathers, drawing them as the longest ones. As you move closer to the shoulder, gradually make them shorter. At the same time, avoid excessive detailing or drawing too many individual feathers, so the sketch does not look cluttered or messy.

Step 10: Refine the torso contours
Now continue the lines of the head and neck and smoothly outline the contours of the chicken’s body, giving it a recognizable shape. Trace the lower part of the torso, the upper sections of the legs, and the separation between the torso and the tail. Avoid making these lines too dark or overly sharp so that the drawing does not take on a cartoon-like appearance.

Step 11: Draw the chicken tail feathers
The feathers on a chicken’s tail are similar to those at the edge of the wings – long and defined. Draw them with long, smooth lines, keeping in mind that the feathers at the very top should be slightly larger than those below. In addition, arrange the feathers in a subtle fan shape so they spread from the base.

Step 12: Detail the legs and claws
Now move on to the chicken’s legs and carefully trace the shapes you outlined earlier. Use smoother, more refined lines to define each toe and draw the claws. Keep linear perspective in mind, remembering that the parts of the body positioned slightly farther away should appear subtly smaller.

Step 13: Draw the details of the chicken body
Give the wings a finished look by tracing their contours with smooth lines. You can make the outlines appear more natural and realistic by keeping the strokes smooth but slightly broken, imitating the texture of feathers. Apply the same approach to the contours of the torso to suggest subtle plumage texture. Add light crosswise texture lines on the legs and toes to make them look more authentic.

Step 14: Erase the construction lines
Erase all auxiliary lines from your chicken drawing, leaving only the final contours. Check the proportions and the sense of volume to ensure that all parts relate correctly to one another and sit in the proper planes. Move the drawing slightly away from you and evaluate the relationship of the chicken’s body parts to each other and to the overall form.

Step 15: Add shading for volume
A line drawing can suggest volume through correctly constructed forms, but only properly applied shading will make it truly three-dimensional. Keep the light source and its direction in mind, and begin carefully applying hatching to the areas of the chicken’s body where the light does not reach. Use denser strokes in the darker regions and lighter hatching for the midtones.

Step 16: Review and finalize the chicken drawing
Review your entire drawing once again, paying attention to the proportions and the sense of volume in each part. Check the tonal relationships and look for any mistakes that may need correction. This is also a good moment to add subtle additional details or textures if you feel that your chicken drawing does not yet look complete.

Volume and proportion are essential in drawing animals, since properly applied hatching and well-constructed forms are what transform a flat sketch into a realistic image.
That is why it is important for the light and shadow relationships in your drawing to be accurate.
In addition to light and shadow, different tones may appear depending on the animal’s coloration. For example, some feathers may be lighter while others are darker.
You can also convey this in your drawing, as long as you keep the light–shadow balance clear and avoid making the image look muddy.
We demonstrated a basic version without excessive textures, but you can make your chicken drawing more complex if you wish.
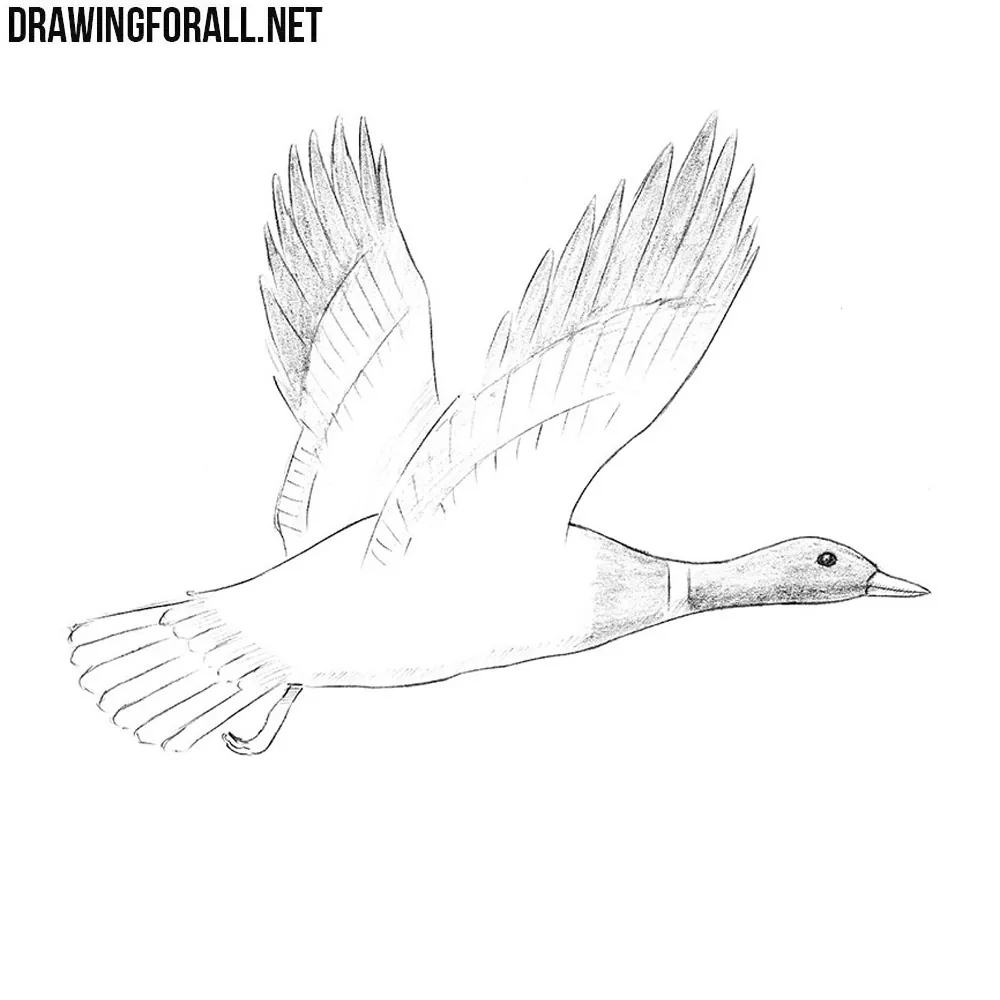
To deepen your understanding and learn more about drawing animals, visit our bird drawing lesson, where we explain the core principles behind depicting such creatures.
It features a different bird with different proportions, which is helpful for developing a broader and more versatile understanding of the subject.