

How to Draw Maracas
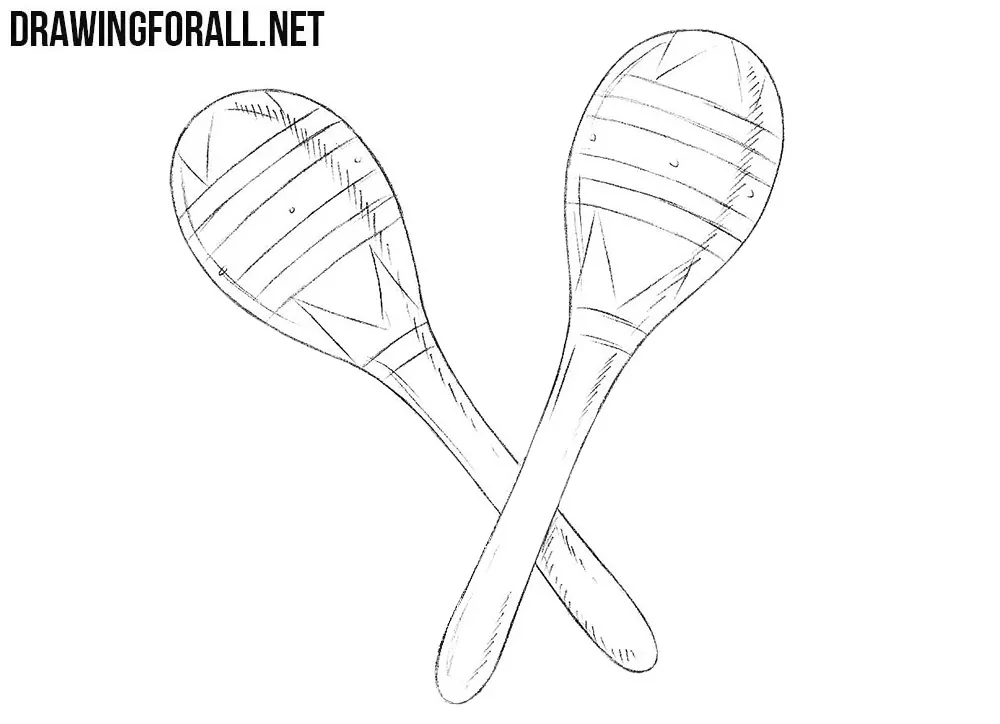
There are many different musical instruments in the world. Our team decided to create drawing tutorials about some of the most famous and interesting ones.
We have already shown you how to draw a guitar, draw a piano, and draw a violin, and now it is time to learn how to draw maracas.
How to draw maracas step by step
Step 1: Set the basic maraca shapes
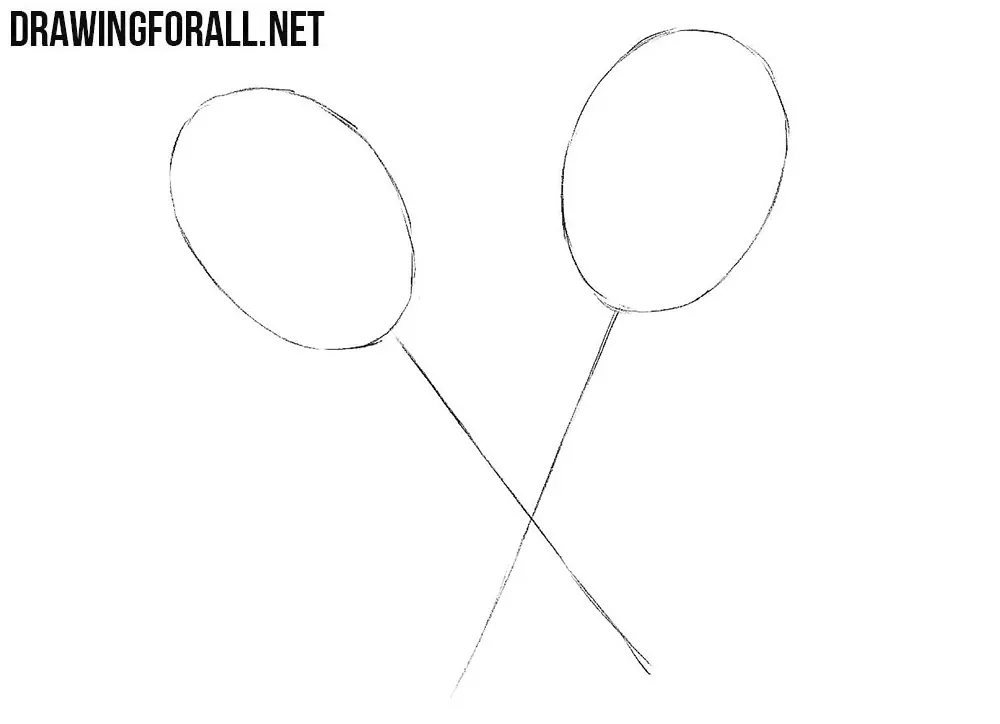
First, draw two large oval shapes for the heads of the maracas. From each oval, sketch a light straight line downward to indicate the direction and length of the handle. Place the two maracas at different angles so they overlap. Use very light lines because we will refine the shapes later.
Step 2: Shape the curved handles
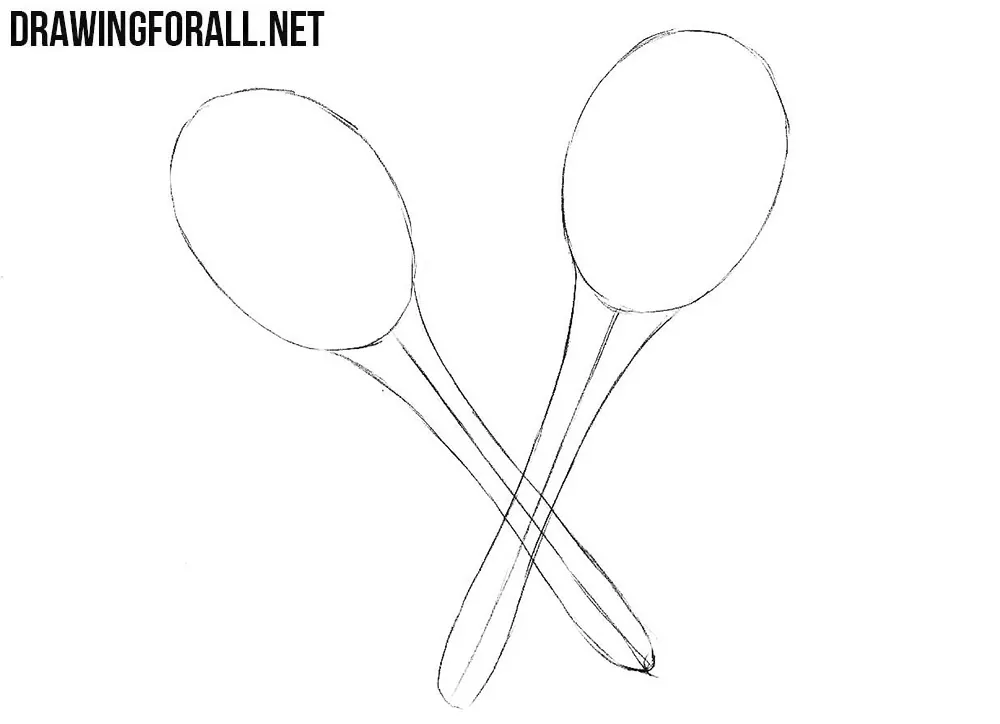
Now give the handles their final width by drawing smooth lines along both sides of the guidelines. Make each handle curved and gradually narrower toward the middle part. Try to keep both maracas similar in size.
Step 3: Clean the maraca silhouettes
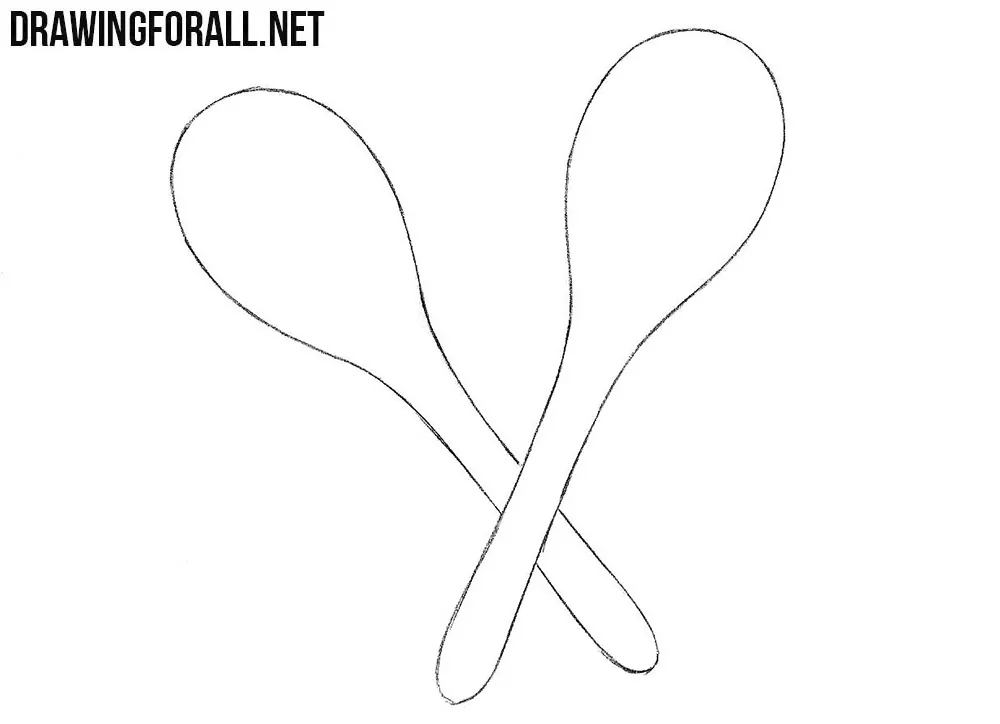
Erase the unnecessary construction lines from the previous steps and refine the outer contours of the maracas. Make the heads smoother and clarify the places where they connect to the handles. Use clean, confident lines.
Step 4: Decorate the maraca heads
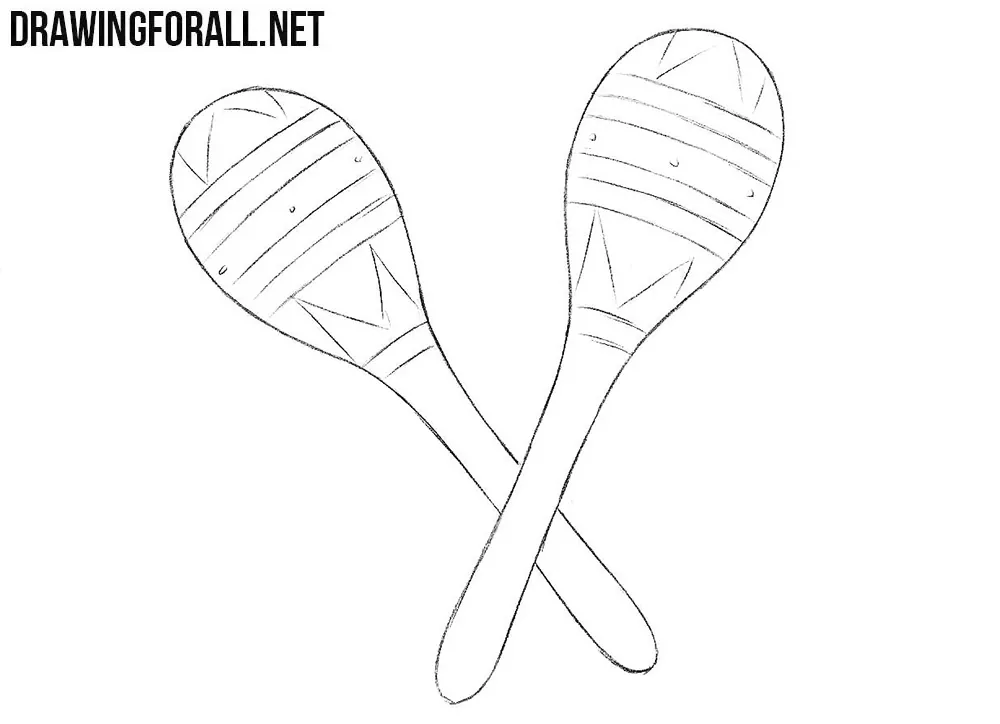
Now draw decorative patterns on the heads of the maracas. Use simple curved bands, circles, or other geometric details that follow the shape of the surface. You can repeat the same pattern on both instruments or make them slightly different.
Step 5: Finish with light shading
Finally, add a few light shadows to give the maracas drawing more volume. Place the hatching mainly along the sides of the heads and handles that face away from the light.
As you can see, this tutorial on how to draw maracas consists of only a few simple stages. Once you understand the basic shapes, you can change the angle, proportions, or decorative patterns and draw many different versions of this musical instrument.



for me it was soo hard and beautifull drawings