How to Draw a Piano
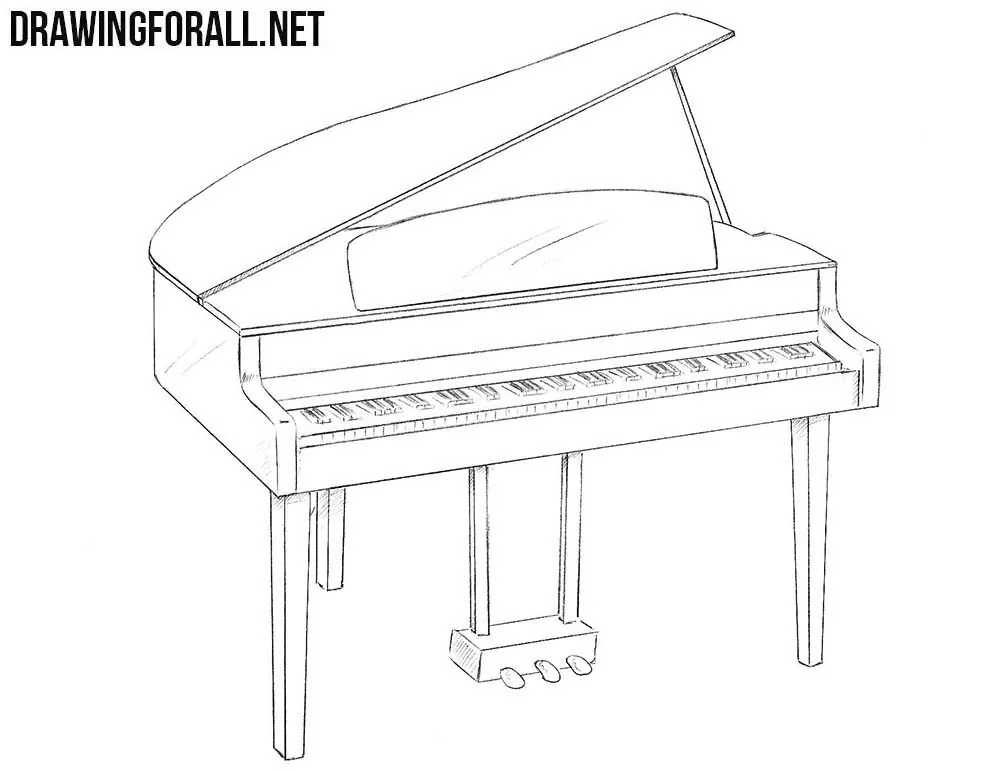
We all love beautiful music, and probably for no one is the secret that the piano is one of the most beautifully sounding musical instruments. And exactly this musical instrument we are going to draw today, so let’s start the lesson about how to draw a piano.
Step 1
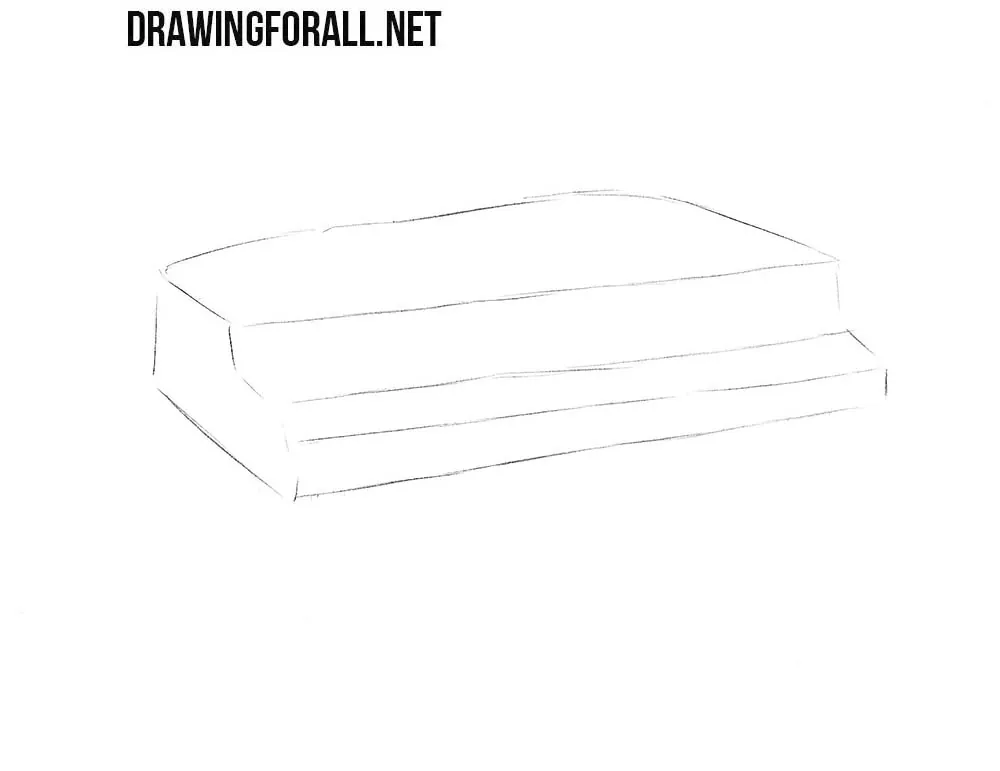
Despite the fact that this instrument has existed for many years, its external forms have not changed much. So, using light lines sketch out the outlines of the upper (and most basic) part of the piano. Pay attention to that on one side the contours should be straight and on the other rounded.
Step 2
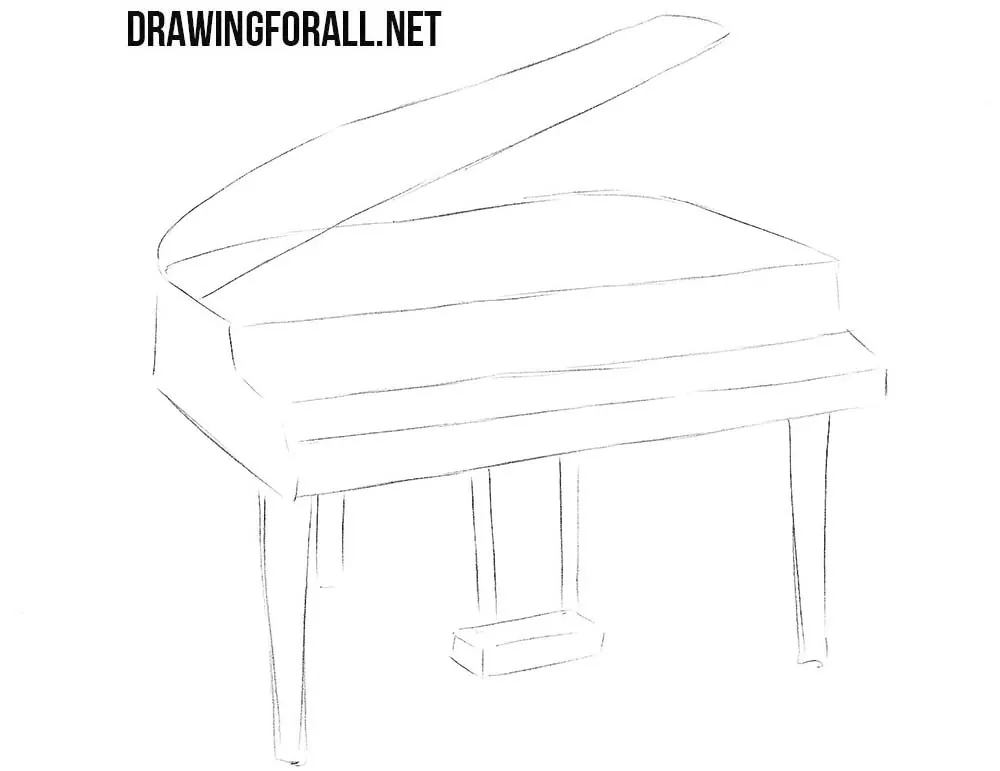
Now, at the top of the piano we sketch out a cover, as shown in our example. But unlike our example, you can draw a closed cover. Now at the lower part of the piano sketch out the legs and pedals.
Step 3
Now, using straight and clear lines draw out the front of the piano, as shown in our example. You can use a ruler, but it will be very good if you can manage without it.
Step 4
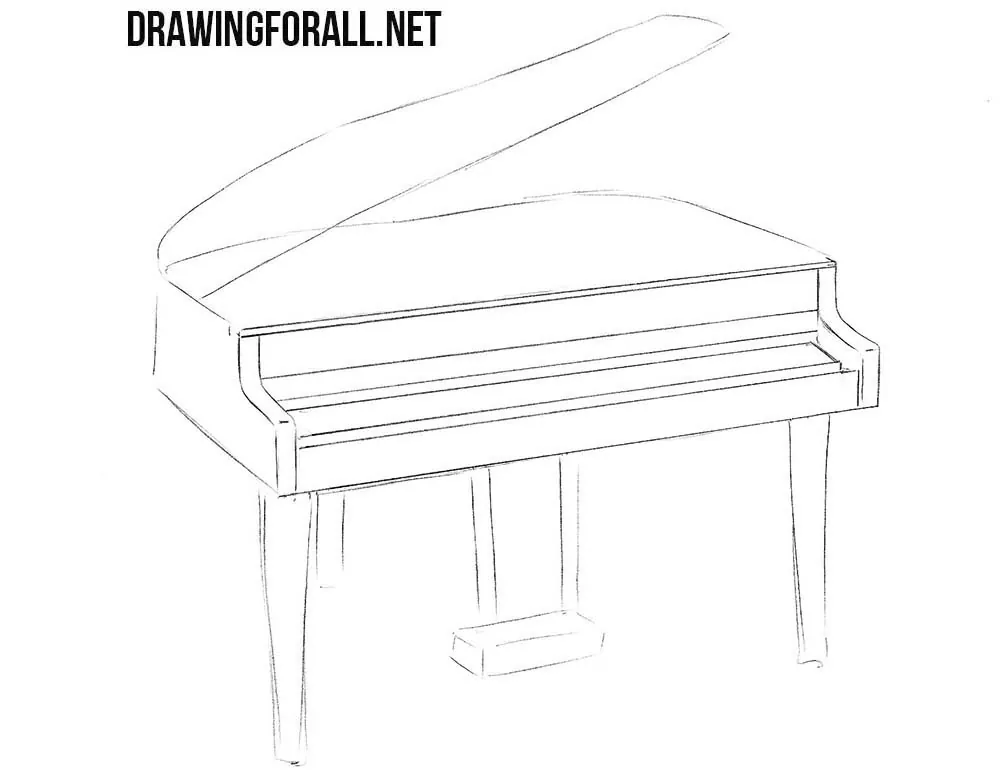
Now we move a little higher and with the help of the same clear and dark lines draw out the body, cover and music rack.
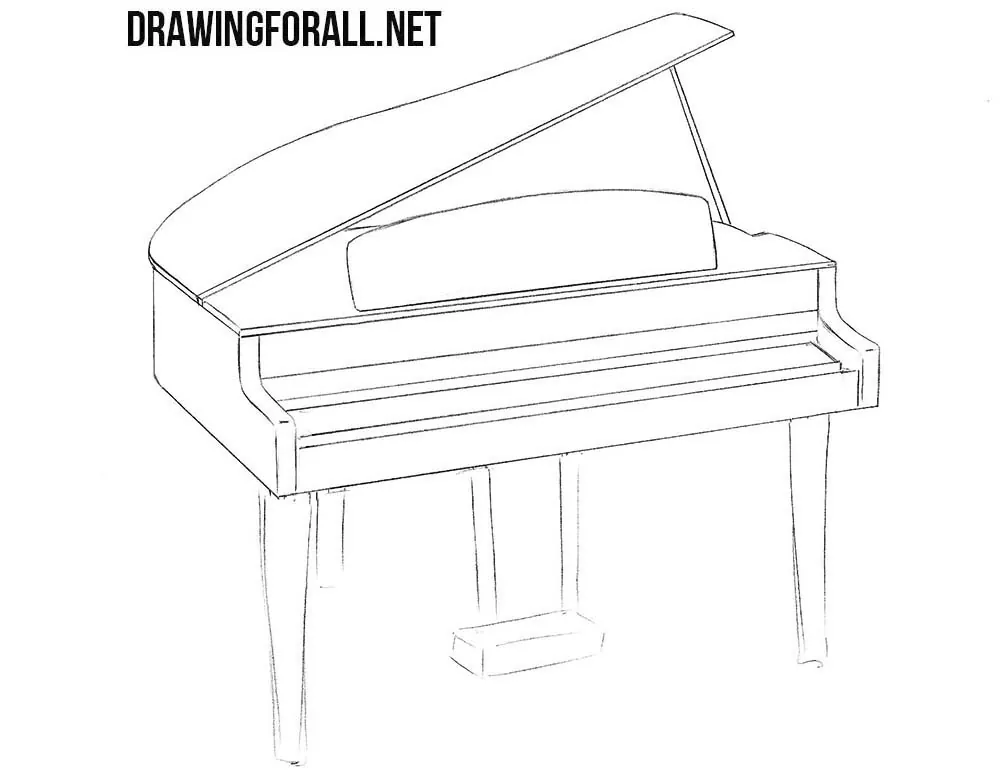
Step 5
We move to the bottom of the piano and draw out the legs and pedals. Erase all the unnecessary guidelines from the drawing to make the piano clean and neat.
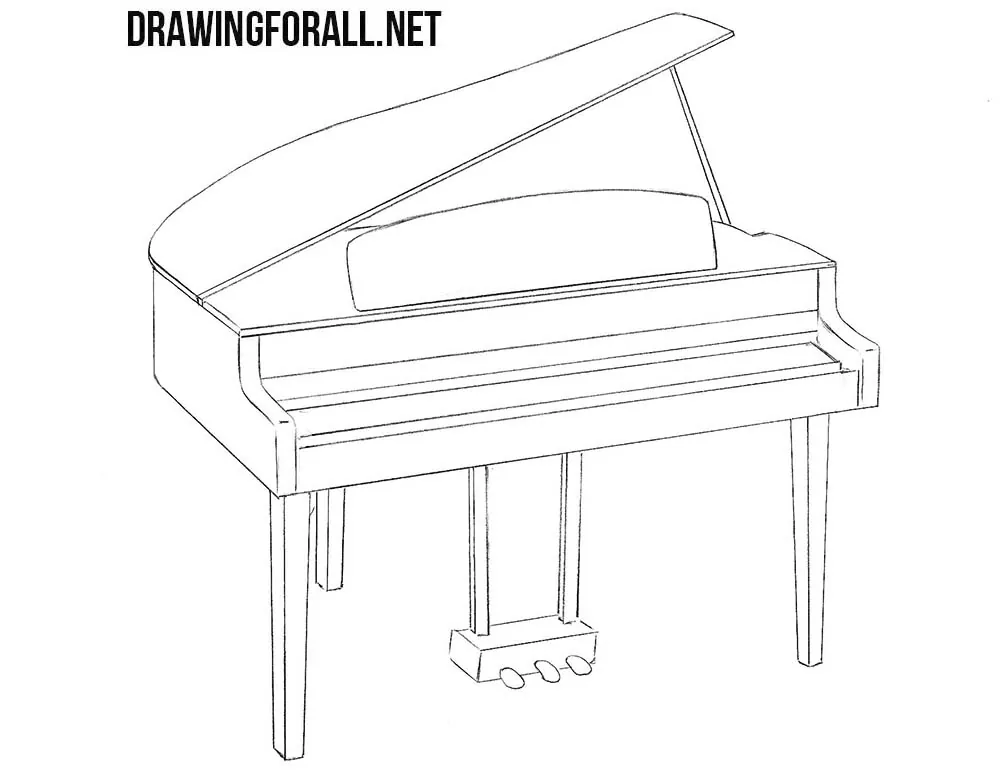
Step 6
Now, perhaps the most difficult step of the lesson on how to draw a piano. Here we will have to draw out the keys. Be sure to consider the correct location of the keys.
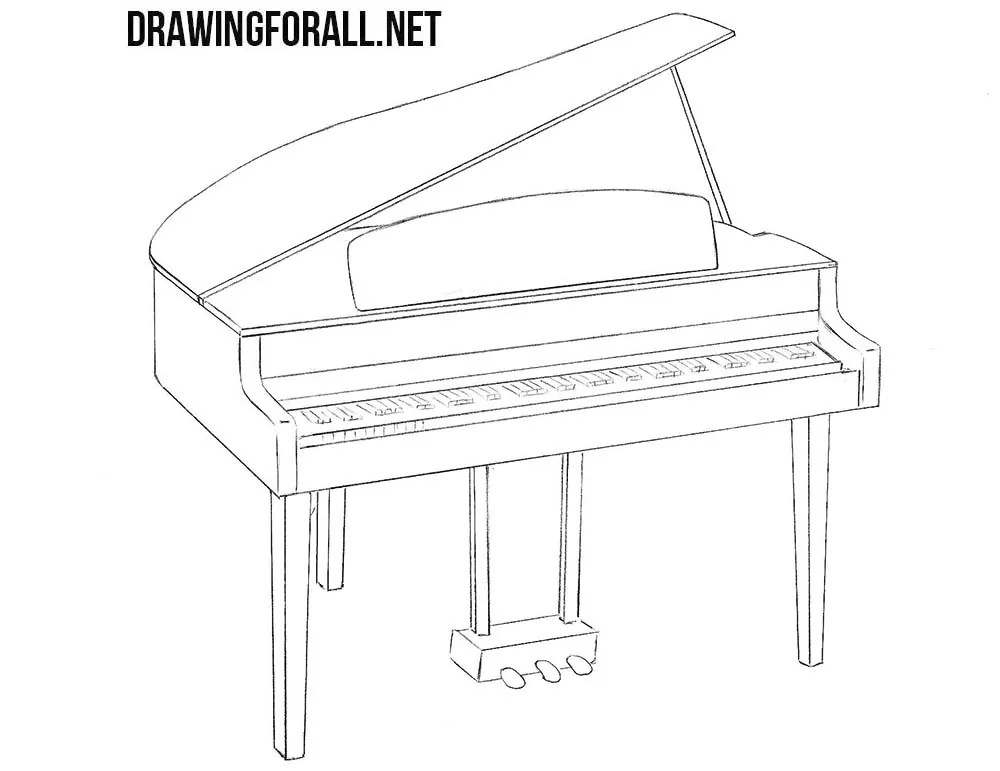
Step 7
Now, with the help of straight light strokes sketch out the glare on the surface of the piano. Paint the keys black and add shadows, as shown in our example.

There were quite a few straight lines here. If you could make the whole drawing without using a ruler – then you are a very cool artist. If you often visit our site, then perhaps you know that we have pages in all social networks. And it is quite possible that you are already subscribed to us. If not, do it so as not to miss a single new drawing lesson.


good
this was very hard for me, but the product was amazing.
Amazing
its a good tutorial