

How to Draw Groot
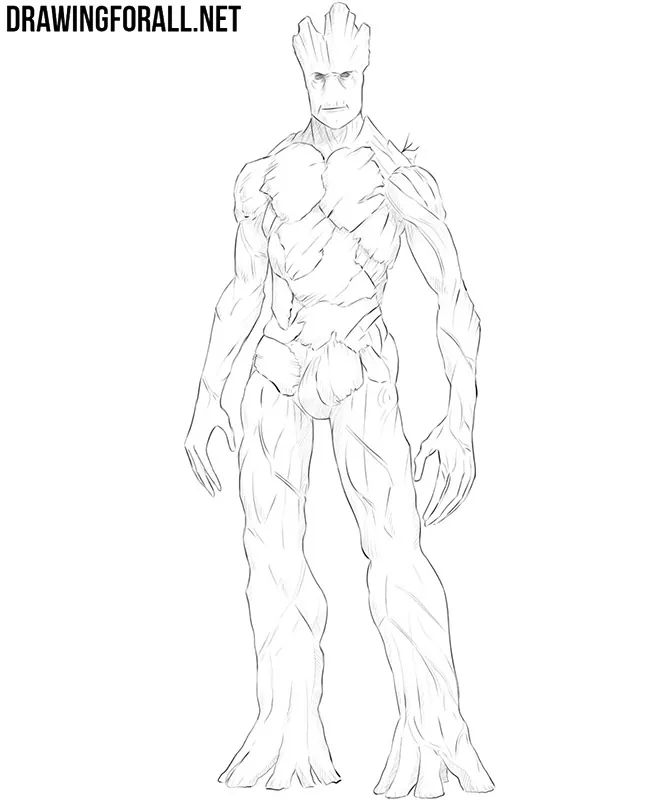
Groot is one of the most unusual characters from Guardians of the Galaxy because his entire body resembles a living tree. In this tutorial, we will show you how to draw Groot step by step.
Despite his unusual appearance, the general construction of Groot’s figure is based on the same principles that we use when drawing an ordinary person.
The main differences appear later, when we begin changing these general forms into the wooden body of the character.
How to draw Groot step by step
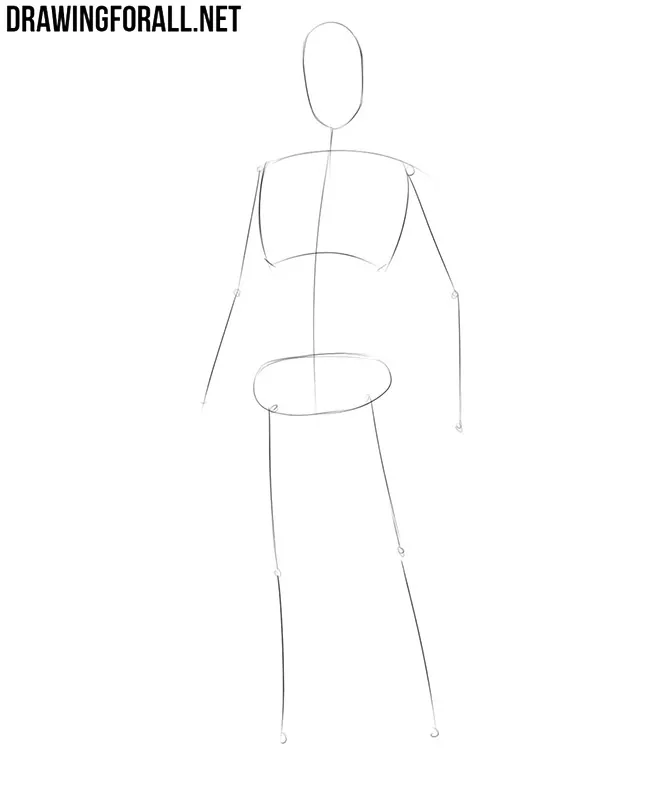
Step 1: Sketch the Groot framework
Groot is a very unusual character, but the first stages of drawing him are similar to those we use when we draw a man. First, sketch the head, chest, and pelvis with simple geometric shapes. Then use light lines to indicate the spine, arms, and legs. Keep in mind the proportions of the human body when drawing the frame.
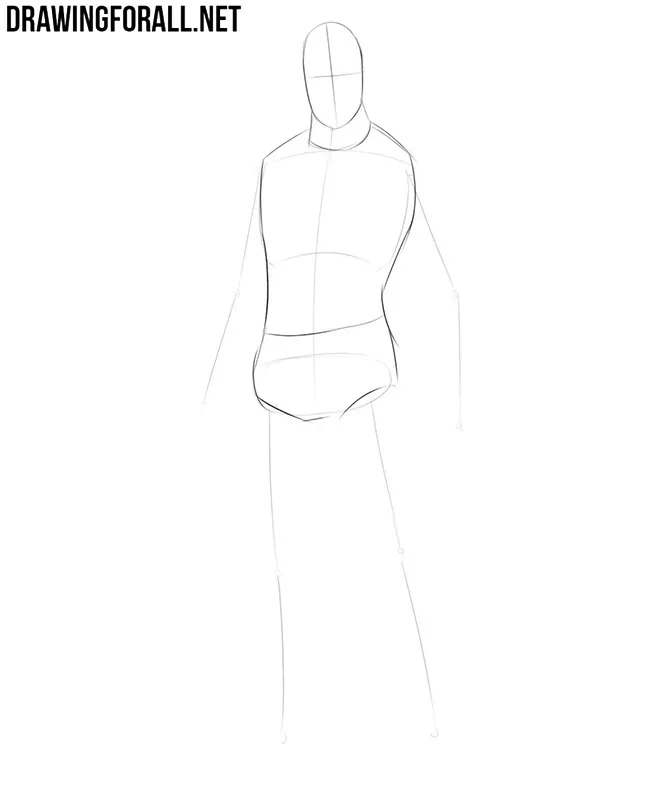
Step 2: Add the torso and facial guidelines
Now add volume to the figure and draw the neck and torso of Groot. On the head, sketch a vertical line through the center of the face and a horizontal guideline for the eyes. Continue to use very light lines because we will refine all these forms in the following steps.
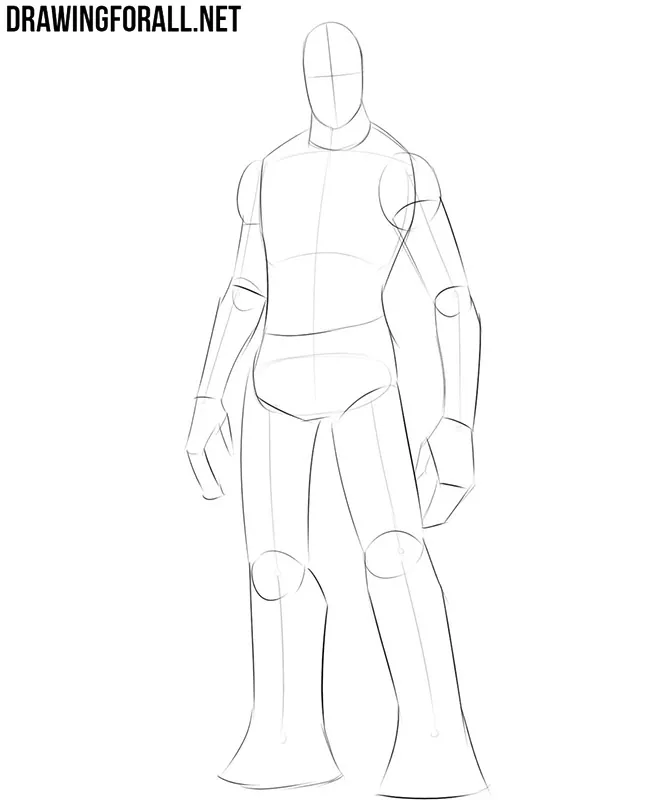
Step 3: Build the arms and root-like legs
Now we can already see the first differences between Groot and an ordinary person. Sketch the arms using simple cylindrical and spherical forms. Then add volume to the legs. Instead of ordinary feet, sketch the lower parts as root-like forms, as shown in our example.
Step 4: Add the characteristic Groot details
Now add the details that will gradually turn the general figure into Groot. Sketch the eyes and mouth on the head. Groot does not have a nose in the usual sense, so do not draw it as you would on a human face. Add the uneven bark forms on the head and body with irregular lines. Then sketch the fingers and refine the roots at the ends of the legs.
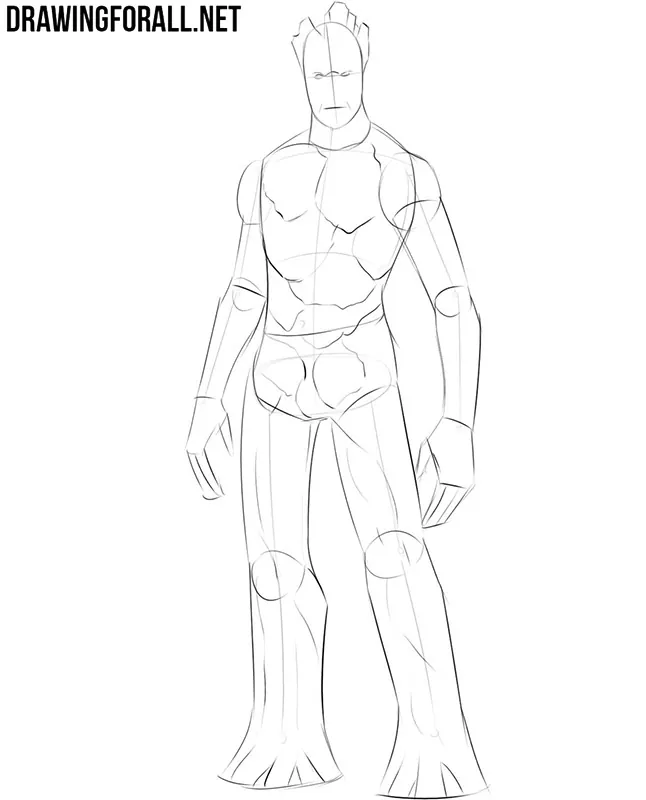
Step 5: Draw Groot’s head in detail
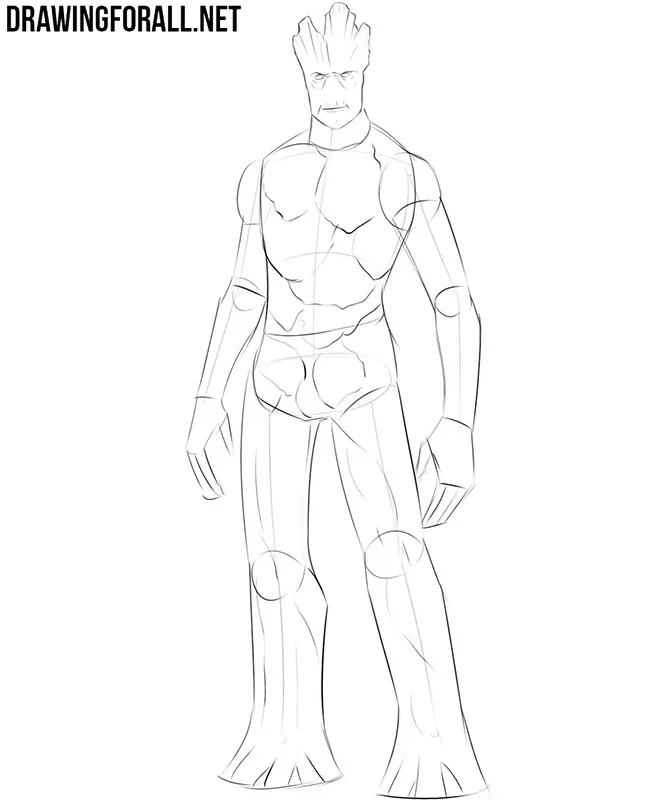
Starting from this step, use clearer and darker lines to draw the final details. Carefully trace the eyes and draw the mouth, and add the wrinkles around the eyes. Then refine the outer contours of the face and draw the rough bark forms at the top of the head. Gradually erase the unnecessary construction lines as you work.
Step 6: Refine the wooden torso
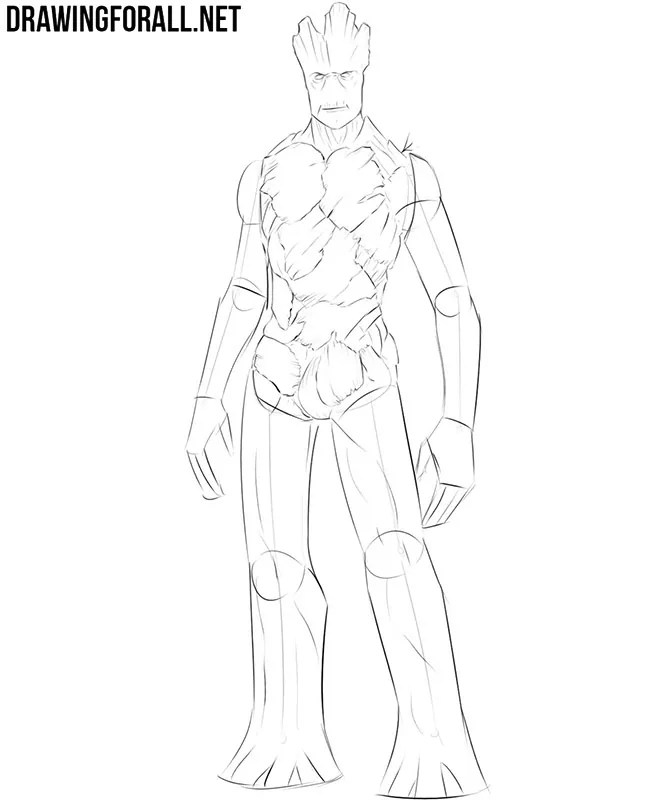
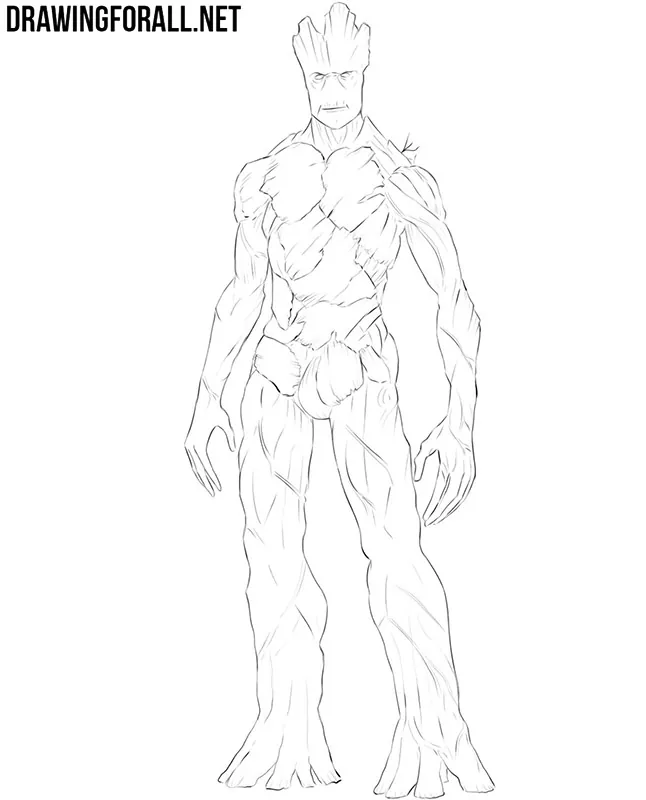
Continue downward and refine Groot’s torso with clean lines. His body is covered with rough bark, so the contours should not look perfectly smooth or uniform. Draw the bark forms across the chest and abdomen with uneven lines, then erase the remaining auxiliary lines in this area.
Step 7: Draw Groot’s wooden arms
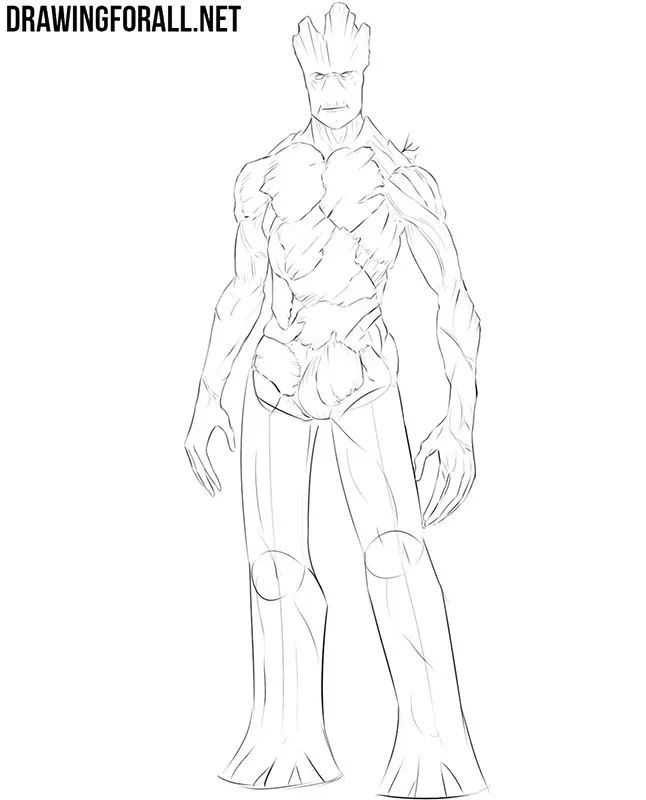
Now draw the arms in the same manner. Trace their contours and add long flowing lines that resemble tree roots and branches. Refine the fingers at the ends of the hands and remove all unnecessary construction lines from the arms. The method of drawing the hands of Groot follows the basic technique despite their unusual shape.
Step 8: Complete Groot’s legs and roots
Complete the wooden body by refining the legs. Draw long flowing lines along their surfaces to continue the bark texture from the torso. In the lower parts, carefully draw the roots that form Groot’s feet and erase the remaining auxiliary lines.
Step 9: Add shadows to Groot
Finally, add shadows to make the Groot drawing more three-dimensional. In our example, we used relatively realistic shadows with hatching. Place them on the areas where the light does not fall and make the deepest parts slightly darker. If you prefer a more comic-style appearance, you can use darker and more contrasting shadows.
Although Groot has a very unusual wooden body, in this tutorial we used the same basic construction principles that are applied when drawing a human figure. The difference mainly appears in the final forms and details.
Try drawing Groot again and pay more attention to the bark, roots, and uneven contours of his body. You can change these details quite freely because the wooden texture does not need to repeat our example exactly.
If you want to continue drawing characters from Guardians of the Galaxy, try to draw Star-Lord. Unlike Groot, he has an ordinary human body.
You can also draw Rocket Raccoon, another member of the same team. Here the body and facial features are very different.


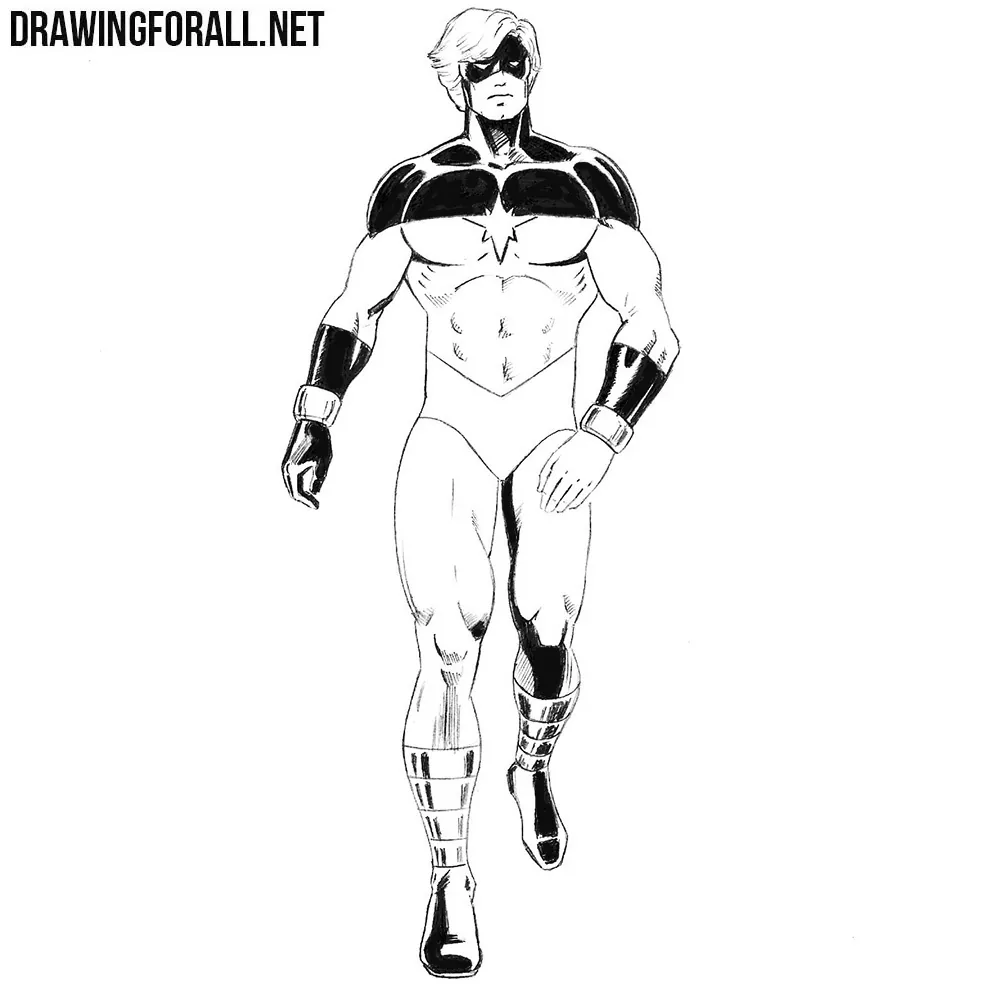
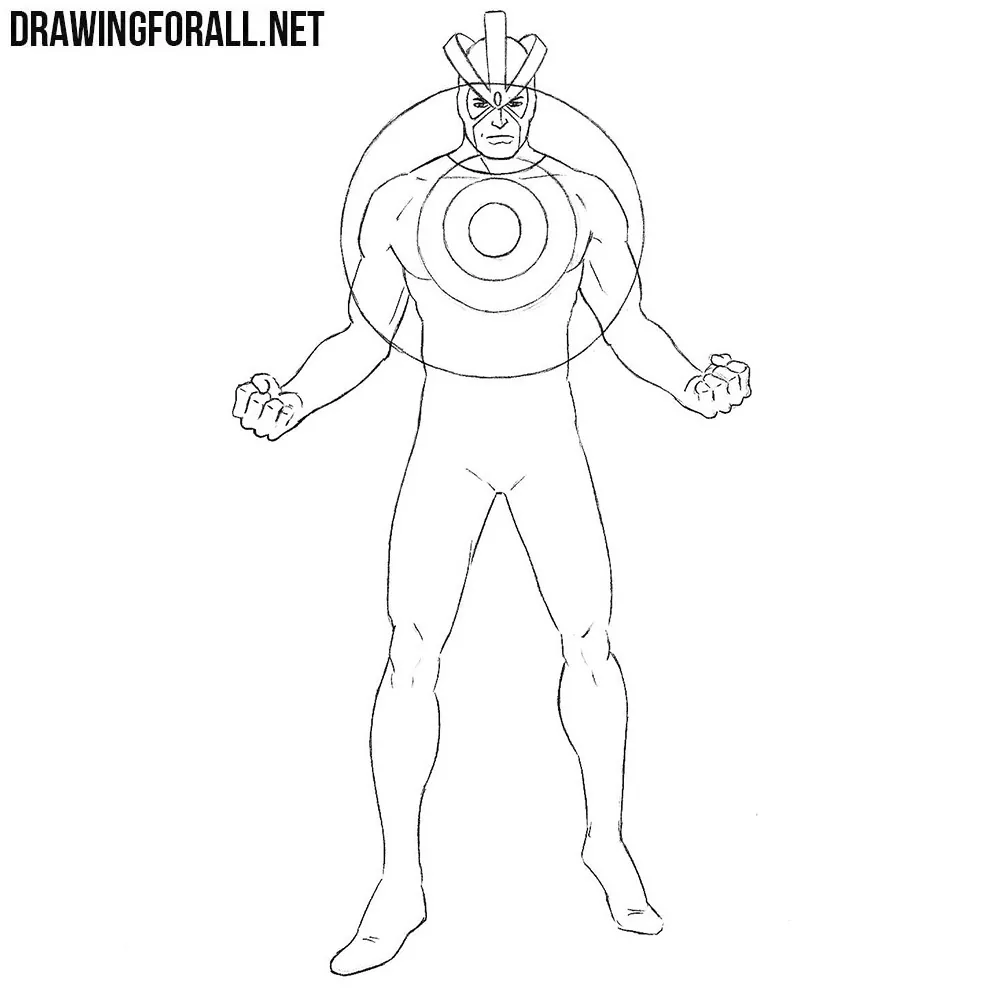
cool drawings of marvel charters
Thanks for the idea and learning styles of the drawings