How to Draw an Otter
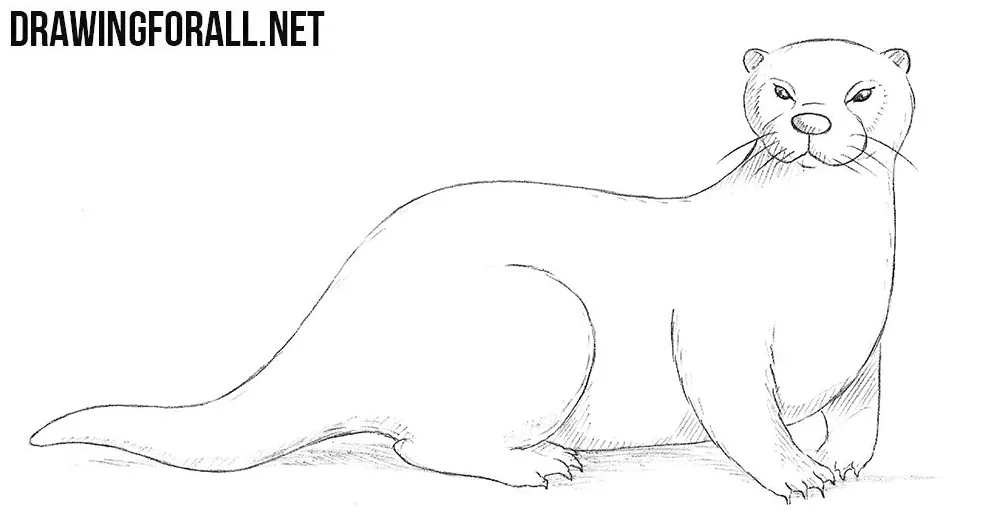
Hello dear artists and welcome to another drawing lesson by the team of Drawing For All. In this tutorial, as you can see, we want to tell you how to draw an otter.
Step 1
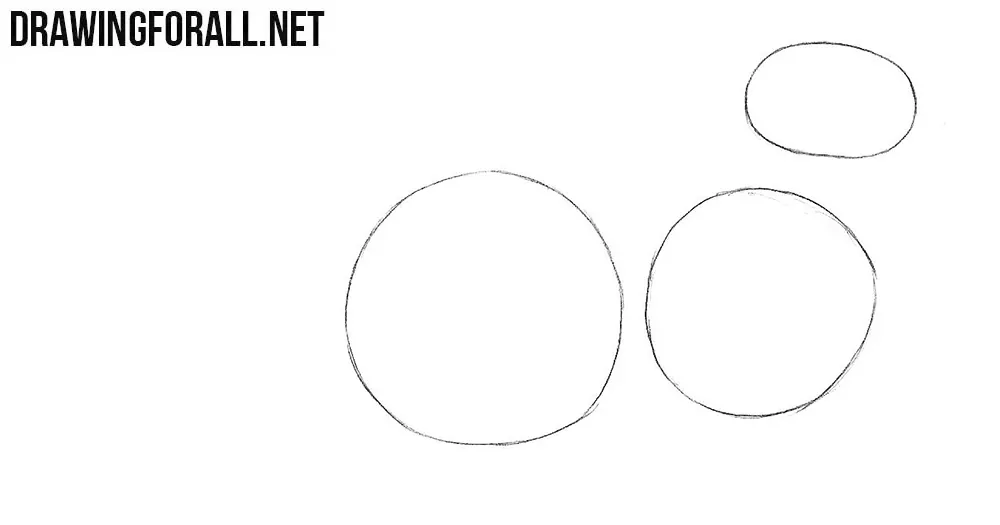
At first sketch out an oval head and the torso, consisting of two circles – one large and one slightly smaller.
Step 2
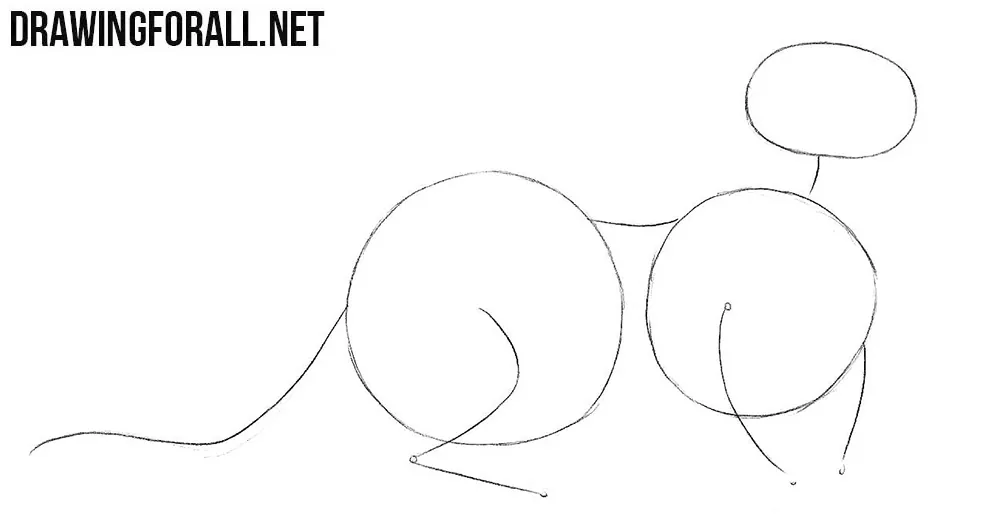
Now, with the help of light lines sketch out the neck, spine, tail and limbs.
Step 3
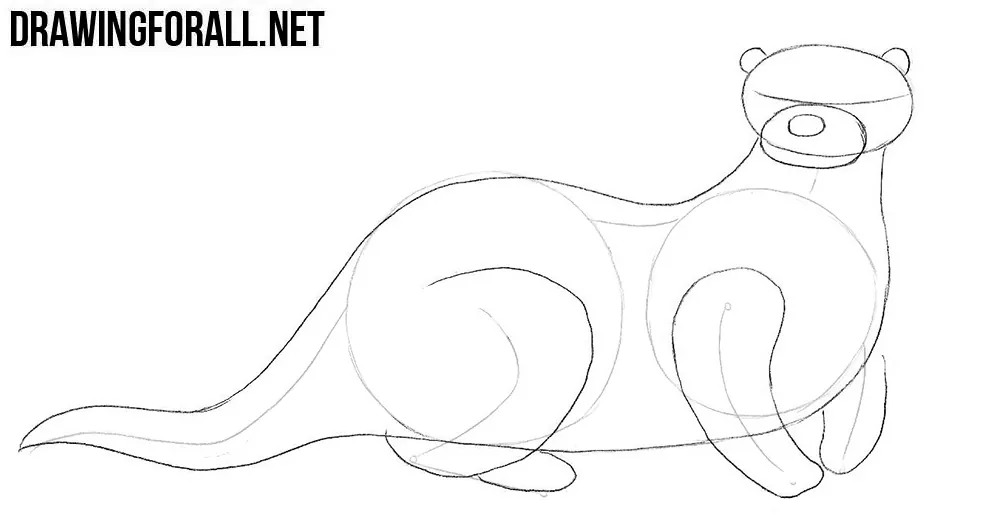
Connect all the details of the otter drawing with light and smooth lines. Sketch out the ears, muzzle and nose.
Step 4
Let’s work with details. Sketch out the the eyes, frowning brows, mouth and claws.
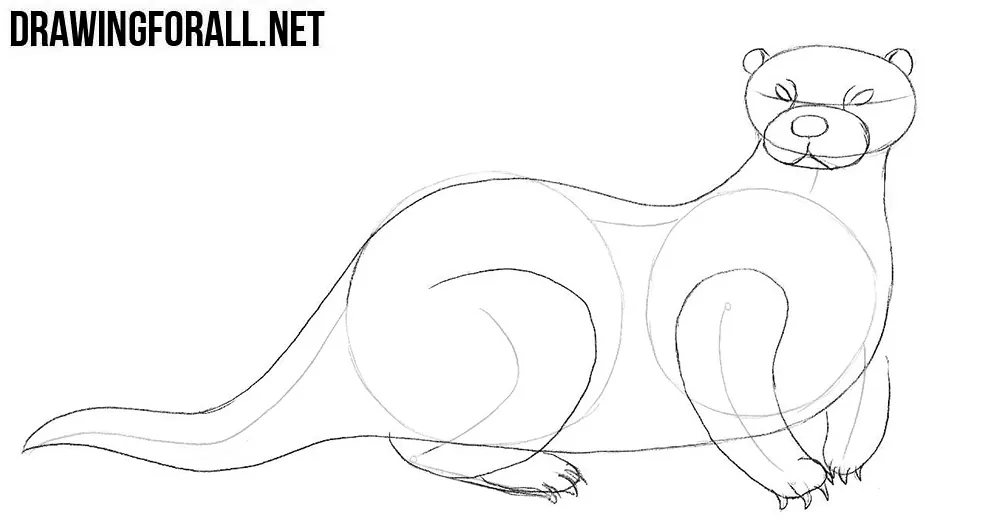
Step 5
Remove all unnecessary lines and draw out the drawing, making the lines smooth, clear and dark.
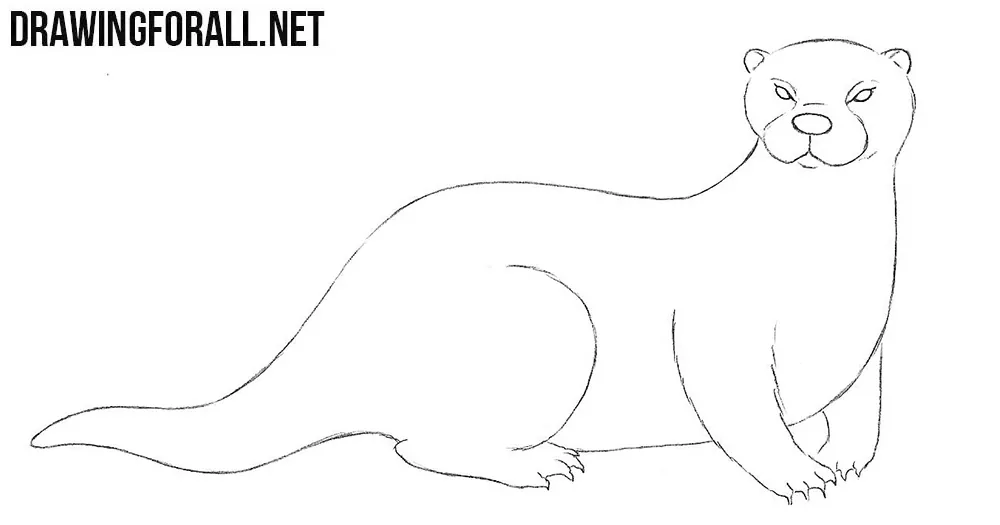
Step 6
After all the details are drawn, we’ll work with shadows on the otter drawing. Apply shadows using light hatching.

The theme of this lesson was how to draw an otter. Now we would like to give you a couple of useful tips. Do not forget that the first few steps should be done with light lines. To make the texture of the fur, use short strokes. Also don’t forget that you can look at the drawing through the mirror to check the proportions of your otter.



I would prefer it if you placed the useful tips at the top. This way I can take on the tips before I start drawing…
Agreed.
AMAZING