How to Draw an Ork from Warhammer 40000
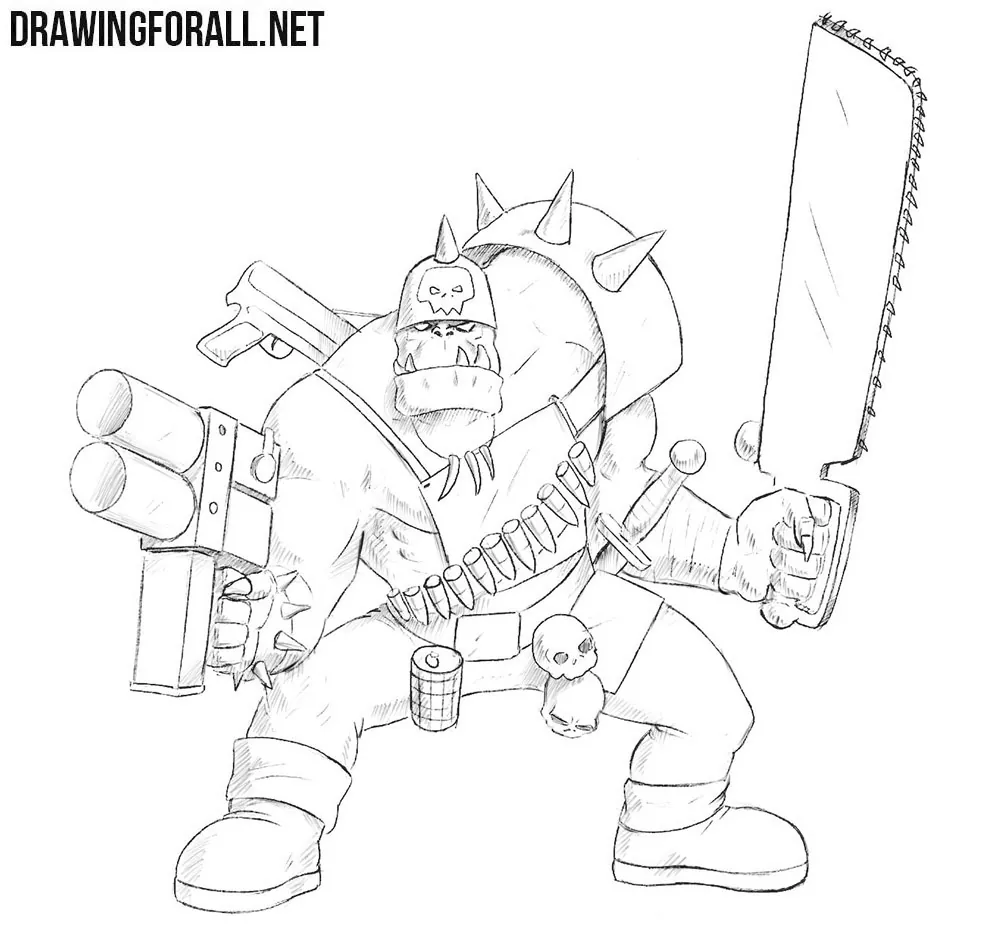
Orks from the Warhammer universe differ quite noticeably from those in other fantasy universes. In this tutorial, we want to show you how to draw an Ork from Warhammer 40,000 and depict his characteristic appearance with authentic weapons and armor.
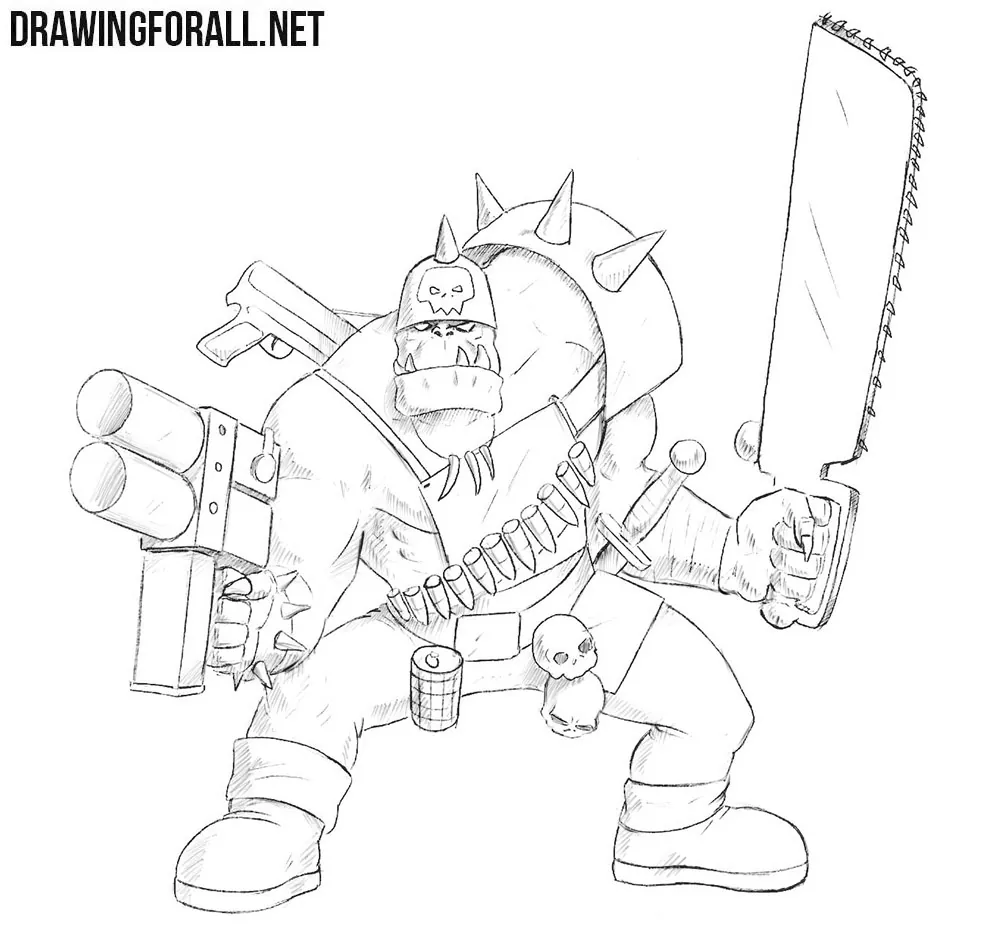
Since an important distinction of these Orks is that their characteristic Ork appearance is combined with rough technology, we will depict him with a large gun in one hand and a chainsaw in the other.
How to draw an Ork from Warhammer 40,000 step by step
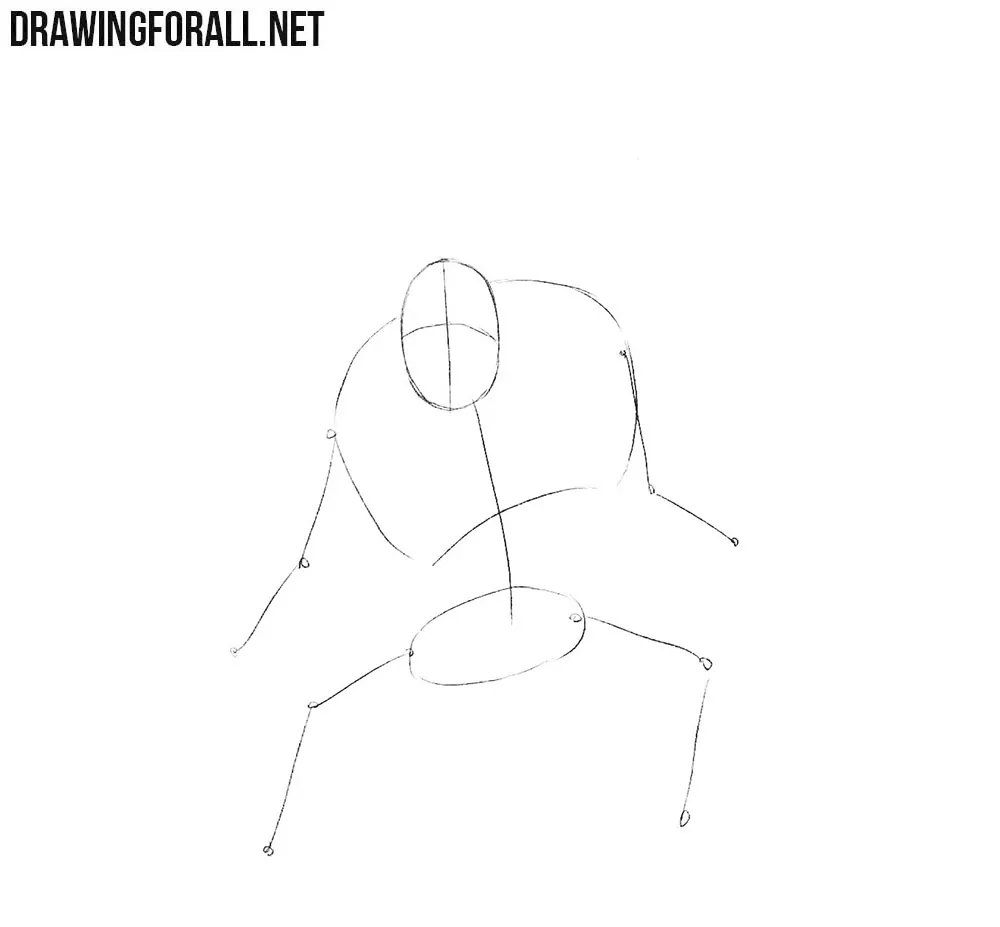
Step 1: Sketch the Ork’s basic figure
An Ork has a broadly human shape, so first sketch the basic framework of the warrior. Draw an oval head and a line for the spine. Then outline a large, tilted rib cage and a small, rounded pelvis. Place the head low in front of the shoulders to show the hunched posture. Sketch the arms and legs.
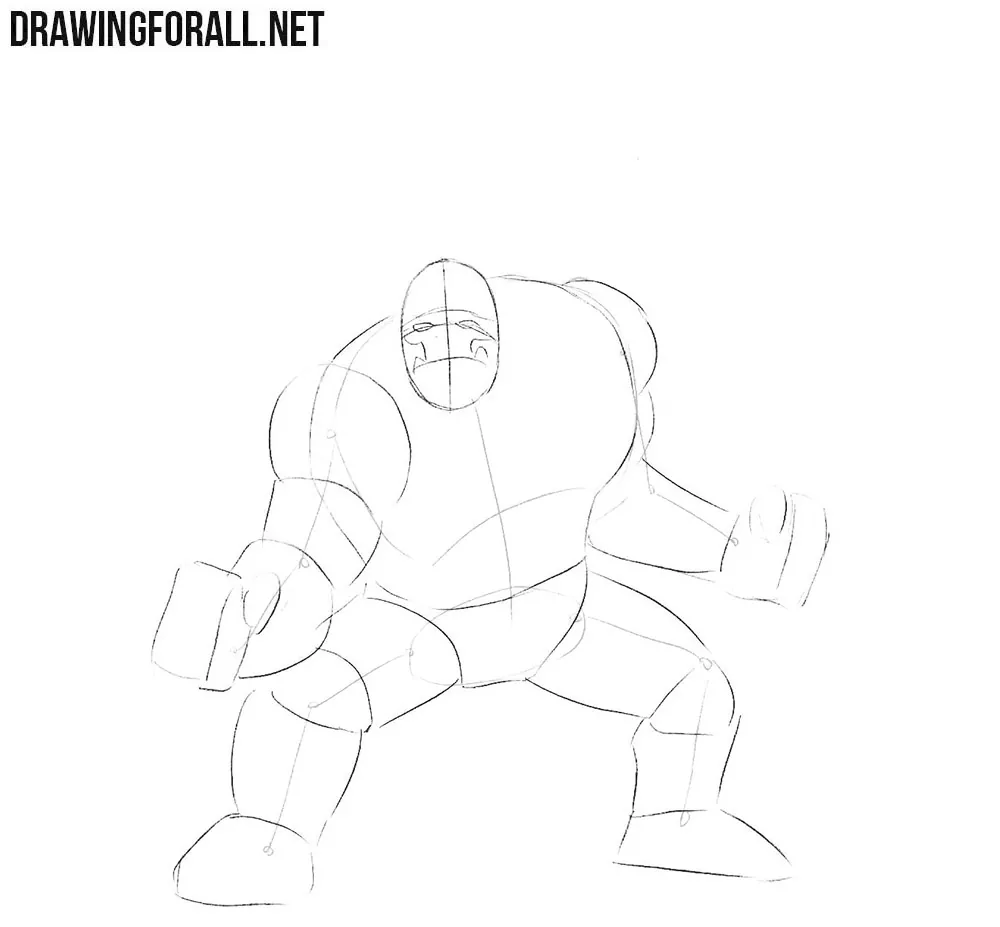
Step 2: Outline the body and limbs
Outline the body and limbs with light lines and simple geometric shapes. Build the shoulders with large spherical forms and the arms and legs with thick cylinders around the guidelines. Sketch the fists at the ends of the forearms and feet beneath the short legs. Next, mark the facial features and the outline of the helmet.
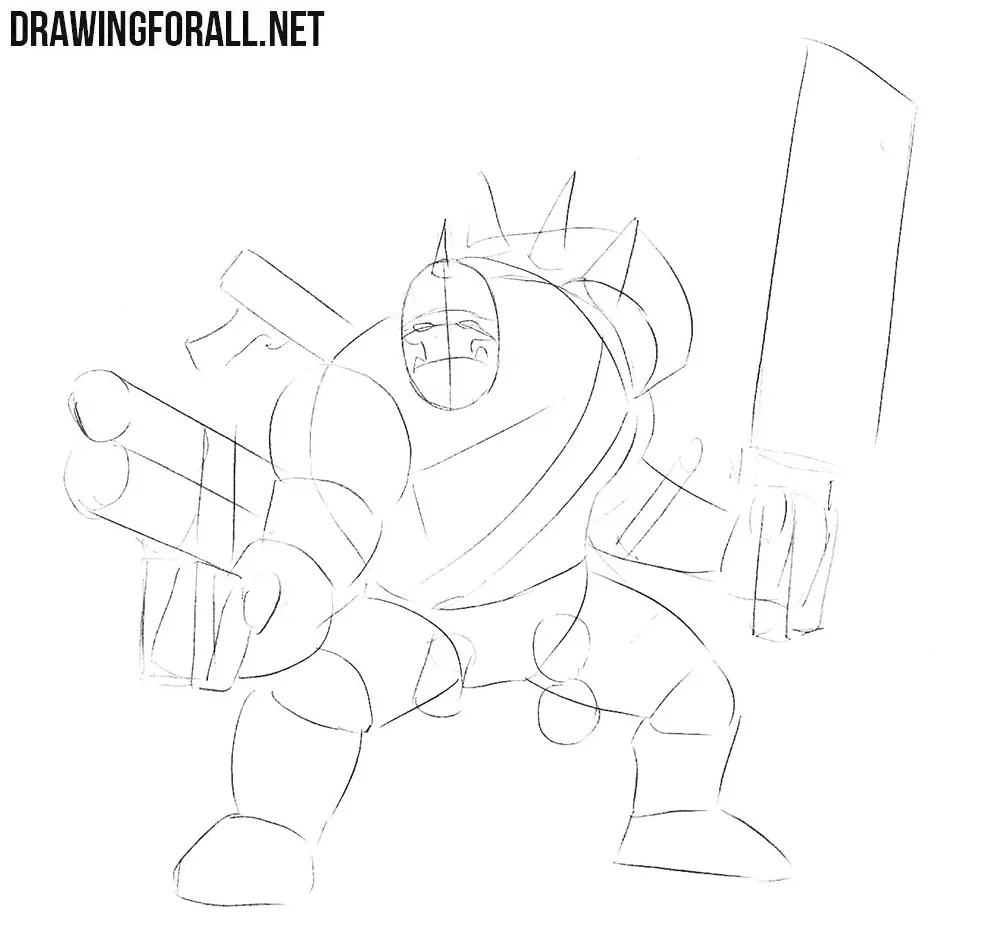
Step 3: Sketch the outfit and weapons
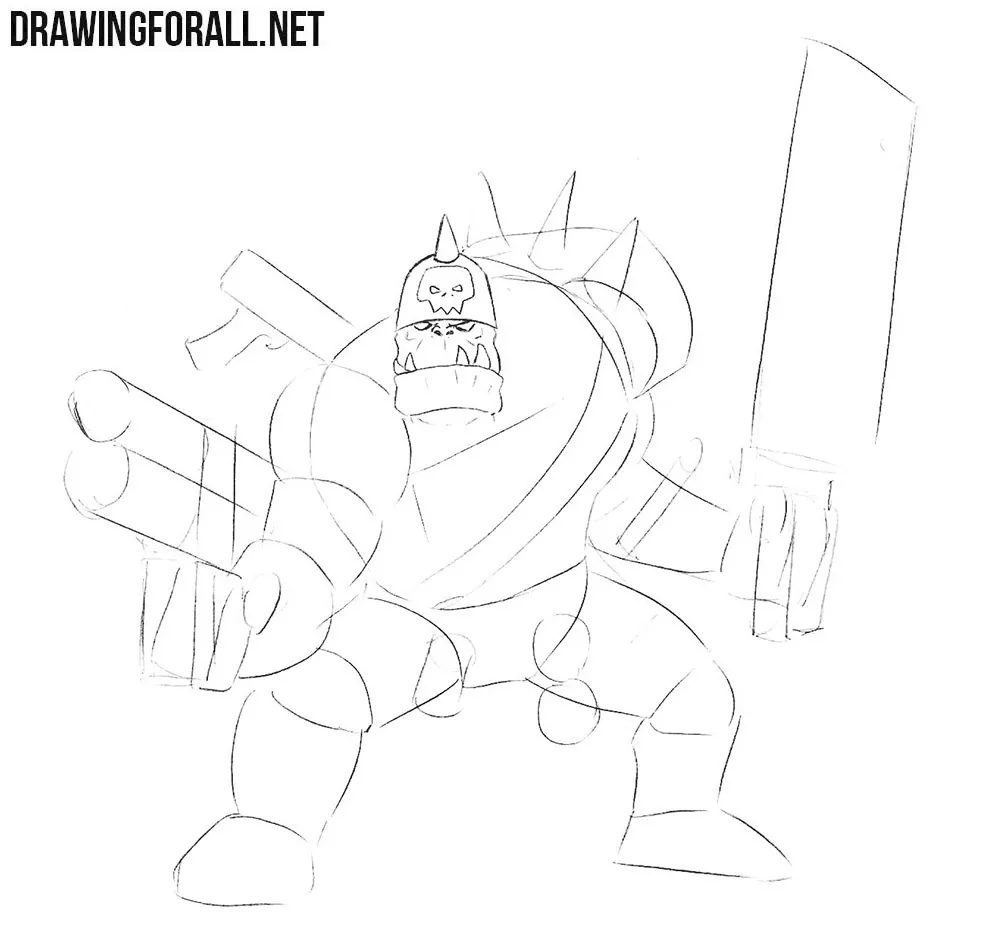
With the Ork’s basic figure in place, add the main details of our Warhammer 40,000 warrior. Start with the head and sketch the face and helmet. Then move down to the body and outline the outfit. Add the spiked shoulder plate and a broad diagonal strap across the chest. Sketch the guns and sword. Place two cylindrical barrels on the left and the tall, broad blade on the right.
Step 4: Draw the Ork’s facial details
Carefully draw the angry eyes. Add the short, broad nose between them. Below them, draw a large mouth with huge, ugly teeth. Make the teeth uneven and pointed, and outline the heavy lower lip and chin beneath them. The Ork’s face is fairly simple to draw. Finish the helmet with a skull emblem on the front and a conical spike on top.
Step 5: Refine the torso and armor
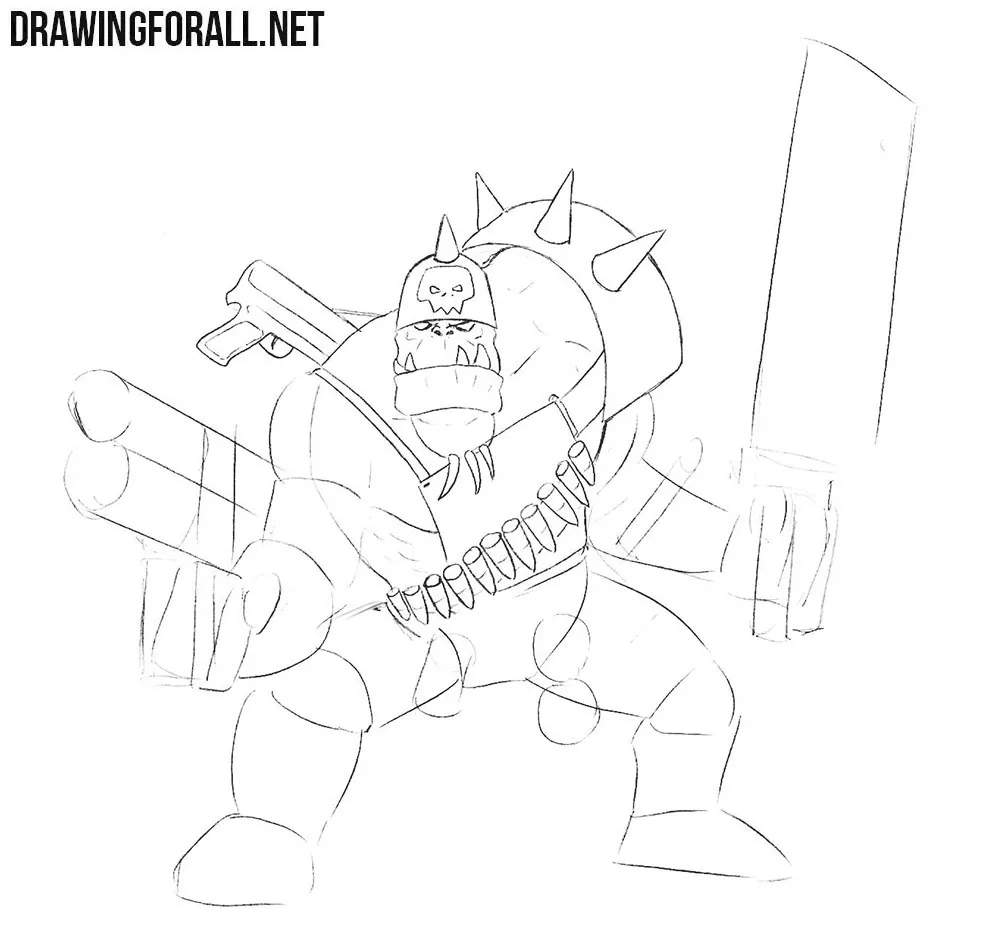
Draw the powerful shoulders, huge pectoral muscles, and outer contours of the torso. Don’t forget to refine the armor and weapon details in this area. Outline the curved shoulder plate and its three large spikes. Draw a row of cartridges along the diagonal chest strap, with oval ends and tapered tips. Add the hanging teeth beneath the chin and refine the gun behind the left shoulder.
Step 6: Detail the muscular arms and weapons
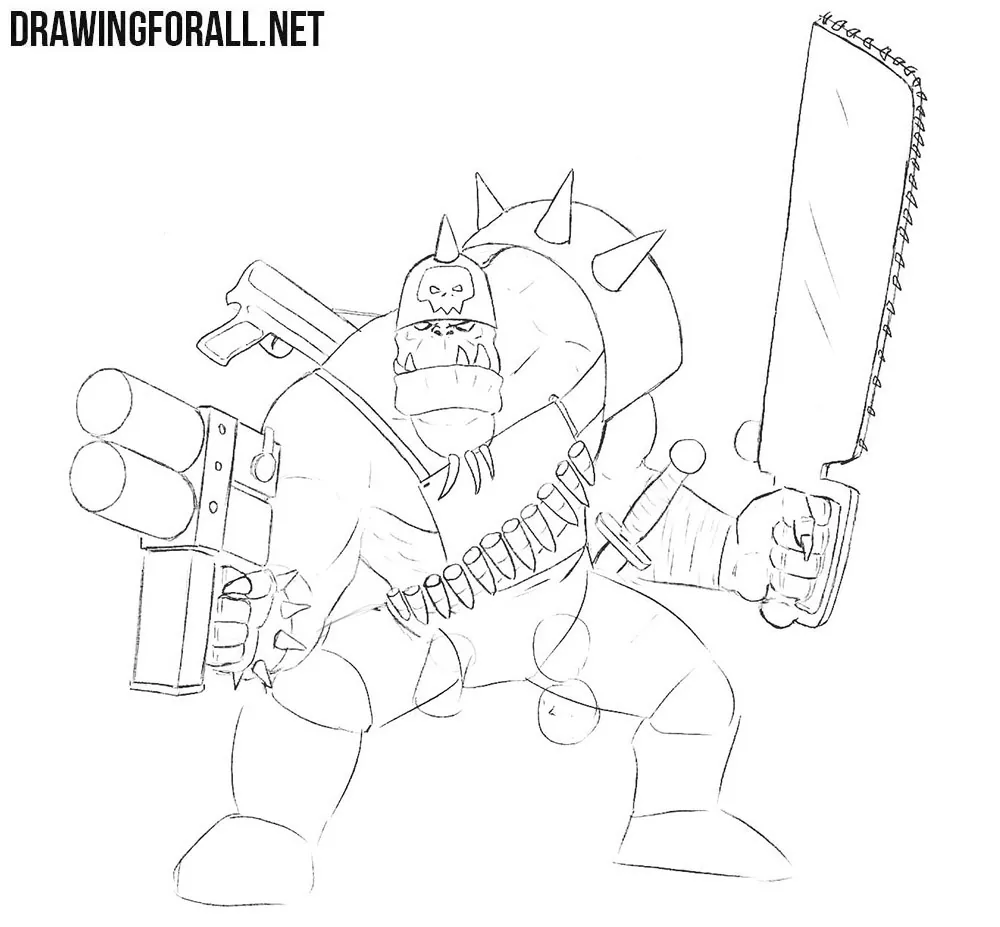
Define the deltoids, bulging biceps, triceps, and forearm muscles. The hardest part is drawing the fists. Separate the curled fingers around each grip and add the pointed nails. Finally, refine the large gun and chainsword. Draw the gun’s rectangular casing and the small teeth along the blade’s outer edge.
Step 7: Draw the belt and legs
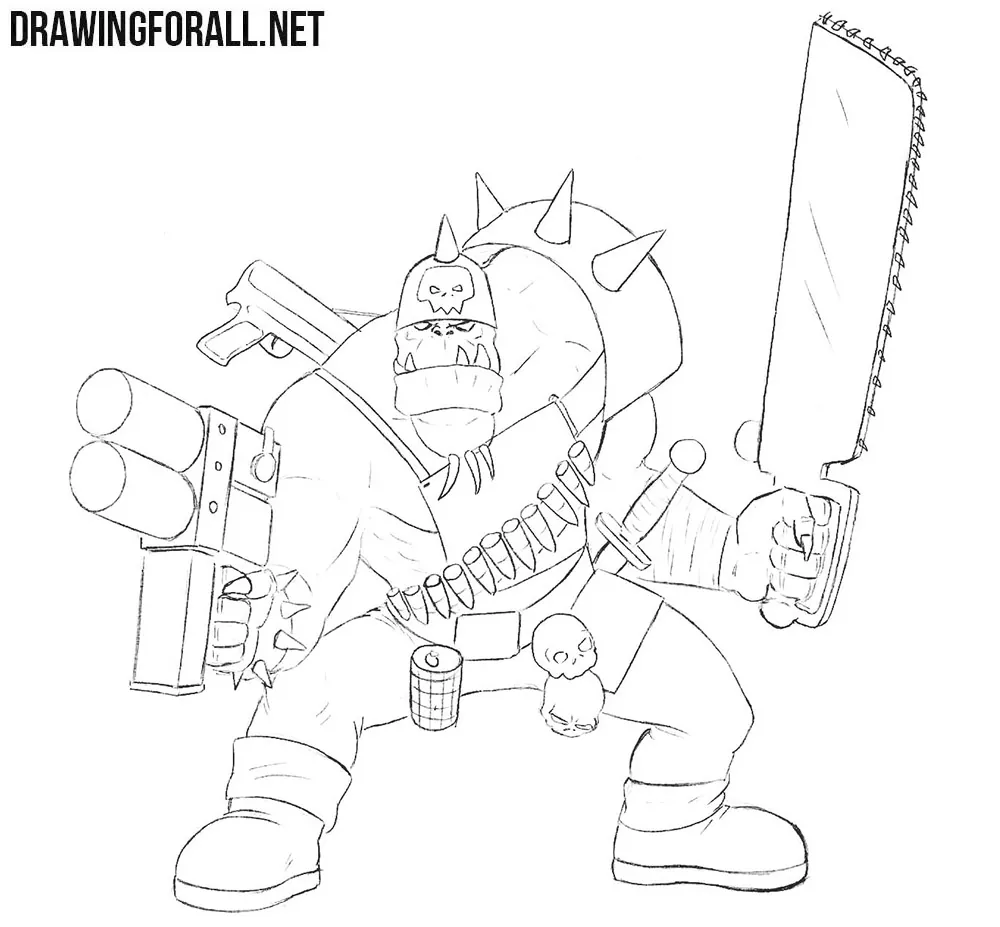
Add the skulls and grenade on the belt. Mark the skulls’ eye sockets and divide the cylindrical grenade into small sections with crossing lines. Then carefully refine the contours of the legs. Add folds at the crotch and bent knees. Don’t forget to draw the knees and footwear. Outline the wide boot cuffs, curved toes, and thick soles.
Step 8: Add shadows to the Ork
Our drawing is almost finished, and we just need to add shadows. Apply dense hatching to the areas that receive the least light. Darken the spaces beneath the helmet, chin, and shoulder armor, then shade the undersides of the arms and the folds between the legs. Remember that the shadows should emphasize the forms they lie on and be placed in areas that are not directly exposed to the light.
Characters from Warhammer have a very characteristic appearance, whether you are drawing them from video games or from tabletop games. In any case, drawing even such characters, whose proportions differ quite a lot from human ones, still follows the process of drawing a person, although with changes.
The same general basic sequence can be used if you are drawing a Space Marine or other characters from this universe, as well as others.
The main thing is to know the sequence of constructing a character from the skeleton to the mannequin with the general details, and then to the smaller details and shadows.