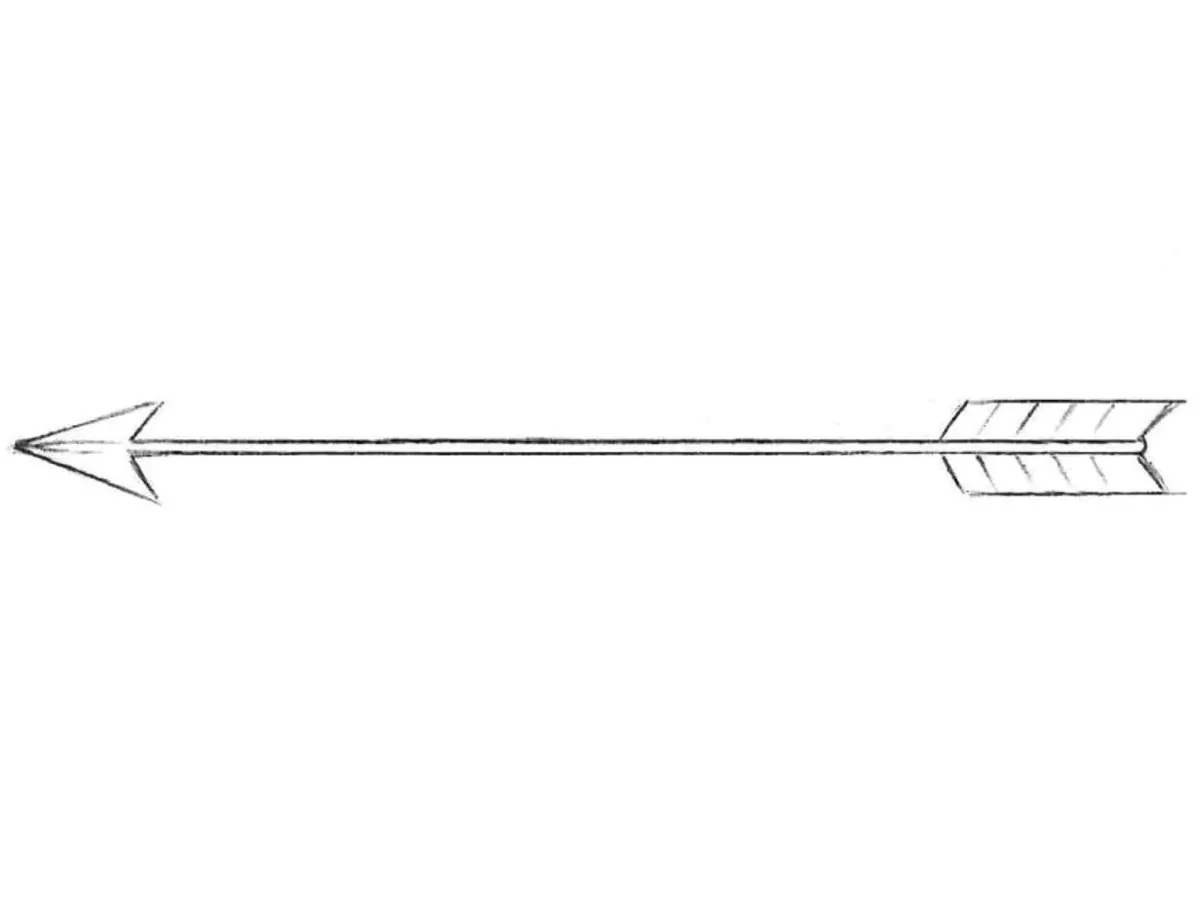
How to Draw an Arrow
In this tutorial, we will show you how to draw an arrow, one of the earliest tools of humankind, which helped people obtain food and defend themselves.
Nowadays arrows are often used in hunting and sports. Also, this object is widely represented in various games, movies, and other areas of art.
This is an object that is simple not only to make but also to sketch, as it consists of several basic parts: the tip, the shaft, and the fletching.
Below, using simple actions and basic lines, we will sketch each part step by step and add shading to give the arrow drawing a three-dimensional look.

How to draw an Arrow step-by-step
Step 1: Sketch the arrow shaft base line
Arrows are made of straight branches of the tree, and today we will try to draw an arrow using maximum straight lines. At first draw a line for the bottom edge. It will be good if you could draw that line without a ruler. You should try to draw this line as straight as possible. The ability to draw straight lines is necessary for any artist. Being able to draw straight lines, you can, for example, draw wolverine claws or an iPhone without a ruler. If you can not draw it on the first try, then erase the lines and try to draw them again. Actually, at this stage, we made a big part of the drawing. But we must not relax.

Step 2: Draw the arrow shaft upper edge
We continue our lesson on how to draw an arrow. Draw another vertical line directly under the first one. The arrow must be straight and narrow. As we have said, this is a very simple lesson. Notice, that both lines should be the same distance from each other along the entire length. And, as we have said, you should try to draw all the lines without a ruler. It remains for us to draw the head and plumage of the arrow.

Step 3: Draw the triangular arrowhead tip
At this stage, draw the arrowhead. There are many different arrowheads, but today we are going to draw the most popular of them – the triangular head. It should look like an acute-angled triangle. The upper and lower corners of the head should be the same. In fact, it is not just a drawing lesson on how to draw an arrow, but rather a lesson on how to draw straight lines. And as in the previous stages, you should try to draw the arrowhead without a ruler.

Step 4: Add the tail feathers to the shaft
By using a pair of trapezoids outline the fletching of the arrow. As in the last step, the upper and lower parts of the fletching have to be the same. You know what we say about a ruler, is not it? Yes, no rulers, only handmade lines, only hardcore! The arrow drawing is almost ready, there is only one step.

Step 5: Clean the sketch and finish the fletching
In this stage, we will erase all unnecessary lines and finish drawing the arrow’s fletching. Add some diagonal lines to the tail. Take care that the diagonal lines were the same distance from each other. Trace the lines and erase the remaining unnecessary guidelines from the projectile drawing, and the arrow drawing is complete.

It was a very easy arrow drawing tutorial, is not it?. We hope you enjoyed this guide.
Drawing an arrow involves several important aspects that need to be considered throughout the entire process, from the very first lines to the final details.
The most essential point to keep in mind is that an arrow is made up of straight lines, which define its primary shape and give it its characteristic form.
When sketching an arrow, make sure the top and bottom lines remain as straight as possible, and that the space between them is consistent from left to right.
It’s also worth noting that there are many different types of arrows, each with unique arrowheads, shafts, and fletching styles.
Some arrows are longer and designed for long-range precision, while others are shorter and built for speed or different uses, such as hunting or target shooting.
You can reflect these variations in your drawing by giving the arrowhead a distinct shape, adjusting the length of the shaft, or illustrating fletching with different outlines.
This way, your arrow drawing can look more realistic or simplified, depending on whether you want to depict a traditional hunting arrow, a simple target practice arrow, or even a fantasy-inspired design.
Also, try drawing a bow with an arrow to practice more complex compositions.
Follow us on social media, share our site with your friends, and check back often so you don’t miss any new drawing lessons. Stay tuned for upcoming tutorials.


Hello how are you?
I would like to practice my Shooting with a bow and arrow Just to make sure I am ready to fight in Battle with the Elves I would like to become a Sindarin Elf so I will be royal
That’s a fun idea – best start is by drawing a bow and arrow first.