

How to Draw a Rifle for Beginners
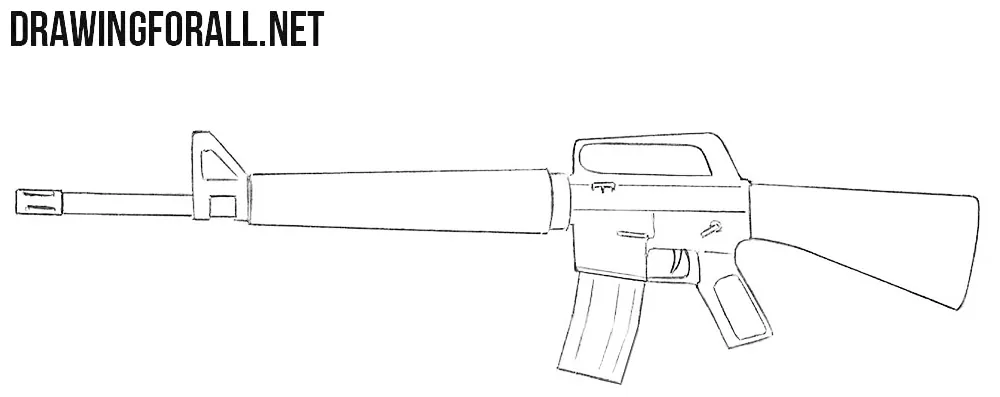
To show you how to draw a rifle, we decided to use the classic American M16 as our example. However, the same steps, with some changes to the details, can also be used to draw other assault rifles, from the M4A1 to the AK-47.
How to draw a rifle step by step
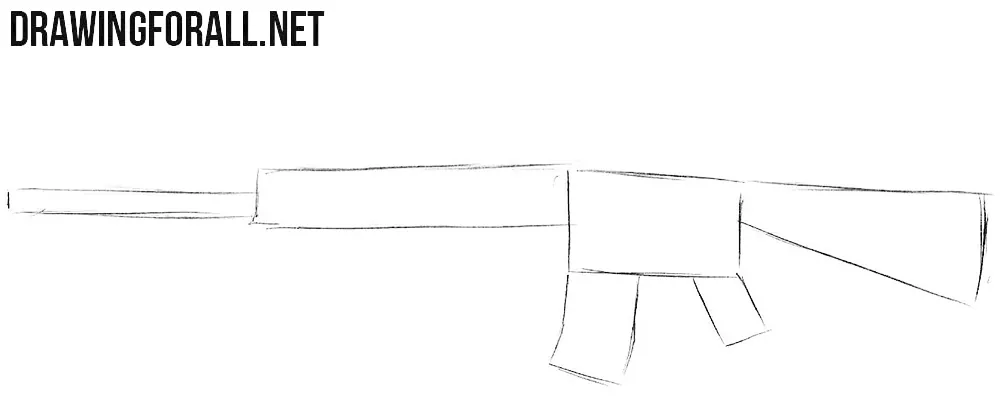
Step 1: Sketch the rifle’s basic shapes
First, sketch the rifle’s main outlines using simple geometric shapes. Draw a narrow barrel extending to the left, a long rectangular handguard, and a deeper rectangle for the receiver. Outline the stock on the right with a sloping lower edge. Below the receiver, sketch the curved magazine and the grip angled down to the right.
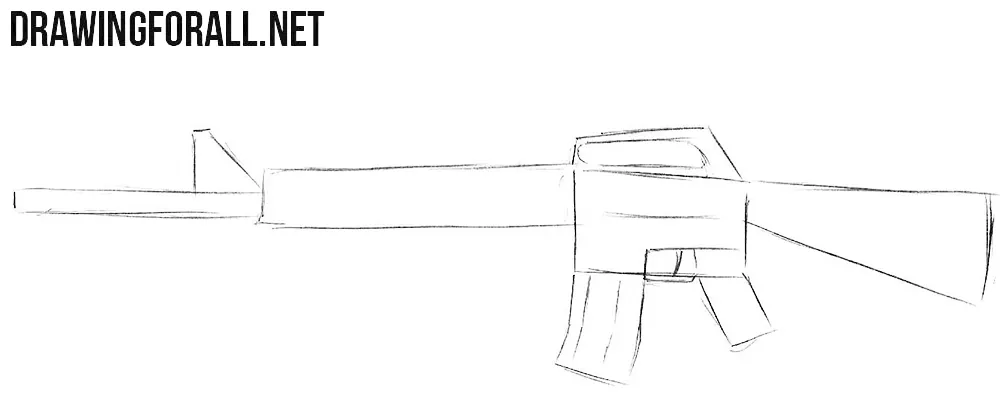
Step 2: Outline the sight and trigger
Continue using simple lines and geometric shapes. Sketch the front sight above the barrel with an upright front edge and a sloping back. Add the M16’s carrying handle above the receiver and mark its long opening. Draw a small rectangular trigger guard in front of the grip and a curved trigger inside it.
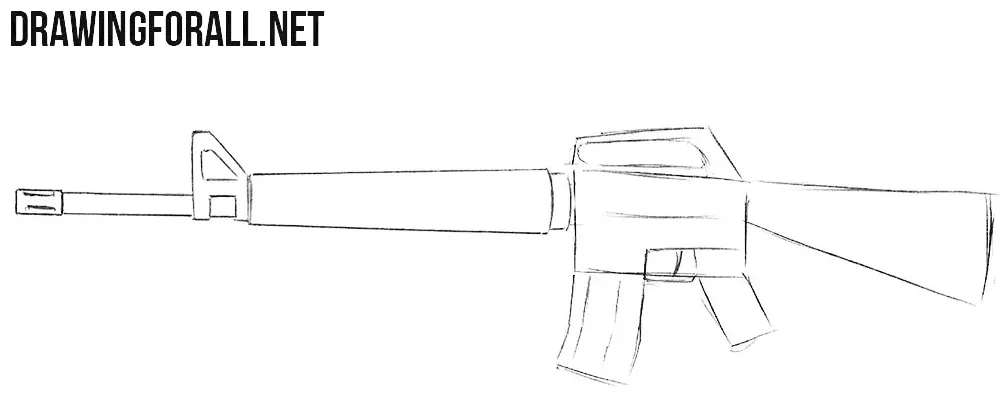
Step 3: Refine the barrel and handguard
Now use clear, dark lines to refine the rifle’s details. Carefully draw the barrel, raised front sight, and handguard. Add the slightly wider muzzle at the left end with two short horizontal slots. Draw a triangular opening in the sight and a small rectangle beneath it. Trace the gently widening handguard and add narrow bands at its ends. Erase the unnecessary guidelines from this area.
Step 4: Detail the rifle’s central section
Continue from the front of the rifle to the middle. Refine the receiver, handle, and trigger with clear outlines. Round the upper corners of the carrying handle and trace the opening beneath it. Add the long horizontal line across the receiver and the small marks on its side. Outline the trigger with two curved lines, then trace the lower edge of the trigger guard.
Step 5: Finish the magazine, grip, and stock
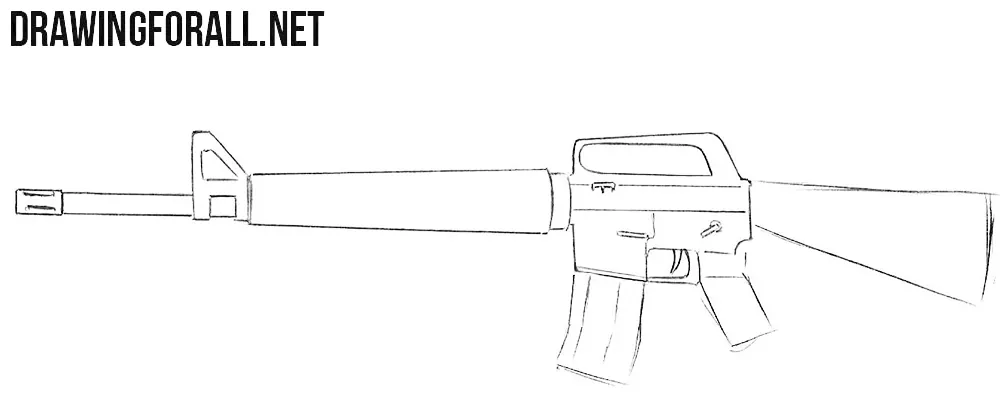
Draw several long grooves that follow the magazine’s curve. Add an inset panel inside the pistol grip, leaving a narrow border around it. Trace the stock’s sloping underside and round its rear corners. Erase all remaining guidelines from the rifle drawing.
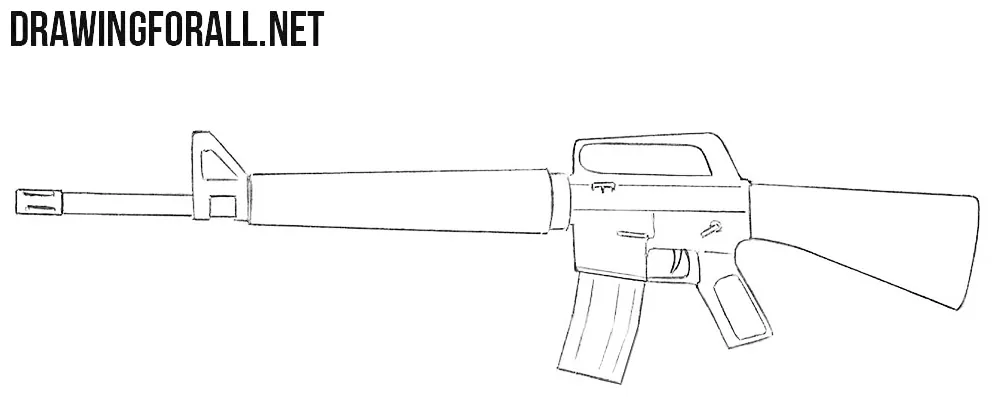
Although the rifle is drawn from the side here, it is extremely important to remember the masses, forms, and volumes, since they are what make the final drawing look realistic.
Each element has its own form, projects differently, and slightly overlaps other elements even in side view. When the rifle is turned in any direction, all these volumes and forms become even more noticeable. So, to continue practicing, try drawing the rifle from different angles.
Of course, it is also important to say that our entire weapons section exists primarily to give artists a complete set of elements for drawing comics, anime, or illustrations. Therefore, it is extremely important not only to draw rifles and other weapons separately, but also to combine them with figures.
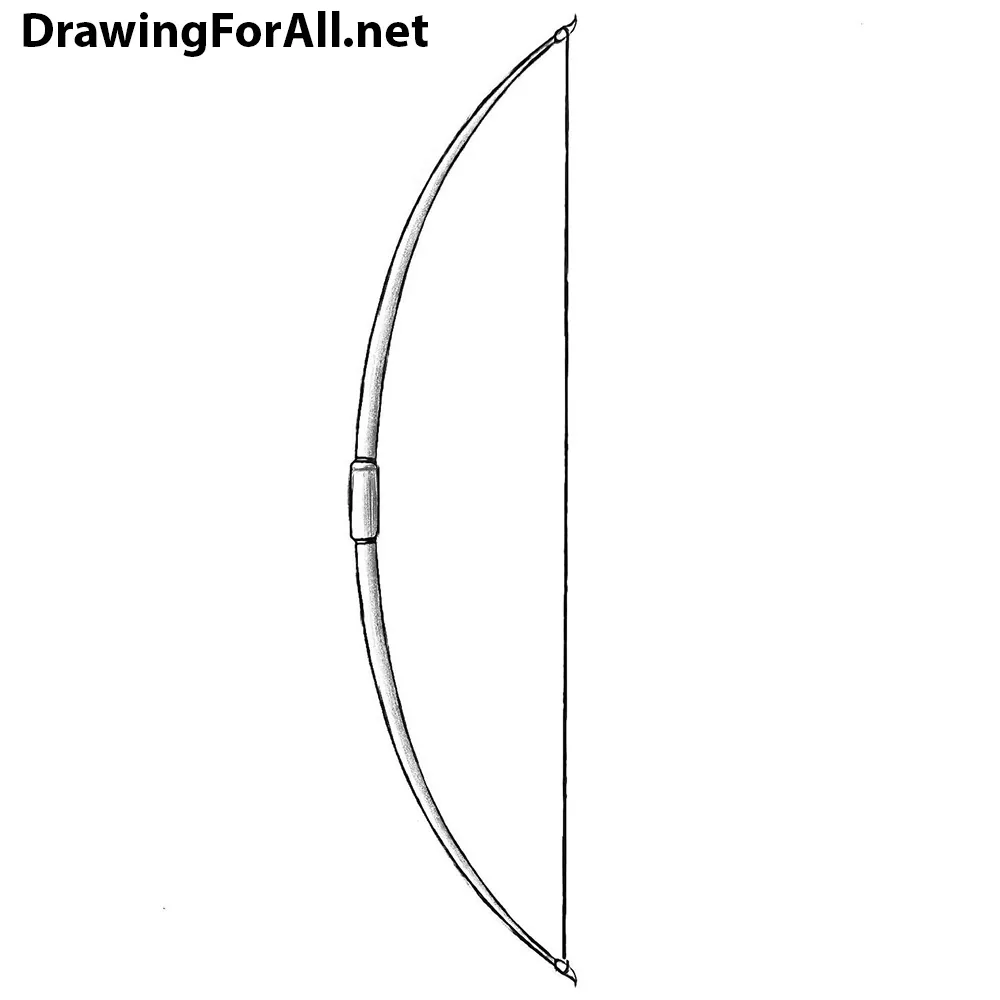
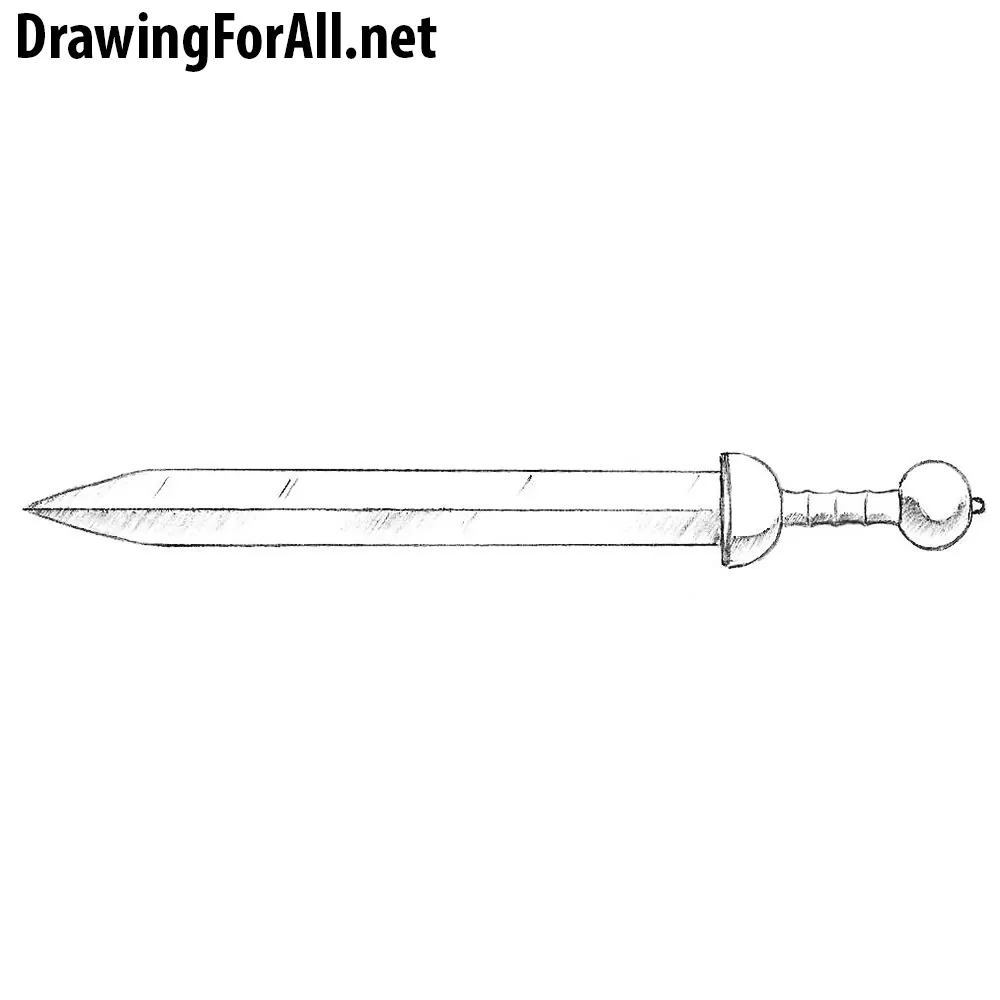
Try drawing a human figure and depict the rifle in the character’s hands using the steps from this tutorial. To create the image of a classic action character, you can draw a dagger in one hand and depict a bazooka on the character’s back.

please make pdf version, so we can draw it offline. thanks
I drew it for my step dad for a tattoo
This drawing is amazing!
I’ve already perfected it and it looks awesome with the rainbow colours.
Thanks for this amazing drawing.😉
What step caused you the greatest difficulties?
Is this Stepan from how to lucid??
is this m16a4
ya it is the m16a4 in PUBG.
No, just the M16, not the final cut
Yeah is the M16 rifle, M16A4 has a fixed grenade launcher under it’s barrel.
Ofc you don’t know it pupgy
Tf does pupgy mean
I’d love to see you draw a Glock 23
Hi Stefan! Great tutorial, next a bolt-action rifle, SMG, LMG, HMG, or just an old gun. Thanks for this one tho!
Hello. Good ideas for drawing lessons. We have made notes on our list of future drawing lessons and will publish some of them shortly.
it was a nice tutorial I love them they are also so simple
Thank you very much.
Классный рисунок
I like your drawing and now I know how to draw it and I can teach my friend too
I wish I can draw a lot of gun but-i don’t know. Can you teach me plss
I just don’t know but- I am good at drawing it I can draw other gun ▄︻̷̿┻̿═━一 I am good
Why are you soo good I want to be good and be amazing too.
Your drawing is soo amazing and nice and thank you for teaching me.
Thanks! I do have a suggestion though. Maybe you can highlight new steps because I was confused for a minute on step four because there were such small details. other than that I think my dad would love it. You did a wonderful job putting this together and the instructions were so easy to follow.
Can I add a comment supporting my website?
Hello they only let you post one comma apparently under the same name well, I’m the same person as Rena and I just wanted to say thank you so much I think my dad will really love this because I drew this for him as a sticker, but I do have a suggestion. My suggestion is that you could highlight new steps because I was a little confused on step four, I didn’t see very many changes. Other than that it was wonderful and I think my dad’s day will be made, thank you so much.
This is one of my old drawing tutorials, and the steps are not highlighted with another color. But in new tutorials I highlight all new steps with a blue color to make it easier to follow.
Wait did you actually create this site it’s so cool!!