

How to Draw a Radish
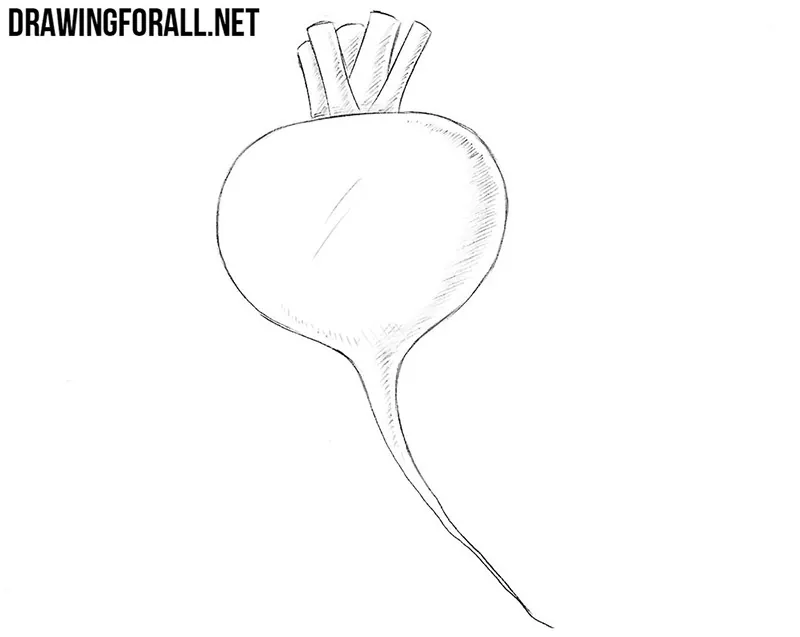
Fruits and vegetables mostly consist of very simple geometric forms, so they are very easy to draw and are great for practicing your skills. In this tutorial, we will show you how to draw a radish, which consists of truly basic forms and lines.
At the end, we will show you a simple way to add shadows so that even such a simple vegetable looks three-dimensional.
Drrawing a radish will be extremely simple and, in some sense, elementary. It consists of five simple steps, each of which is quite easy. So, prepare paper, a pencil, and an eraser, and begin the process of creating the drawing.
How to draw a radish step by step
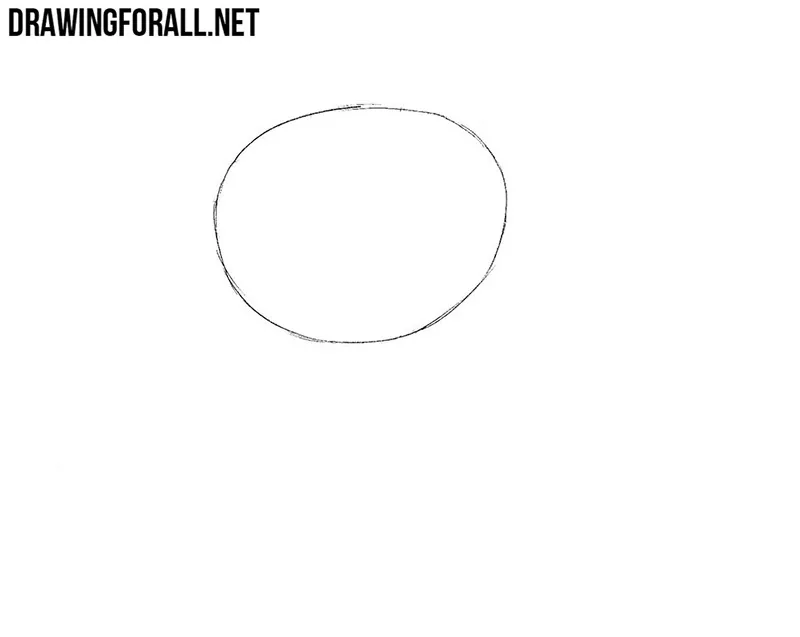
Step 1: Sketch the radish shape
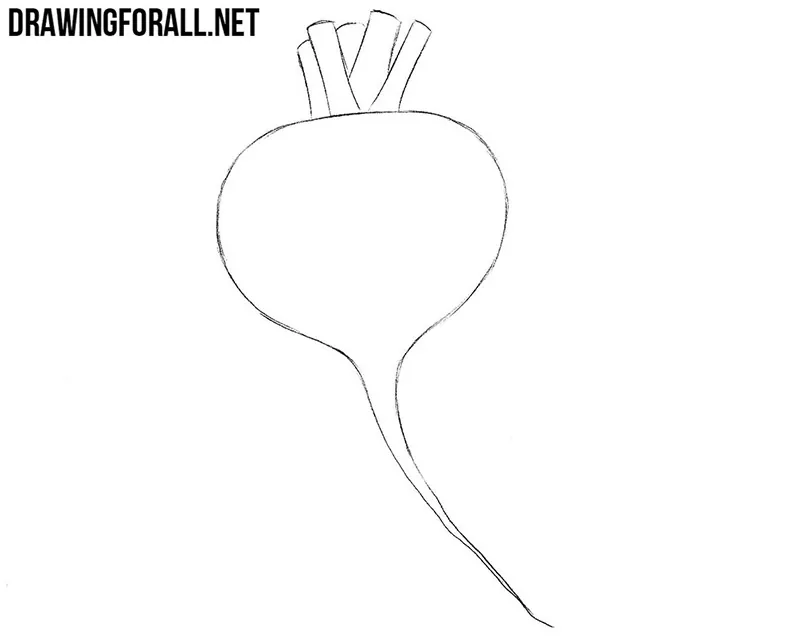
Mark a simple geometric shape similar to a circle, or rather an oval. This shape will form the main part of the radish. Try to make it slightly irregular so that the vegetable looks more natural. Draw this and the next two steps using very light lines.
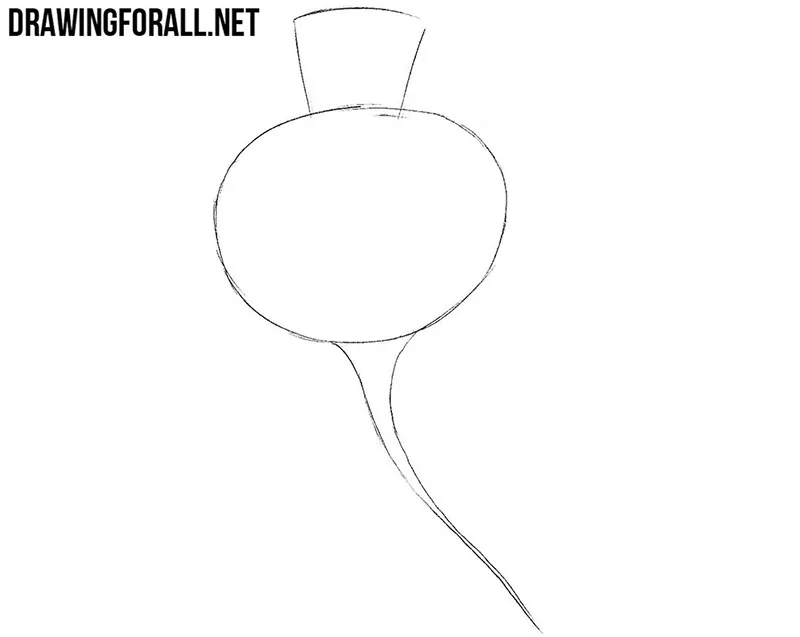
Step 2: Sketch the stem and root
At the top of the radish, mark the location of the stem. At the bottom of the simple geometric shape, draw a long and slightly curved root. Make this lower part gradually narrower toward the end.
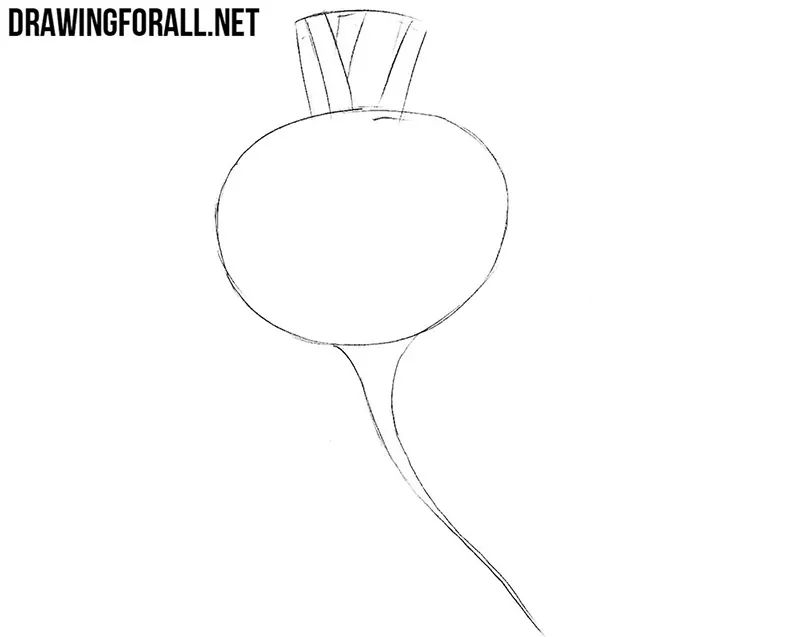
Step 3: Separate the upper stems
This is a very simple but no less important stage. Using several short and simple lines, separate the stems at the top of the radish. Draw them spreading in different directions. Do not add unnecessary details yet.
Step 4: Refine the radish contours
Now make the radish drawing more complete and clean. To do this, carefully trace all the details using clear finishing lines. Refine the main oval shape, the stems, and the long root at the bottom. With the help of an eraser, remove all unnecessary guidelines that were drawn in the initial stages.
Step 5: Draw shadows on the radish
Imagine that the light falls from the left side, which means that the shadows should be placed mainly on the right side of the radish. Add these shadows using dense and uniform hatching. Make the darkest areas slightly denser. This will make the radish drawing look more dimensional.
Try to draw the vegetable shown above next to cucumbers, eggplants, and a vase of grapes. Or create your own combination of products.
You can also draw drapery or sketch a bottle of water. Try to combine and change the location of the objects to draw a still life. Study other articles about vegetables and fruits and improve your drawing skills with tutorials from Drawingforall.net.


Can i l learn how to draw a truck