Lesson 5: Form Construction

In this lesson, we will explain how to construct a form in drawing and create an image on a flat surface using linear methods.
In the previous lessons, you learned the fundamentals of drawing and developed artistic vision, as well as how to guide a drawing from the first lines to the final result.
Now, we will bring these skills together and apply them in practice, showing how to construct a convincing three-dimensional form on a two-dimensional surface.

You will learn how to build volume using simple lines, how to see the underlying structure of an object in practice and transfer it onto paper, and how to think in terms of form rather than contour.
At this stage, we will work only with line, without shading. This allows you to focus on the most important aspect – the construction of form.
Form Construction Steps and Principles
When drawing any object, start by placing the general mass or frame. Do not think about details or contours. Block the object as a simple volume.
If you are drawing an apple, treat it as a sphere. If it is a cup, think of it as a cylinder. If it is a box, place it as a cube. Keep the lines light and simple, thinking about the size, position, and proportion.

Once the mass is placed, immediately define its direction in space. Add a central axis or guiding lines. On a cylinder, draw the vertical axis and place the top and bottom ellipses.
On a sphere, add a line that shows its rotation. On a cube, establish the main edges so the form clearly sits in perspective. At this stage, you are fixing the orientation of the object, not refining its shape.

Next, begin dividing the form into larger parts, if you are drawing more complex objects. Work with clear, simple volumes.
For example, a cup can be separated into the main body (cylinder), the thickness of the rim, and the base. A head can be divided into a sphere and a jaw block. Do not jump to small elements yet. Keep everything tied to the main structure.

Then start refining the form by adding smaller parts, but always attach them to the existing construction. Do not draw details independently.
If you add a feature to a sphere, it must follow the curvature of that sphere. If you add elements to a box, they must follow its planes and perspective. Every new line should sit on the form, not float on the surface.

As you work, build through the form. Do not limit yourself to visible edges. If needed, lightly draw the hidden side to understand the full volume.
For example, when drawing a cylinder, think of the back ellipse even if you do not fully draw it. This keeps the form solid and prevents distortion.

Keep the drawing simple for as long as possible. Do not commit to details too early. If the main form is incorrect, details will only make the mistake more visible. Check the overall shape, then the main parts, and only after that move forward.
At every stage, compare the parts to the whole. Check proportions, alignment, and symmetry. If something does not fit, correct it immediately. Do not wait until the end.
The process stays the same in every drawing: place the mass, define the direction, divide into large parts, refine the structure, and only then move to smaller elements.

By repeating this approach, you begin to understand and draw the form instead of copying its outline.
Form Construction: Exercises
The study and drawing of simple geometric forms is one of the most important foundations for understanding the principles and methods used to depict more complex objects. Learning to draw requires a cohesive approach and repeated practice in order to develop skill.
Simple geometric forms, with clear, simple shape and no unnecessary details, provide an effective way to understand and reinforce fundamental drawing principles.
They allow you to focus on the essentials without distraction, making it easier to see perspective, foreshortening, and proportional relationships.
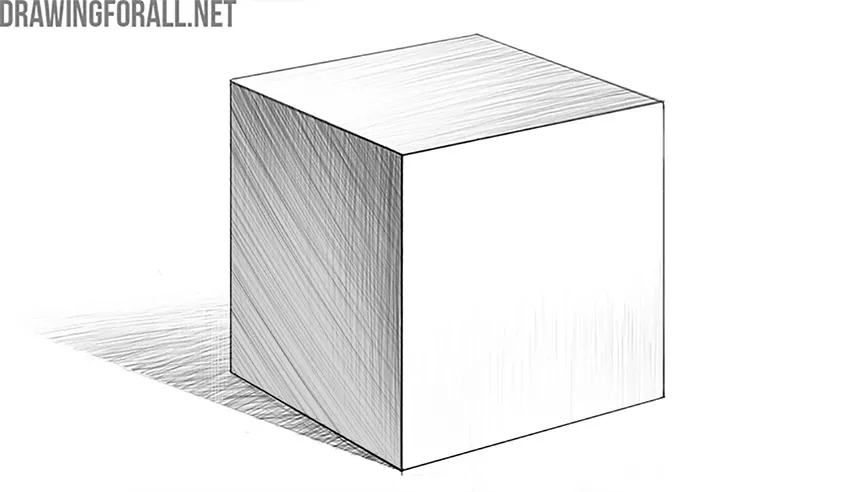
Cube
The cube is one of the simplest geometric forms to draw and allows you to learn the basics of constructive drawing as well as clearly understand perspective. Practicing drawing cubes also helps develop your ability to measure and control proportions.
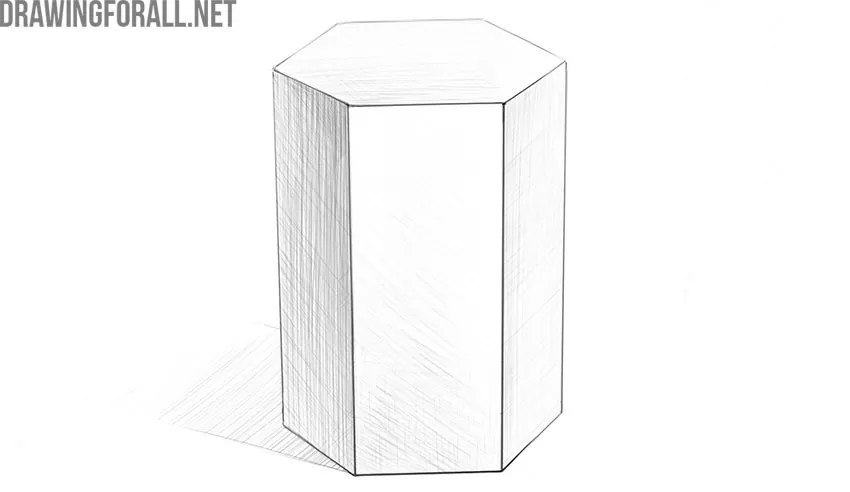
Prism
Drawing a prism is a continuation of the previous exercise, but with a more complex geometric form that requires greater control. Practicing prisms helps you learn how to draw multi-sided objects accurately, maintain correct proportions, and keep all parts properly aligned with the overall form.
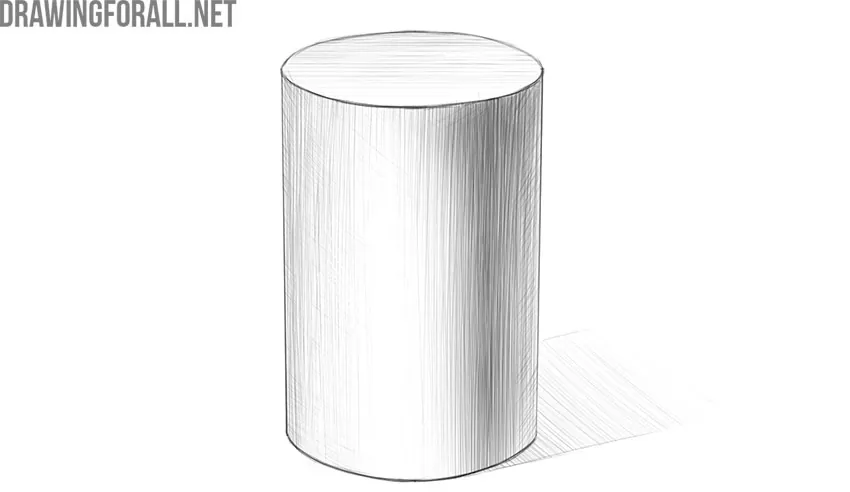
Cylinder
Drawing a cylinder is a further stage of practice where the form has fewer angles and more continuous, curved surfaces. Constructing a cylinder differs from drawing forms made only of straight edges and sharp angles, and helps develop a more complete understanding of spatial structure.
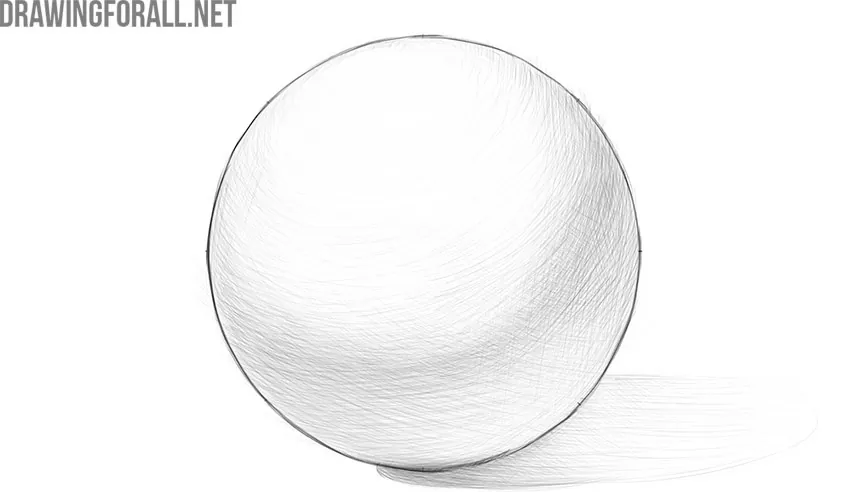
Sphere
Practicing drawing a sphere helps you learn how to construct forms without angles, built entirely from smooth, continuous surfaces. This develops your ability to understand and control spatial structure in objects that do not have flat planes, and to maintain a consistent, unified volume.