

How to Draw a Flower
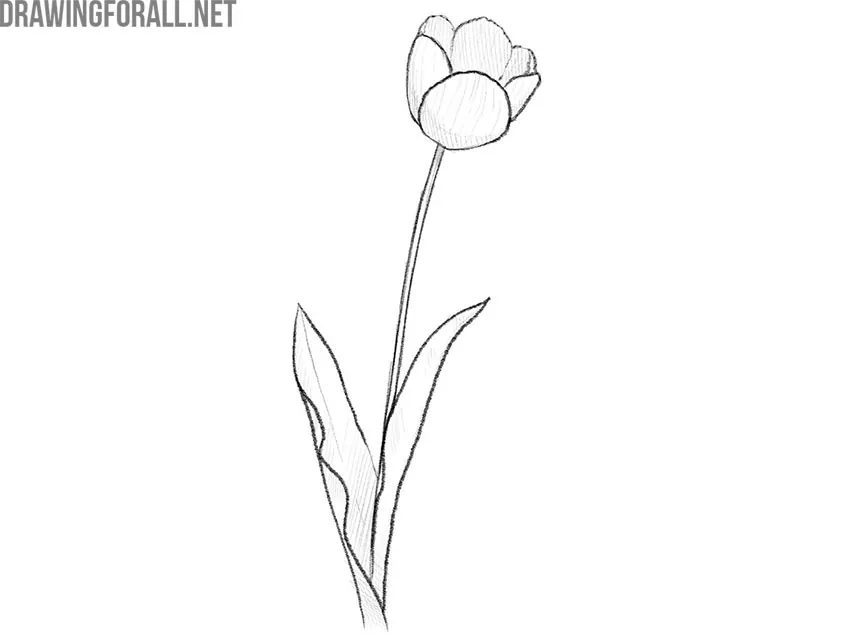
Learning how to draw a flower is much easier when you start with large basic forms and then gradually refine them step by step.
In this tutorial, we will show you how to do this and how to create volume in your flower drawing using simple hatching techniques.
How to draw a flower step by step
Step 1: Sketch the flower bud
First, draw the approximate outline of the bud. Its placement depends on the composition. Here, the bud is located at the top of the sheet of paper.

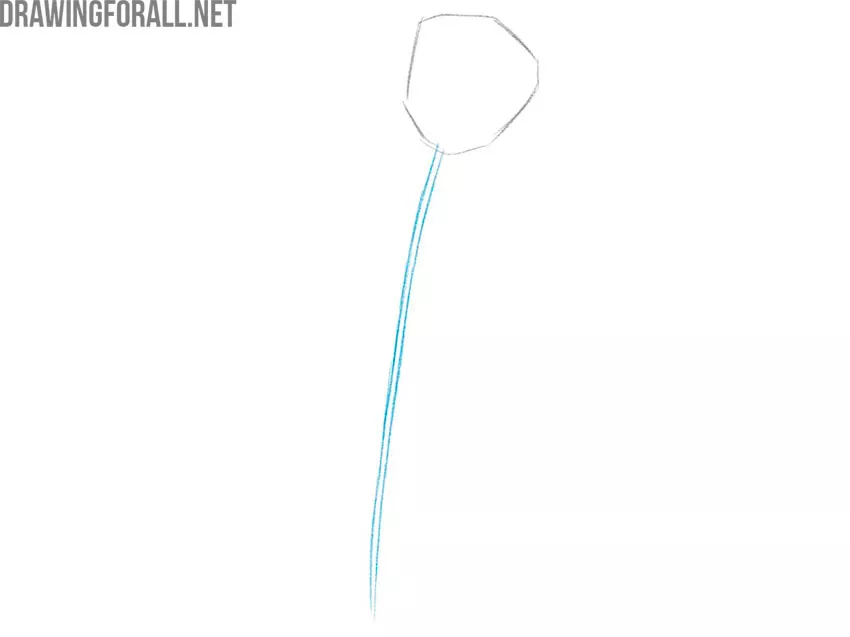
Step 2: Draw the flower stem
Next, draw the stem. Its shape and placement also depend on your original plan. Here, the flower has a long, thin stem that runs across the entire sheet of paper.
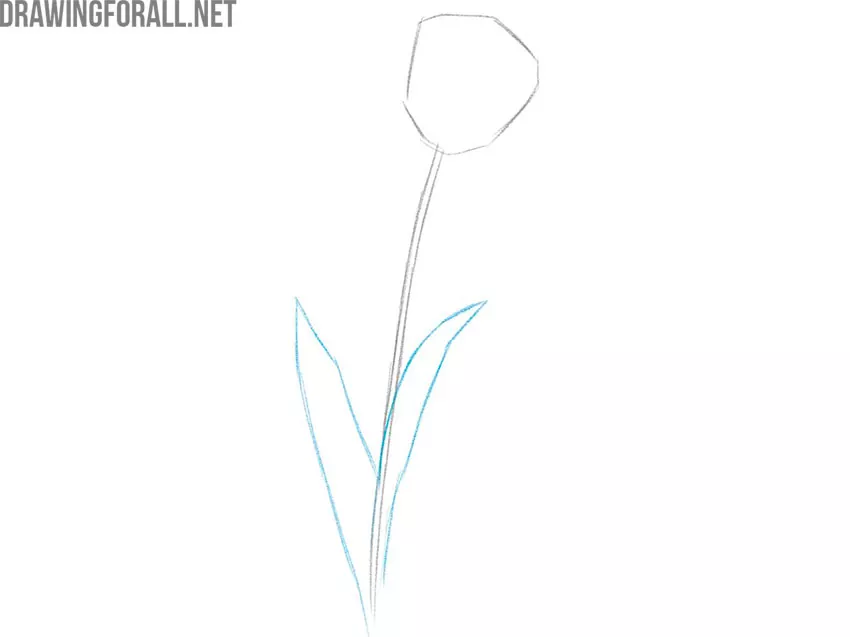
Step 3: Add two pointed leaves
The flower does not look complete without leaves, so add two large leaves with pointed tips. Do not try to draw them symmetrically.
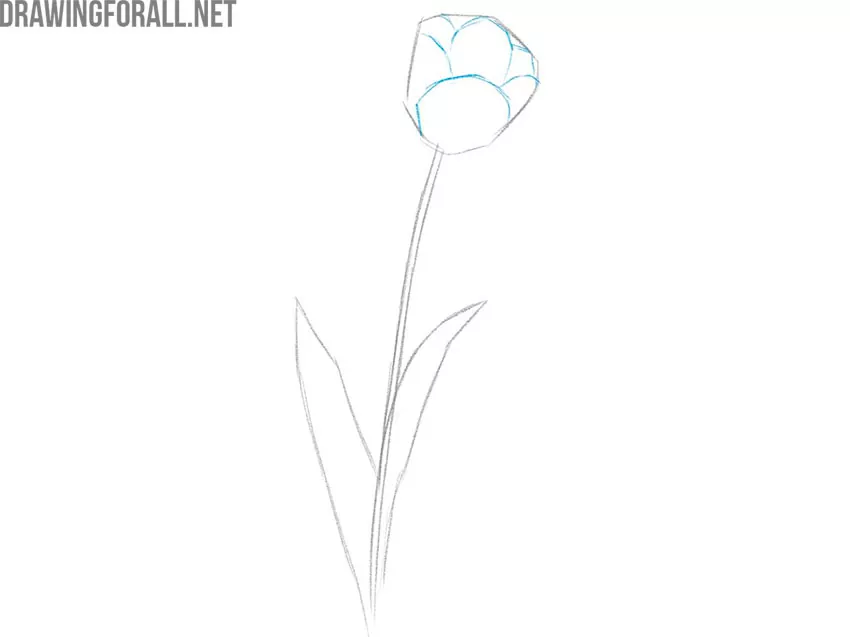
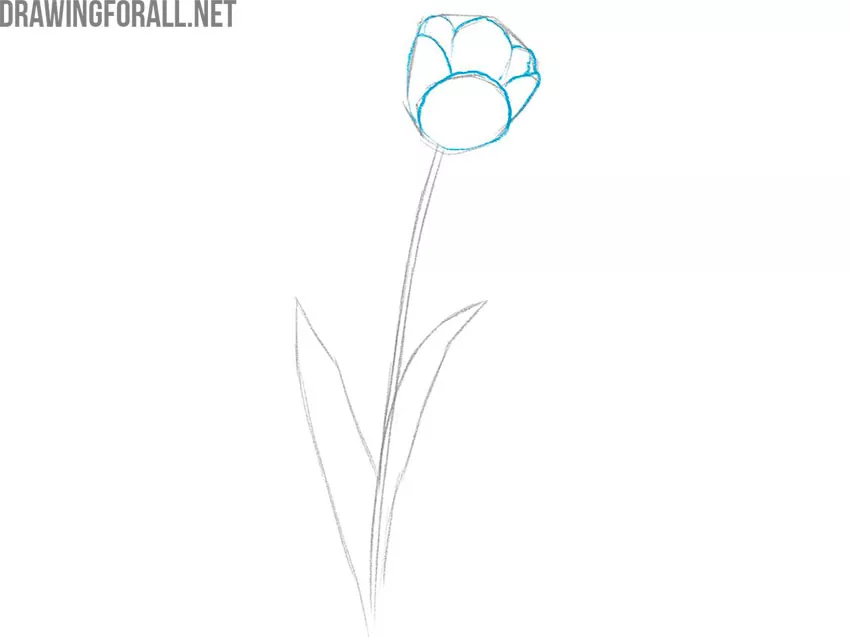
Step 4: Shape the inner petals
To create a sense of volume, draw smooth lines inside the bud. Pay attention to the different sizes of the petals. This is much easier than drawing rose petals, for example.
Step 5: Complete the flower petals
Finish drawing the petals of the bud by forming the outer contours around the shapes from the previous step. The largest petals are the one closest to us and the one opposite it.
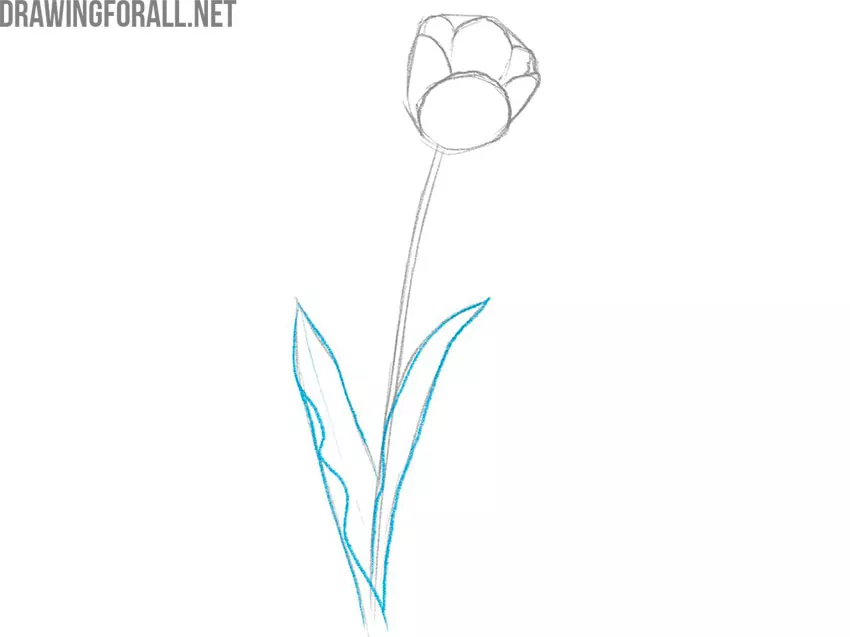
Step 6: Refine the folded leaves
Add curved lines inside the outlines of the leaves. By keeping the outer leaf outlines, you will create the appearance of folded edges.
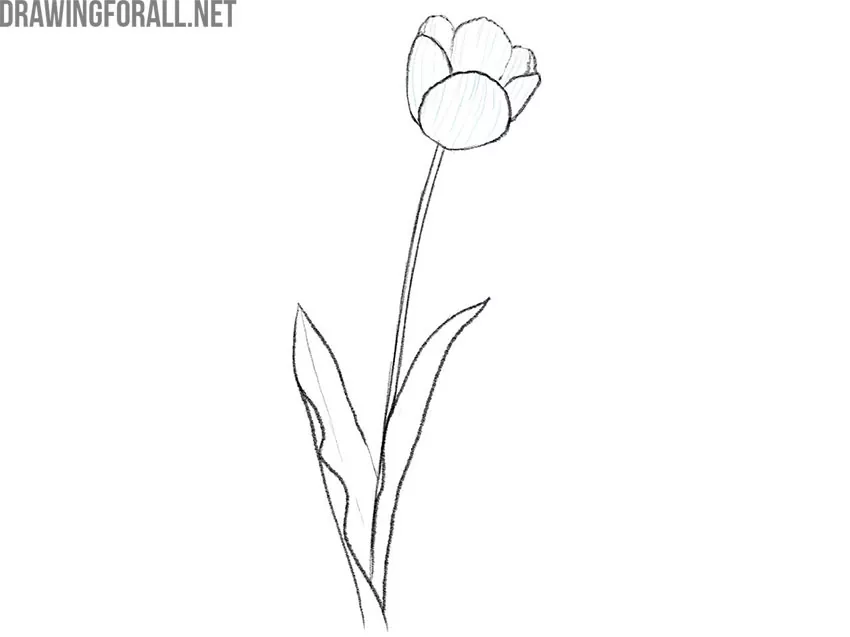
Step 7: Shade the flower petals
Add shadows by drawing straight vertical lines inside the outlines of the petals. Try to keep these lines in the same direction as the stem.
Step 8: Shade beneath the bud
Add small shaded areas to the stem just below the bud. You can skip this step to create a simpler drawing.

Step 9: Check the finished flower
Review the finished flower and compare all its parts. If you notice any significant differences, find the mistakes and correct them.
We hope this tutorial made learning how to draw a flower interesting and enjoyable. Keep practicing by drawing a sunflower or sketching an open rose. You can also draw flowers in a vase to become more confident with botanical drawings.
Let us know in the comments how useful this tutorial was. We are also waiting for your requests for new drawing tutorials. Check back for new content for artists of all levels!




This was really helpful I got 100% marks in my art exam . Love it👍👍👍👍
Good for you😋
This is the best website ever the drawing is so good
its really not hard I love this
Many thanks, glad to see this guide was easy for you.
it is really good ty
Thanks, Jennisis!