

How to Draw a Helicopter
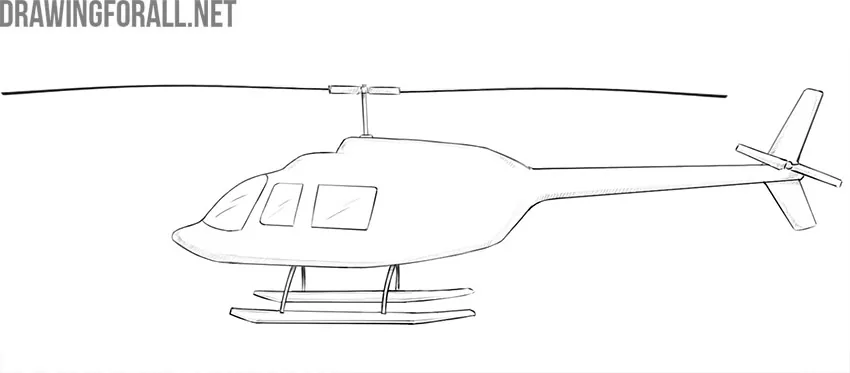
You don’t need any deep knowledge of drawing to learn how to draw a helicopter, and in this step-by-step tutorial, we’ll show you that.
We will draw a classic-looking helicopter with skid landing gear, but you can replace the skids with wheels.
Also, note that our example shows a civilian helicopter, but you can turn it into a military one by drawing a minigun or an open side door.
How to draw a helicopter step by step
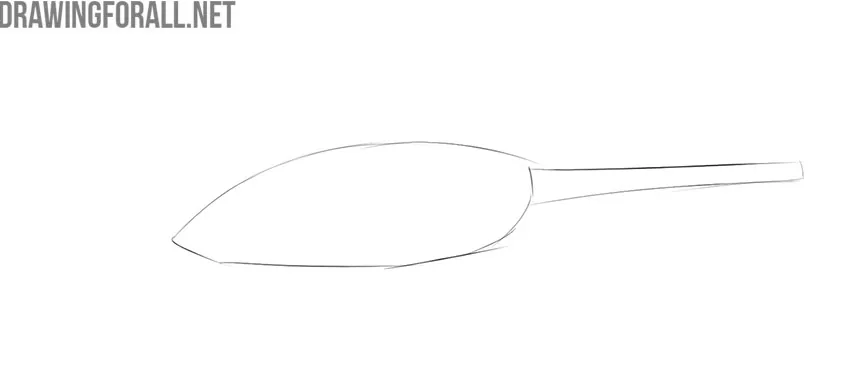
Step 1: Sketch the helicopter body
First, outline the cockpit and tail of the helicopter. The cockpit should not look too wide or too round. If you draw something like a ball, you may lose realism in the final result. The cockpit tapers unevenly toward the bottom. The helicopter tail narrows in the center and has small extensions at the front and back.
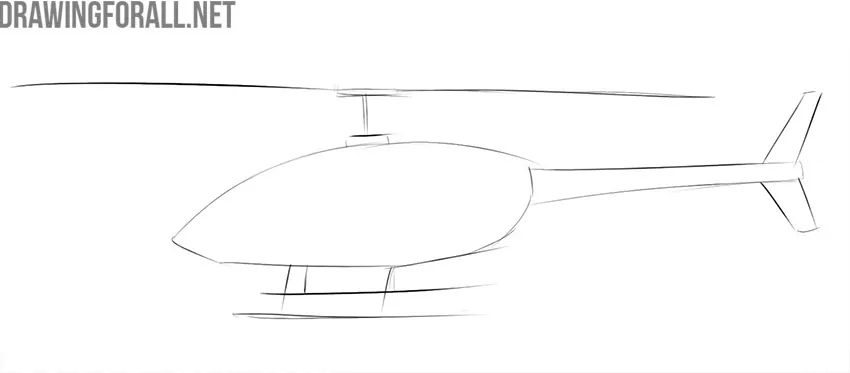
Step 2: Add the rotors and skids
Now let’s add a few details that will make our sketch look like a real helicopter. Using rough lines, draw the contours of the main rotor. The skids also look like a few rough, angular lines located under the cockpit. Also outline the helicopter’s tail fins.
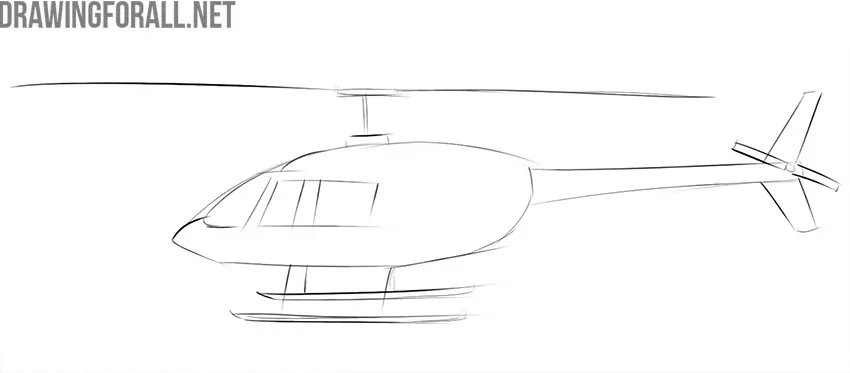
Step 3: Draw the windows and rotor
Now let’s add the details to the approximate helicopter contours. Draw the cockpit window as a small shape that is angular at the back and rounded at the front. After that, divide the window into several parts with two vertical crossbars.
Also draw the contours of the tail rotor at the end of the helicopter’s tail.
Step 4: Refine the helicopter cockpit
Let’s work on the final contours of the cockpit. Draw smooth, rounded contours and erase the extra guidelines. The outer part of the cockpit should also be rounded.
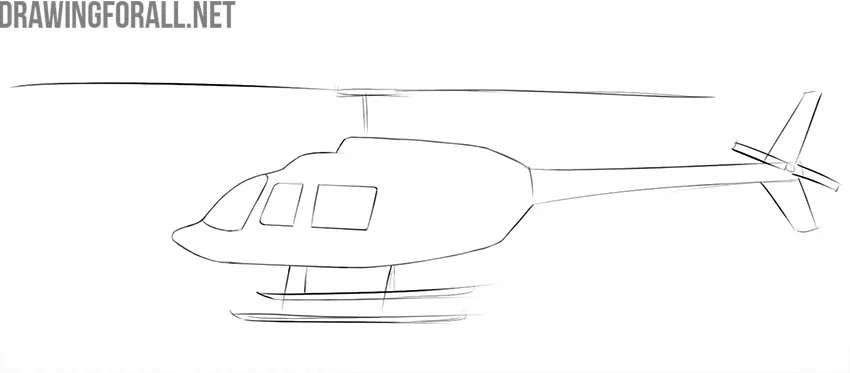
Step 5: Refine the tail and rotor
This will be the easiest step of the entire drawing tutorial. Erase the extra lines from the helicopter tail and tail rotor. Using smooth, confident lines, refine these parts of the helicopter.
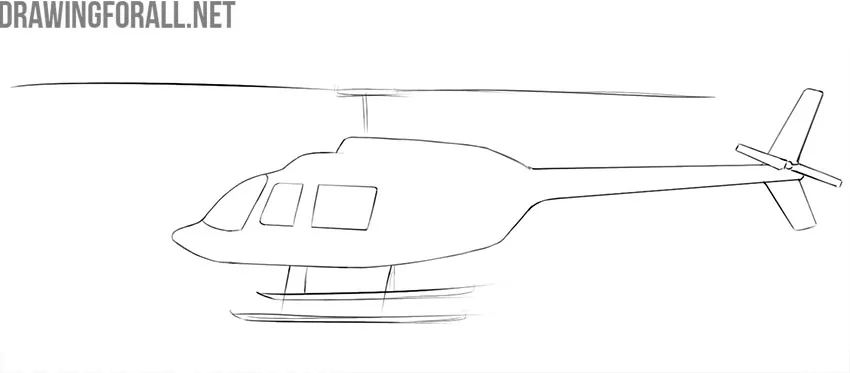
Step 6: Refine the skids and rotor
Now let’s tidy up the skids and main rotor. Use smooth lines with slight bends and pointed ends to trace the skids. These lines should be as even and symmetrical as possible. The central part of the rotor looks like the letter “T.” The blades look like long lines with a slight bend.
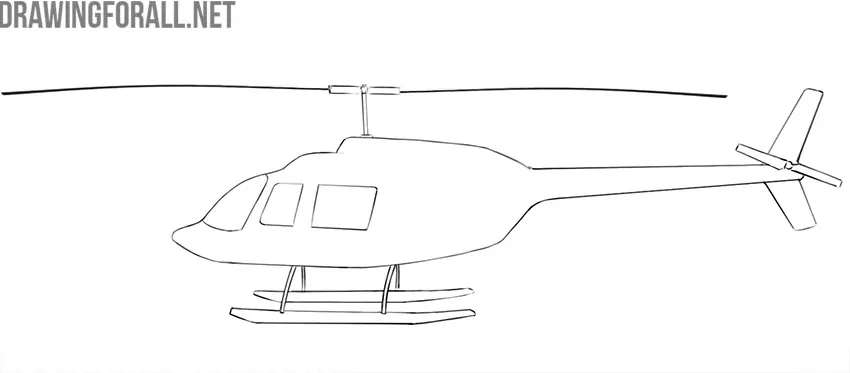
Step 7: Add shadows and details
Finally, add some shadows. Use light hatching along the bottom of the helicopter cockpit, the side edges of the tail, and the skids. Do not forget the small strokes on the cockpit windows. These details will make your helicopter look more realistic.
We hope this tutorial was useful for you. Do not forget to share your opinion in the comments. We are always glad to receive your feedback!


wow
i use this website for every drawing i do
thanks
verynice…..
very niceeeeeeeeeeeeeeeeeee :>:>:>:>:>:>:>
Thank you for the helicopter. It is an amazing drawing (how-to-draw).
this is actually very helpful and very useful and it makes drawing so easy.
Its pretty cool ig
This is so good 4 every single drawing
amazing!! mabey a little more kid friendly though