How to Draw a Helicopter
In this drawing lesson, we will tell you how to draw a helicopter. This will be a fairly simple guide, however, if you follow the sequence of steps, you will get an excellent result. Let’s start!
Step 1
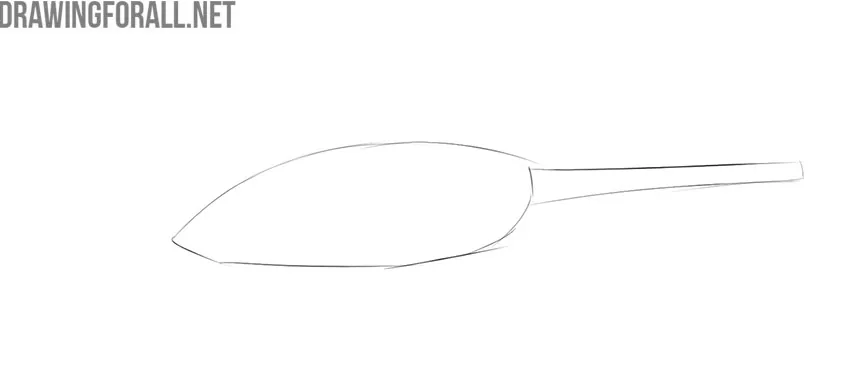
So, first, we outline the contours of the cockpit and tail of our helicopter. The cabin should not look too wide and too round. If you draw something like a ball, you may lose realism in the final result. The cabin has an uneven tapering to the bottom. The tail of the helicopter has a narrowing in the center and small extensions in front and behind.
Step 2
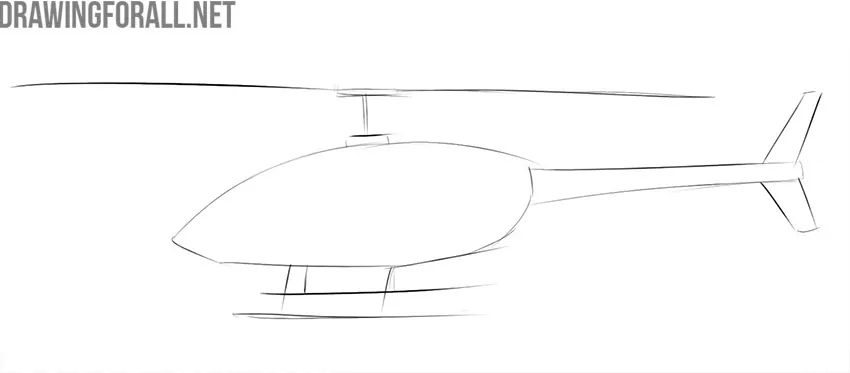
Now let’s add a few details that will make our sketch look like a real helicopter. Using rough lines, we draw the contours of the rotor of the helicopter. Skids also look like a few rough jagged lines that are located under the cab. Also in this step, we outline the tail feathering of the helicopter.
Step 3
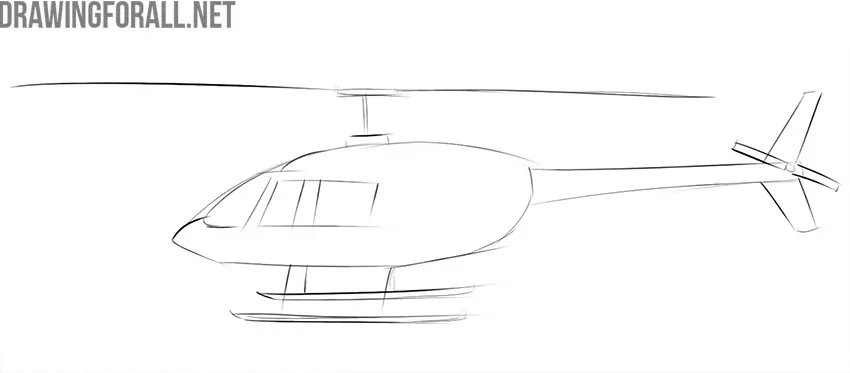
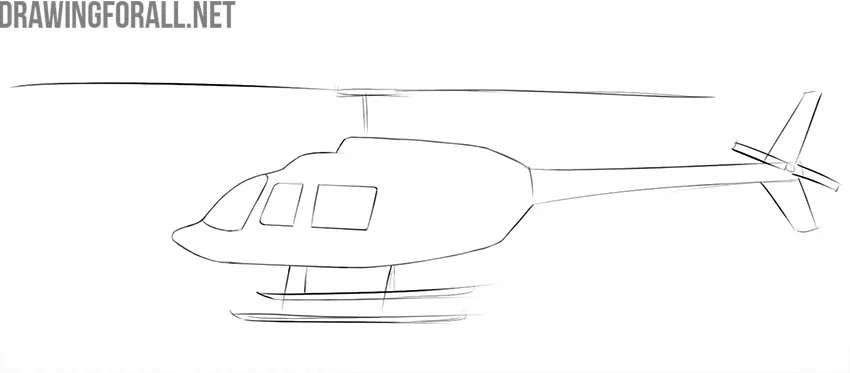
So we continue the guide on how to draw a helicopter. We have approximate helicopter contours. Now let’s add the details. We draw the glass itself – it looks like a small figure, which is angular at the back and rounded at the front. After that, we divide the whole figure into several parts with the help of two vertical crossbars.
Also in this step, we will draw the contours of the tail rotor which is located at the tail of our helicopter.
Step 4
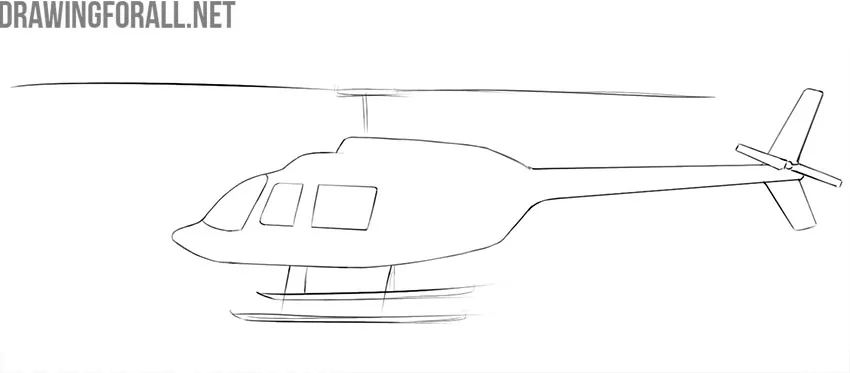
Let’s work with the final contours of the cabin. In this step, we draw smooth, rounded final contours and erase the excess guidelines. The outer part of the cab should also be rounded as in our sample.
Step 5
This will be the easiest step of the entire drawing lesson. Here we will erase the extra lines from the tail of the helicopter and from the tail rotor. Using smooth, confident lines, we will make these parts of the helicopter complete.
Step 6
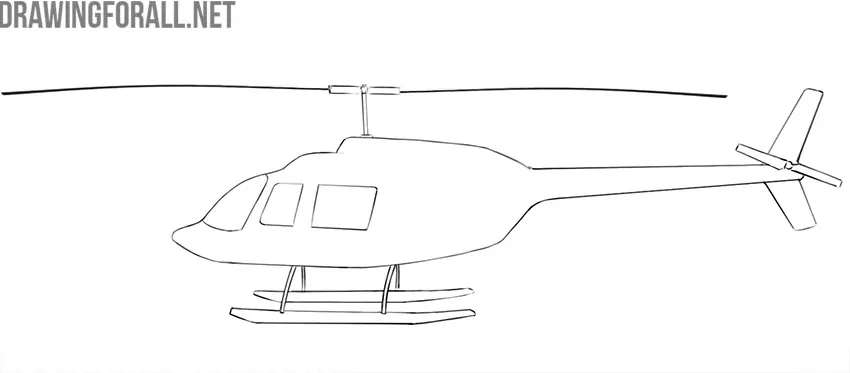
So we drew the cockpit and tail of the helicopter. Now let’s tidy up the skids and the main rotor. So we use smooth lines with slight bending and sharpening at the edges in order to draw skids. These lines should be as even and symmetrical as possible. The central part of the rotor looks like the letter “T”. The blades look like ordinary long lines with a slight bend.
Step 7
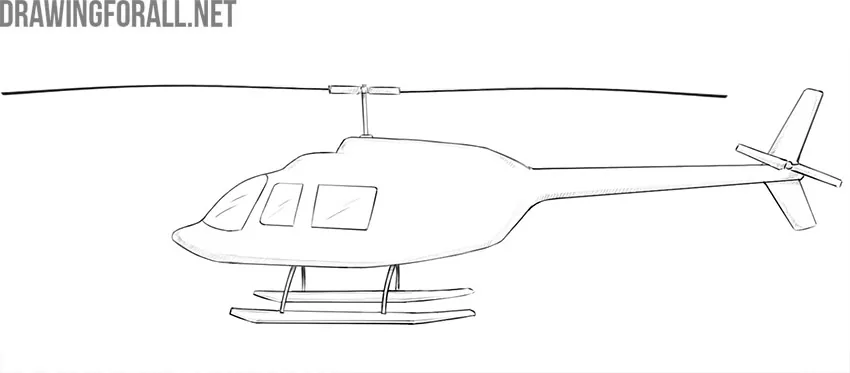
In the last step, we will add some shadows. It looks like a light shading that is located on the bottom of the helicopter cockpit, the lateral edges of the tail and on the skids. Do not forget about the small touches on the window of the helicopter cockpit. These small details will make your helicopter more realistic.
We hope this was a really useful lesson for you. Do not forget to write an opinion about this in the comments. We are really looking forward to feedback on our work!


wow
i use this website for every drawing i do
thanks
verynice…..
very niceeeeeeeeeeeeeeeeeee :>:>:>:>:>:>:>
Thank you for the helicopter. It is an amazing drawing (how-to-draw).
this is actually very helpful and very useful and it makes drawing so easy.
Its pretty cool ig
This is so good 4 every single drawing
amazing!! mabey a little more kid friendly though