How to Draw a Rose

In this step-by-step tutorial, we will show you how to draw a rose flower – probably the most beautiful and famous flower on planet Earth.
At its core, all the principles of constructing a rose are based on the fundamental principles of drawing flowers, but with their own specific nuances.
With the help of this tutorial, you will not only learn how to draw a rose with a dimensional and realistic appearance, but also how to do it in different ways and create various versions from different angles.
How to draw rose step by step
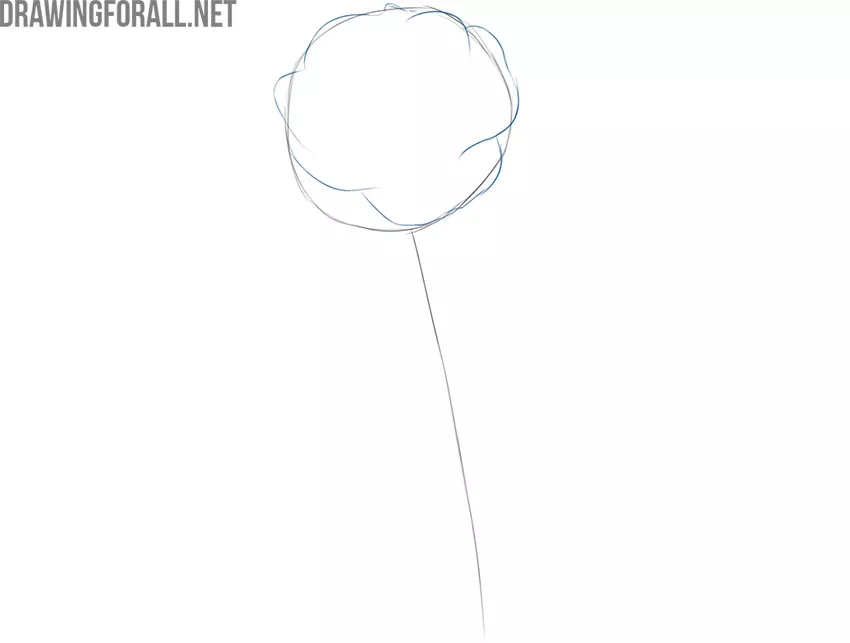
Step 1: Sketch the bud and stem
Let’s start by creating the basic shapes for the future rose flower drawing. Determine the proportions and placement of the flower on the paper. Sketch the bud as a circle and the stem as a simple long line. All details in this step should be drawn with the lightest, almost invisible lines possible.

Step 2: Draw the outer rose petals
Using general light shapes, indicate the outer contours of the rose petals, using the construction lines of the bud as a base. These petals are the largest on the entire bud. Do not try to make the petals too symmetrical; instead, aim for a natural and authentic appearance.
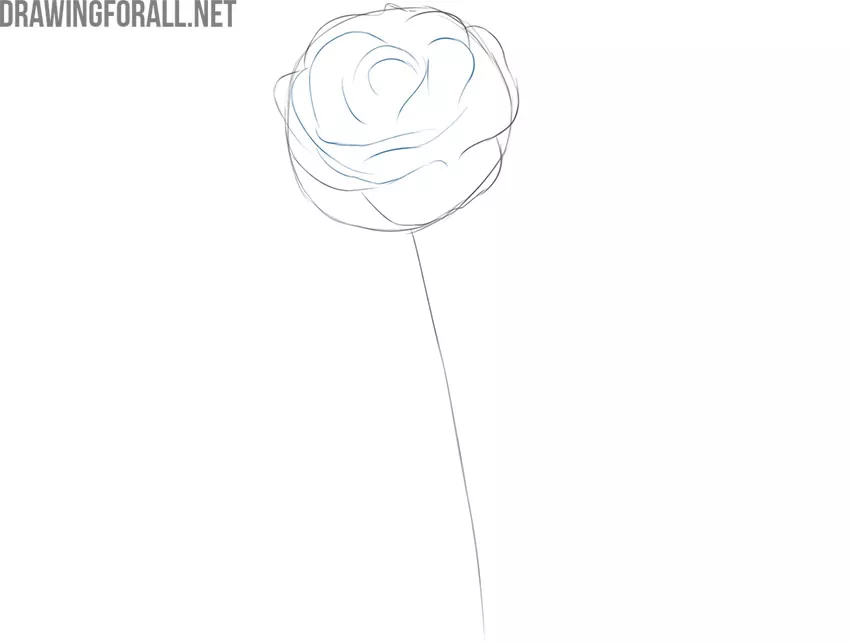
Step 3: Draw the inner rose petals
Continue creating the outlines of the petals, this time focusing on the ones in the center of the bud. Use very general shapes for the petals without trying to make the rose bud overly detailed at this stage. The outer petals should surround the inner ones.
Step 4: Refine the inner bud petals
Now it is time to start adding details using sharper and clearer lines. Start with the inner petals, carefully tracing the lines and making them more defined. As you create the final shapes, gently erase the previously drawn guidelines.

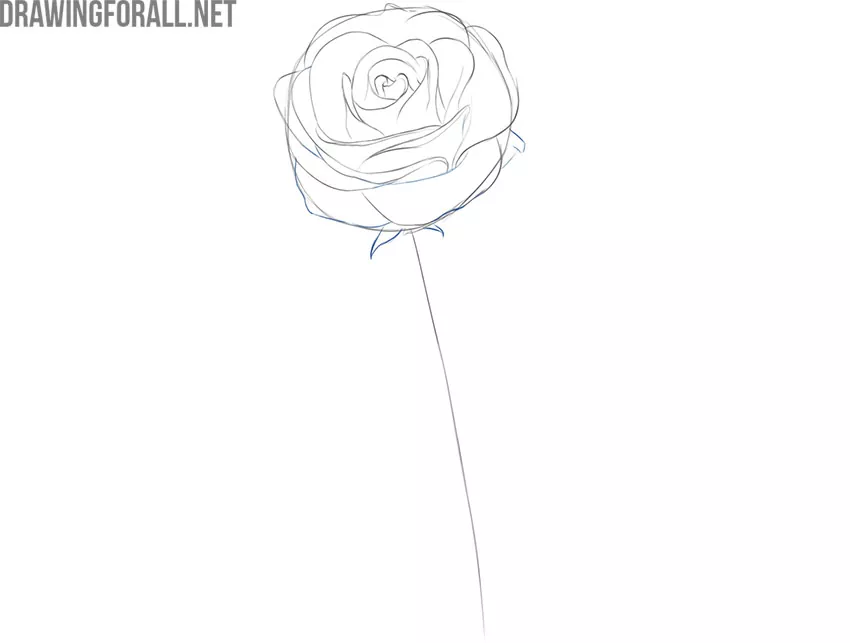
Step 5: Refine the outer petals and add sepals
Do the same with the outer petals of the rosebud, carefully tracing them and giving them a clean, finished appearance. The contours of the outer petals should be more uneven than those of the inner petals. Don’t forget to add sepals beneath the bud to give the rose drawing a more natural look.
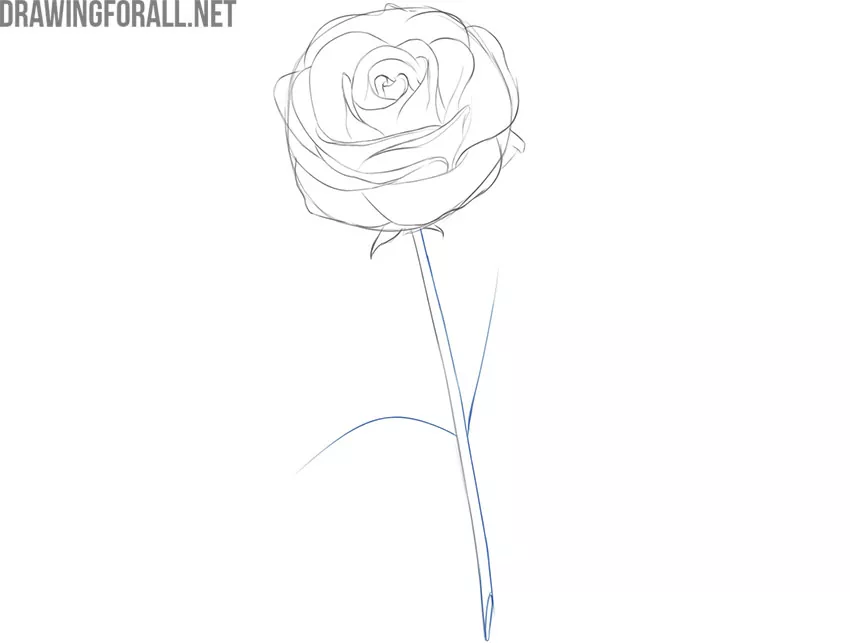
Step 6: Refine the stem and add branches
Add another line to the stem to give it a complete appearance. At the bottom of the stem, draw the cut line in the shape of an oval. In the middle of the stem, add a couple of short twig lines. You can leave the stem smooth or add thorns.
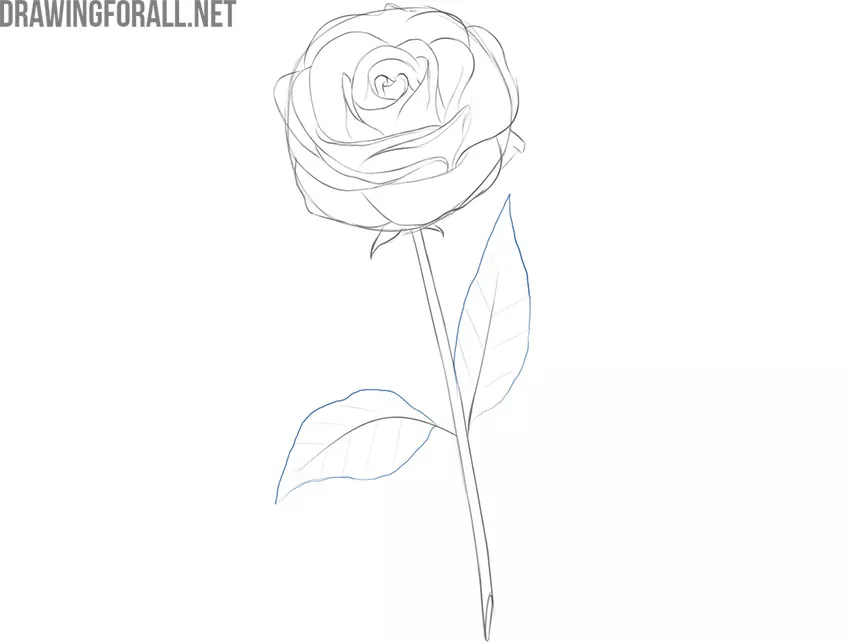
Step 7: Draw the rose leaves and veins
Draw the outer contours of the rose leaves using a few wavy lines. To give the rose drawing a more natural and realistic appearance, add the veins on the leaves with short lines. While sketching, constantly check the accuracy of the drawing by looking at it in a mirror and moving it farther away from you.
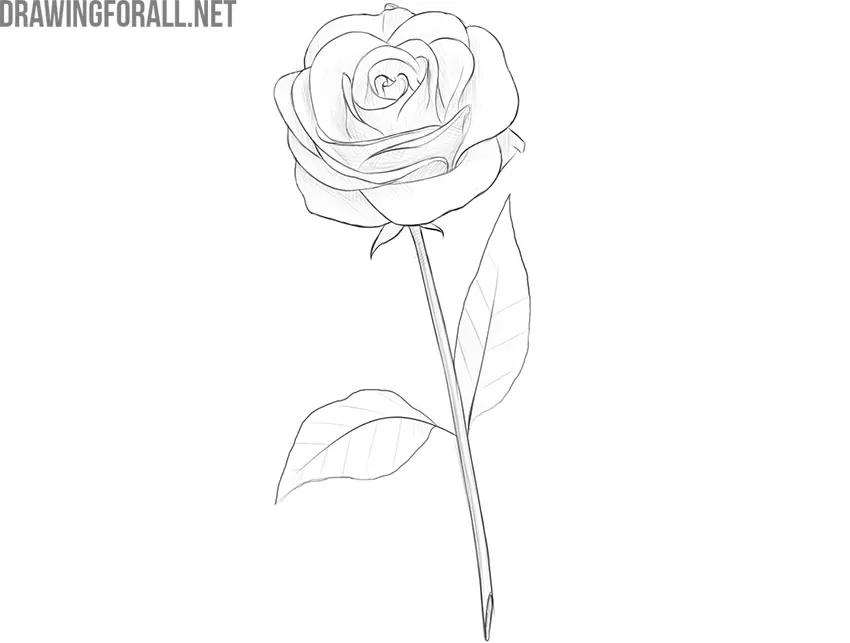
Step 8: Erase the guides from the flower
Gradually erase all the remaining construction lines from your rose drawing, while trying not to affect the important contours of the petals, stem, and leaves. Refine and correct the proportions and details if necessary. Step back from the drawing and rotate it in front of you to better notice any mistakes that may have been made.

Step 9: Shade the darkest areas of the flower
Start with the darkest areas, establishing the main shadows and indicating the separation between light and shadow. Work on the shadows gradually across the entire surface of the flower, without focusing on one area for too long, and constantly compare the tones with one another.
Step 10: Refine the tones and finalize the rose
Add more dynamic range between the lightest and darkest areas by making the transitions smoother and the shadows more contrasted. Using careful hatching, you can also apply tone to the leaves and stem of the rose.

How to draw a detailed rose
Like any subject or object around us, a rose can be drawn in many different ways and variations. Above, you saw the most basic method: academic in approach, yet still simple.
Now let’s look at a slightly more detailed but somewhat different method.
Here, as before, you first need to sketch the bud and stem with simple lines, using very light contours. Unlike the previous method, however, you will begin drawing the petals right away, starting from the central ones and moving outward.
Then add the details of the stem, leaves, and thorns. The shading can also be more detailed and complex, with a wider dynamic range and many transitions between shadows and halftones.

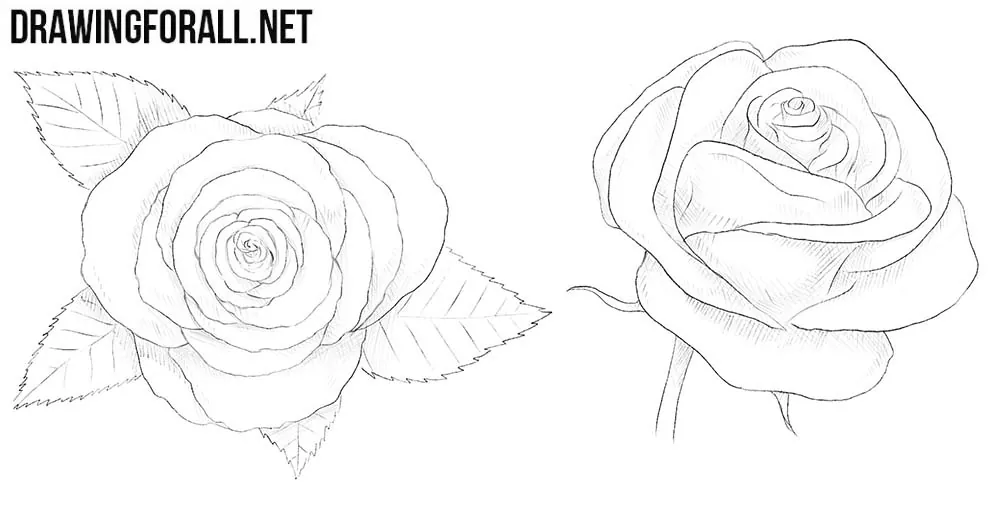
Advanced study of rose drawing
In this step-by-step rose drawing tutorial, our team showed the most basic principles of constructing these beautiful flowers, and using the knowledge and tips from this guide you will be able to illustrate a variety of roses.
First, try drawing a rose flower with slightly modified details. For example, create a different bud or stem. Add more shadows and highlights to give your artwork a more dimensional and appealing appearance. Next, try sketching several roses and placing them in a jug.
Also, you can depict the roses from different viewpoints, using photos and real roses. This will greatly enhance your ability to draw a rose.
The drawing principle remains the same: first, sketch the basic contours of the bud, then gradually indicate the placement of the petals around the visible central spiral. After that, refine all the details, erase the construction lines, and add light and shadow.
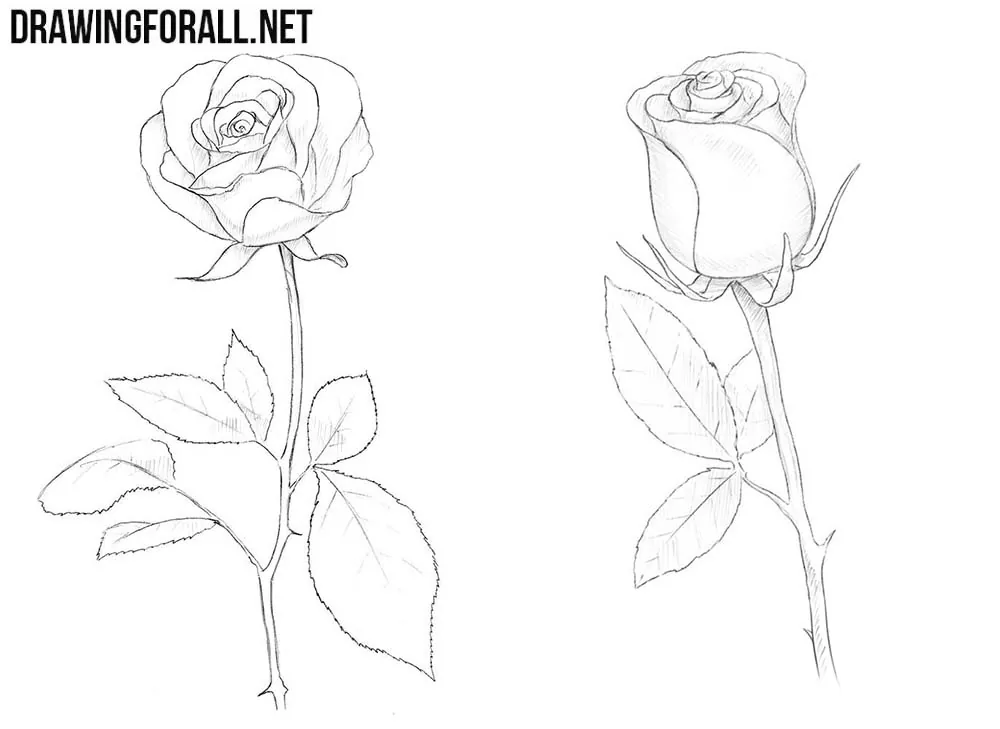
A rose can differ in appearance not only because of its variety or the angle from which you view it. This flower can also have either a closed or an open bud, and it is important to learn how to draw both while specifically focusing on these aspects.
Although the overall basic process is similar, the appearance of open and closed roses differs greatly.
For this reason, we created a separate tutorial on how to draw an open rose with a large blooming bud. We also created a lesson on how to draw a closed rose in the stage with a compact bud and tightly gathered petals.
Studying these variations in a more focused and detailed way will greatly strengthen your understanding of drawing roses.

Rose is the most beautiful and elegant flower, the appearance of which is familiar to everyone. That is why it is the subject of close attention from artists around the world.
In this drawing guide, we tried to show how to draw this beautiful flower in the simplest and most accessible form, getting the most realistic result.


This is the best tutorial ever!
super helpful
Peony pls?
Thx.
thxs helped alot for a mothers day card
Thank you so much