

How to Draw Celery
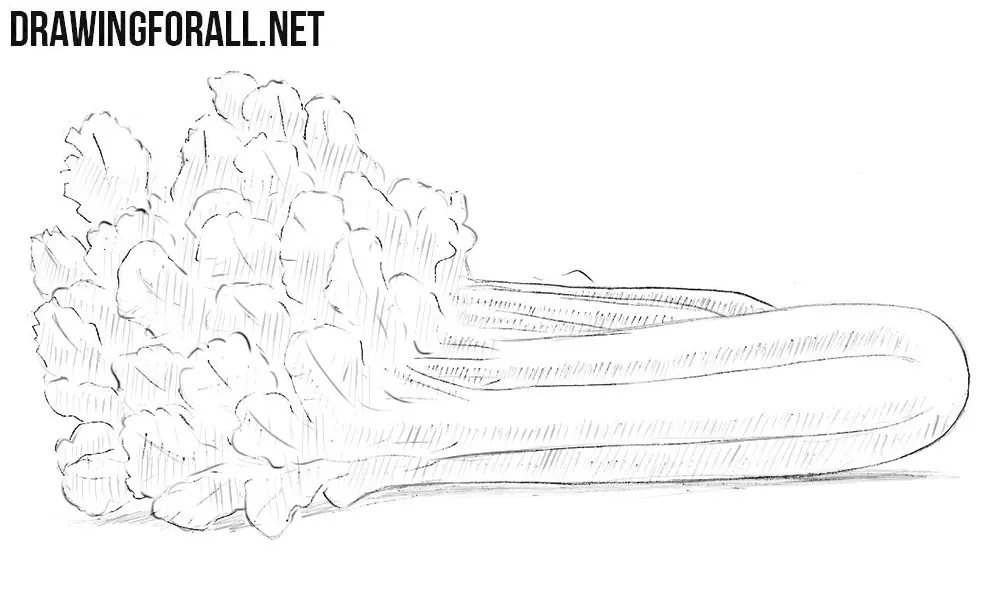
Drawing simple objects is no less important a skill for an artist than drawing complex ones. In this tutorial, we will show you how to draw celery in a few simple steps.
We decided not to complicate the shape and details, while still maintaining an optimal level of realism.
How to draw celery step by step
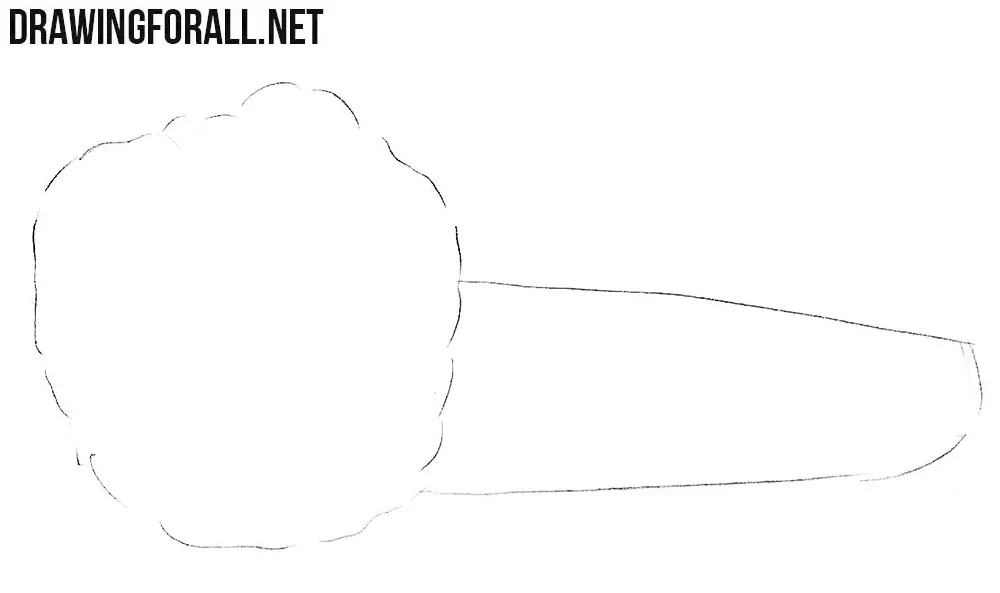
Step 1: Sketch the celery outline
First, draw the basic outline of the celery. You can see that it consists of two main parts. The leafy part is large and rounded, and the stalks are long and elongated. Notice the strong difference between these two masses.
Step 2: Sketch the leaves and stalks
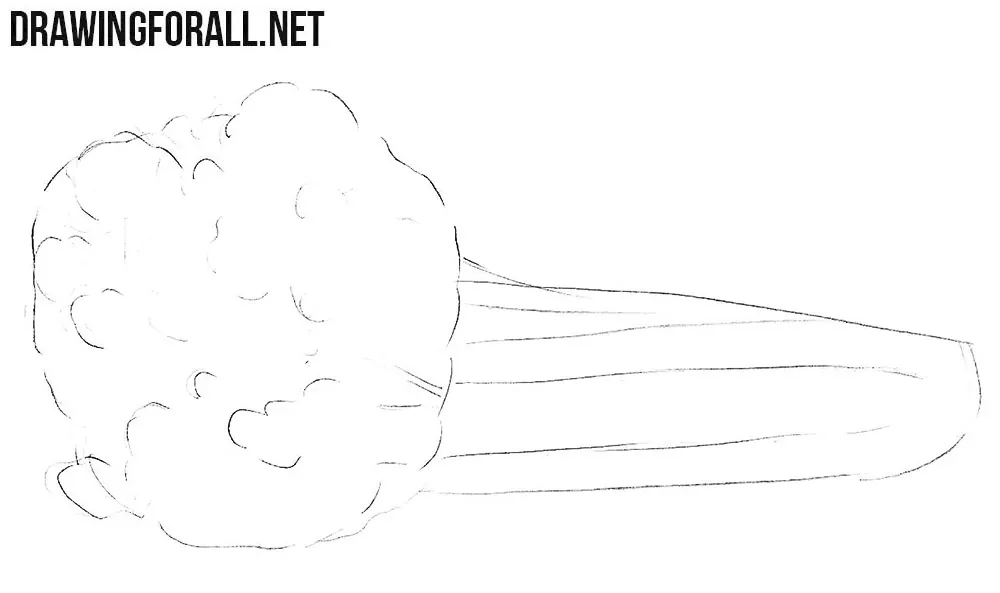
In the rounded leafy part, draw several curved shapes to indicate individual leaves. Do not arrange them in even rows. Let the leaf shapes overlap and point in different directions to break up the simple outline from the previous step. Along the stalks, draw several long, uneven lines. These lines separate the individual celery stalks and should run from the leafy cluster toward their broad ends.
Step 3: Refine the celery contours
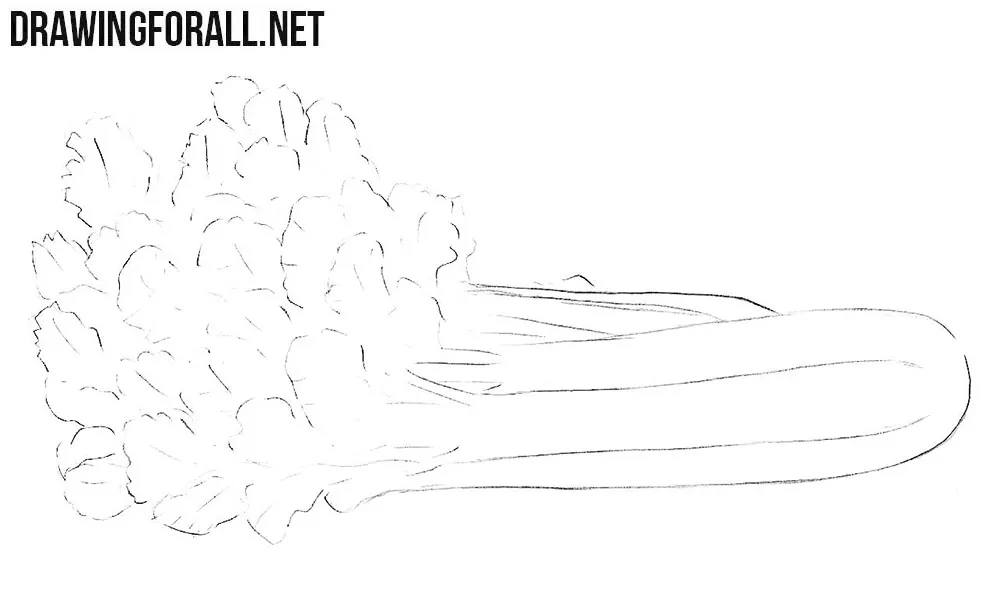
Erase the extra guidelines from both parts of the drawing. Also draw the final contours of the leaves and stalks to complete the outline. Give the leaves uneven, slightly wavy edges instead. Start with the left part and carefully draw all the leaves using smooth lines. Slight overlaps between the leaves will add extra volume. Then draw the stem with smooth, long lines.
Step 4: Shade the celery with hatching
You can use more complex shading techniques and add highlights. But we decided to choose ordinary hatching. Apply denser hatching along the stalks and in the narrow areas between them. Place the hatching mainly along one side and leave broad lighter areas running through them. On the leafy part, use lighter hatching and change the direction of the strokes according to the position of individual leaves. Finally, add the long, narrow cast shadow beneath the celery.
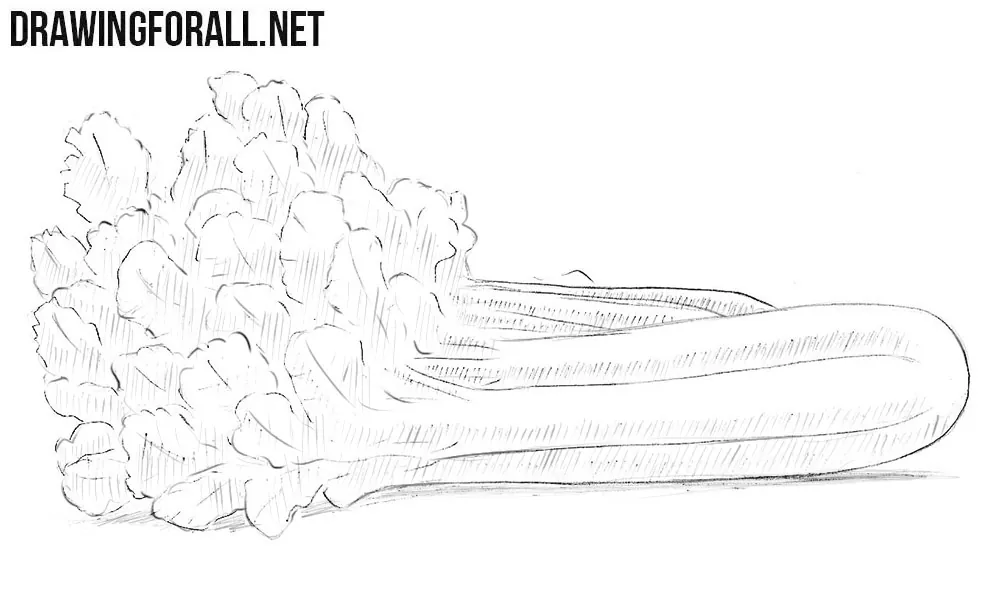
Celery is not a common subject in drawing tutorials and textbooks, and you rarely find a celery drawing tutorial (it even sounds funny).
But we thought that our readers should be able to draw everything, so this tutorial will also be very useful. Among other things, this tutorial will be useful for those who want to master a genre such as still life and draw not only apples and grapes, but also unusual still-life subjects such as celery.
To make it more complex, you can draw a more detailed and elaborate still life. Draw some apples or sketch grapes next to the celery. In classical art, each fruit and vegetable has its own symbolism, so you can combine them in whatever way you need to create unique meanings.






hahaha this is so easy
super easy
Thank you very much.