

How to Draw a Lime
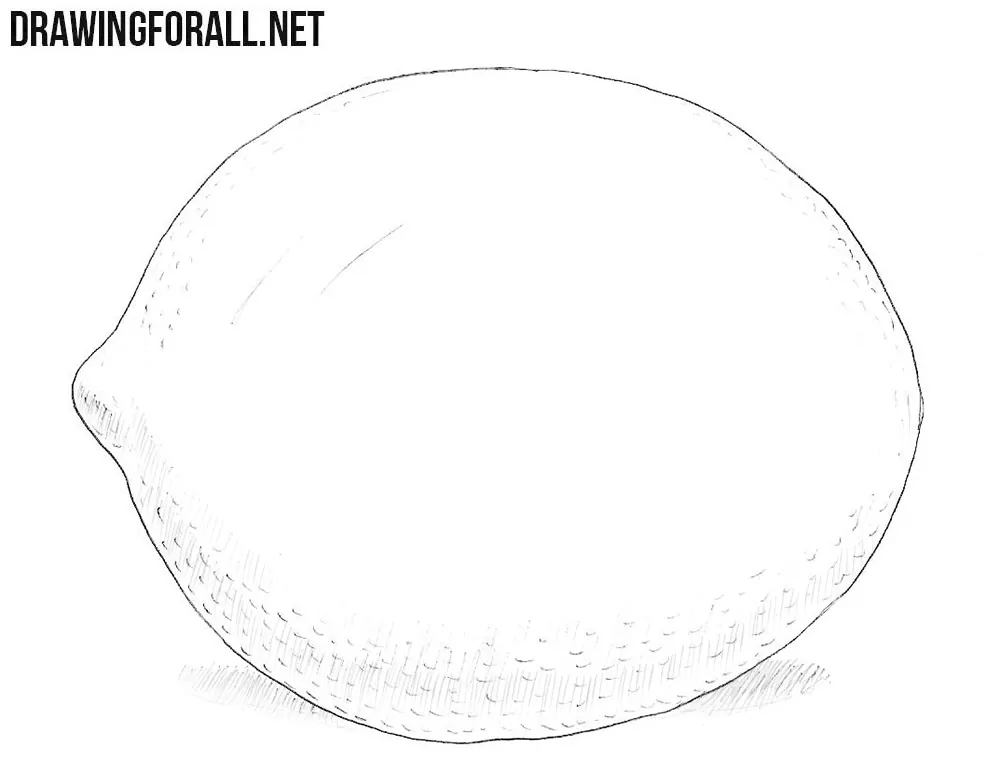
Limes and lemons are very closely related fruits and are drawn in a similar way. In this step-by-step tutorial, we will show you how to draw a lime, convey its form, depict the texture of the peel, and add light shadows at the end.
We have already shown you how to draw a lemon, and the main difference, of course, is the color. But there are also differences that can be conveyed even without color, in a pencil drawing. We will discuss these as well in this tutorial.
How to draw a lime step by step
Step 1: Sketch the lime shape
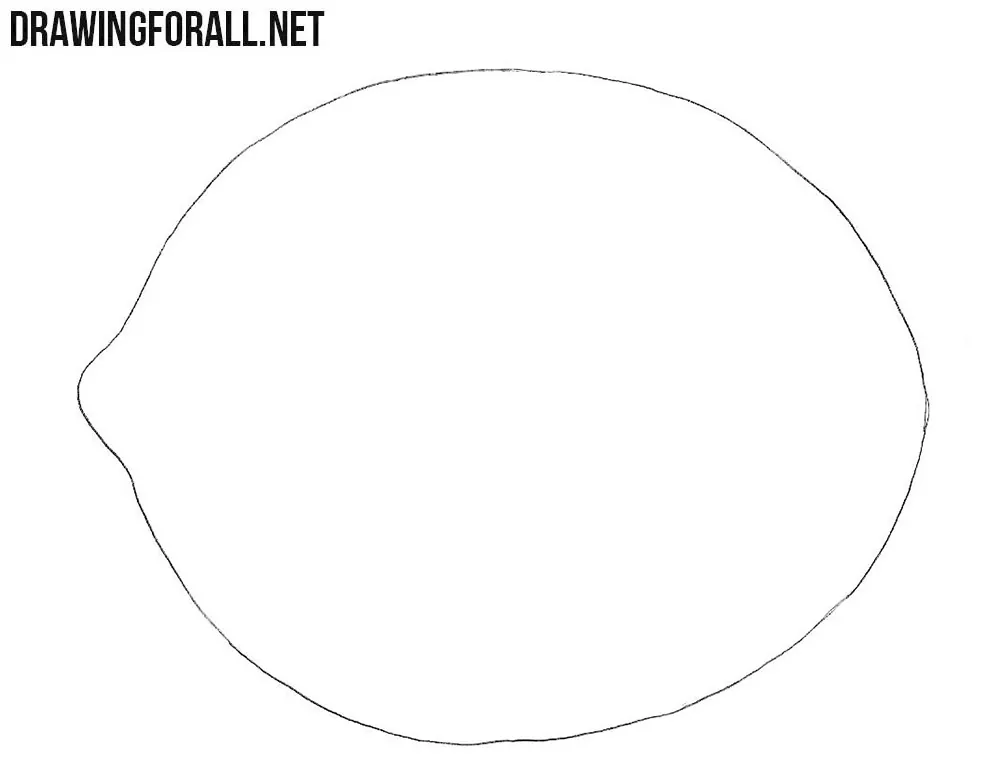
If we were drawing a lemon, we would start with an oval. But for a lime, first draw an uneven asymmetrical circle. This basic lime outline represents an almost spherical form. There is no need to make the left and right sides exactly the same.

Step 2: Add the pointed lime tip
Draw a small pointed protrusion on the left side of the lime. You can represent this tip as a short conical form connected to the spherical body of the fruit. Erase any unnecessary construction lines from the outline if needed.
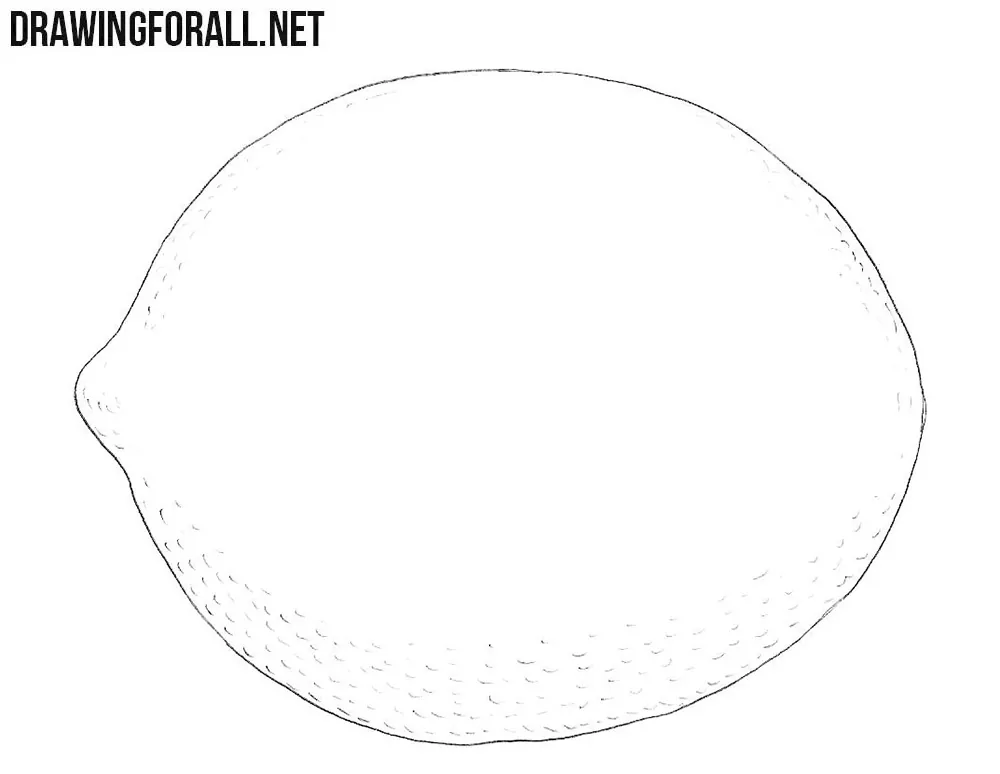
Step 3: Draw the lime peel texture
Add very short, curved lines on the surface of the fruit to convey the characteristic citrus peel texture. Make these small marks more noticeable in the lower part of the fruit, since shadow collects in these tiny indentations and makes them more visible there.
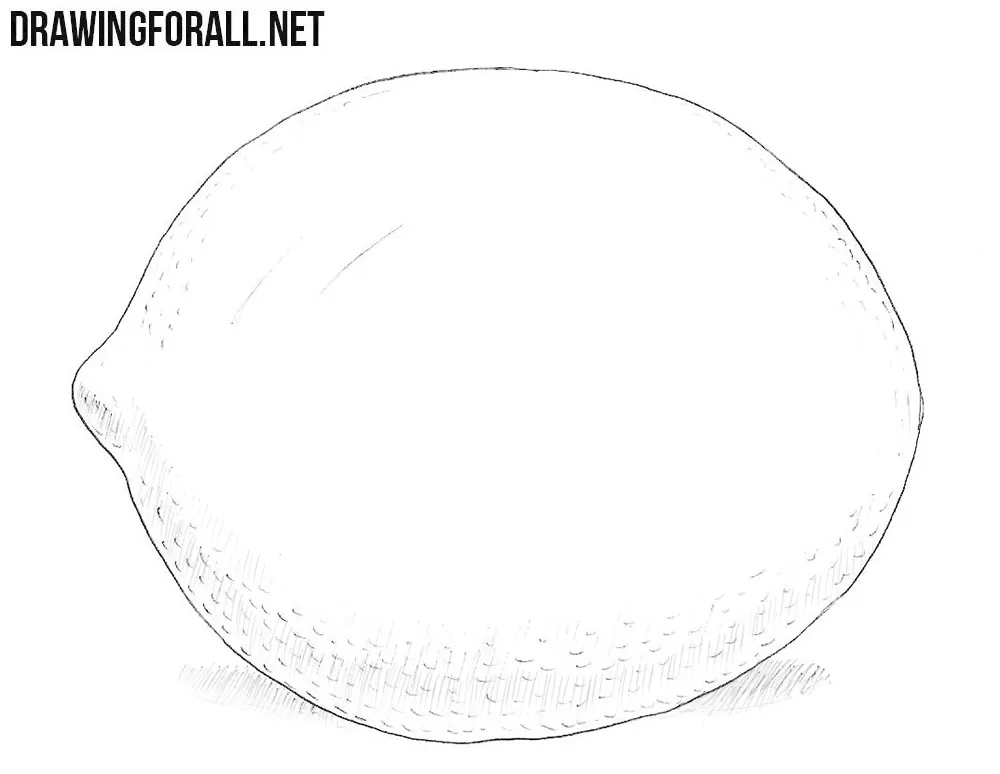
Step 4: Shade the lime and cast shadow
Now draw the shadows with light hatching in the areas of the lime that receive less light. Add a couple of light strokes on the upper left for highlights, and draw the cast shadow beneath the fruit. Put some hatching around the pointed tip. The shadow should turn around the lower part of the spherical form and convey its shape. Keep the small peel marks visible inside the shaded areas.
In this tutorial, using four very simple steps, we showed you how to draw a lime. Using the same basic principles, you can draw other similar citrus fruits. The main difference is that the lemon has a more elongated fruit shape, while the lime is closer to a spherical form.

Nevertheless, the overall sequence of steps is very similar, including the way the texture is depicted. It is this texture that helps show the viewer that the subject is a citrus fruit.
The same texture is also important when drawing an orange or when you draw a mandarin orange. It may not come out correctly on the first try, so you may need some additional practice here.
And if you want to learn to sketch fruits that are not at all like citrus, then visit our category called “Food,” where you will find drawing tutorials about apples, cherries, watermelons, and much more.
You can use these fruits in still-life drawings. For example, arrange a lime, a couple of apples, and a jug with flowers on a table.


This is sooooooooooooooooooo good draw this now