

How to Draw a Magnifying Glass
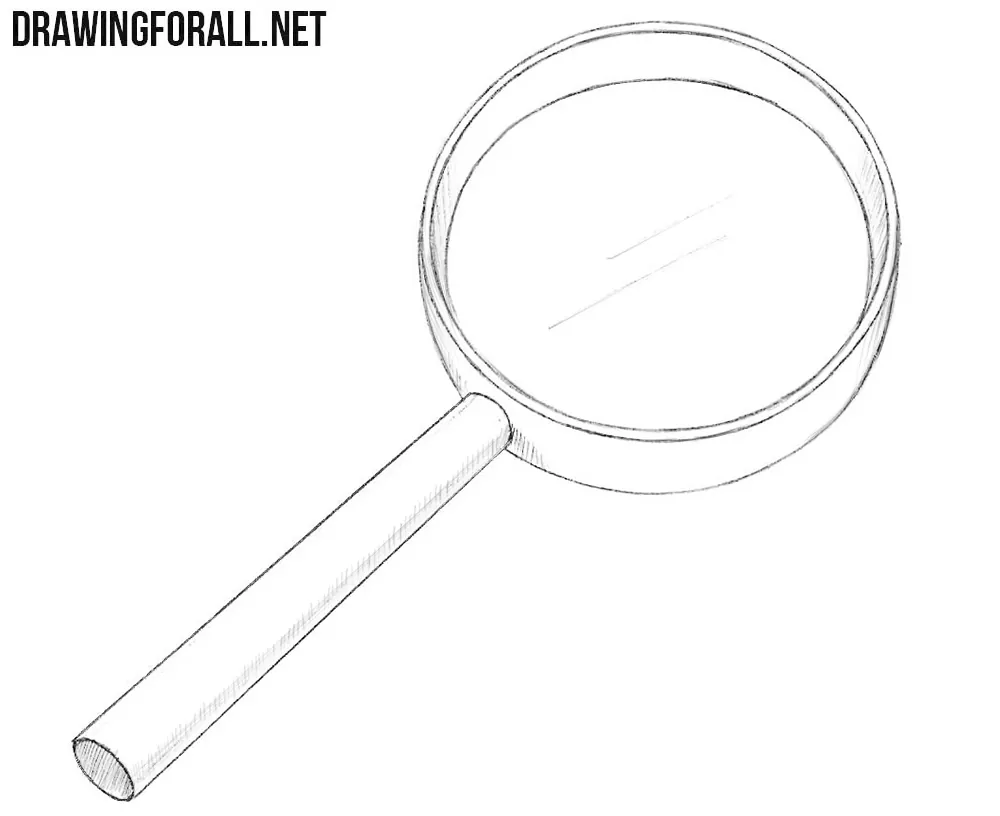
The form of a magnifying glass is simple, but if you want to give it volume, there are several important things to remember. In this tutorial, we will show you how to draw a magnifying glass and depict its parts in a way that conveys volume.
Before you begin the drawing process, remember that the handle is a cylinder, while the lens can be understood as a strongly flattened cylinder positioned perpendicular to the handle. Below, you will learn in detail how to depict these forms and correctly relate them to each other.
How to draw a magnifying glass step by step
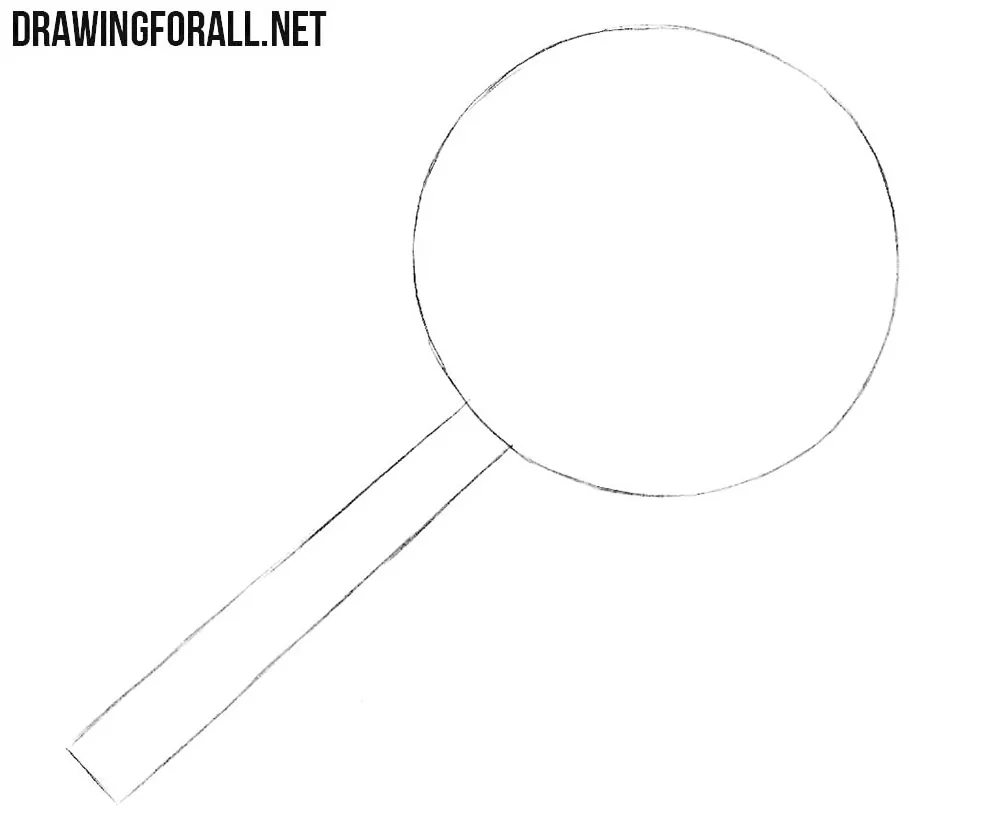
Step 1: Sketch the magnifying glass outline
First, sketch the main outlines of the magnifying glass: a large circle and a handle in the form of a long rectangle. Position the circle in the upper right and mark the handle diagonally at the lower left. Aim the handle toward the circle’s center and draw its sides parallel. Make its length roughly equal to the circle’s diameter.
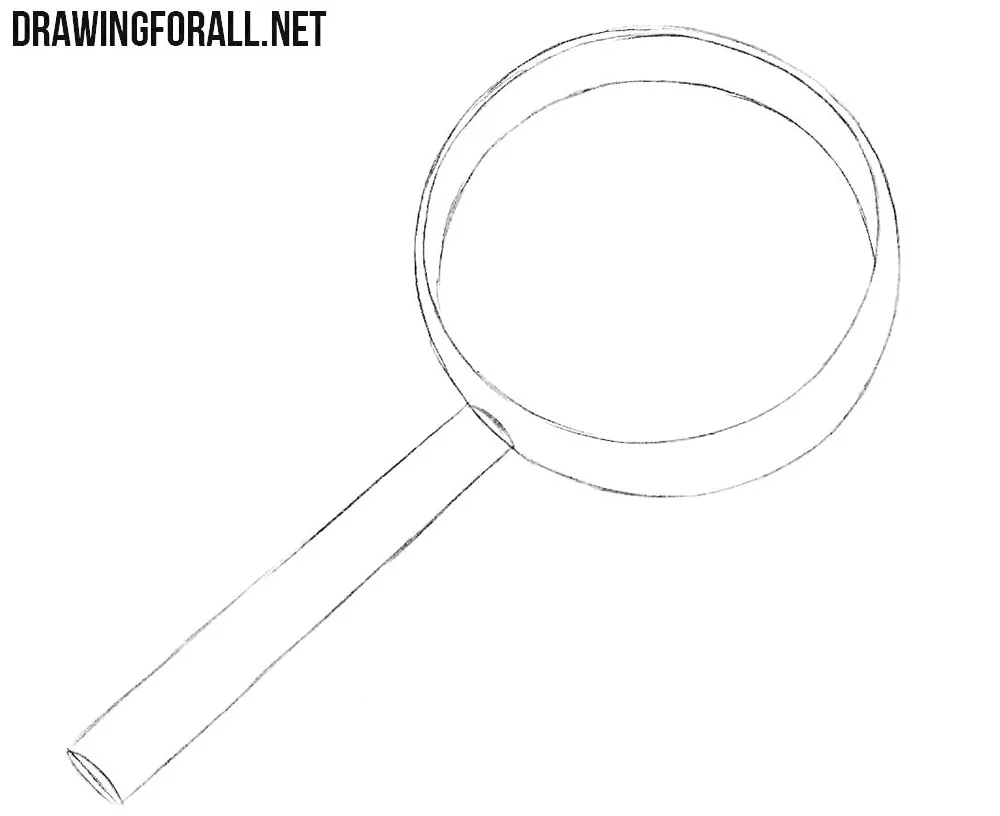
Step 2: Define the lens and handle
First, draw the outer edge of the lens frame slightly off-center. Next, indicate the outline of the lens itself. This will convey the slightly elongated shape of the frame and show that the lens sits inside it. Then use a pair of lines to give the handle a cylindrical appearance.
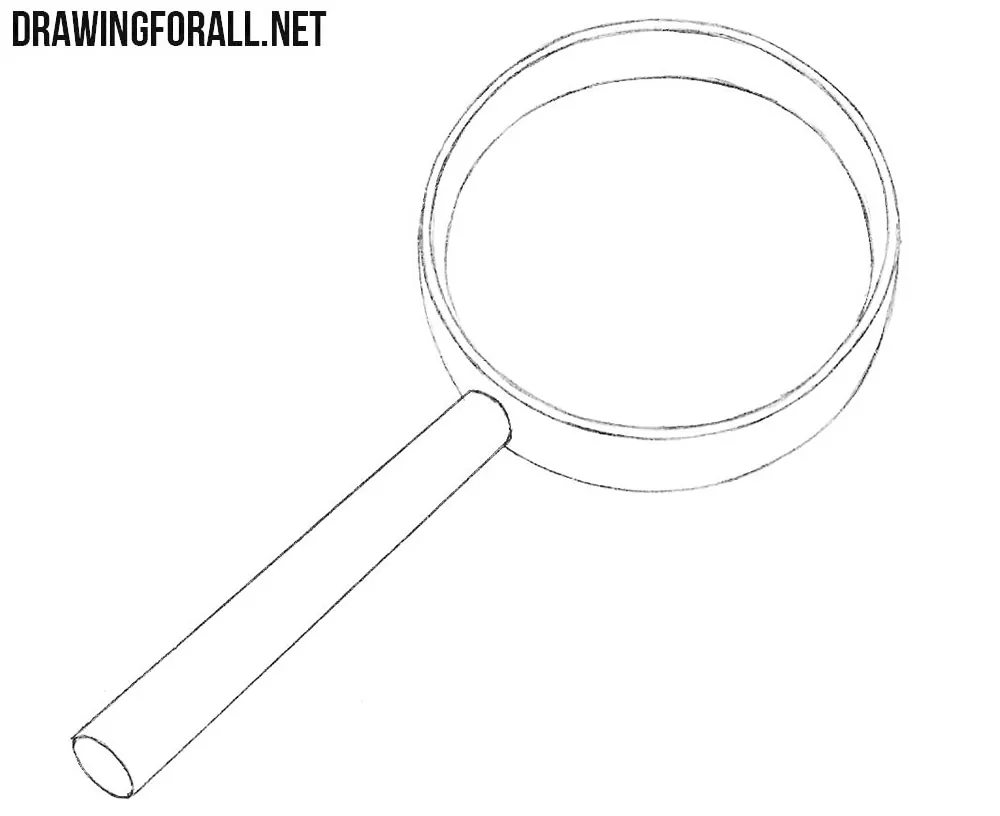
Step 3: Clean up the magnifier drawing
Now erase the unnecessary guidelines from the magnifying glass drawing. Remove the rim line behind the handle and the straight construction line across its free end. Smooth the frame contours and add the narrow curved border along the lower edge of the lens.
Step 4: Add lens highlights and shadows
Using a pair of long lines, mark the highlights on the lens. Next, add shadows to the magnifying glass using dense hatching. Add shadows to the inner surface of the rim where the form turns away from us, that is, along the sides. Hatch along the handle’s lower-right edge and across its elliptical end, leaving most of its front surface white.
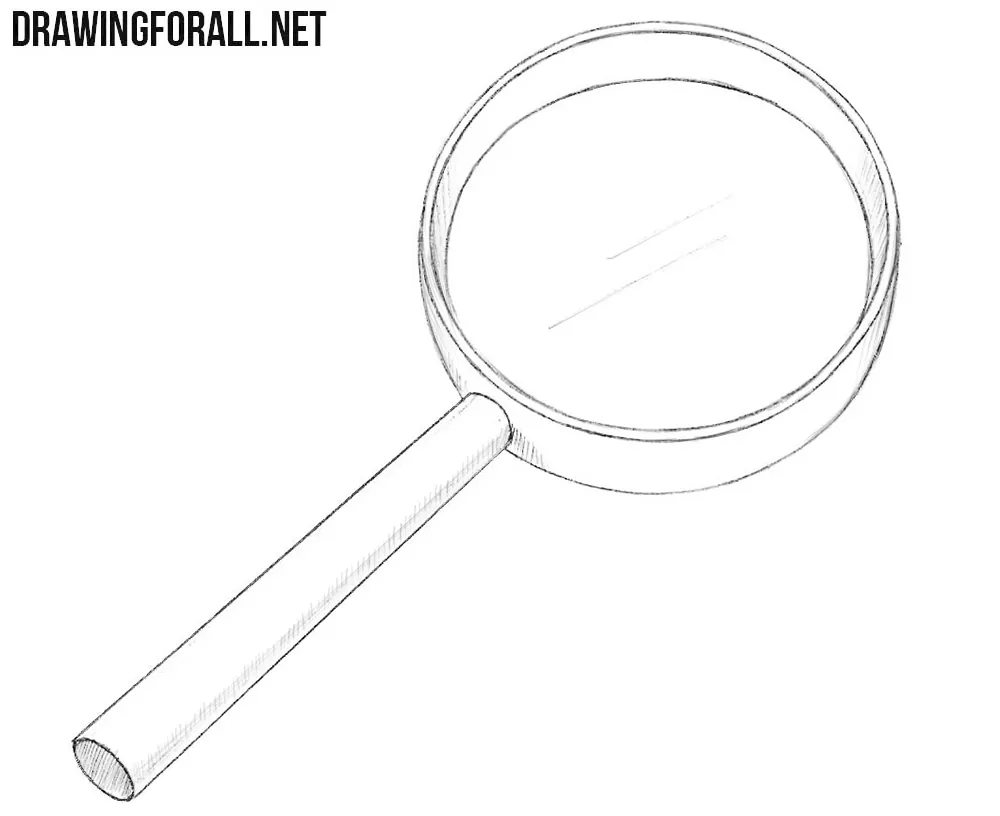
So, let’s fix the overall form of a magnifying glass in our minds. It consists of two main parts: the lens and the handle. The lens, in turn, has a frame and the glass inside it.
The handle looks like a simple elongated cylinder. It can have the same thickness along its entire length or become slightly wider toward the bottom.
The lens itself is usually round. The magnifying glass is surrounded by a frame that extends beyond the edges of the glass.
This is the main principle to remember when drawing a magnifying glass. As you draw, try to analyze these forms and think them through. This will greatly help you develop your artistic vision.
If these forms seemed simple to you, or if you were able to understand how to draw a magnifying glass, be sure to try drawing a microscope next. It is an optical instrument that is much more complex both mechanically and visually.




show a video
💕 the drawings.
🙂👍👍🏿👍🏽👍👏👏🤜🤛