How to Draw a Trumpet
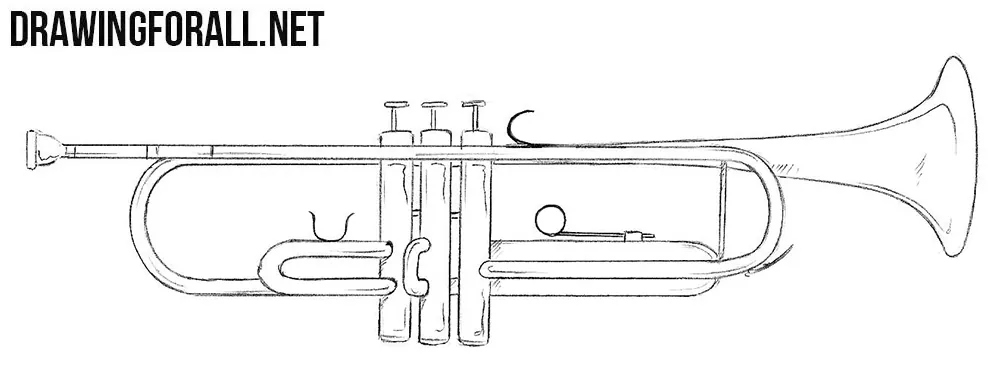
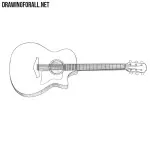
Readers of Drawingforall.net often asked us to make drawing lessons about musical instruments. Following the requests, we made lessons about a guitar and violin, and today in the continuation of this topic we will show you how to draw a trumpet. This object is very complex outwardly because of the very large number of parts and elements that need to be drawn correctly and symmetrically, but we will try to make sure that even the most novice artist can understand how to draw a trumpet.
Step 1
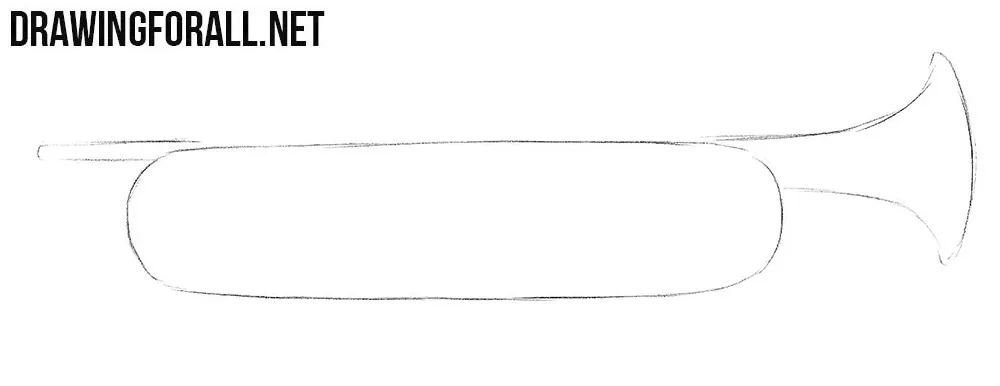
First, let’s sketch out the outlines of the trumpet. At this stage, the trumpet drawing consists of three elementary geometric shapes. We must use very light lines at this step.
Step 2
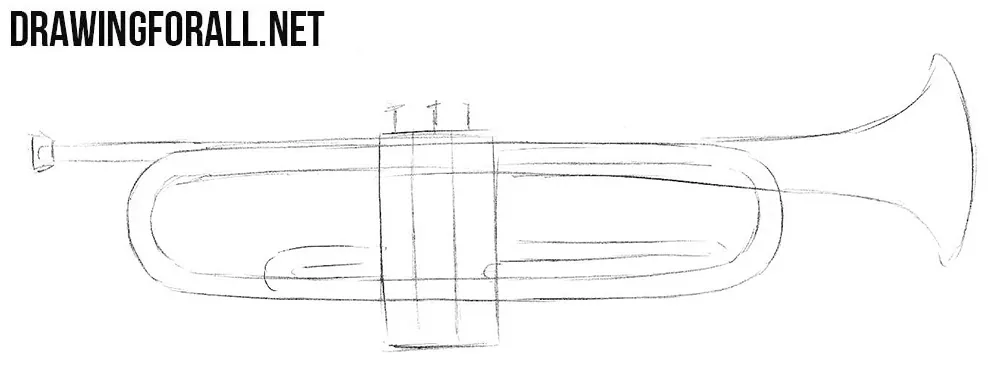
Now sketch out the outlines of the tubes, mouthpiece, valves and buttons. All these details should also be made using the most light, almost transparent lines.
Step 3
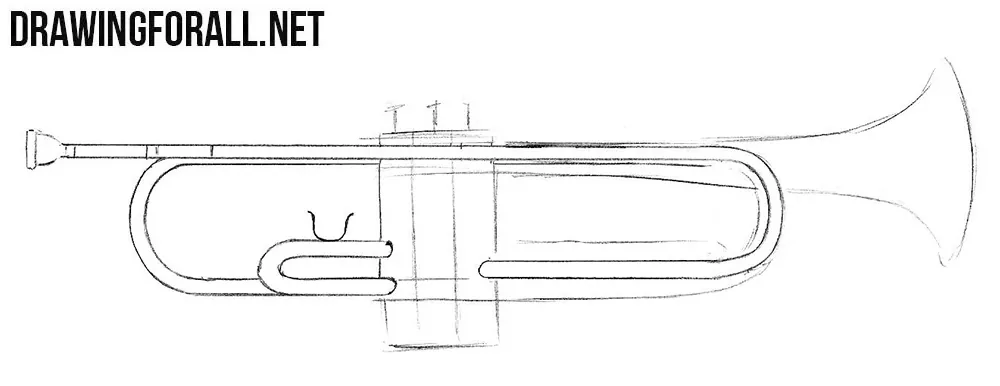
Now with the help of clear and dark lines draw out the tubes in detail as in our example. With the help of an eraser, delete the unnecessary auxiliary lines from the area that you have now traced.
Step 4
Carefully draw out the bell, the remaining tubes and buttons as in our example. Now erase all the remaining auxiliary lines that we drew in the first two steps.
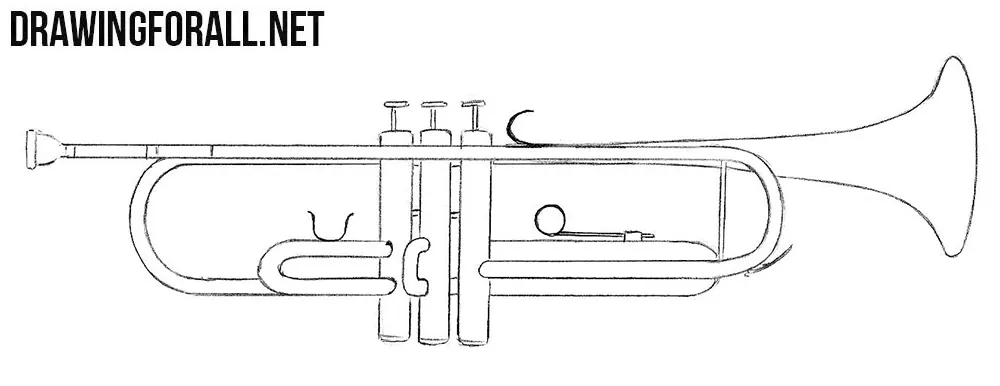
Step 5
And the last step of the lesson on how to draw a trumpet. Here we need to add shadows and glare.

In this lesson, there were a lot of details, and you had to work very hard. This tutorial requires diligence and attention. But if you were not scared of these difficulties, you could learn how to draw a trumpet as good as we. And as always a couple of tips at the end of the lesson. In order to better learn how to draw a trumpet (and any such thing) put it in front of you, or find a photo and try to draw it from different sides. In order to simulate a metal texture, draw glare using lines that repeat the outlines and bends of the item.


