How to Draw a Laptop
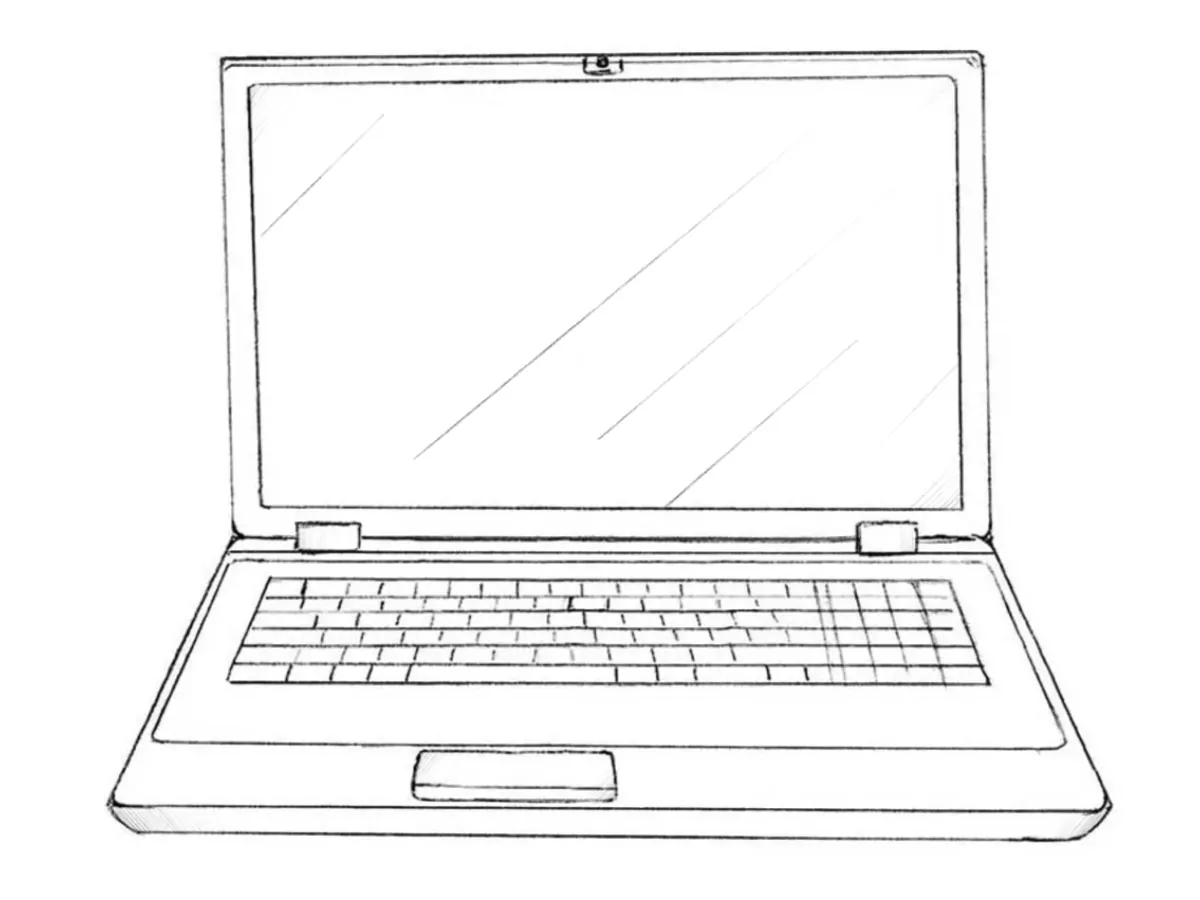
In this step-by-step tutorial, we will show you how to draw a laptop, a portable computer, and give it a realistic appearance.
Earlier, we already showed you how to draw a desktop computer in a classic configuration with a separate monitor, keyboard, speakers, and system unit. In this tutorial, the setup will follow the standard laptop design and will consist of many straight lines.
Laptops have existed for quite a long time, and by adjusting certain details and the overall shape, you can give your drawing either a more modern appearance or a more vintage look.
As with most similar drawing lessons that involve many straight, precise lines and require good symmetry, remember that you can use a ruler – but for better practice in controlling symmetry and line accuracy, we recommend trying to draw without it.
When sketching electronics, it’s also important to regularly check your drawing for symmetry and to work on the left and right sides alternately, as well as the upper and lower parts, switching back and forth to keep everything balanced.
How to draw a laptop step by step
Step 1: Sketch the basic display outline
First, draw a regular rectangle. This will be the laptop’s display. Try to draw this shape, and the shapes in the following steps, without using a ruler. Make sure the top and bottom edges do not curve upward or downward, and lightly mark center lines if you need a guide for keeping the form straight.

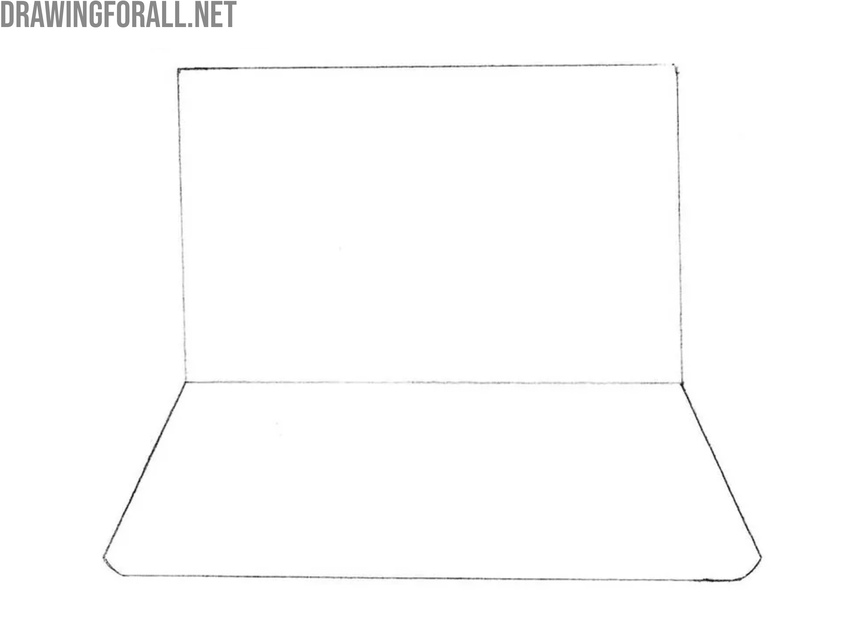
Step 2: Draw the laptop base
Now draw a trapezoid attached to the rectangle from the previous step. The upper edge of the trapezoid is the same as the lower edge of the display. The front bottom corners of the trapezoid, those closest to the viewer, should be slightly rounded. Check that the trapezoid widens correctly toward the viewer.
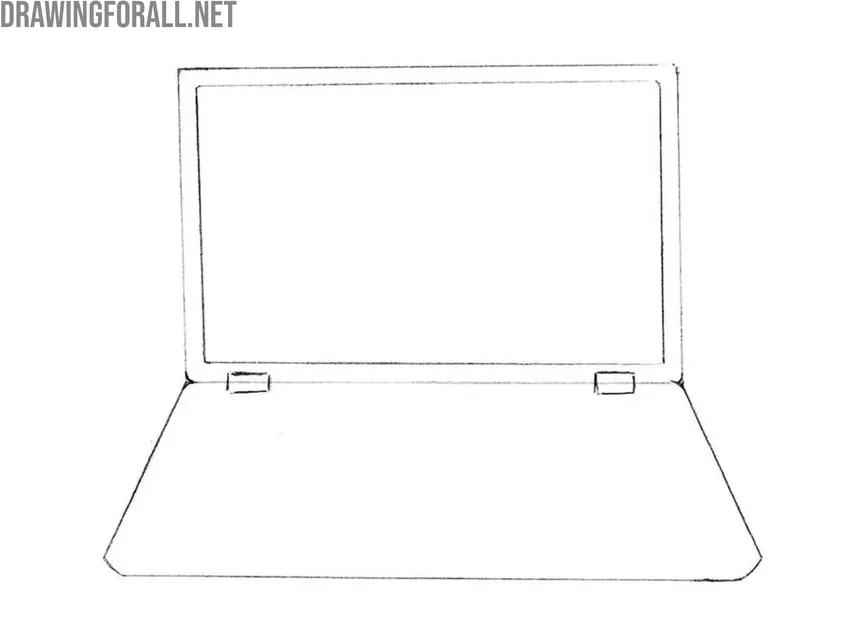
Step 3: Add the display frame and hinges
Inside the large rectangle from Step 1, draw another rectangle. This inner frame should be slightly smaller, creating even margins around all four sides. These margins represent the screen bezel, so try to keep the spacing consistent. After that, add the hinges as small rectangles at the bottom of the display.
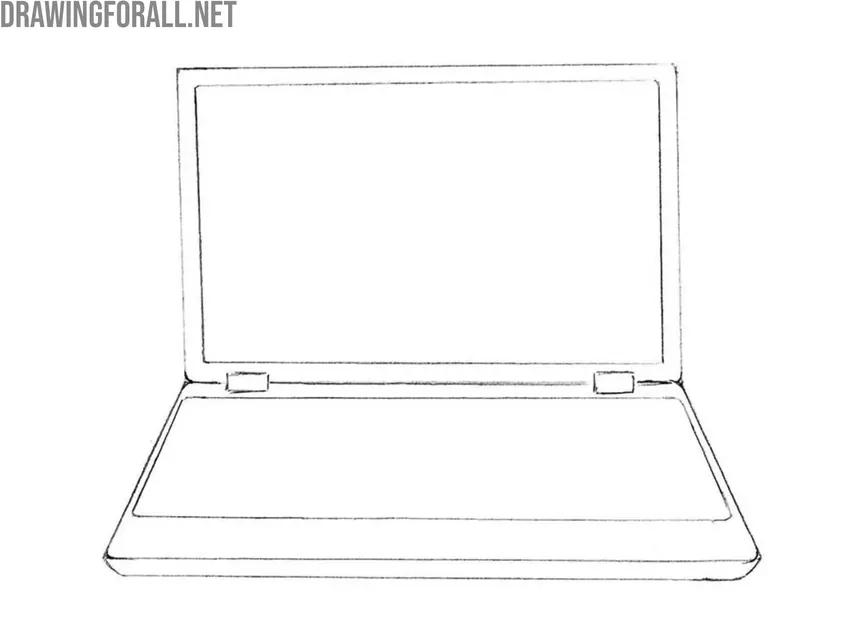
Step 4: Draw the laptop main keyboard zone
Now inside the lower trapezoid, outline the area where the keyboard will be located. The top and bottom edges should run parallel to the top and bottom edges of the laptop’s base, and the side edges should follow the same outward angle as the sides of the lower section.
Step 5: Add the camera and touchpad
Draw the webcam at the upper center of the bezel as a small circle or oval. Keep it small and clean. Beneath the keyboard area, draw the touchpad as a horizontal rectangle placed near the middle of the base. The touchpad area should also lie in the same plane as the entire lower part of the laptop and have slightly rounded corners.
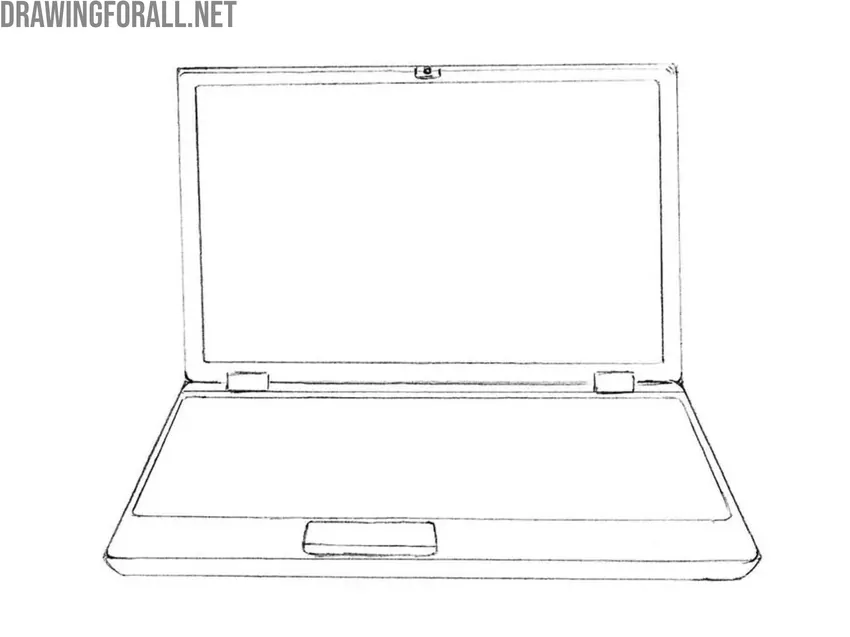
Step 6: Draw the laptop keyboard boundaries
Inside the keyboard area, draw another trapezoid that will contain the keys. This shape should follow the overall angle and perspective of the laptop’s base. Again, try to draw all lines freehand – practicing without a ruler helps train your sense of proportion and symmetry.
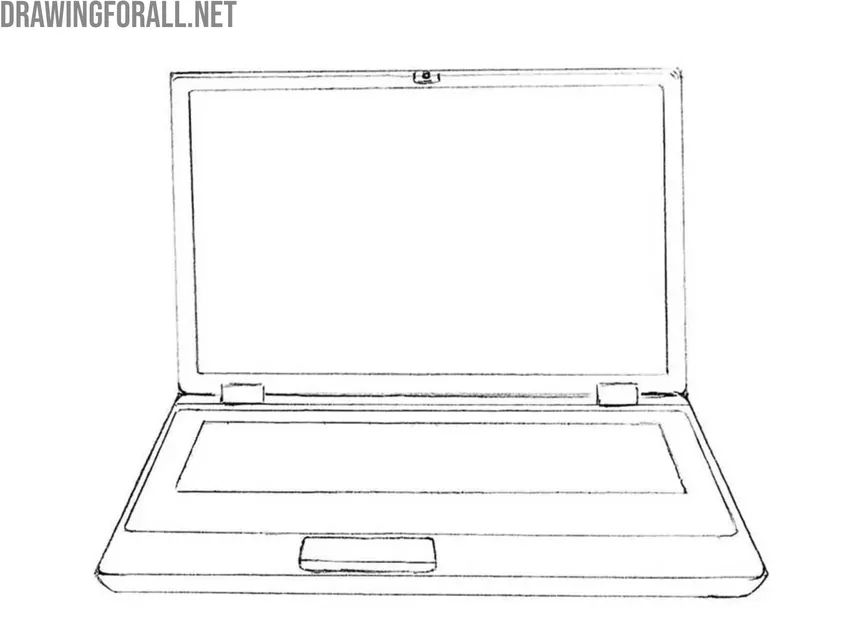
Step 7: Sketch the individual keyboard keys
Draw the individual keys using straight lines. Begin with horizontal lines to separate the rows, then add short vertical strokes to divide the rows into keys. Try to follow the proportions and layout of the keys shown in the original example. Remember that the keys farther from the viewer may appear slightly narrower because of perspective. Also keep in mind that some keys, such as the spacebar, Shift, or Tab, are wider than the others.
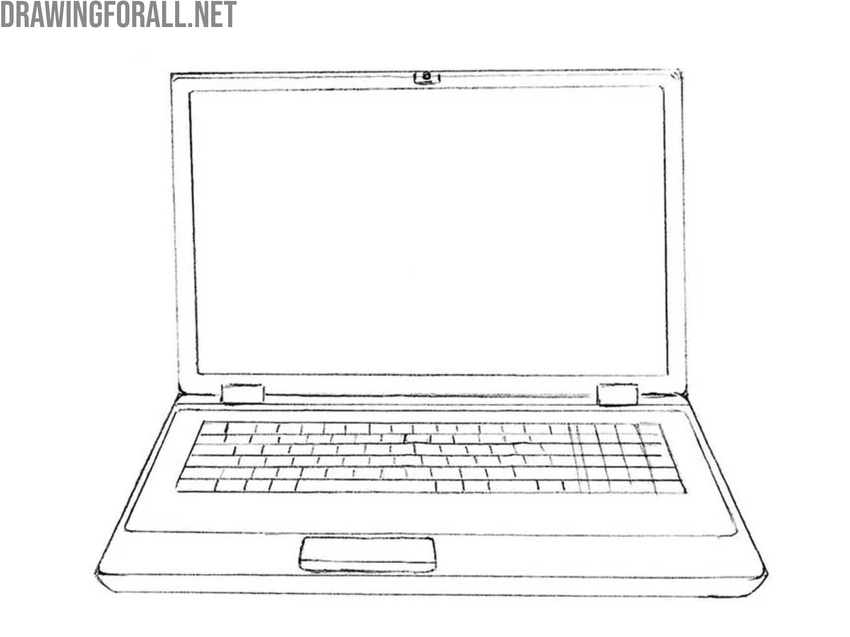
Step 8: Shade and refine the device
Now let’s give the laptop drawing a more dimensional and realistic appearance. Start by placing a few long diagonal strokes in one direction to indicate the highlights on the screen. After that, use smooth, even hatching that follows the form to build up the shadow areas.
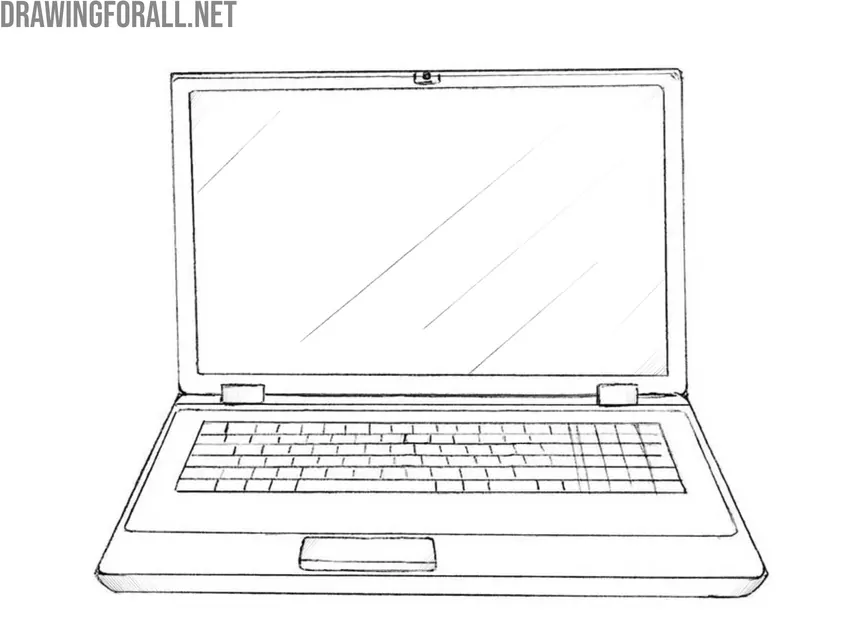
Drawing electronics, as we’ve mentioned many times, is quite an interesting task, even though at first it may seem boring or not very engaging.
When you draw electronic devices, you significantly develop your ability to construct everyday objects – skills that become essential when you move on to more complex compositions or scenes that require clear contextual details.
In addition, these kinds of subjects are very useful for strengthening your overall drawing skills once you already know how to sketch basic geometric forms such as cubes, cylinders, and cones.
It’s important to reinforce those fundamentals, and drawing a smartphone – a much smaller device, sketching a MacBook, or other similar devices is a great way to do that. You can also visit our Objects category, where we publish many different items that are both useful and interesting to draw.


Great drawing tutoria
I love this drawing tutorial so much
Why cant i use a ruler 🙁
You can of course use an eraser, but if you want to improve your straight-line drawing skills, it is best to try to draw everything without a ruler.
Because I don’t understand
i like it
Yes
It’s really nice 👍👍🙂