How to Draw a Cup
In this drawing tutorial, we will show you how to draw a cup. This is a pretty simple tutorial, but we should end up with a realistic cup drawing.
This tutorial will consist of simple lines, but throughout the steps you will need to try to maintain symmetry, regularly checking and adjusting parts.
Besides drawing the cup itself, this tutorial teaches how to sketch curved lines and ellipses, create realistic and dimensional shadows on everyday objects.
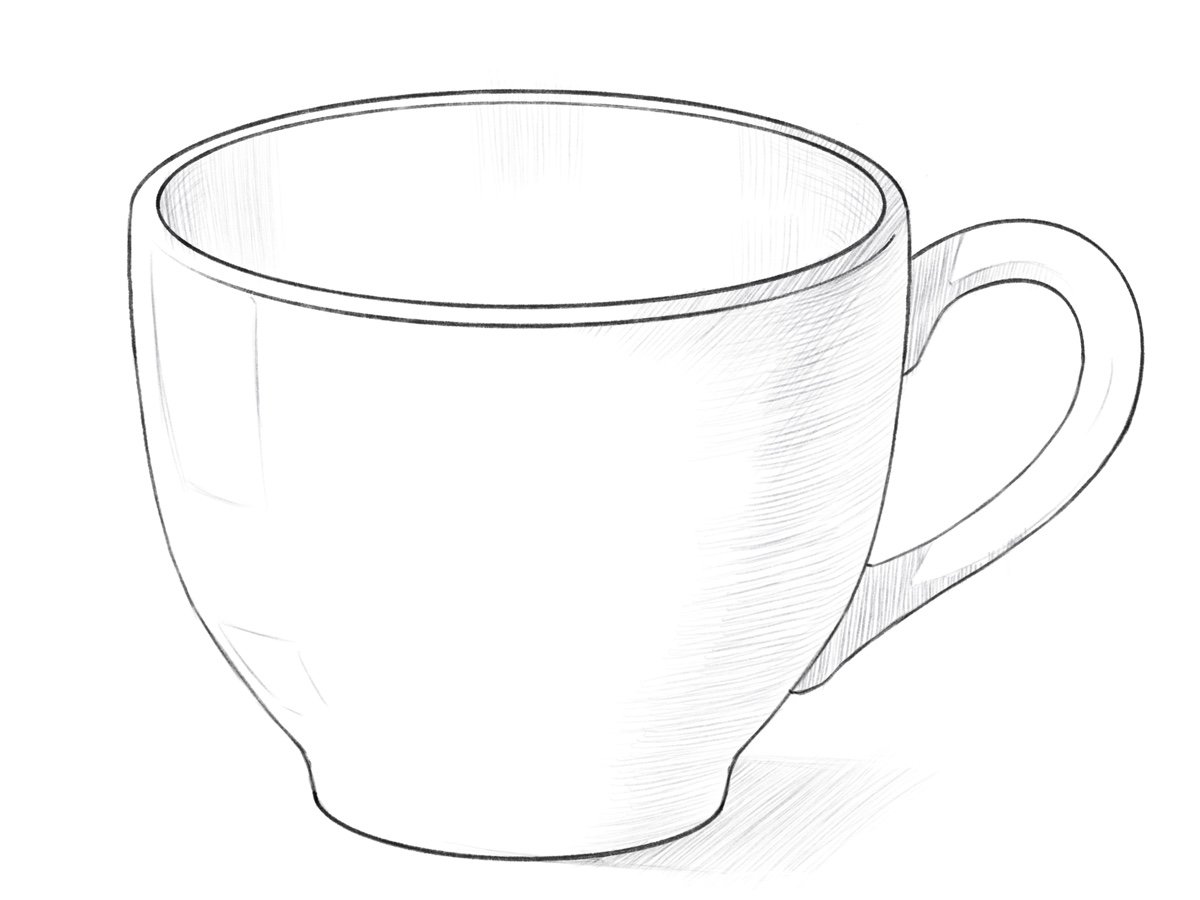
How to draw a cup step by step
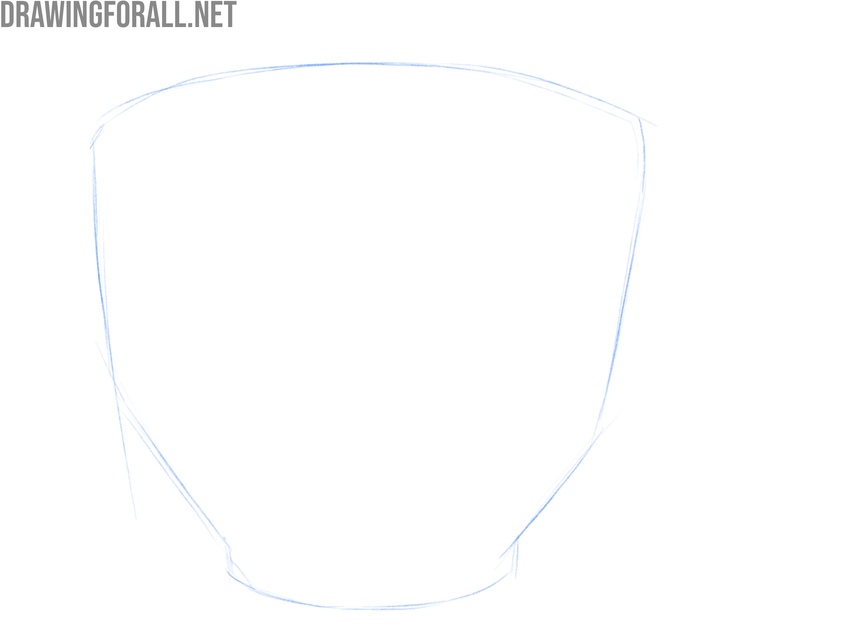
Step 1: Sketch the bowl of the cup
Lightly sketch the overall silhouette of the cup. Use very light and smooth lines to indicate the widening upper part and the gentle narrowing toward the base. This simple shape defines the overall cup drawing, so in this step you can set the width, height, and other parameters.
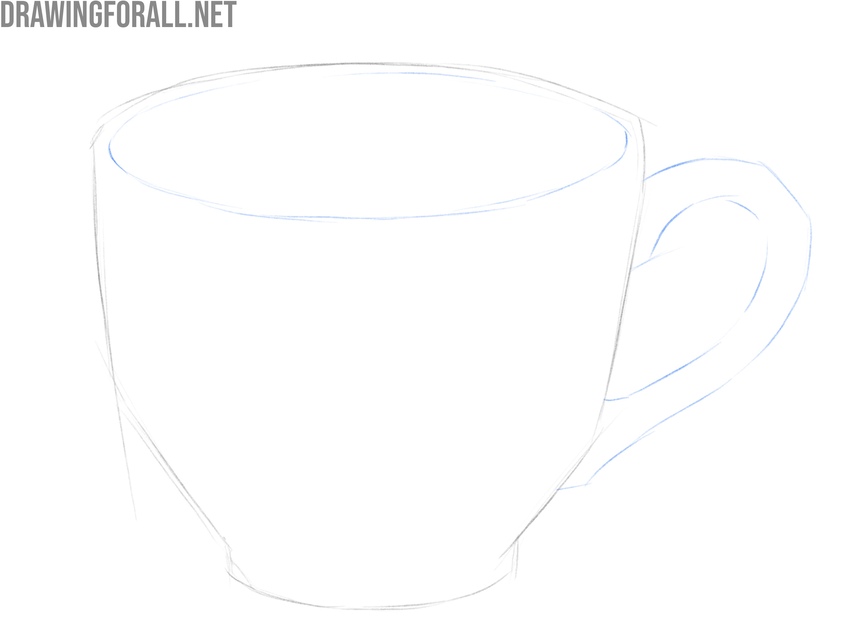
Step 2: Sketch the handle upper edge
Now, using a couple of very light lines, outline the handle on the side surface. This part may also vary from cup to cup, so you can adjust the size and shape in this step. Don’t try to create the final drawing of the cup yet, just mark out the location and basic proportions.
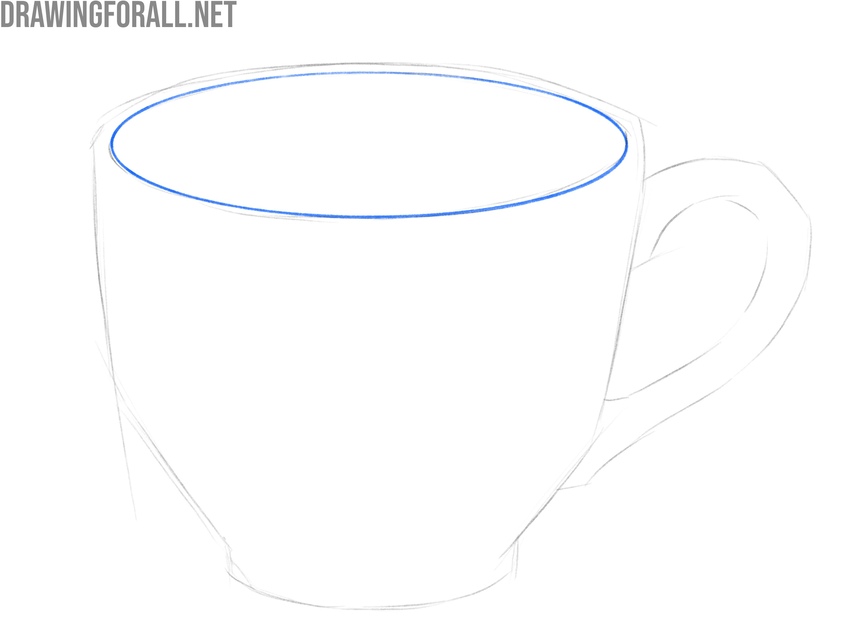
Step 3: Draw out the inner rim of the cup
From this step on, it’s time to give the cup drawing a more final and complete look. To do this, using darker, smoother, and more confident lines, draw out the inner edge in detail as a horizontal ellipse. To give this section a more three-dimensional appearance, make the near edge darker than the far edge to convey aerial perspective.
Step 4: Strengthen and thicken the rim
Now it’s time to give the top of the cup drawing its final look, carefully outlining and detailing it. Make the near edge darker than the rear to enhance the aerial perspective. This will add thickness to the cup and make it more convincing.
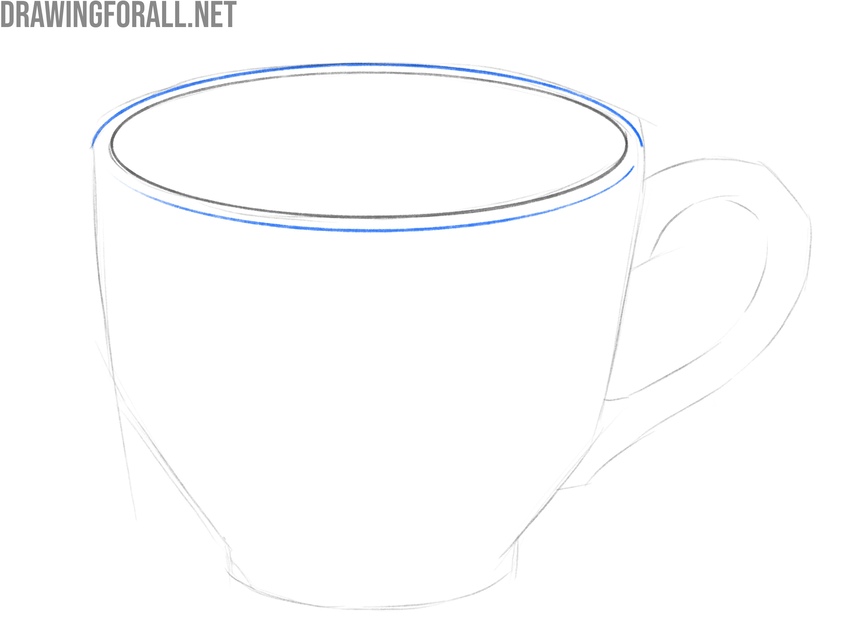
Step 5: Draw out the bowl of the cup
Now, using dark and smooth lines, carefully trace and darken the side edges of the cup, gradually tapering towards the bottom and connecting both side edges with a smooth horizontal curved line. Check the symmetry, making sure the left and right sides are identical.
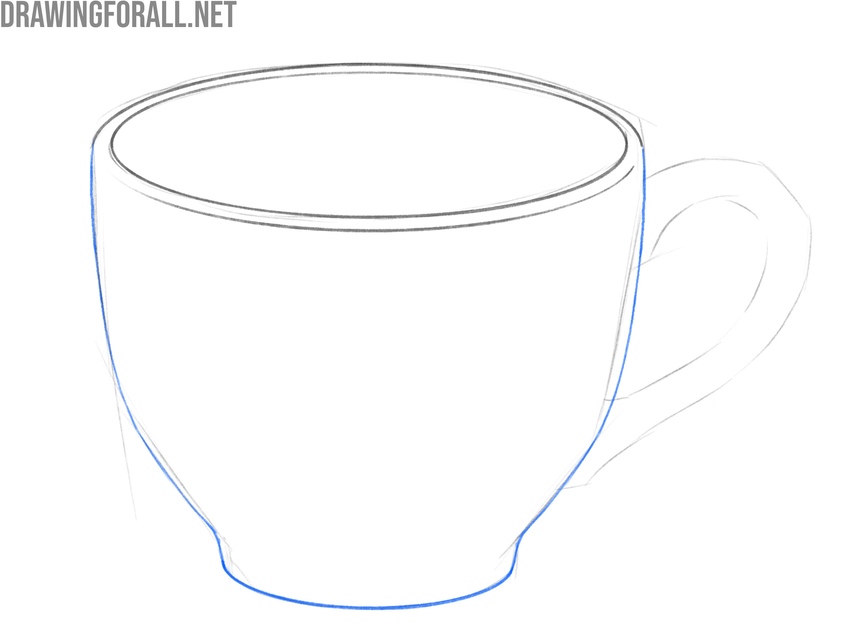
Step 6: Trace the outer edge of the handle
Now it’s time to move on to the handle and begin giving it a finished look. Start with the outer edge, carefully and smoothly outlining it with darker lines. The outer edge of the handle should appear as a single, continuous line, proportional to the rest of the object.
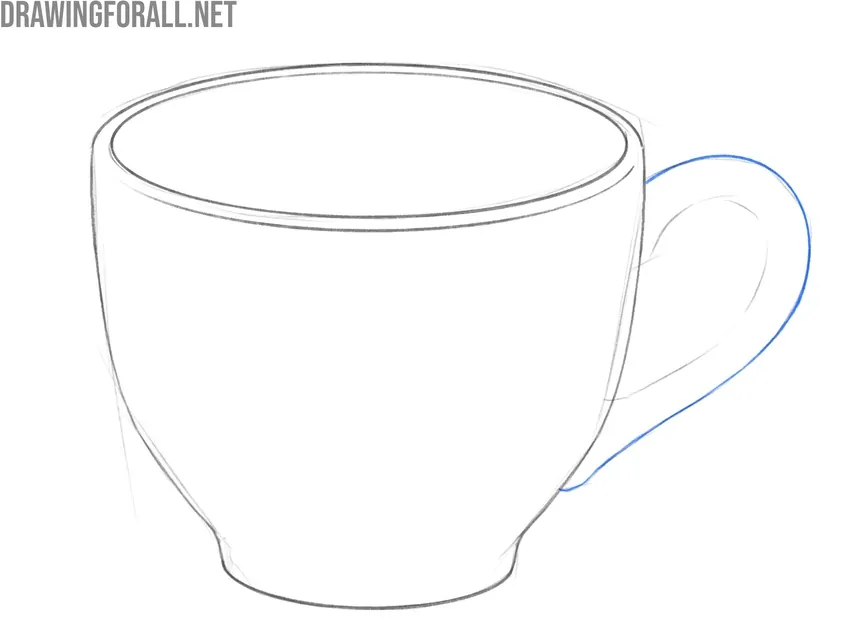
Step 7: Draw the inner contour of the cup handle
Now it’s time to do the same thing with the inner edge of the handle, using dark, smooth lines to outline this shape. The handle’s thickness should be approximately the same throughout, or slightly thicker where it meets the bowl, depending on the chosen design.
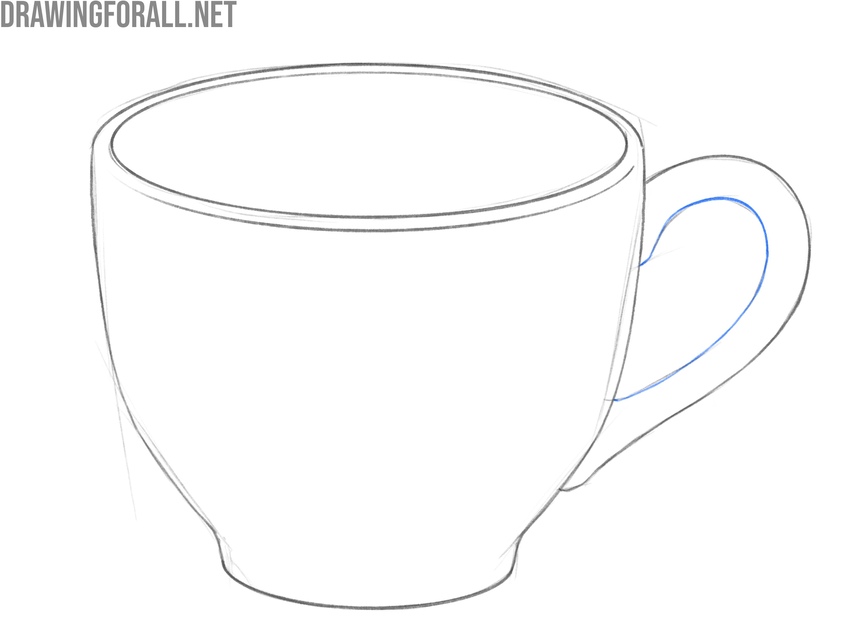
Step 8: Clean and refine the cup outline
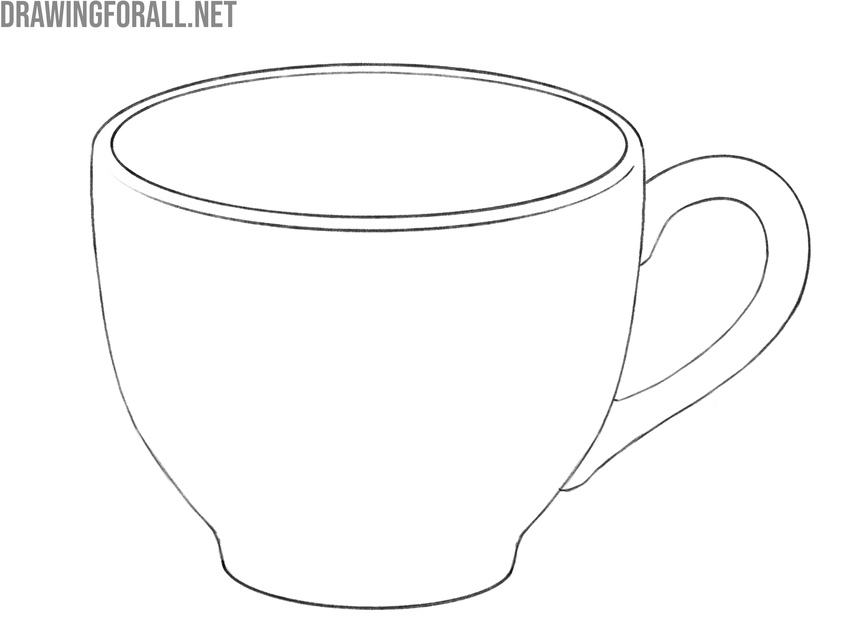
Now, using an eraser, carefully erase all the auxiliary lines from the first steps, leaving only the final outlines of the object. Adjust the proportions and appearance if necessary. Recheck the symmetry of the cup and the proportionality of the handle.
Step 9: Add shadows and tonal contrast
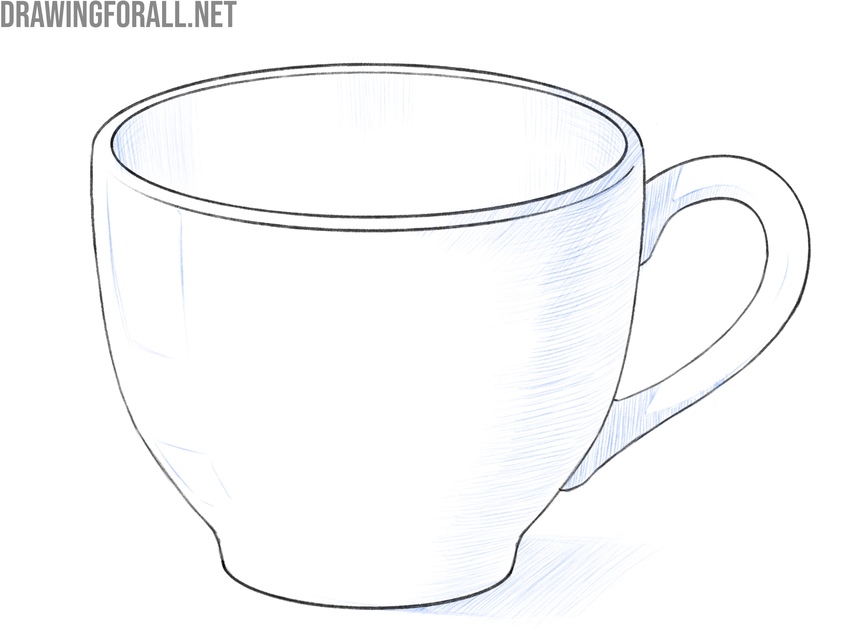
Now it’s time to give the cup drawing its final dimensional look by adding shadows and highlights. Assuming the light is coming from the upper left corner, outline the highlights on the left side of the cup and the shadows on the right side, inside the bowl, and on the handle. To give the cup weight and more volume, draw a cast shadow beneath it.
Step 10: Review proportions and finalize the cup drawing
The cup drawing is almost complete, and it’s time to add the finishing touches. First, check your entire drawing for proportionality and symmetry, as well as any errors or inaccuracies. Compare it to our example and correct any inaccuracies, add any necessary details, or remove any unnecessary ones.
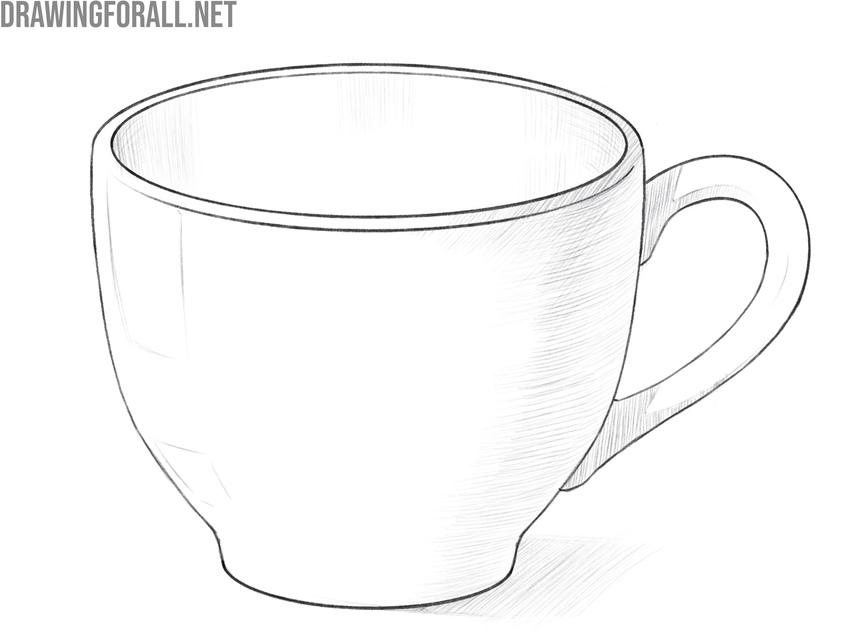
In this lesson, we drew a realistic, classic teacup with a small handle on one side and a modest overall volume. However, this drawing approach can be applied to sketching many other types of cups, mugs, and similar tableware.
For example, you can increase the capacity by making the main body of the cup larger, or draw a thicker handle designed to be held with the whole hand rather than just one finger.
You can also add a small saucer underneath or illustrate a decorative pattern to give your cup drawing more character.
These small adjustments will make your cup drawing more distinctive and personal compared to the example shown here. It’s also useful to practice by trying different cup designs and moving on to more complex forms.
For instance, you can draw a cup of tea on a saucer based on our example, or include a simple cup sketch within a larger still life composition that features drapery, shading, and volume.
Cups are a common subject in still life drawing and provide an excellent way to develop your understanding of shape and proportion.
In order not to miss new drawing lessons, follow us on Pinterest and Facebook. For example, on Pinterest, we are constantly posting short versions of our drawing guides, including this cup drawing tutorial, and on Facebook, we are posting announcements of our future articles.


awesome 😜
alr
Thank you so much!