How to Draw a Bracelet
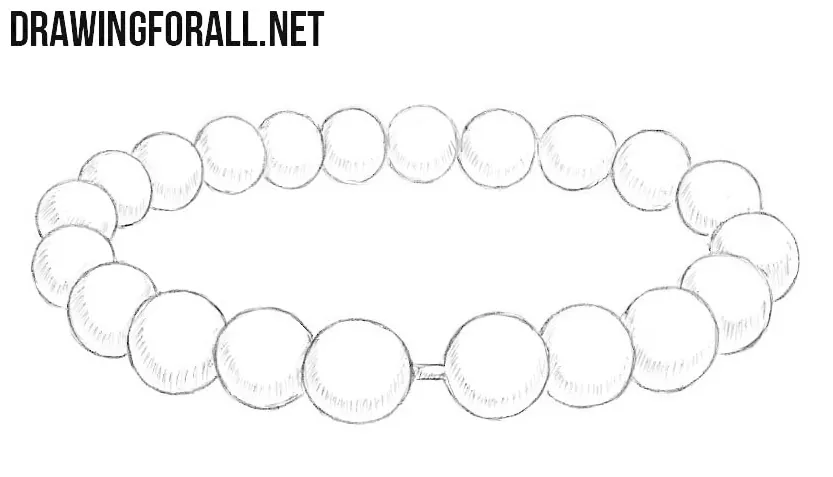
A bracelet can have almost any form, but there are some fundamental principles that apply to any variation. Here we will show you how to draw a bracelet made up of many small pearls strung on a cord.
The main thing to remember before you begin drawing is that the pearl beads are secondary forms that should follow the main rounded form of the bracelet.
How to draw a bracelet step by step
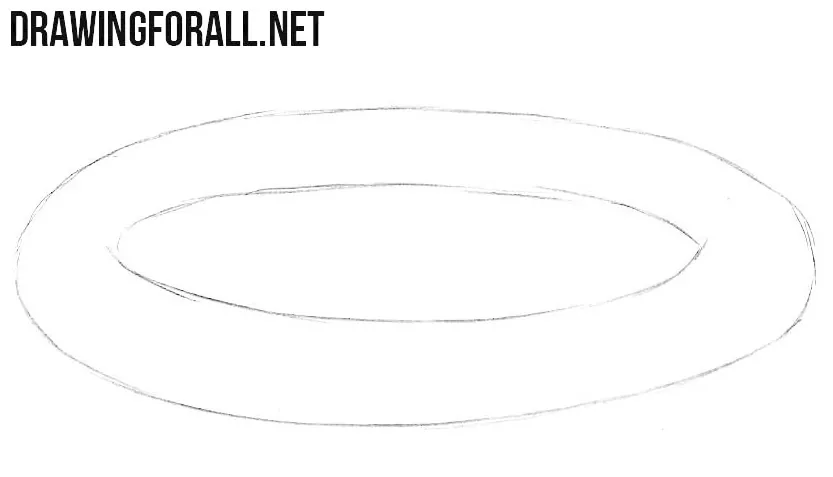
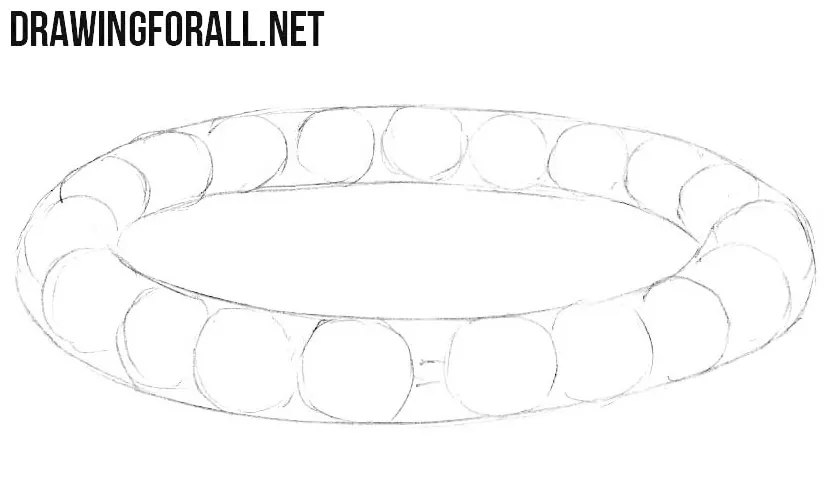
Step 1: Sketch the bracelet’s oval outlines
To draw a bracelet accurately, sketch its outline as a simple oval. Inside this oval, sketch another, smaller oval. Draw these lines with light pencil pressure so you can easily correct them and erase unnecessary lines. Stretch both ovals horizontally, and leave a slightly wider band at the front than at the back to account for the viewing angle.
Step 2: Mark the positions of pearls
Use simple circles to mark the positions of the pearls. Along the sides of the bracelet, some pearls will partially overlap others. The pearls should be round, but their outlines do not need to be perfect yet. For now, just mark their positions. Make the foreground pearls slightly larger than those along the back, and leave a small gap between the two central foreground pearls for the connector.
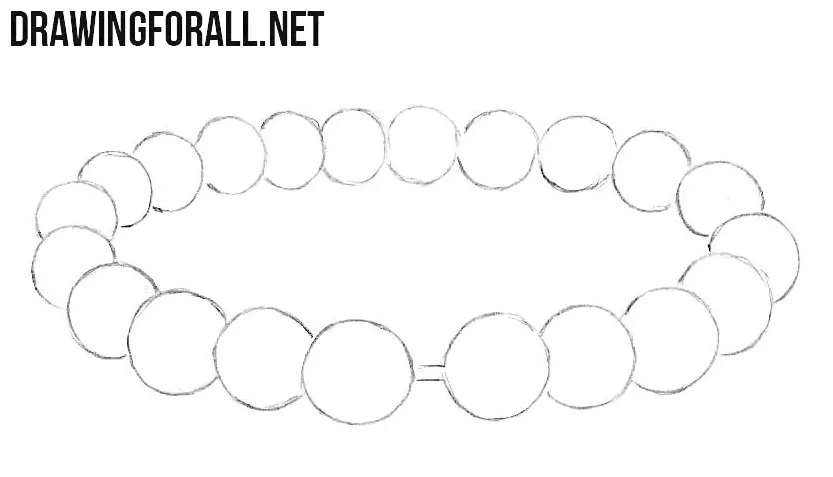
Step 3: Refine the pearl bracelet contours
Using dark pencil lines or ink, carefully trace the pearls. Make their contours smooth and round. Next, use an eraser to remove the unnecessary guidelines from the bracelet. At each overlap, remove the part of the farther pearl’s outline hidden behind the nearer one. Join the two central foreground pearls with two short lines to outline the connector.
Step 4: Add shadows to the pearls
Now use hatching to add semicircular shadows to the lower parts of the pearls. These shadows emphasize the spherical form of each pearl and give the bracelet a three-dimensional appearance. Add a little shading at the overlaps and along the connector, and leave the upper surfaces white. The principle of creating volume on each individual pearl is exactly the same as the principle of drawing a sphere.
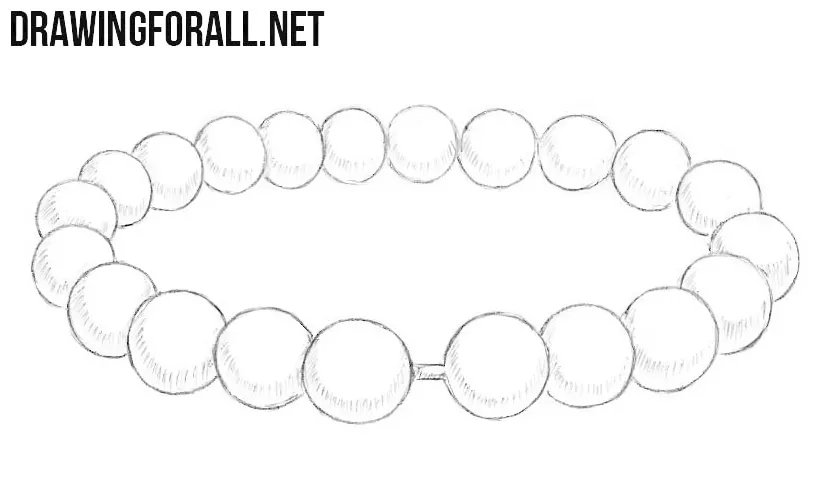
Again, a bracelet can have almost any design, but its main defining feature is that it surrounds the wrist. Therefore, the main central form of the bracelet is an ellipse or circle.
The details and other elements are then built around this form. In our example, pearls are arranged along the oval form of the bracelet. You can replace the pearls with any other elements you like.
A very similar method is also used when drawing an amulet. First, you indicate its overall form, which in this case is elongated vertically, and then draw the additional elements according to that form.