

How to Draw a Bayonet
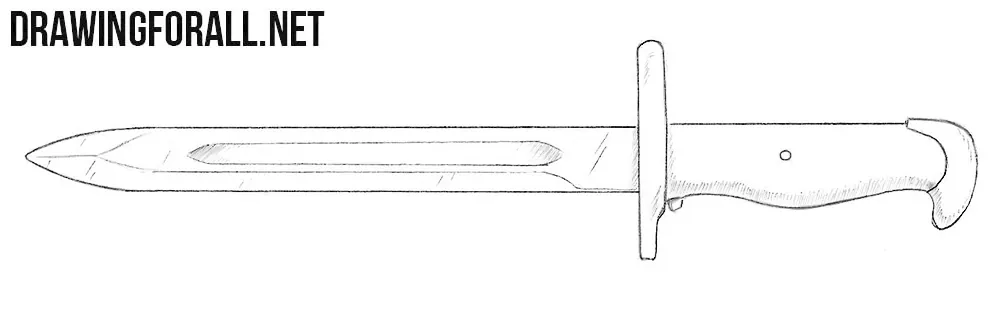
Among the many drawing tutorials on Drawingforall.net, we have a large number devoted to different types of weapons. In this tutorial, we will show you how to draw a bayonet step by step.
A bayonet is a bladed weapon designed to be attached to a rifle or another similar firearm. Its general form resembles a knife, but the hilt and guard have several characteristic details that we will depict in the following steps.
How to draw a bayonet step by step
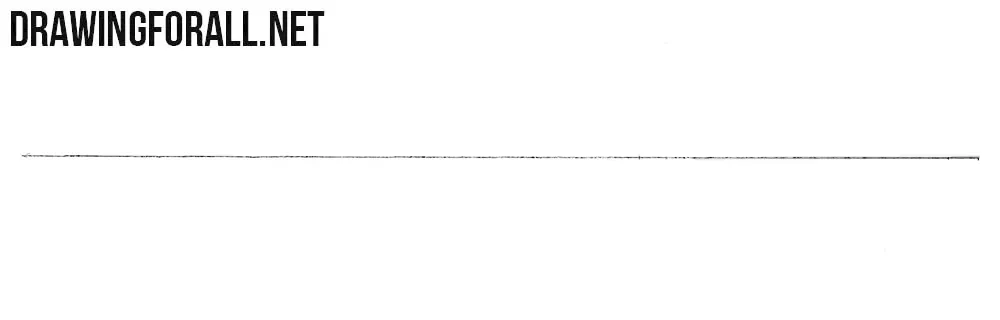
Step 1: Mark the central guideline
First, draw a simple straight line that will serve as a guideline for the entire bayonet. Try to make this line as straight as possible, since it will help you correctly position the blade, guard, and hilt.
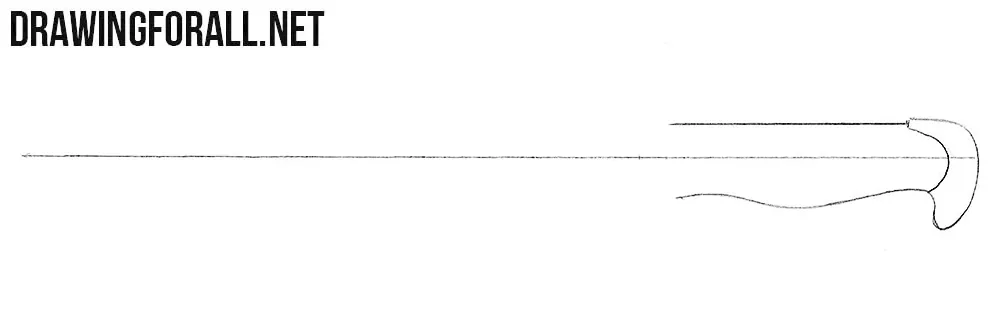
Step 2: Draw the bayonet hilt
Start drawing the bayonet from the rear part, that is, from the hilt. First draw the characteristic pommel. Then carefully outline the grip, which is straight along the upper edge and slightly curved along the lower one.
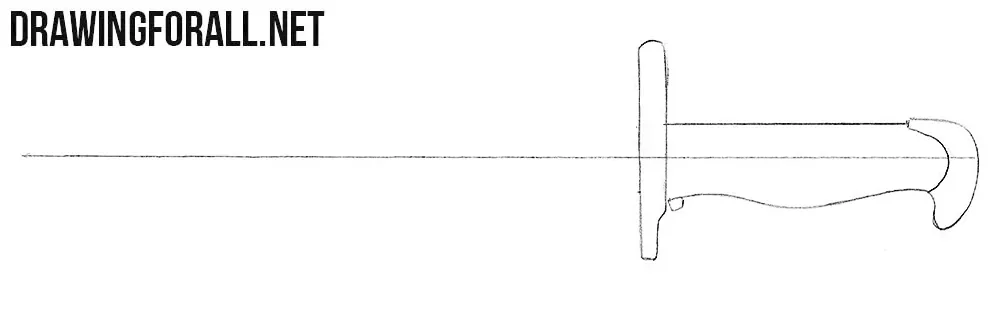
Step 3: Add the simple guard
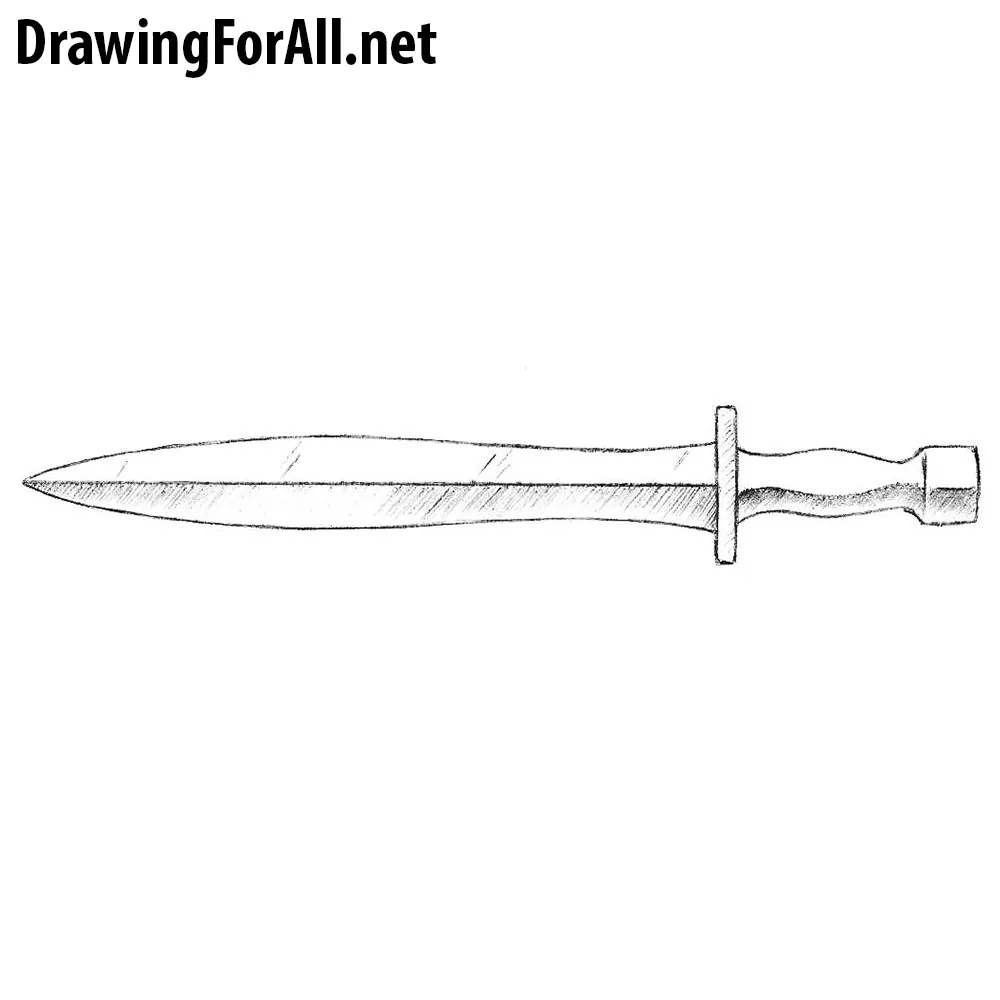
When drawing a great sword, the guard can have a fairly complex shape. The guard of a bayonet is usually much simpler. Draw this part between the grip and the blade using smooth, clear lines.
Step 4: Outline the bayonet blade
Now draw the blade of the bayonet. Using two long lines, outline its upper and lower edges. These lines should gradually converge toward the end and form the pointed tip of the blade.
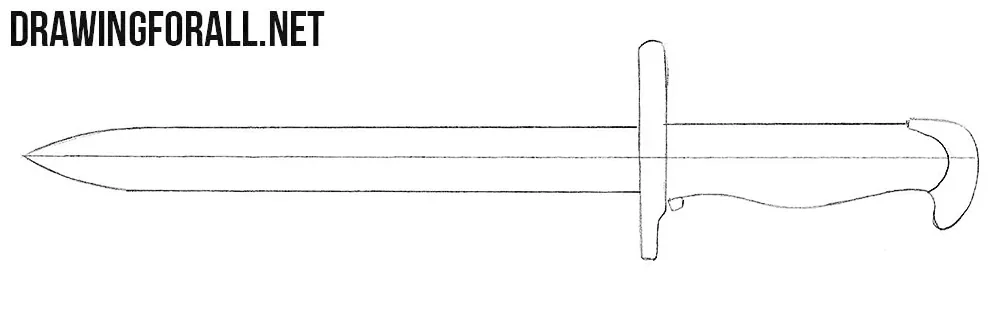
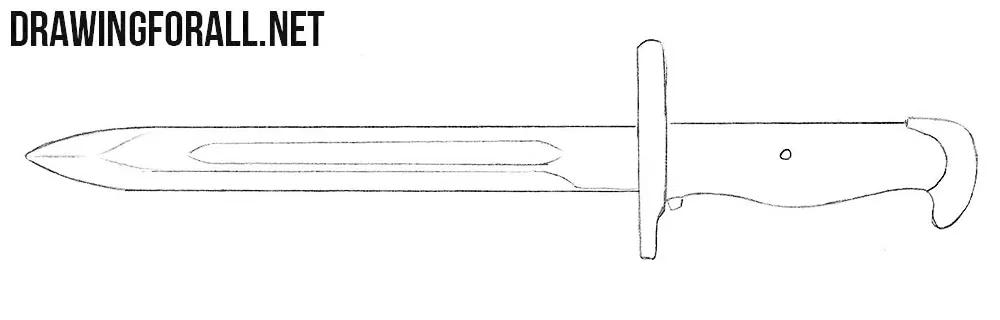
Step 5: Refine the blade and grip
Erase the unnecessary auxiliary guideline from the bayonet drawing. Then draw the long lines on the blade and add a round rivet to the grip. Refine the contours of the weapon and correct any inaccurate lines if necessary.
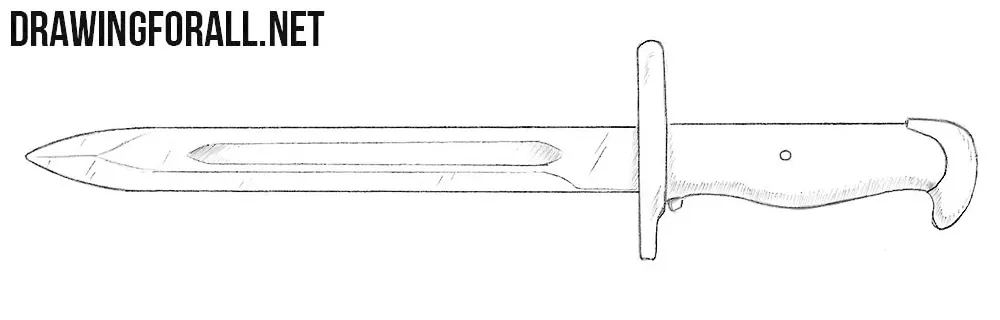
Step 6: Add shadows with hatching
Finally, add shadows to make the bayonet drawing look more three-dimensional. Apply hatching to the darker areas of the blade, guard, and grip. Leave the lighter areas untouched to convey the metal surface of the blade.
The general method used in this tutorial is also suitable for drawing many other bladed weapons. The main differences will be in the length and shape of the blade, as well as the design of the guard and hilt.
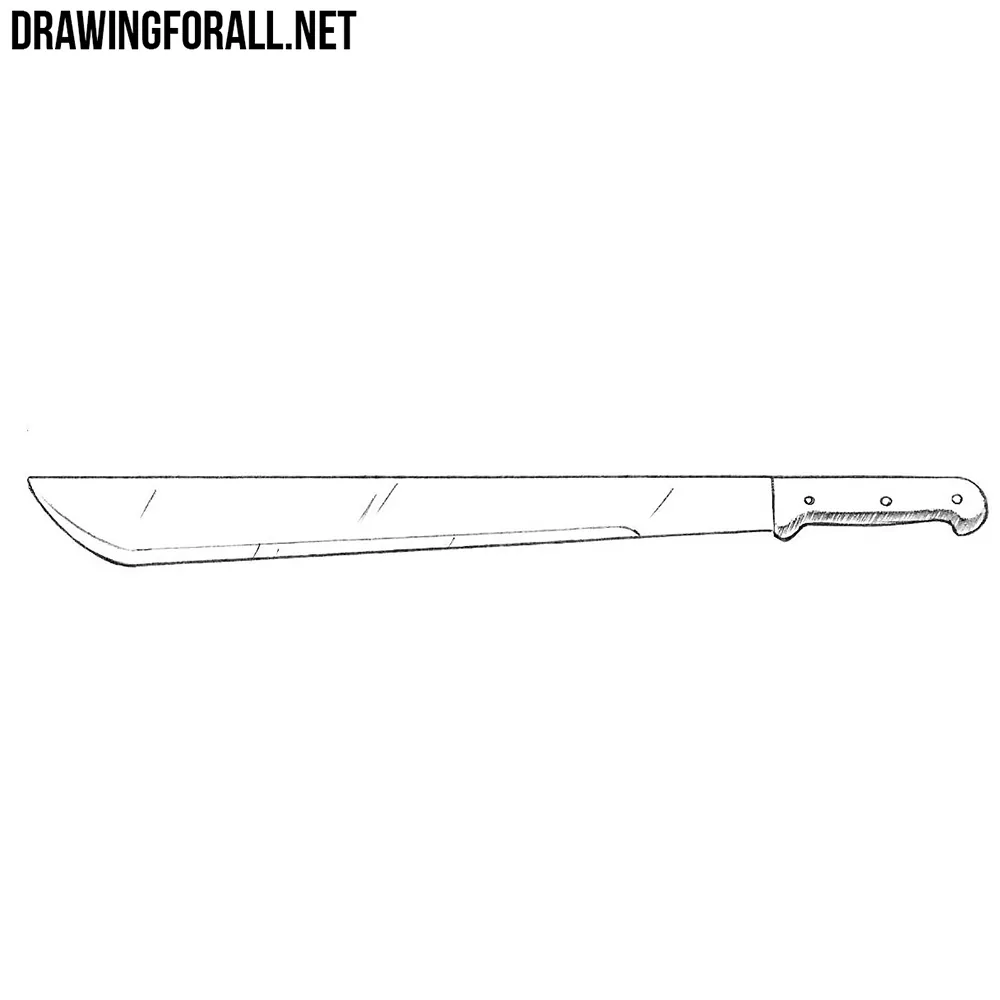
For example, when drawing a dagger, you will work with a shorter blade and a different hilt. You can also try drawing a machete, which has a noticeably different blade shape.
The tutorials from our Weapons category are created especially for those who want to draw interesting scenes for comics or illustrations. For example, you can draw a solder armed with a rifle and add a bayonet to the weapon.
You can also use this bayonet drawing as an item for your own RPG. As you can see, the finished drawing already looks quite similar to the type of weapon item that can be used in a game.

Makes things easier!!!😁😁😁
exactly
Nice drawing
This is way easier than I thought!