

How to Draw a Tulip
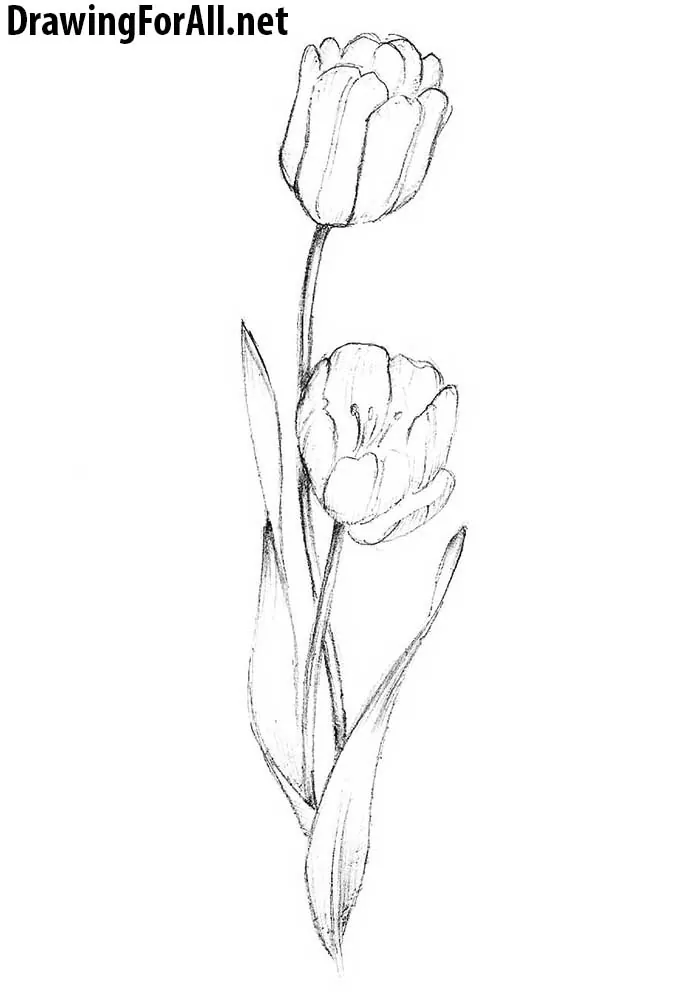
Drawing flowers is a simple process, but creating plants that look three-dimensional takes practice. In this tutorial, we will show you how to draw a tulip, construct its form correctly, and the illusion of volume.
How to draw a tulip step by step
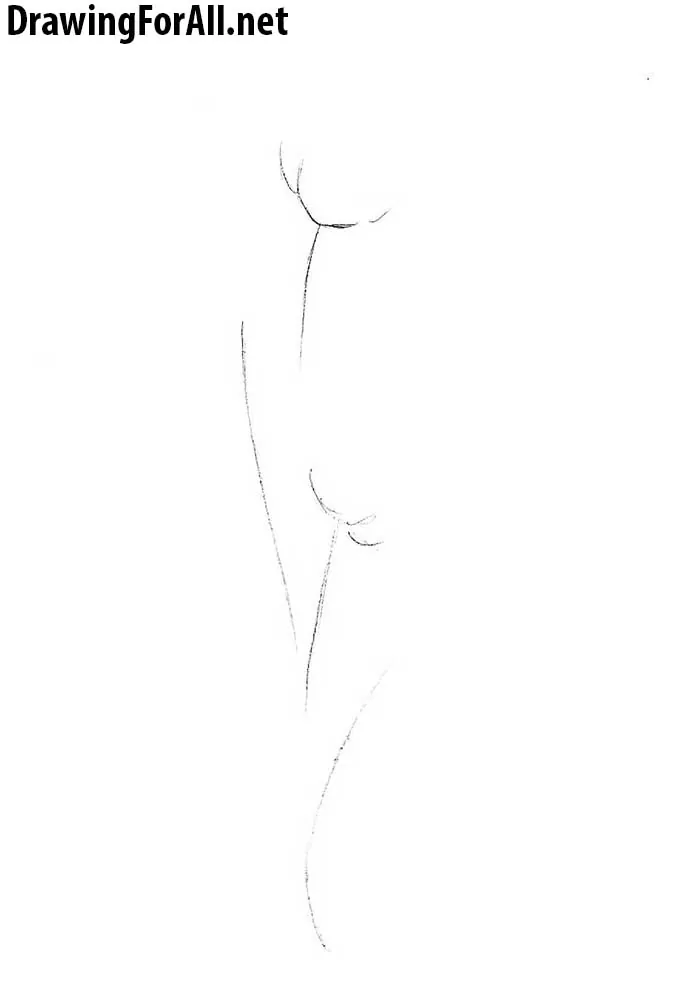
Step 1: Sketch stems and buds
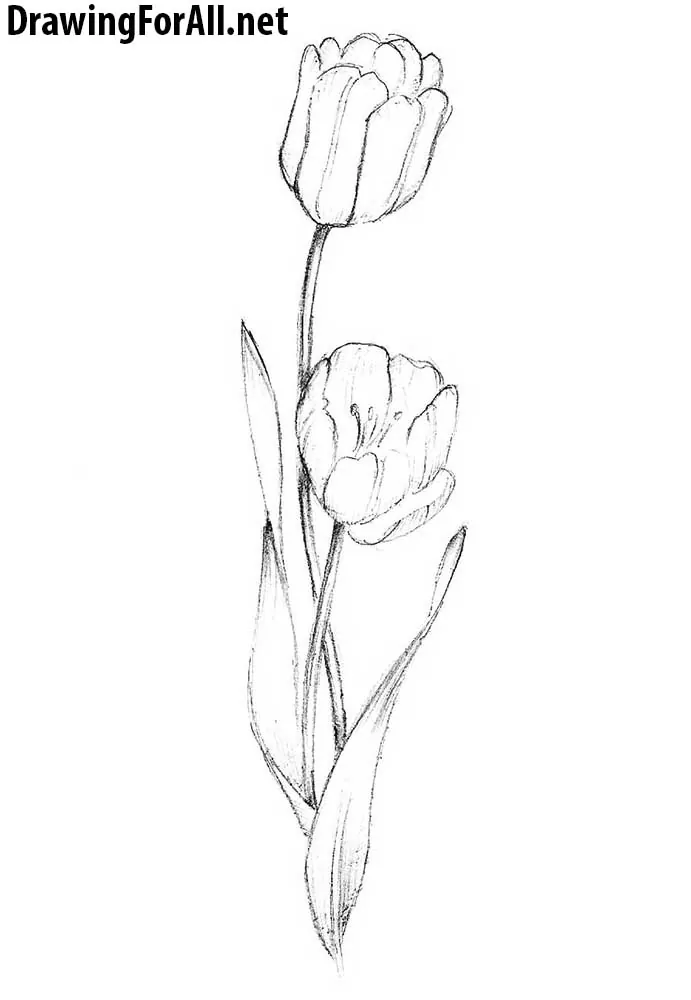
Our tulip will look like a plant in a flower bed with a pair of buds, leaves, and stems. Start the drawing with the stems and buds. These lines should be smooth and light. First, draw the curved stems, then outline the lower parts of the buds.
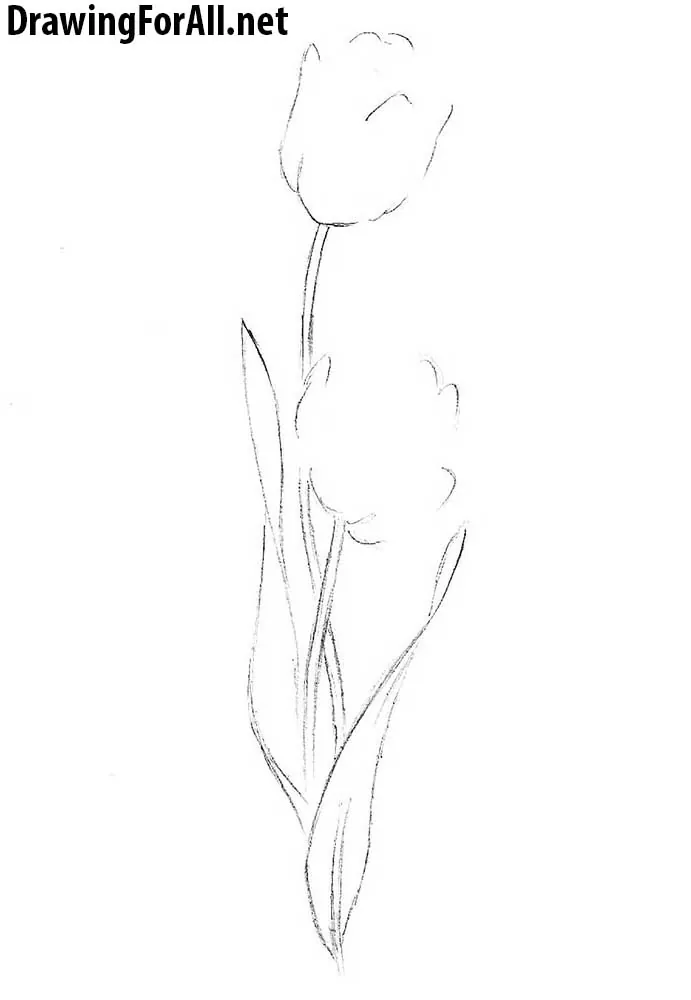
Step 2: Add stems and leaves
This stage includes several lines, but following the correct sequence will help you avoid confusion. Add a few lines to the buds. Then complete the stems by drawing another line beside each one from the previous step. Using curved lines, draw the tulip leaves.
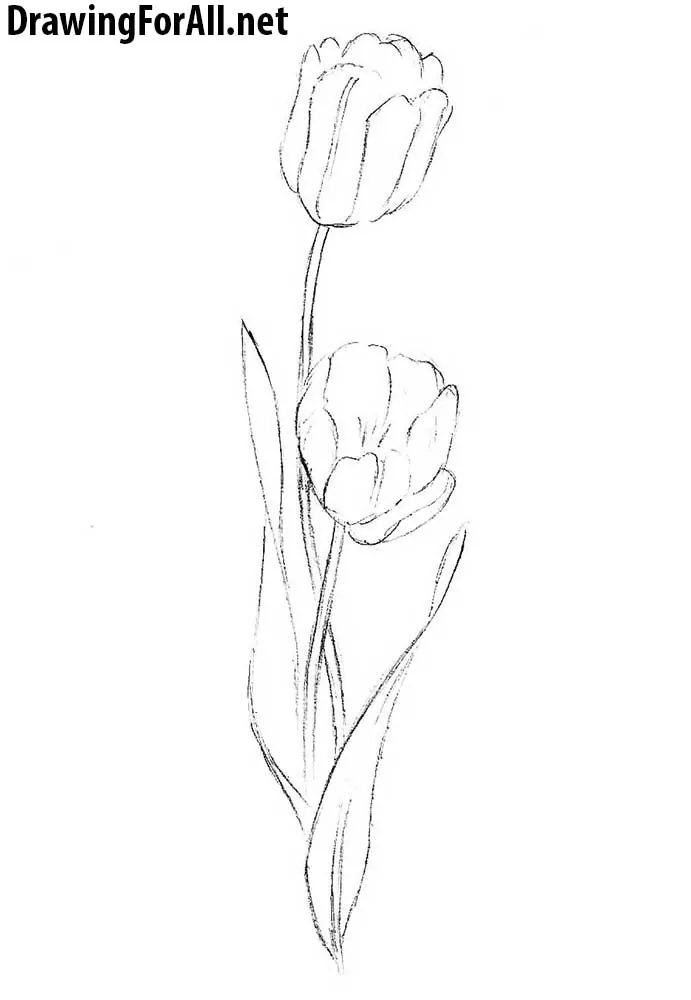
Step 3: Draw the tulip petals
Draw the tulip petals using smooth, curved lines. Note that the lower bud has opened more than the upper one. Do not forget to draw the stamen inside the open bud.
Step 4: Add shadows and volume
Make the tulip look more realistic by adding shadows. Imagine that the light falls on the tulip from above to determine where the shadows should appear. Add them to the lower parts of the buds, the upper parts of the stems, and the folds of the leaves.
Flowers come in many different shapes, with a wide variety of buds, stems, and leaves. Despite these differences, the basic drawing process is very similar for most flowers.
We explain these core principles in our flower drawing tutorial. If you want to study a slightly more complex flower structure, be sure to check out our tutorial on how to draw a rose. Learning both approaches will give you a better understanding of the topic.





i have no idea