How to Draw a Chestnut
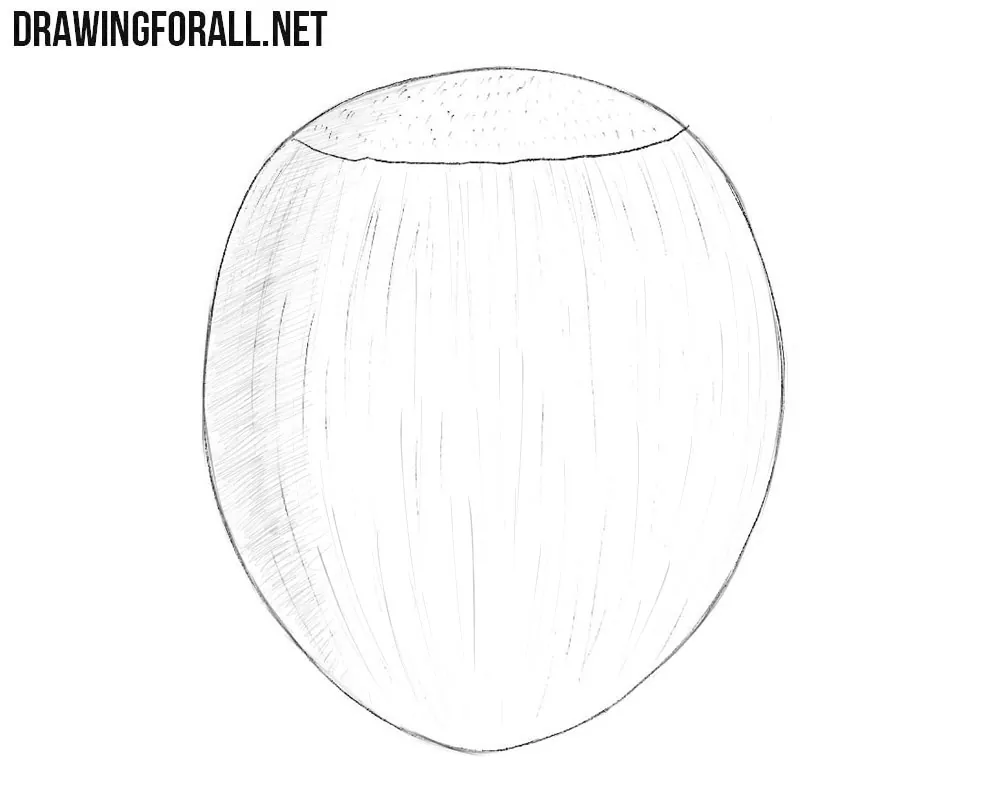
In this tutorial, we will show you how to draw a chestnut. There are no difficult parts in this easy drawing guide.
This is similar to practicing geometric shapes and light shadows. However, if you follow all the steps, you will get excellent results.
How to draw a chestnut step by step
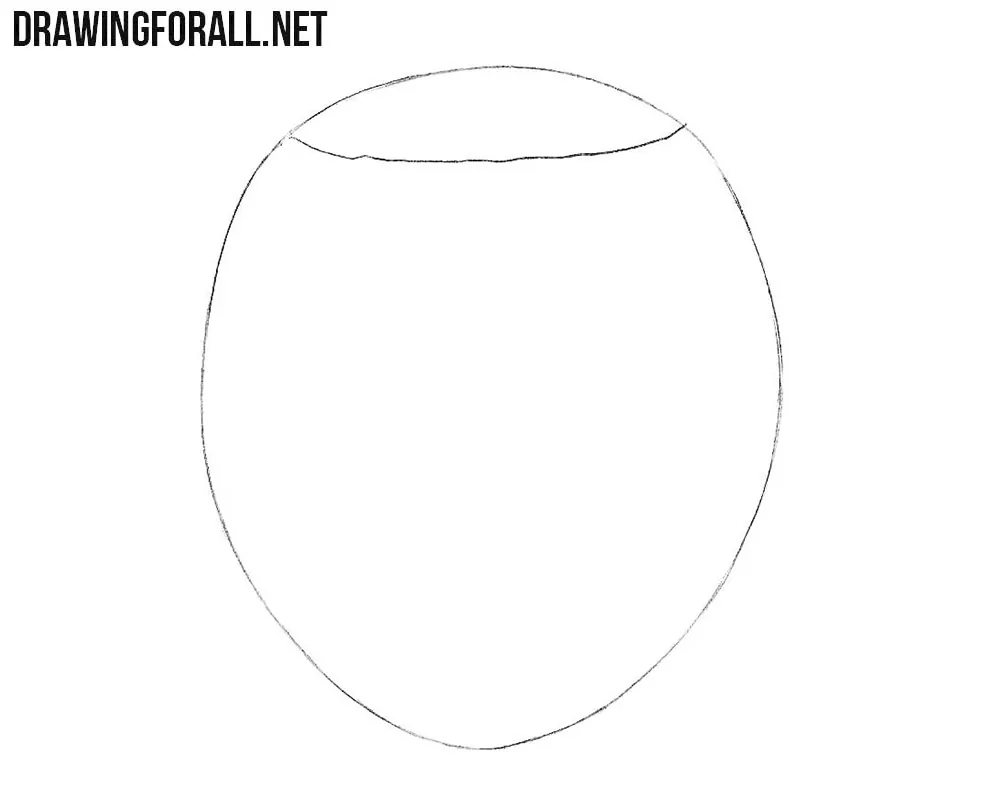
Step 1: Sketch the chestnut outline
When we draw people, we start with a simple stick figure. When drawing nuts, we need to start with the general contours. Sketch a geometric shape that narrows and becomes slightly pointed toward the bottom. At the top, mark a slightly curved, uneven line.
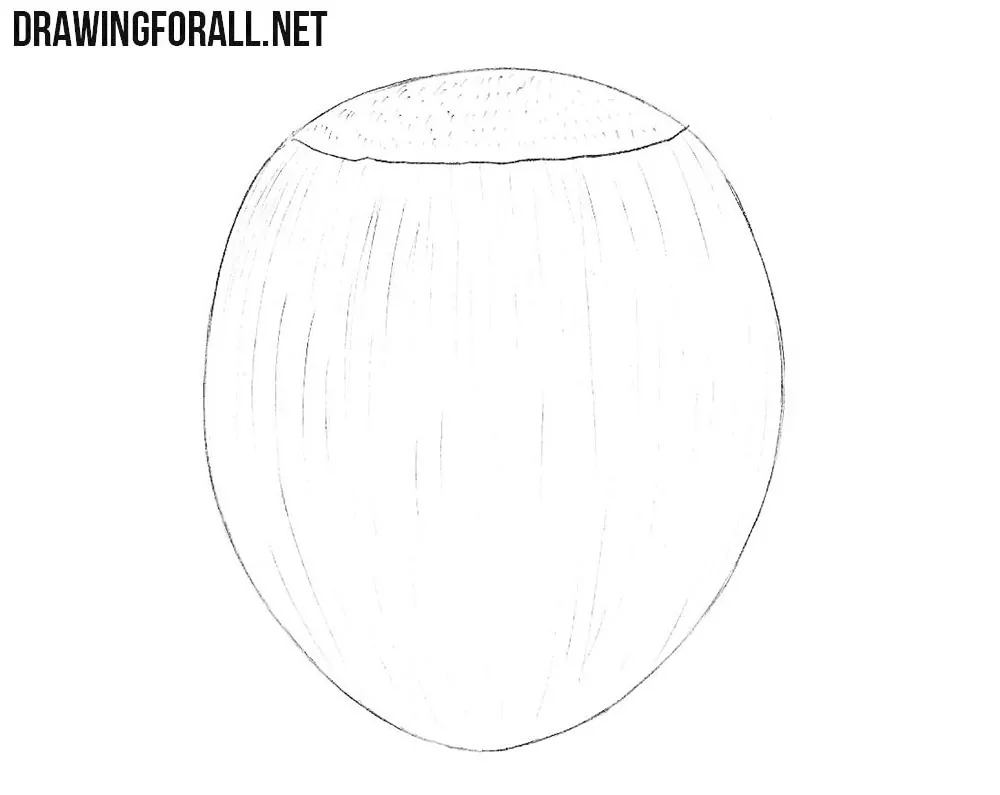
Step 2: Add the chestnut texture
Now add details that will convey the texture. Draw many small dots on the top of the nut, but do not make them too large. On the main part of the chestnut, draw long, smooth, and slightly curved lines. Arrange these lines unevenly; otherwise, the texture will lose its natural appearance.
Step 3: Shade the finished chestnut
Now draw the shadows. The light falls from the upper right, so add the shadows to the left side. However, you can choose a different light source and place the shadows accordingly. You can also draw a cast shadow so that the chestnut does not appear to be suspended in the air.
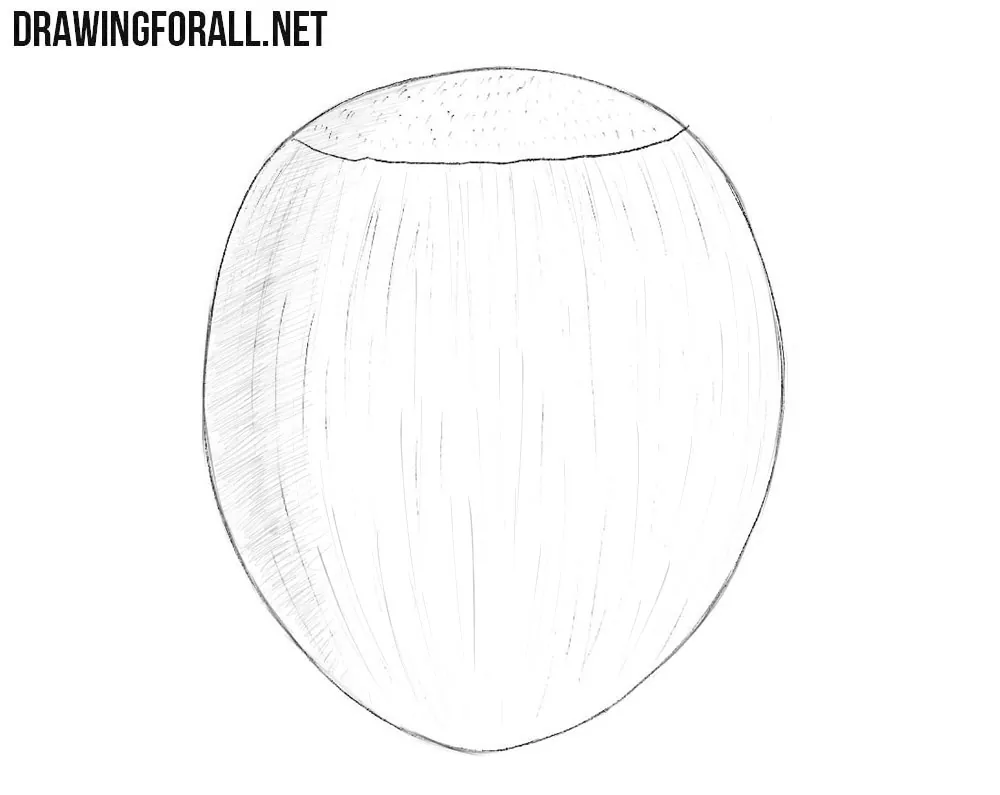
We tried to make this tutorial as easy as possible. To slightly change or improve your chestnut drawing, you can add some leaves or branches.
This will give the drawing a more natural appearance. Also, do not forget that nuts are a wonderful addition to drawing apples or drawing pineapples as part of a still life.
To improve your knowledge in this area of art, visit our Still Life category, where you will find many interesting tutorials on drawing a still life. By the way, if something went wrong, write about it in the comments, and we will try to help you solve the problem.