How to Draw Magus from Marvel
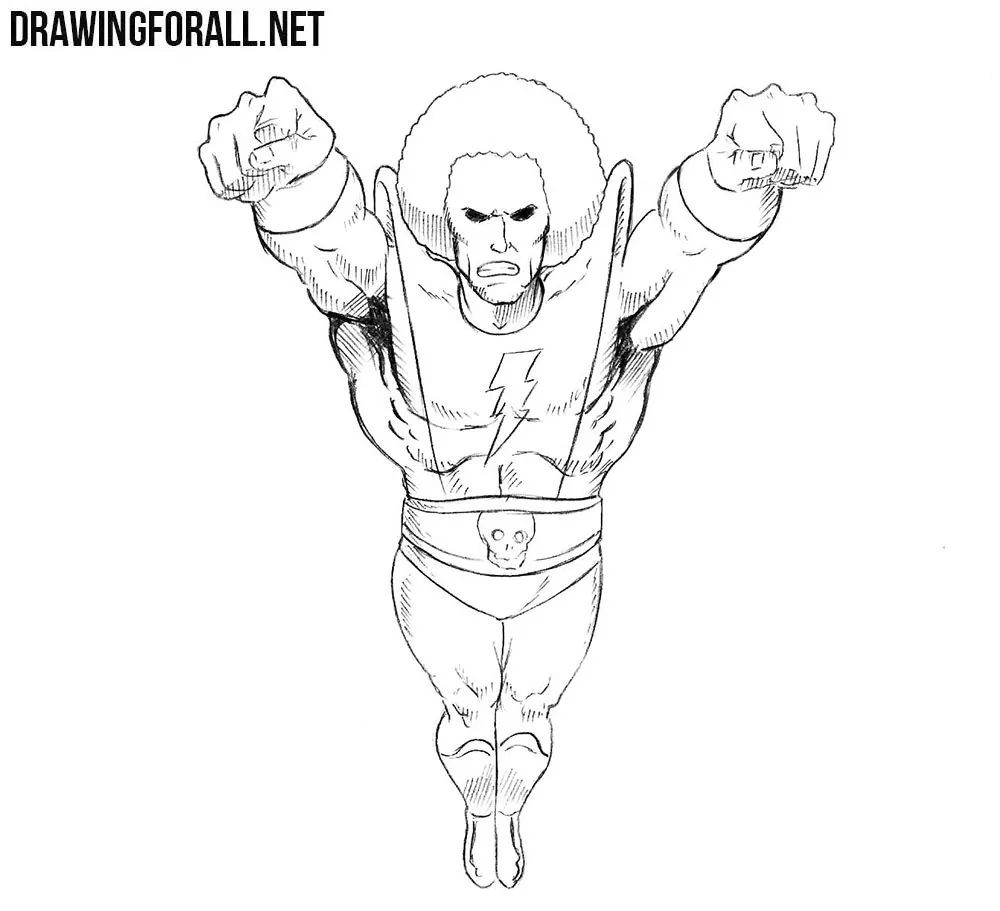
Have a nice day to everyone! Today we made a new drawing lesson on the Marvel Universe. We chose a very rare hero. As you can see we make a post in which we will show you how to draw Magus. You probably know that Magus is the evil version of Adam Warlock.
Step 1
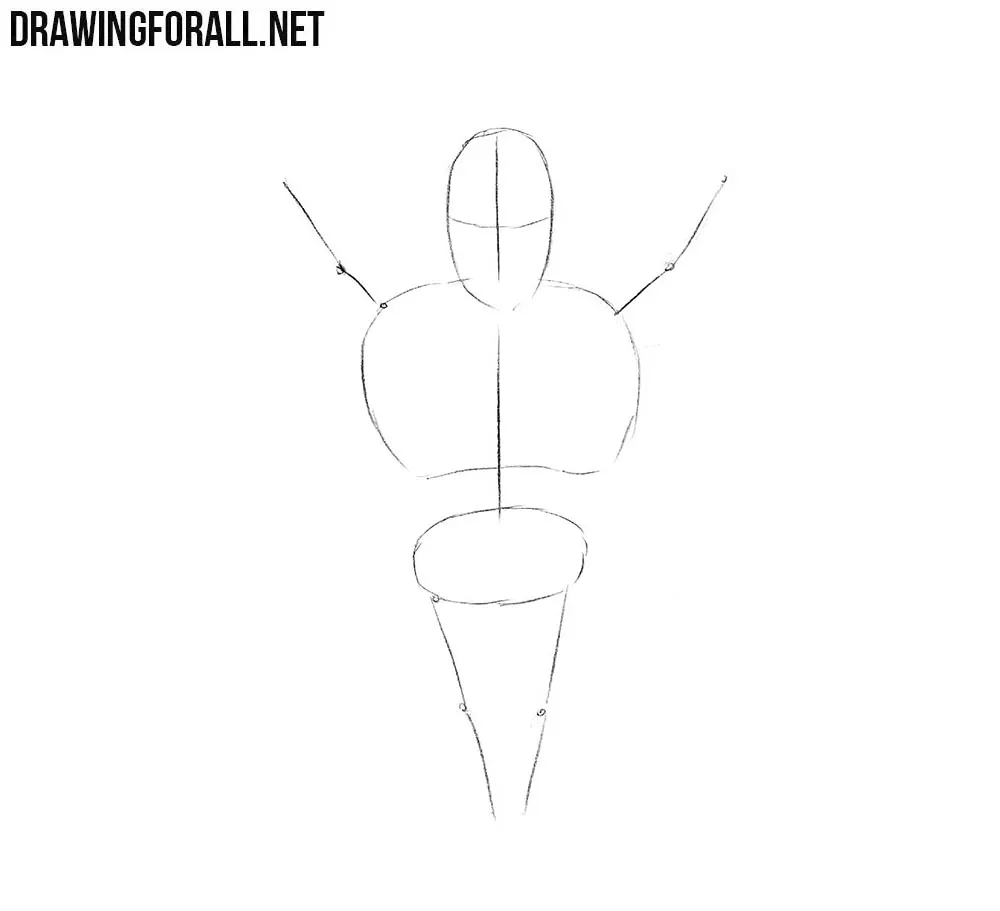
Let’s begin with the stickman. We need it to make the drawing smooth and symmetrical. First of all, we need to draw a head in the form of an oval. After that, outline the neck that goes into the spine. At the lines of the spine sketch out a thorax and a pelvis. Using simple lines draw arms and legs.
Pay attention to a very important thing: the proportions in our drawing are very distorted. This is due to an unusual foreshortening. The head, arms and chest are very close to us – that’s why it look so large. The pelvis and legs must be very small for the same reason.
And don’t forget to draw two crossing lines inside the contour of the face. These lines will help to draw out the details of the face a little bit later.
Step 2
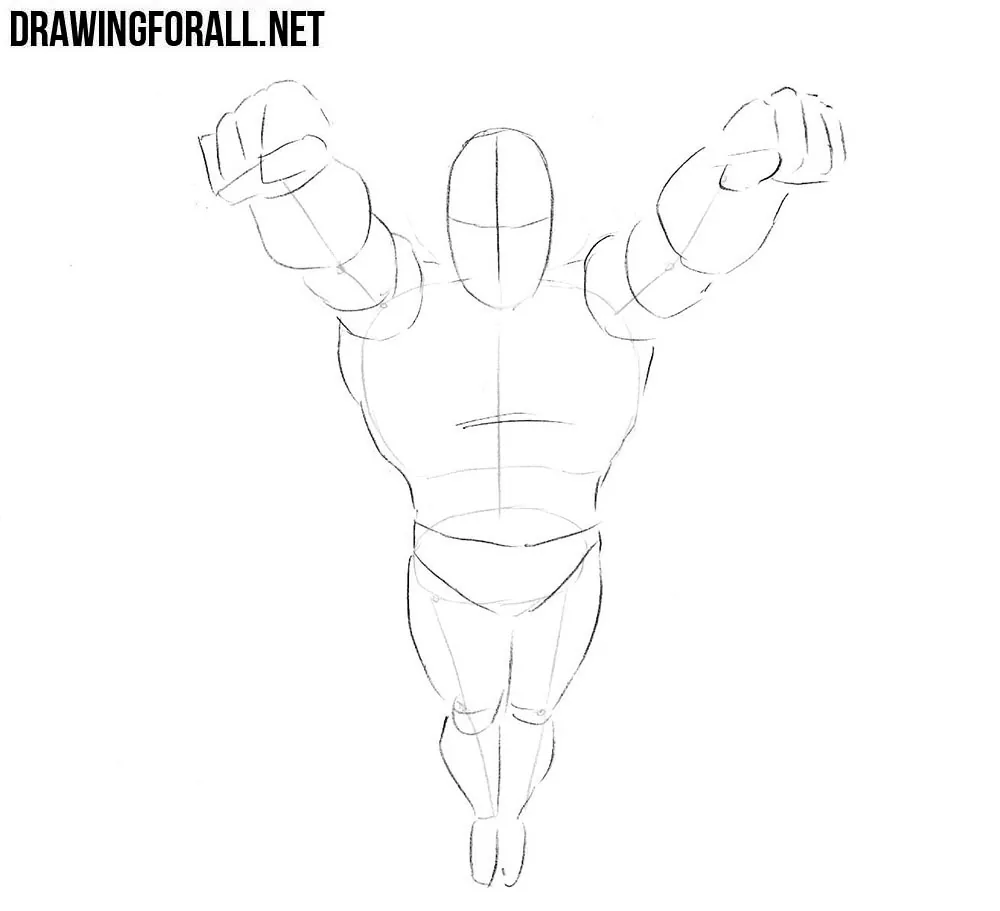
In this step we will add some volume to our Magus drawing. So we sketch out the torso, which widens in the shoulders and narrows in the waist. With the help of very light lines and simple geometric lines sketch out the arms and legs.
And we again see the peculiarities of an unusual angle – forearms and fists look larger than the head. The pelvic area and legs look shorter than the body.
Step 3
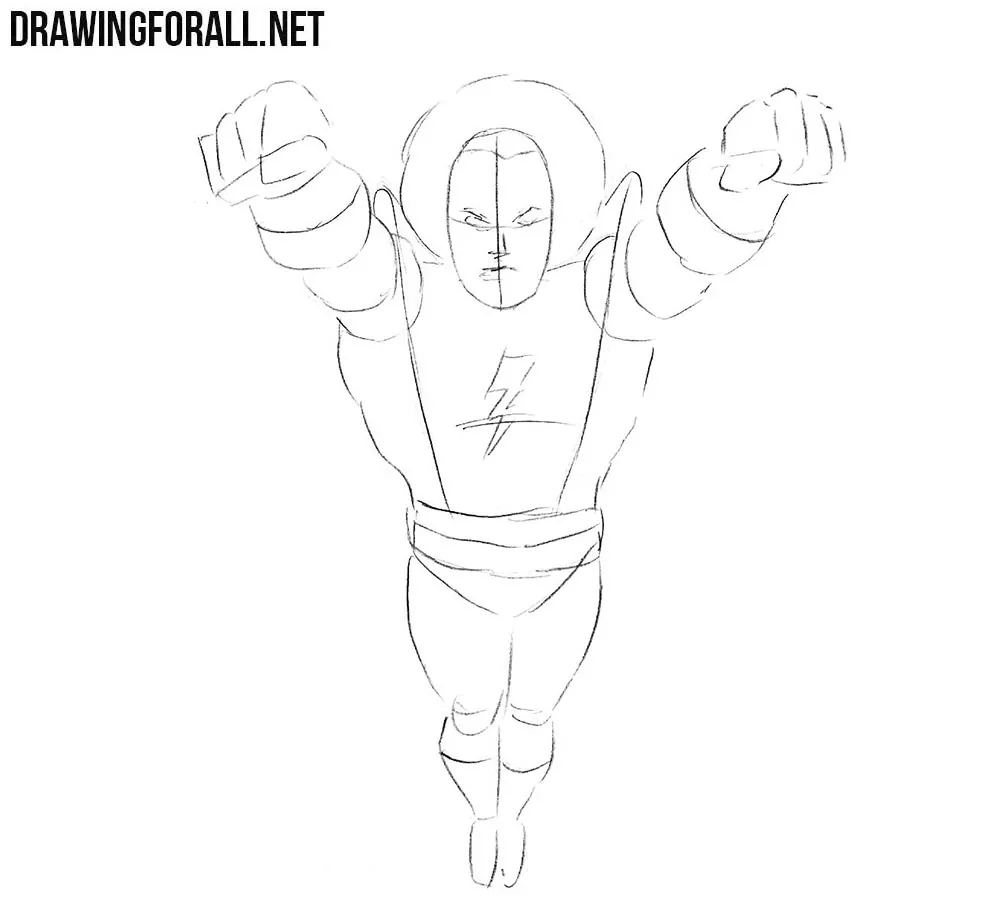
Let’s work with the basic details of Magus. First, sketch out the rounded-form hair. After that, draw out the contours of the eyes, nose and mouth. It will be more comfortable for you to draw if you are focusing on the face lines from the first step.
Step 4
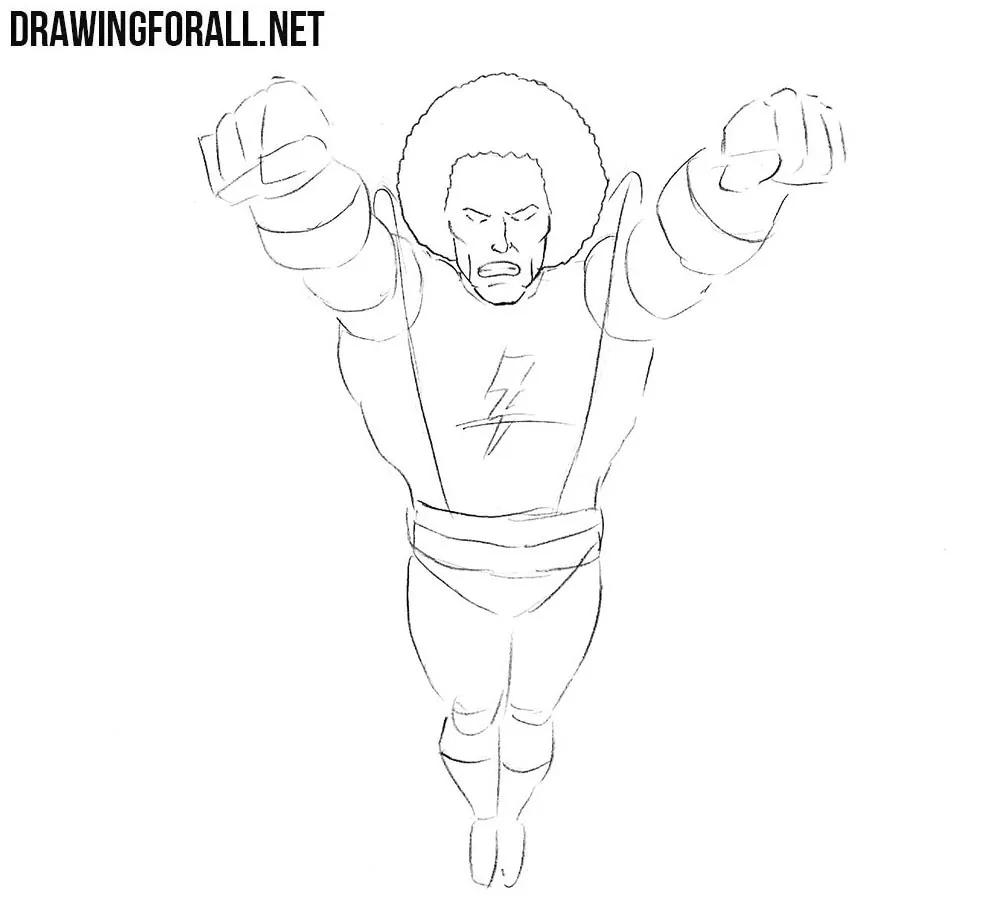
This is a very simple step. Here we need to erase unnecessary lines from the face. Note that you do not need to draw pupils. After that outline the contours of the hair and face. Be sure to delete all unnecessary guidelines from the face.
Step 5
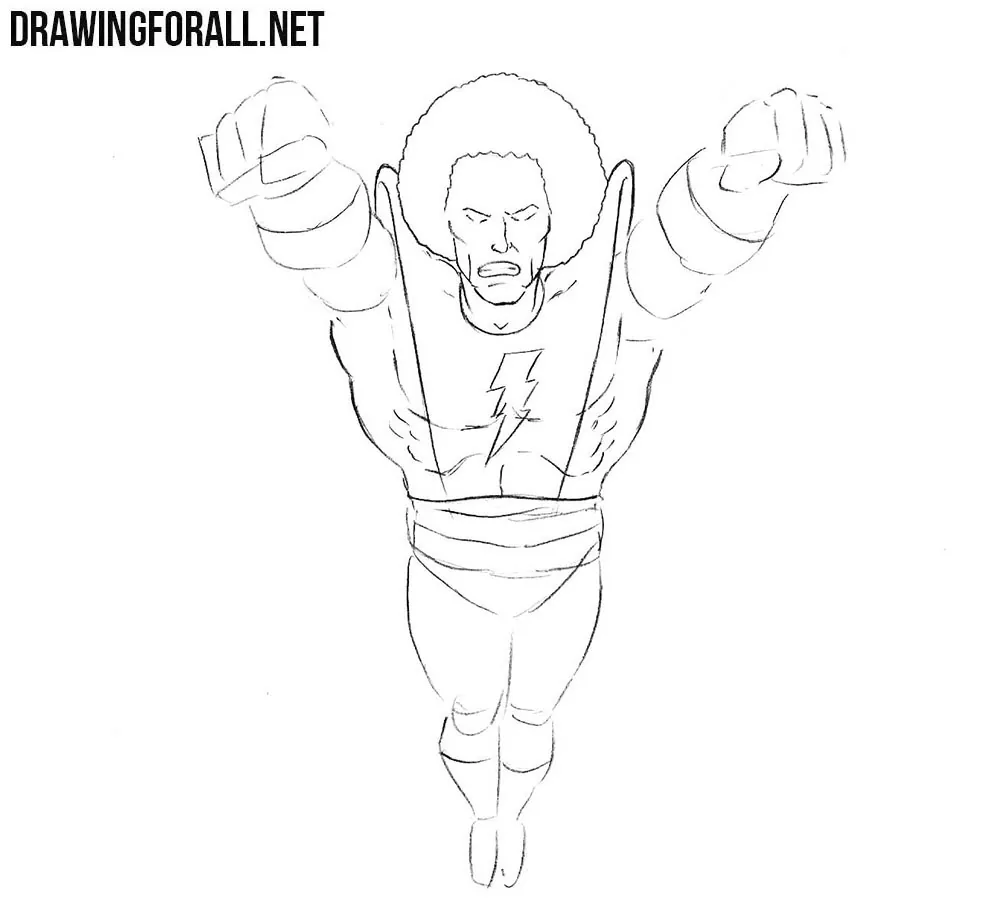
Let’s move on to the body. In this step we will need to accurately draw out developed pectoral muscles, abdominals and the shape of the torso. Don’t forget that body should narrow in the pelvis area. And we need to draw out the logo located on the chest and erase all unnecessary guidelines on the torso.
Step 6
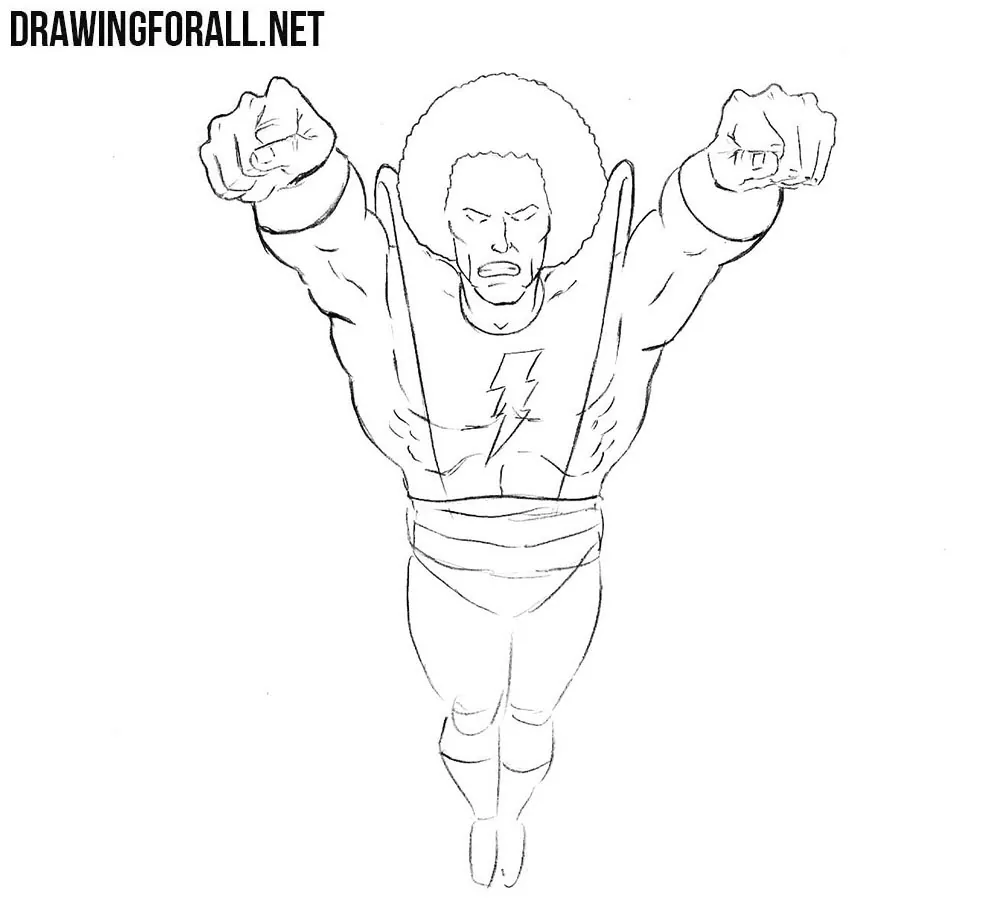
Now we will work with the arms. Draw the arms with clear lines as shown in our example. When drawing arms, consider all the muscles. And be careful when you draw the clenched fists. Don’t forget to read the special lesson on how to draw hands.
Step 7
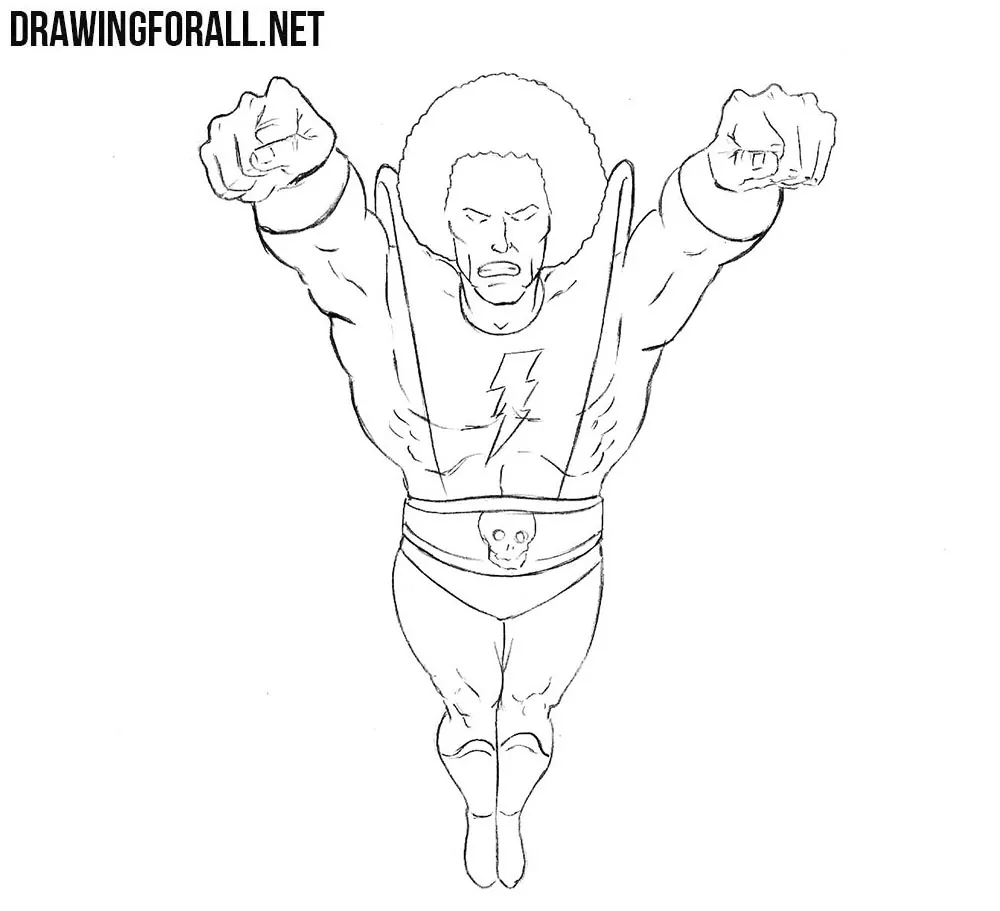
In this step we will draw the legs of our hero. Carefully draw out the contours of the legs, taking into account all the lines of the muscles and joint as you can see in our picture. After that we erase all guide lines from previous steps, and draw the cranium on the belt. And the last action of this step is drawing of the shoes.
Step 8
So in this last step we wiil draw shadows. As you can see we have two sorts of shadows, as do popular comic artists. The darkest regions will be shaded with the help of clear and dark parts of shadows, and the lighter shadows will be drawn with the help of dense hatching.


